Tutorial: Creating A Die Cut Birdhouse
Hi friends, it’s Tammy.
My project features a custom birdhouse, a home just perfect for these sweet birds! To begin, I cut an A2 piece of white cardstock using the Pretty Petals Background Die, removed the interior pieces, and layered on top of an A2 piece of light pink cardstock.
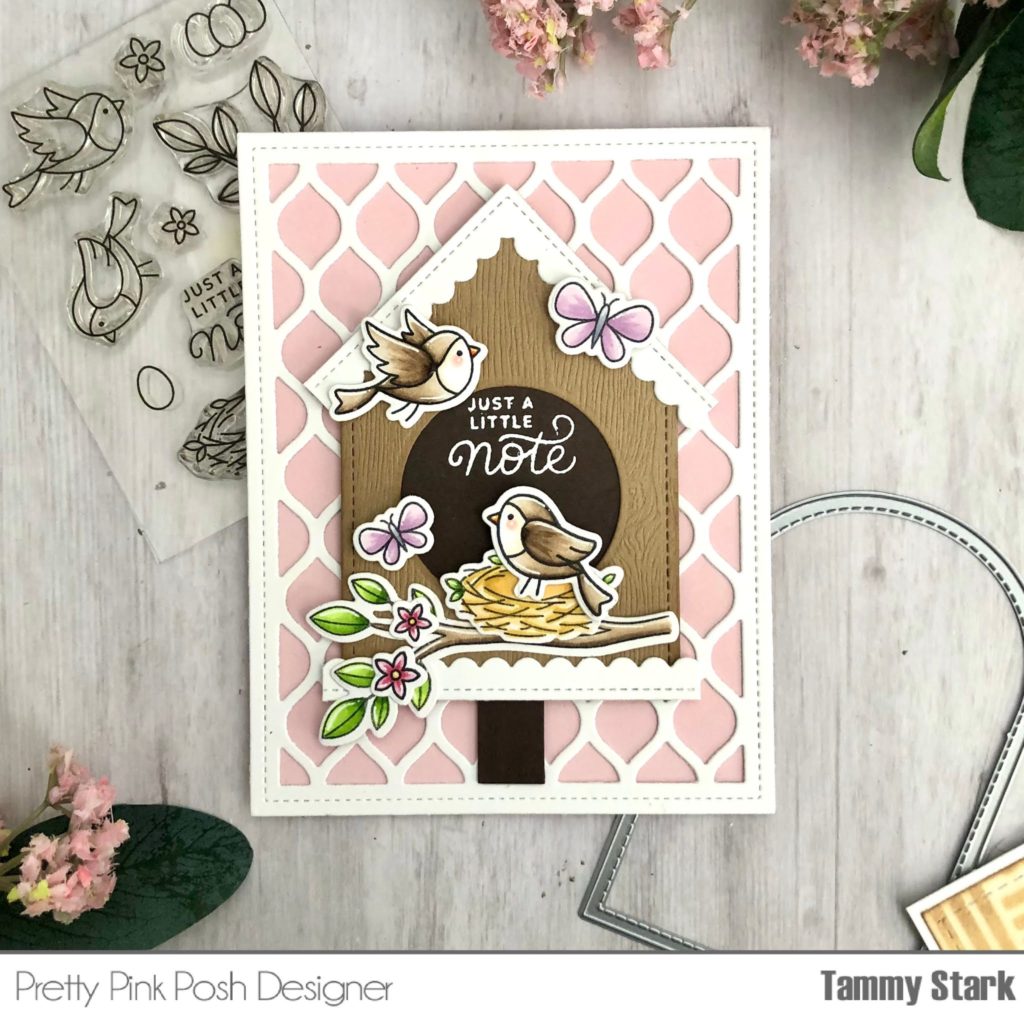
To begin, I stamped the images from Spring Robins and Mom, colored with Copic markers, and die cut with the Spring Robins Coordinating Dies and Mom Coordinating Dies.
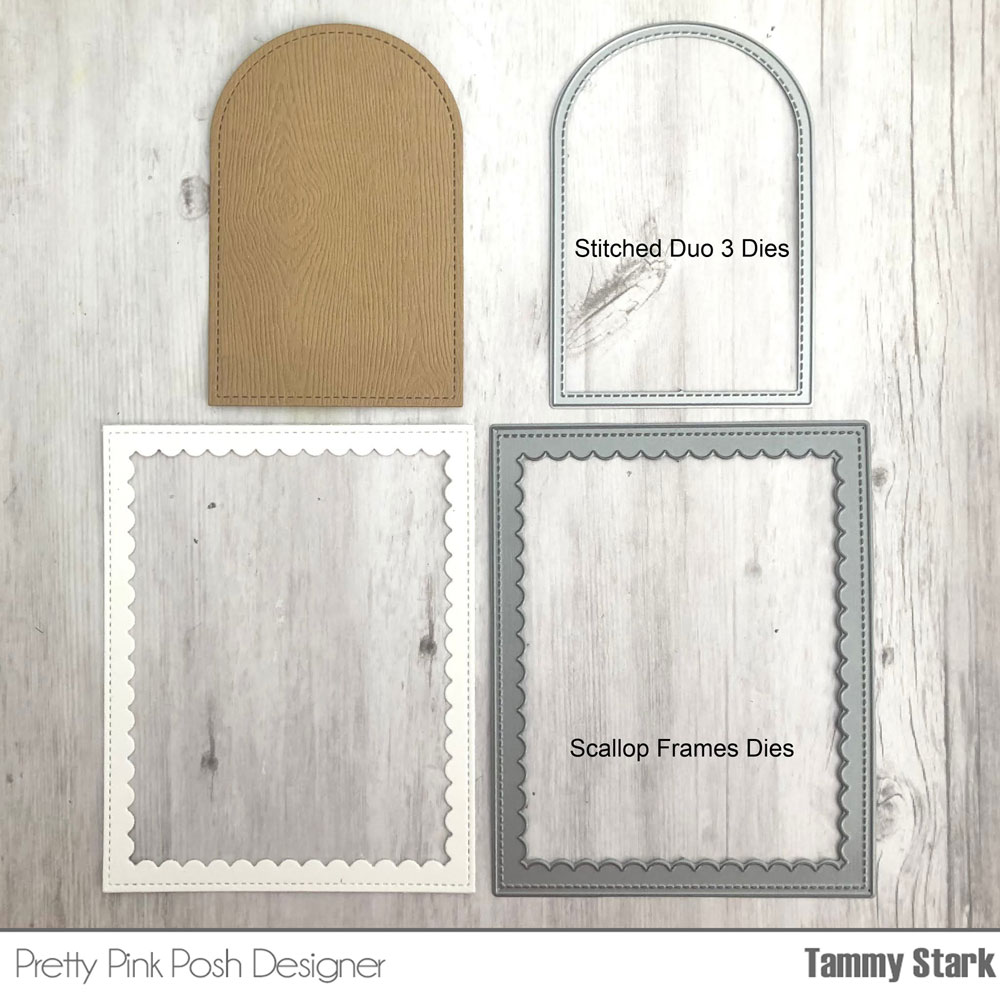
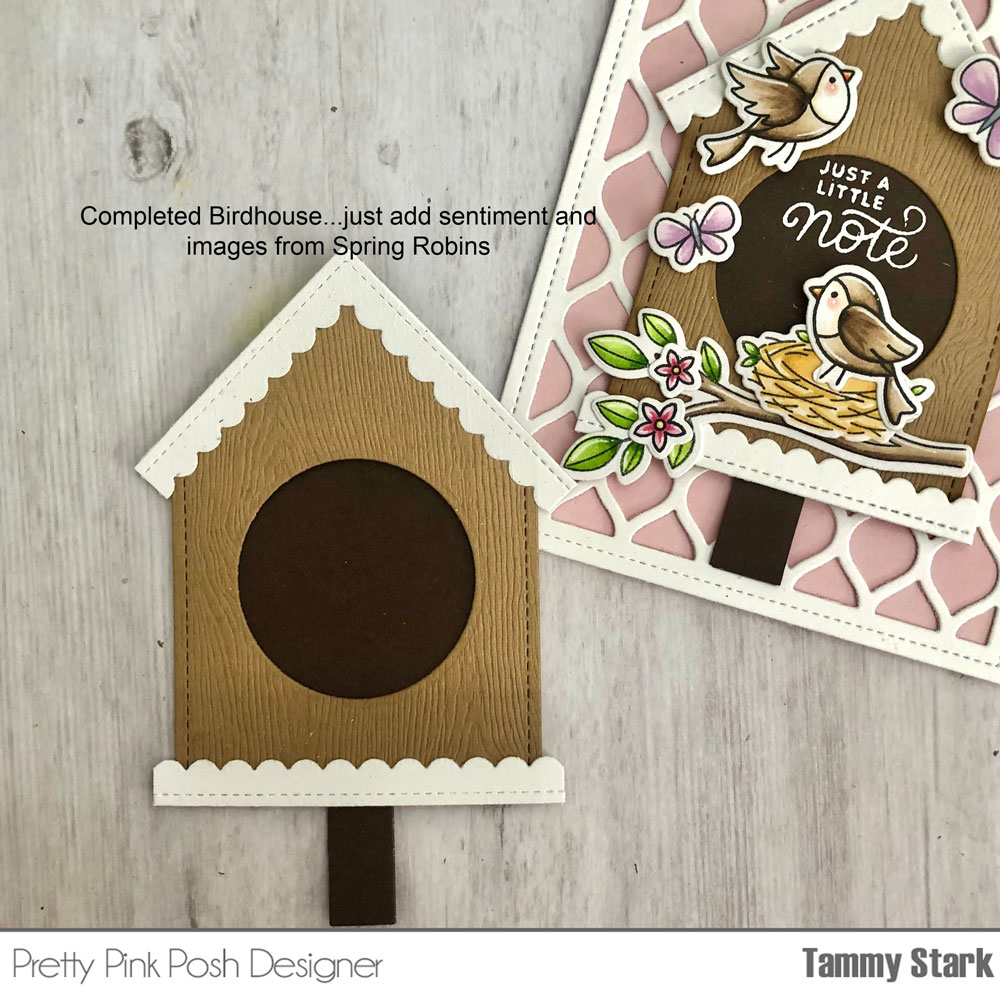
First, I cut a piece of woodgrain paper using the Stitched Duo 3 Dies to create the base of the birdhouse. I then cut a white rectangle frame using the Scallop Frames Dies, which will be cut apart to create a scalloped roof and base for the birdhouse.
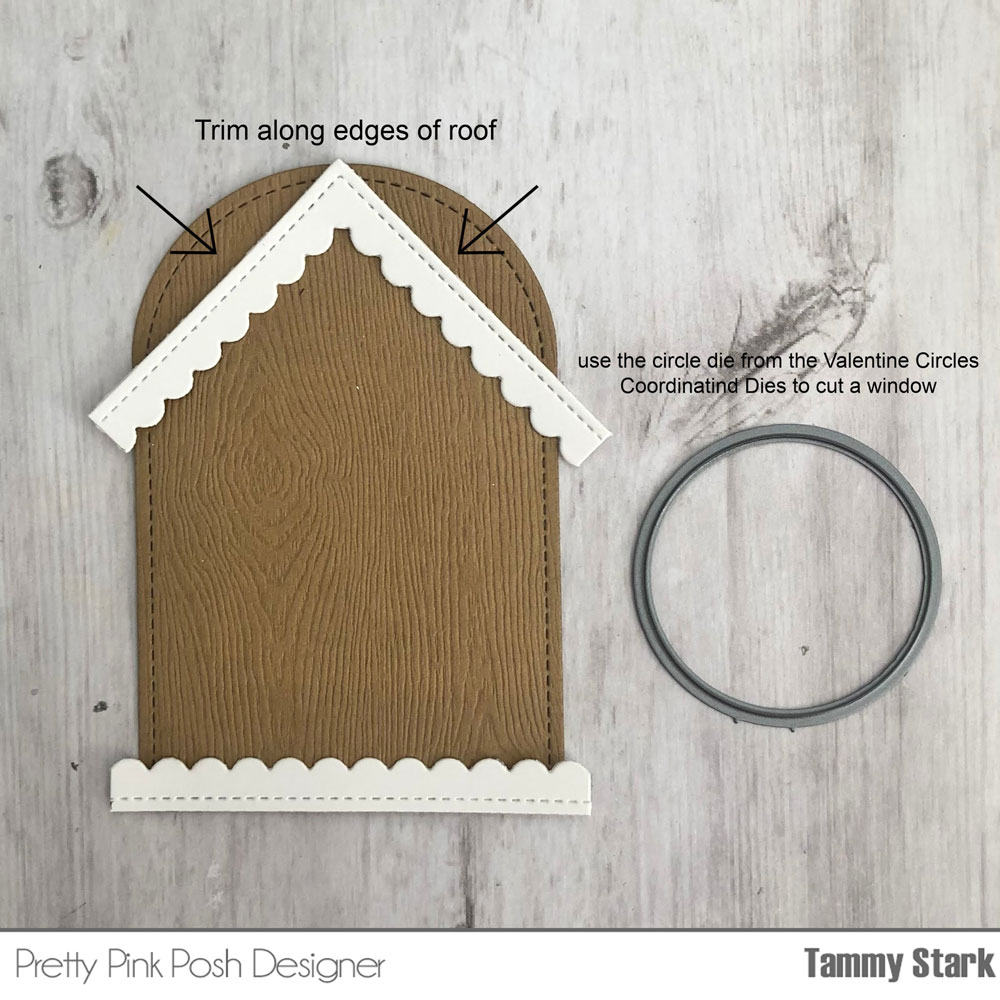
I cut the frame in half, lengthwise, then placed it on the top of the tag (as shown in pic), trimming the length of the roof to look proportional. I then trimmed along the edges of the roof, cutting away the woodgrain paper. Using the leftover piece of the scalloped frame, I cut it to fit along the bottom of the birdhouse.
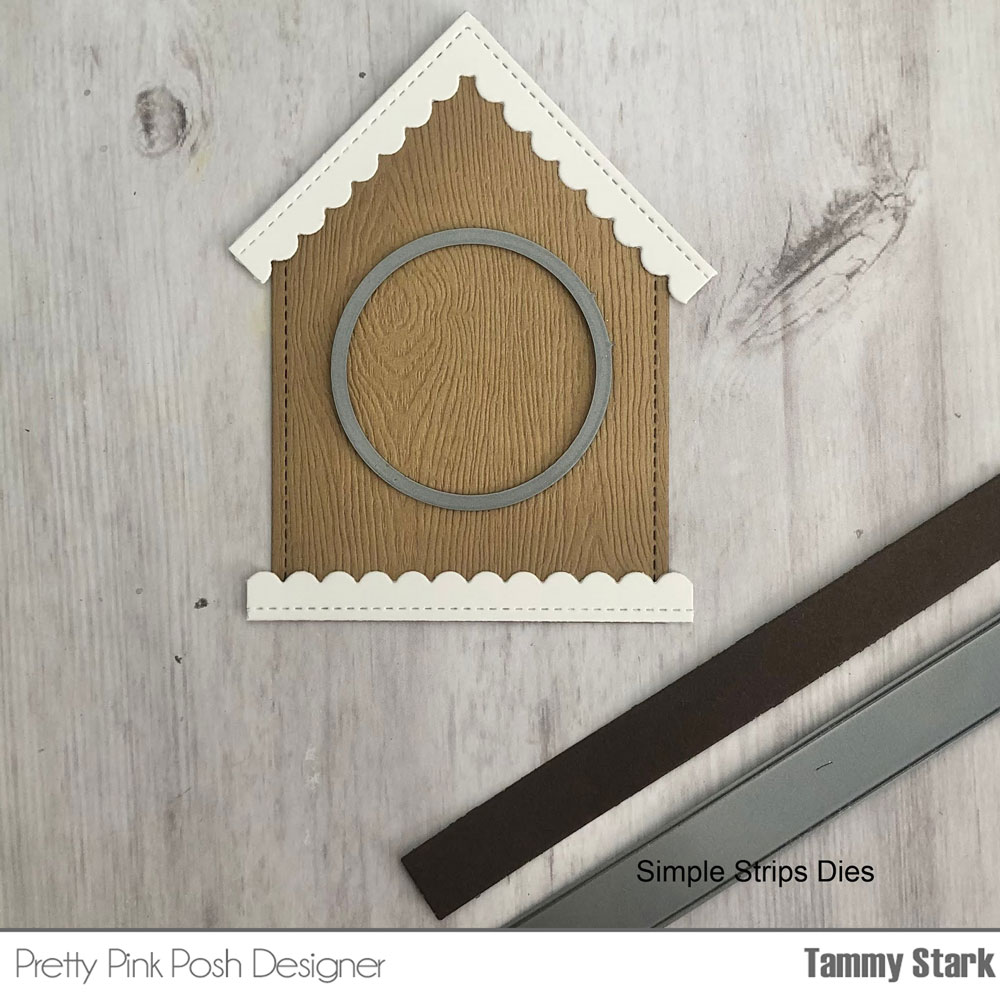
Next, I created a window in the birdhouse using the circle die from the Valentine Circle Coordinating Dies, and the Simple Strips Dies were used to create the post for the birdhouse.
I white heat embossed the sentiment onto dark brown cardstock, then adhered it to the back to complete the birdhouse.
Lastly, I trimmed down the Simple Strip and adhered to the card, attached the birdhouse using foam tape for dimension, and arranged the stamped images onto my card to finish!
Thanks for stopping by! I hope you were inspired by this tutorial!

I just love this. So so cute, and I can make it with dies I already have. I LOVE to stretch my dies. They are expensive, and I like to buy ones that have multiple purposes. I hope that you will continue to show ideas for stretching them. It is a good selling point for your dies, too.
Love your adorable birdhouse!!!! Pinned and hoping to make one like it!!