
Sneak Peek: Let’s Party + Party Days
Hi everyone! Jane here today sharing a sneak peek of some products from the amazing release that premiers on January 11th! I’m sharing a look at the Let’s Party and Party Days stamp sets.
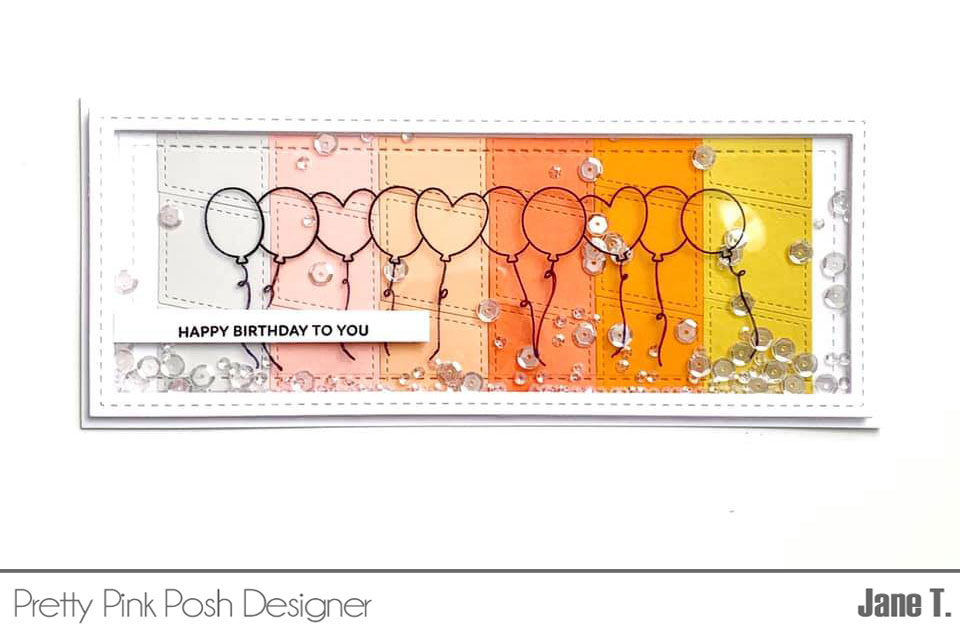
For my first card, I’m featuring the new Party Days stamp set. To start, I created a background by cutting a few small diamonds from the Stitched Diamonds die. The following card stock colors were used (left to right): oyster grey (Ellen Hutson), blush pink (stamp market), apricot (lawn fawn), peach, melon and citrine (stamp market). Next, I arranged the cut diamonds on a piece of white copy paper and glued them down using liquid glue. Then, I used one of the dies from Slimline: Peekaboo Windows to cut the background piece.
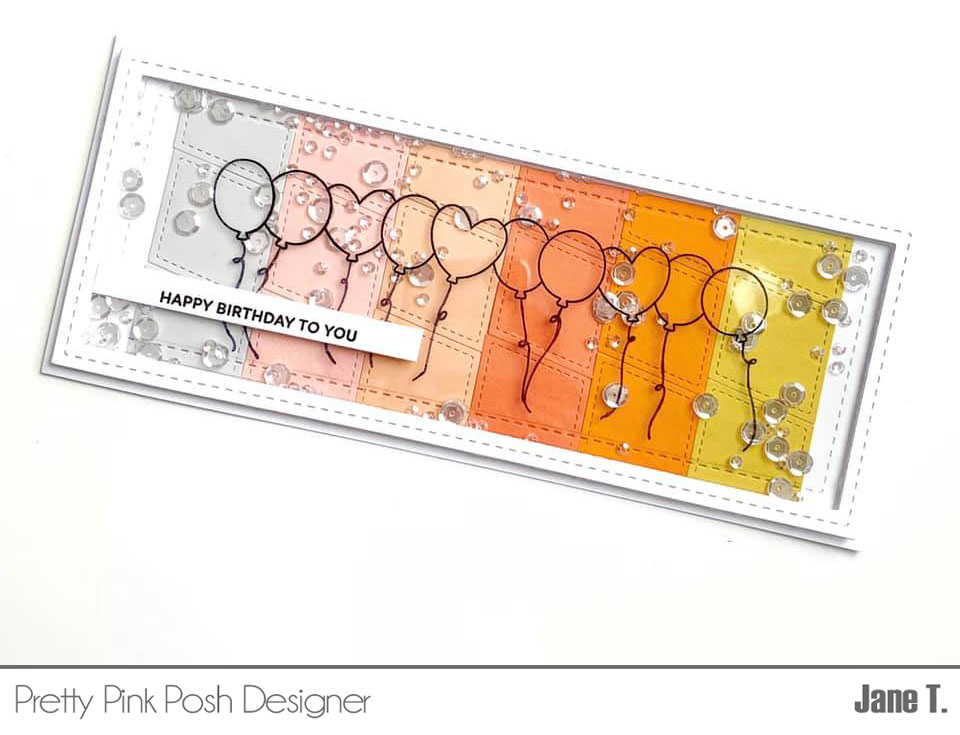
Next, I created a shaker window by cutting a piece of white cardstock using the largest slimline die and medium size die from Slimline: Peekaboo Windows to create a frame. A large piece of acetate was adhered to the back of the panel using liquid glue. The balloons from the new Party Days stamp set was stamped to the front of the acetate frame using black StazOn ink. I drew in the strings using a black fine tip sharpie.
Then, I stamped a sentiment from the new Let’s Party stamp set and adhered it to the lower left of the card front. The card front was lined with double foam tape to create a shaker and I used 6mm and 3mm sparkling clear sequins to fill the shaker. Everything was adhered to a slimline card base and that completes the first card!
My next card uses these sweet cupcake images from the new party days stamp set.
To start, I created a striped panel using the Simple Strips die and same cardstock colors listed above. The strips were adhered to a piece of copy paper using double sided tape. Next, I cut a large circle from white cardstock using the largest circle from the Scallop Circles die. Using liquid glue, I adhered the circle to my panel with the strips and cut the overlaying edges away using scissors.
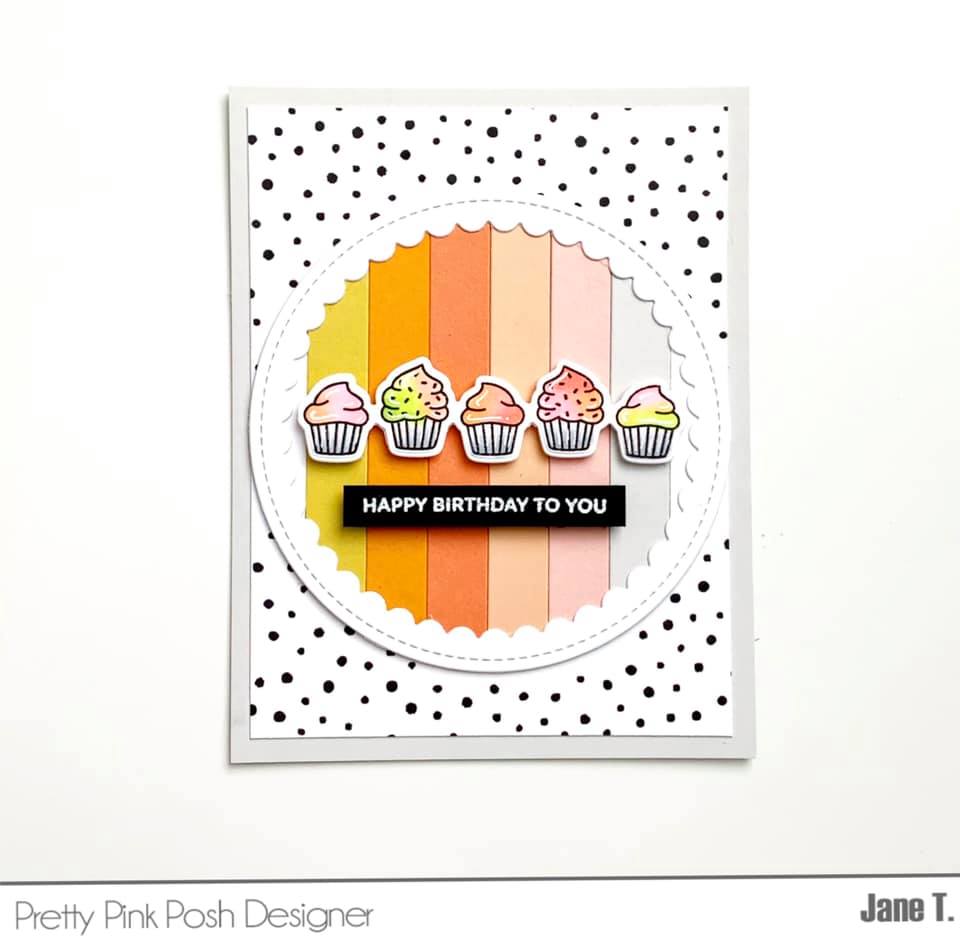
Images from the Party Days stamp set were stamped using copic friendly black ink and colored using the following copic markers:
Cupcake tops: YR61, R32, R11, R01, RV21, RV10, YG23, YG01, Y000
Cupcake wrapper: C3, C0
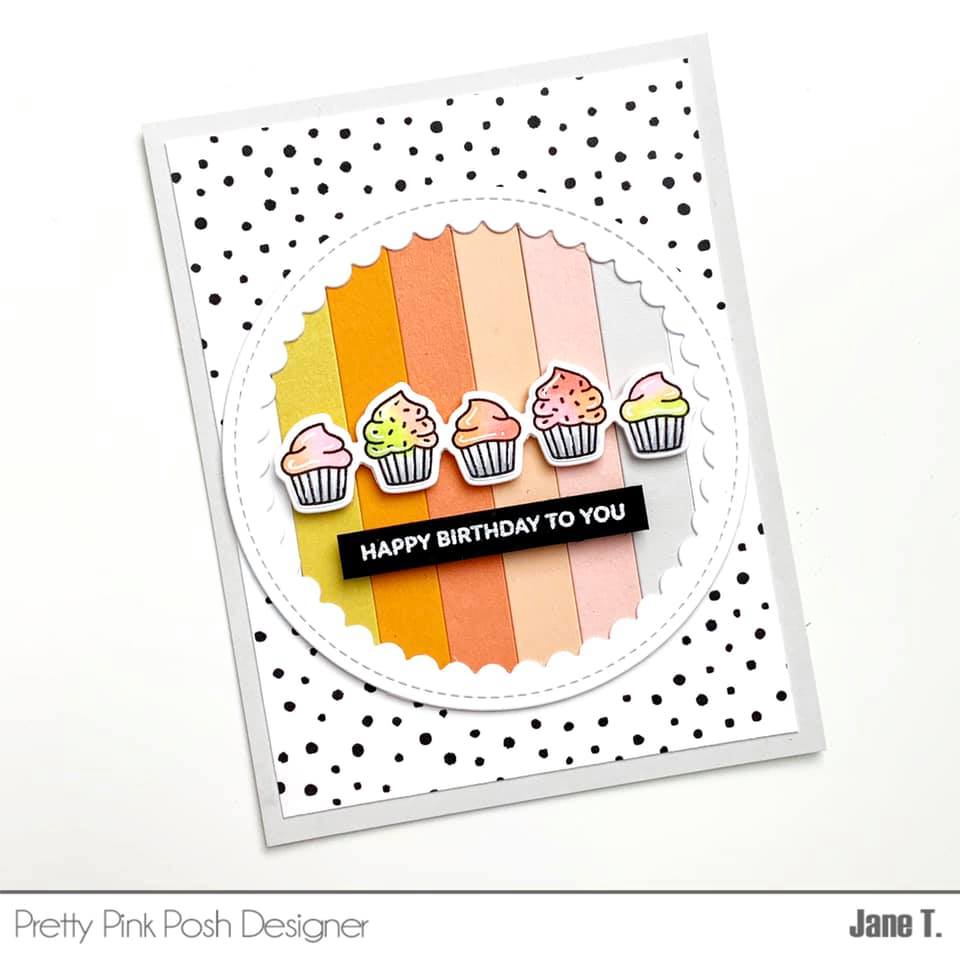
The sentiment from the new let’s party stamp set was stamped on black cardstock using versamark ink and white heat embossed. Using my paper trimmer, I cut a strip with the sentiment and adhered it to the circle using foam tape. The cupcake images were cut using the coordinating die and trimmed down using scissors. Foam tape added to the back of the cupcake and they were adhered to the front of the card. The circle was adhered to a dot pattern paper (this is dot washi tape on white cardstock) and an A2 piece of oyster grey cardstock by Ellen Hutson. The entire panel was then adhered to an A2 white card base and that completes the card!

The next card and tag set uses images from the new Party Days and Let’s Party stamp sets. I love how these sets coordinate so well together! To create the slimline card, I first stamped and white heat embossed a cake from the new Party Days stamp set. The background was then ink blended using the following inks: party dress, bellini, lemongrass, orange twist (all by Catherine pooler), and peach perfect (altenew). Next, I used a copic marker to add shadows on my cake and a white gel pen used to fill in the white frosting.
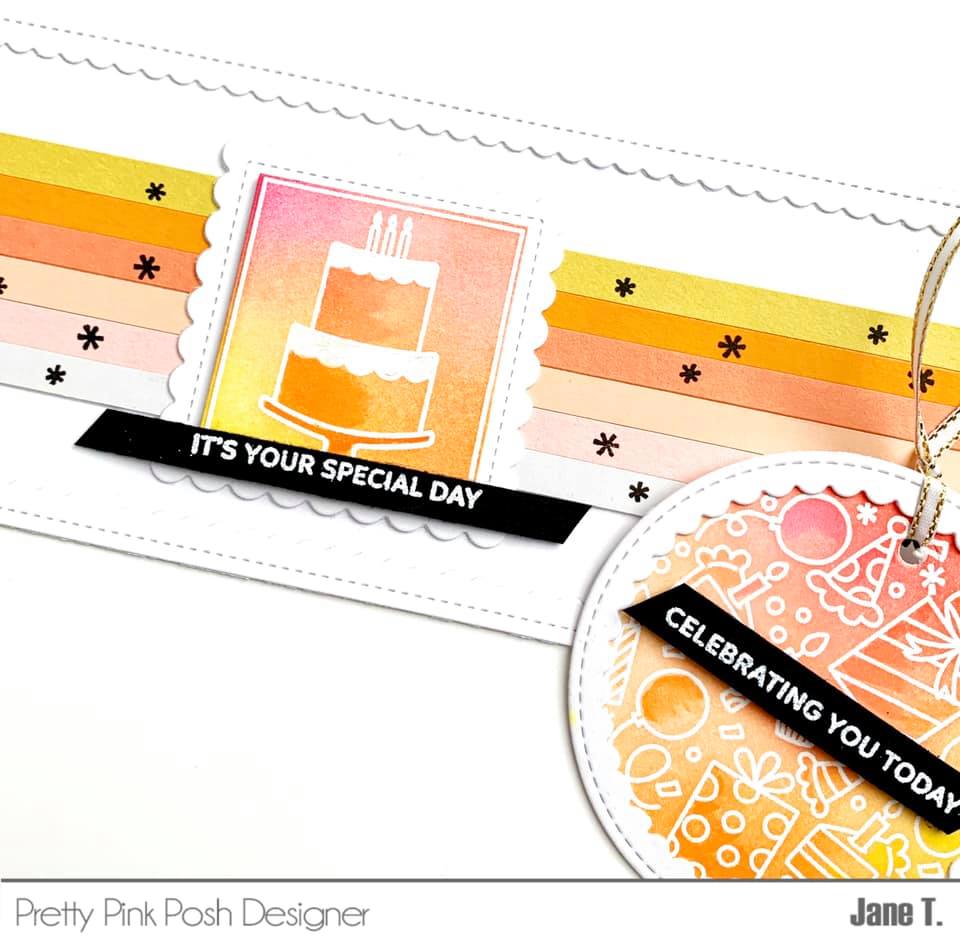
Using the Party Days coordinating dies I cut the image and white center frame. Then, I added strips of colored cardstock to the background and adhered everything down using liquid glue. Next, using versafine black ink, I added confetti from the Let’s Party stamp set. The frame was cut from white card stock using the new Slimline: Scallop Frames die and adhered to the outside of the card.
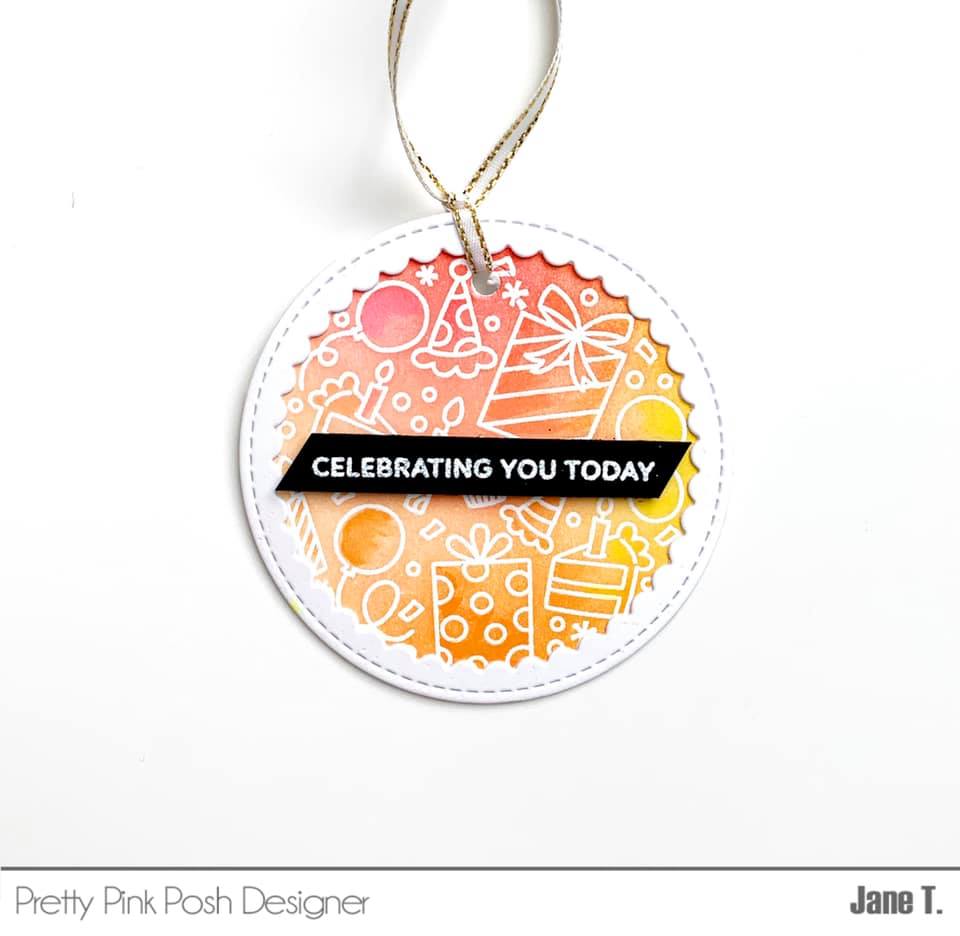
For the tag, I white heat embossed an image from the Let’s Party stamp set and ink blended it using the same inks listed above. Next, I cut the largest circle from the Scallop Circles die set using white cardstock and adhered it to the outside of the tag. Sentiment from the Let’s Party stamp set was white heat embossed on black card stock and adhered using foam tape. Then, I used a hole puncher to create a hole at the top for the ribbon to slip though and that finishes the tag!
Thank you so much for stopping by today! Stop by tomorrow for more sneak peeks of the amazing new release by Pretty Pink Posh!
How fun! I love the stamp set and the colors you used on all your projects!
Love the gorgeous palette you’ve used both for the papers and coloured elements on these festive cards!
The Hearts & Balloons look beautiful and absolutely fragile. Love them.
These are SO FUN!!! I LOVE the new stamps!!!
Such a crisp stamping on the acetate! I thought they were a dainty balloon slimline die cut. Very impressive and pretty!