
Create A Scene: Polka Dot Birthday
Today I have a fun birthday scene card to share. I made this colourful card for my niece, who celebrated her 7th birthday this month.
One of my tips when creating scenes is to choose a limited colour palette.
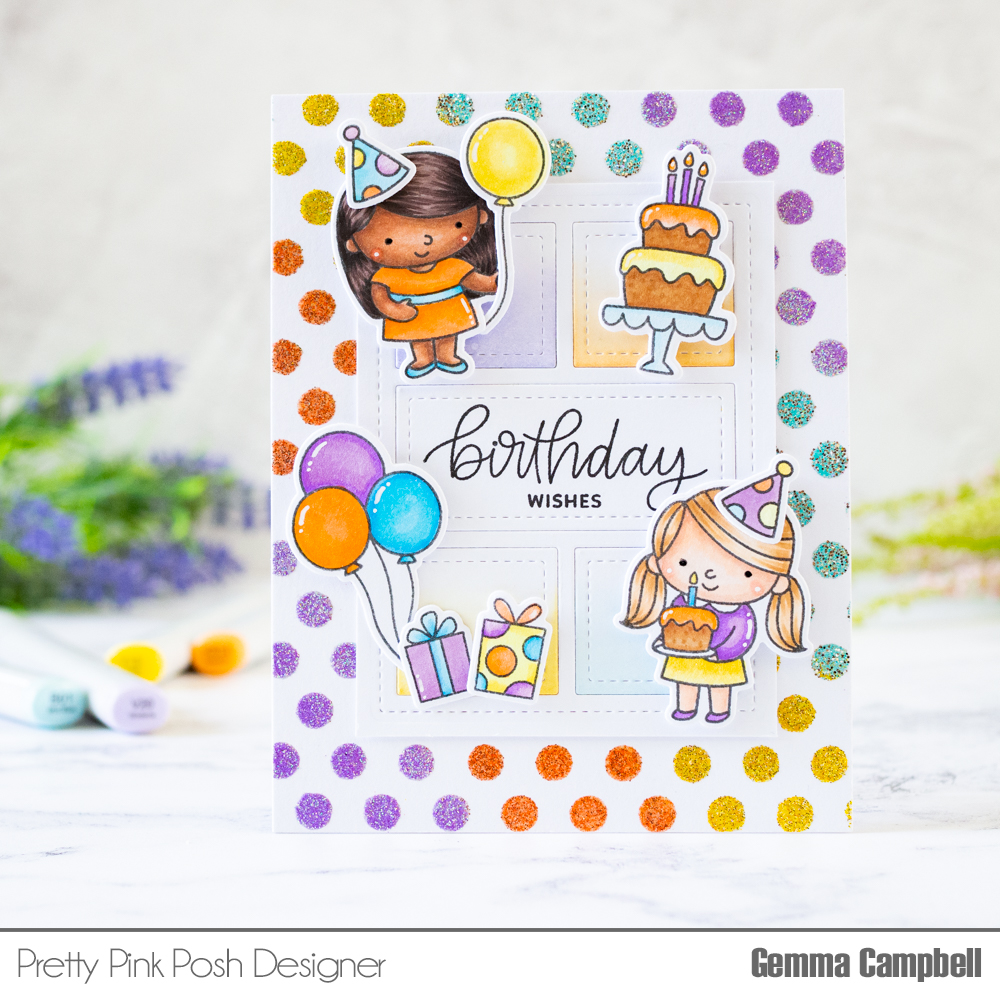
For this card, I chose purple, yellow, blue and orange. These pairs are opposite on the colour wheel so work well together. Neutrals can also be added too.
I stamped and coloured images from Birthday Friends with copic markers, then used the coordinating dies to cut them out.
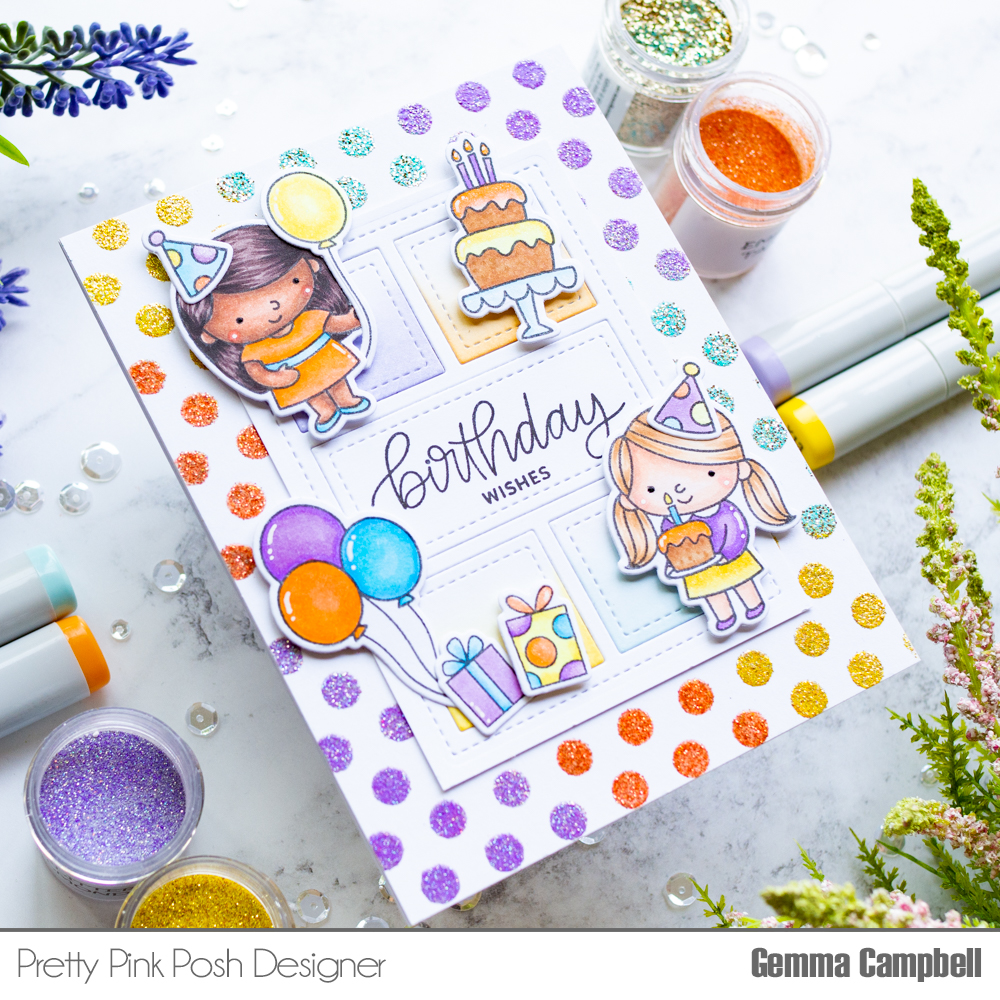
I wanted to use the same colours on the background and also add some sparkle. I layered the Medium Polka Dots stencil over a panel of white card, then inked through the stencil with an embossing ink. I used some colourful embossing glitters to add diagonal stripes, then melted the embossing powders with my heat tool.
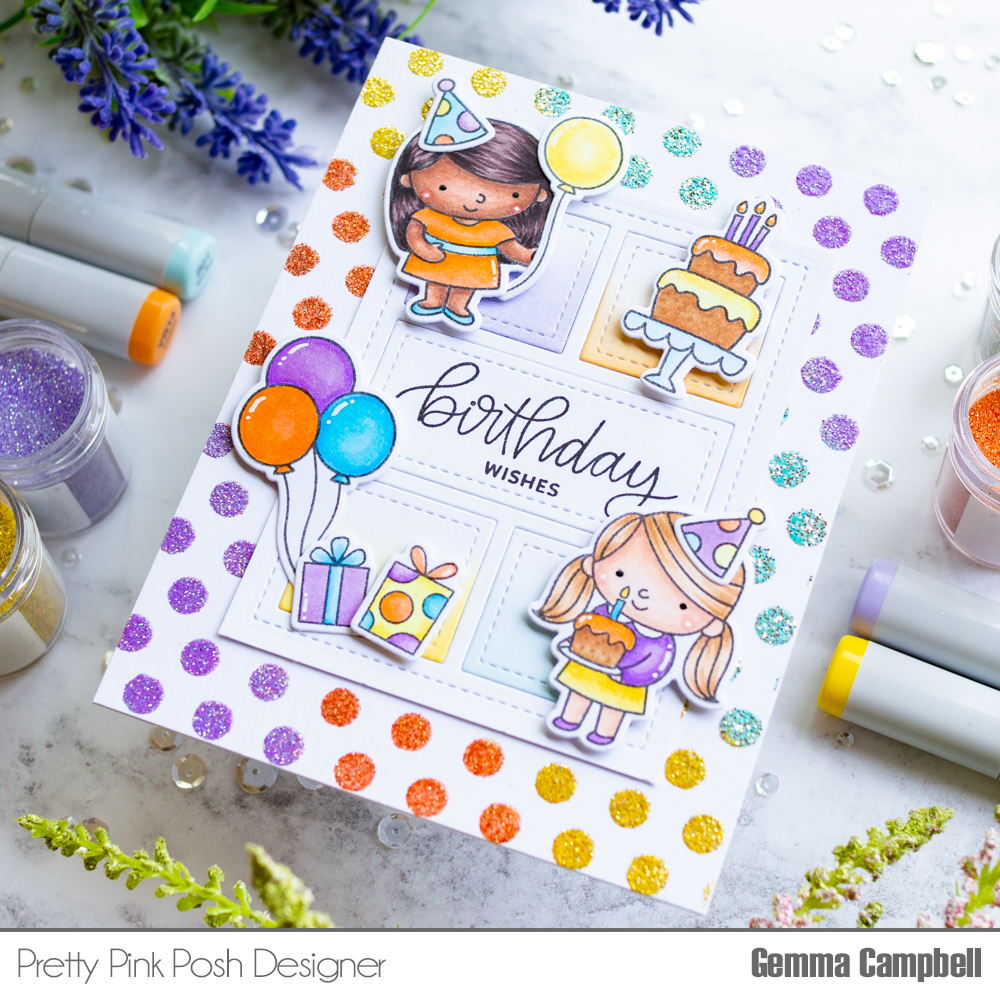
The Storybook dies are great for creating scene cards. The different squares and rectangles can be used as areas for images or sentiments. I die cut the Storybook 4 die from white card, trimming down the panel to get a frame for my card. I layered the Polk dots embossed panel, then the Storybook 4 frame on my card base.
I blended distress oxides in similar colours on the smaller pieces from the Storybook 4 die, then adhered them on my card. On the larger rectangle piece, I stamped a greeting from the Birthday Friends stamp set before adhering it on the card too.
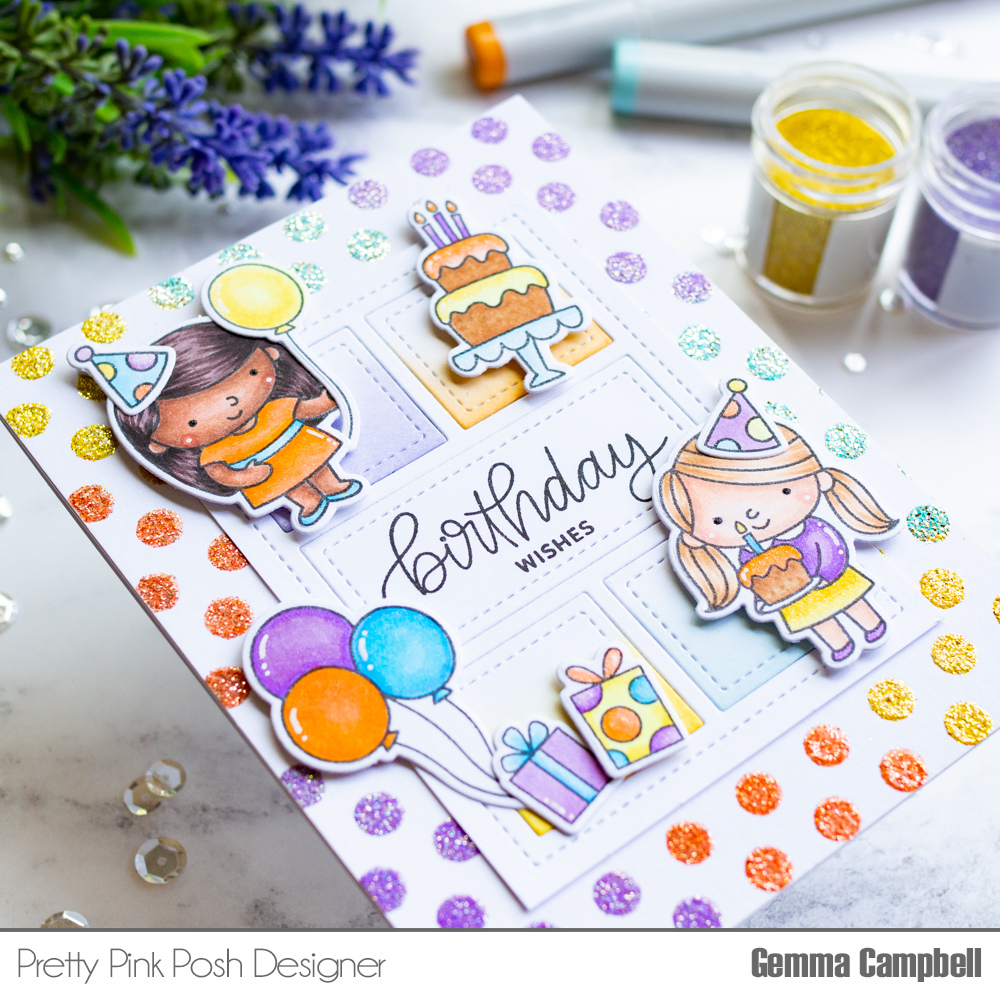
I used foam tape and liquid adhesive to add my images. I finished with some extra sparkle, using a clear glitter pen on some of the images, along with white gel pen highlights.
I hope you were inspired by this birthday card. Thanks for visiting!
Adorable card!!!
Absolutely brilliant.. You should also have this in Etsy store!