
Easter Theme Week- Day 3
Hi everyone! Jane here and I’m so happy to be sharing this card featuring products from the new Pretty Pink Posh release for Easter Theme Week!
Don’t forget: ALL items in the Easter section are 15% off this week!
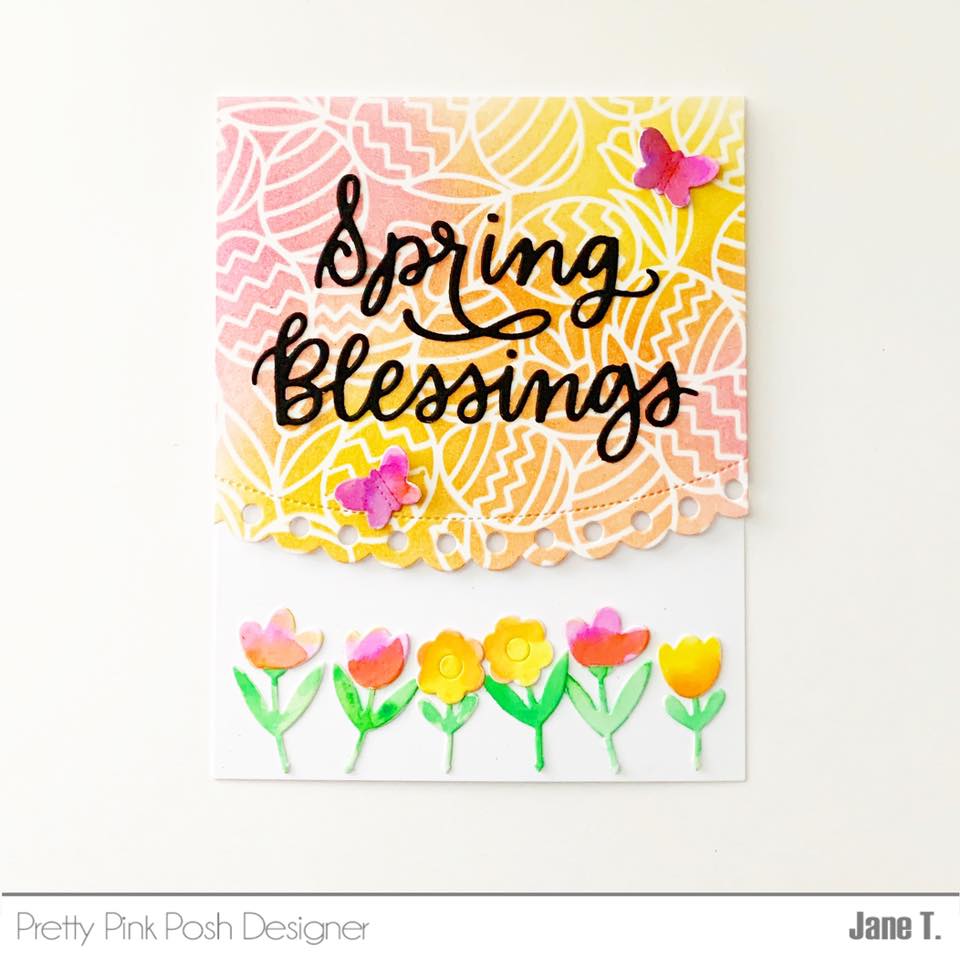
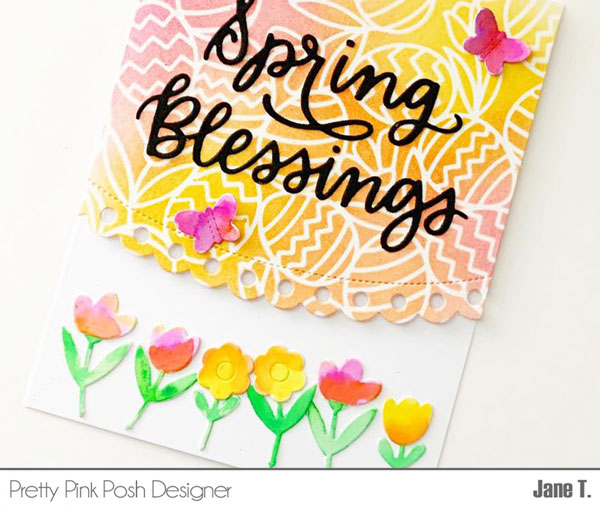
To start, I ink blended the background on an A2 piece of Bristol smooth cardstock using the Easter Background stencil. The following Catherine pooler inks were used: shea butter, tiki torch and it’s a girl. Then the panel was cut using the Eyelet Borders die set and foam mounted to an A2 card base.
Flower and butterfly images from the Spring Scene die set were cut from Bristol smooth cardstock. The images were then watercolored using zig real brush markers and adhered to the card front using liquid glue.
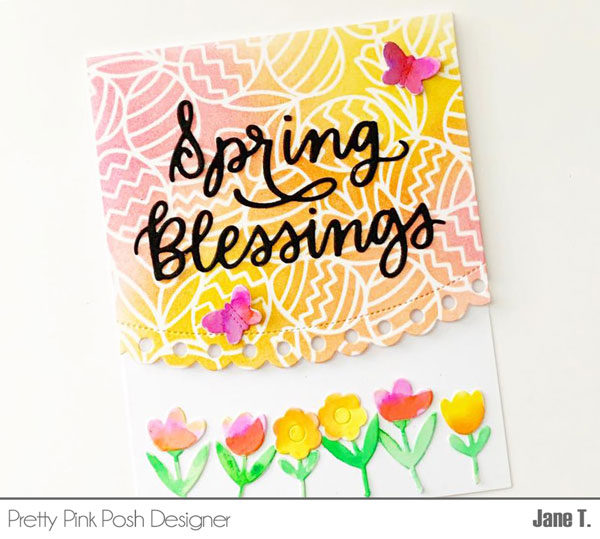
I used a piece of black card stock to cut the sentiment from the Spring Blessings Script die and the sentiment was attached to the card front using liquid glue. And that completes the card!
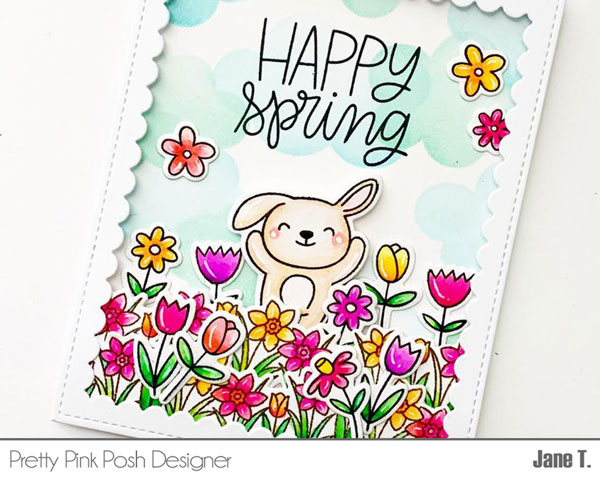
For the second card, I used a mix of old and new sets to create a scene with this cute bunny. I love how the bunny seems to be jumping for joy among the brightly colored flowers!
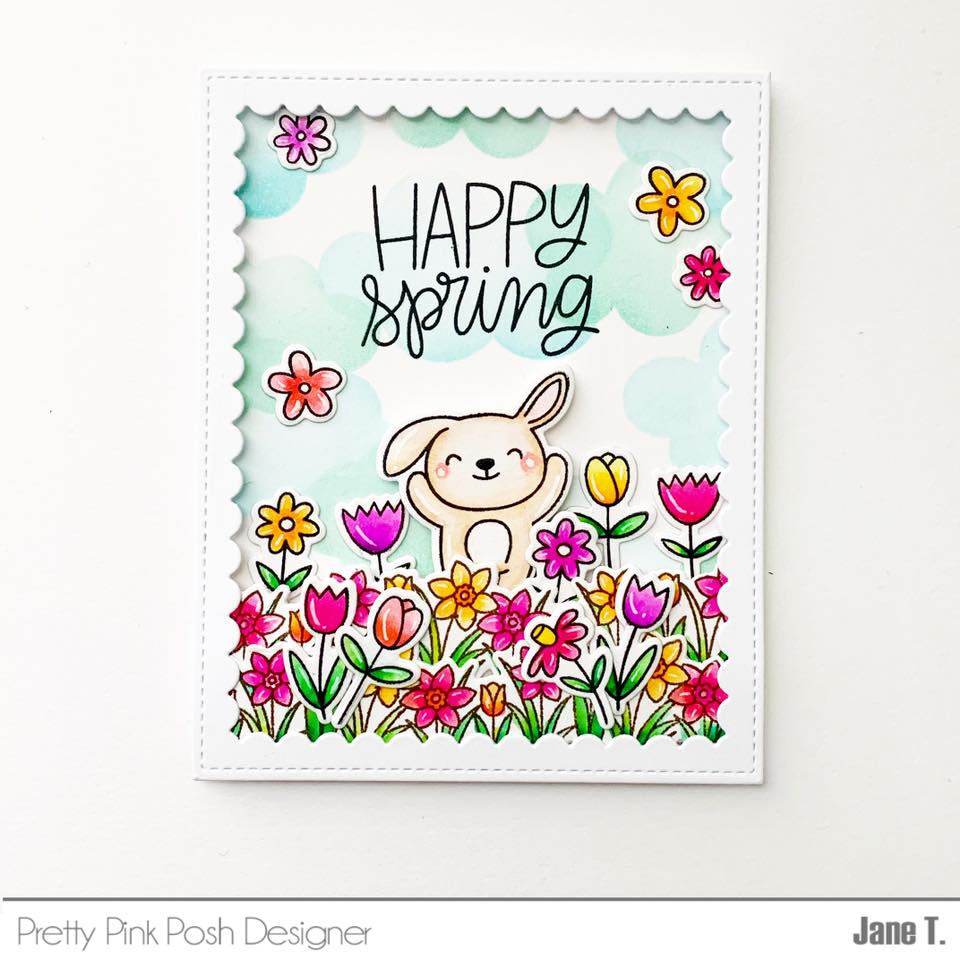
Starting with an A2 piece of Bristol cardstock, I ink blended the sky using the Layered Clouds stencils. Images from Bunny Friends and Spring Days stamp sets were stamped and colored using zig real brush markers. The images were then cut using the Bunny Friends and Spring Days coordinating dies.
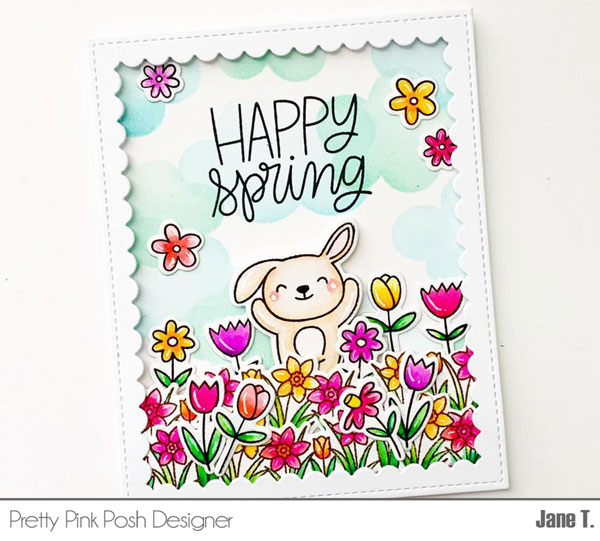
Sentiment from the bunny friends stamp set was stamped using black ink and the images were adhered around the card using a combination of foam squares and liquid glue. I added some white gel pen accents to the images for additional interest.
A white frame was cut using the Scallop Frames die and attached to the front of the card using foam tape.
Thank you so much for stopping by today. I’m so happy to be sharing these cards with you and hope they put a smile on your face!
– Jane
Such pretty cards!