
Sneak Peek: October 2019 Dies
Hello! This is Caly and welcome to our release sneak peek! Today, we’re focusing on the stand-alone dies and they are fabulous! I’ve created two cards, so let’s jump right in and talk about the first card, which is created using the new Stitched Poinsettias.
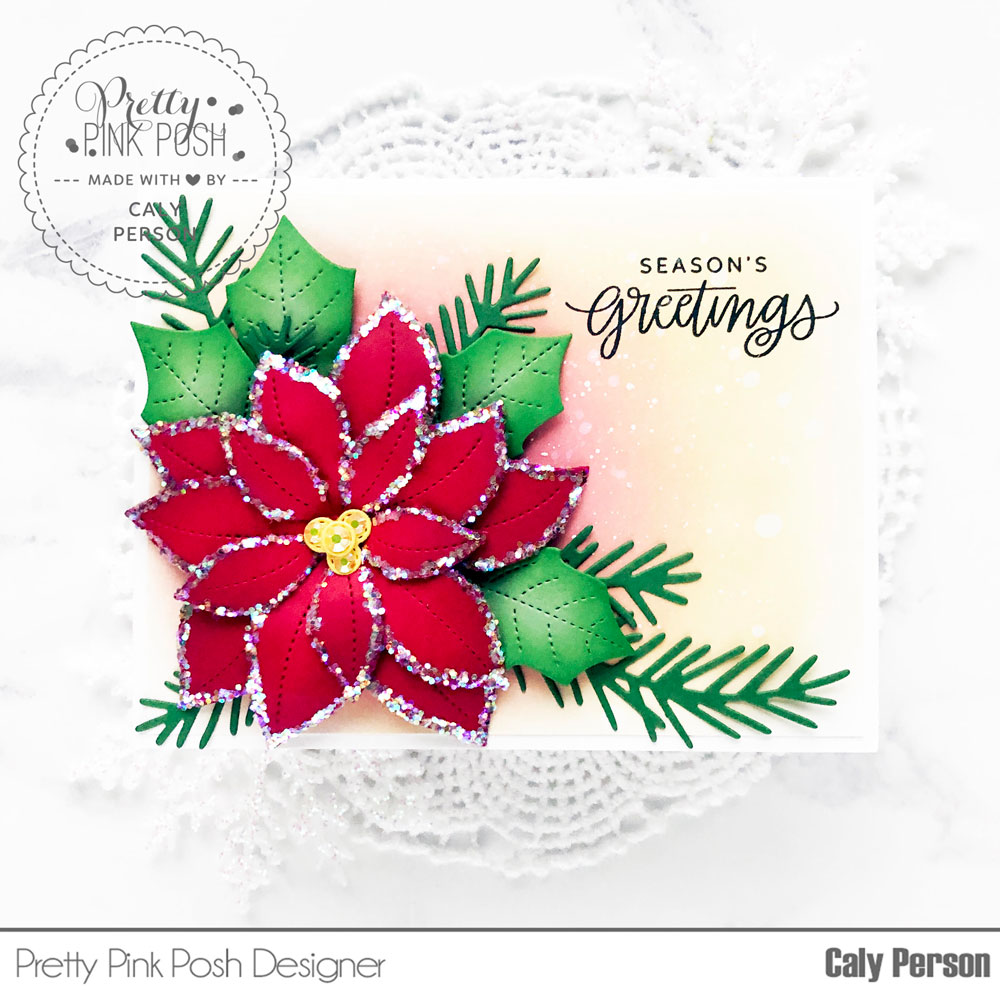
I began by die-cutting the poinsettias in a red cardstock, the centers in yellow cardstock, and the greenery using green cardstock. I also decided to add some Pine Sprigs to make my cluster more interesting, which I also cut using green cardstock. After die-cutting, I used inks slightly darker than my cardstock to add shading to each element using an ink-blending tool to add color. I did this to the poinsettia and poinsettia leaves only.
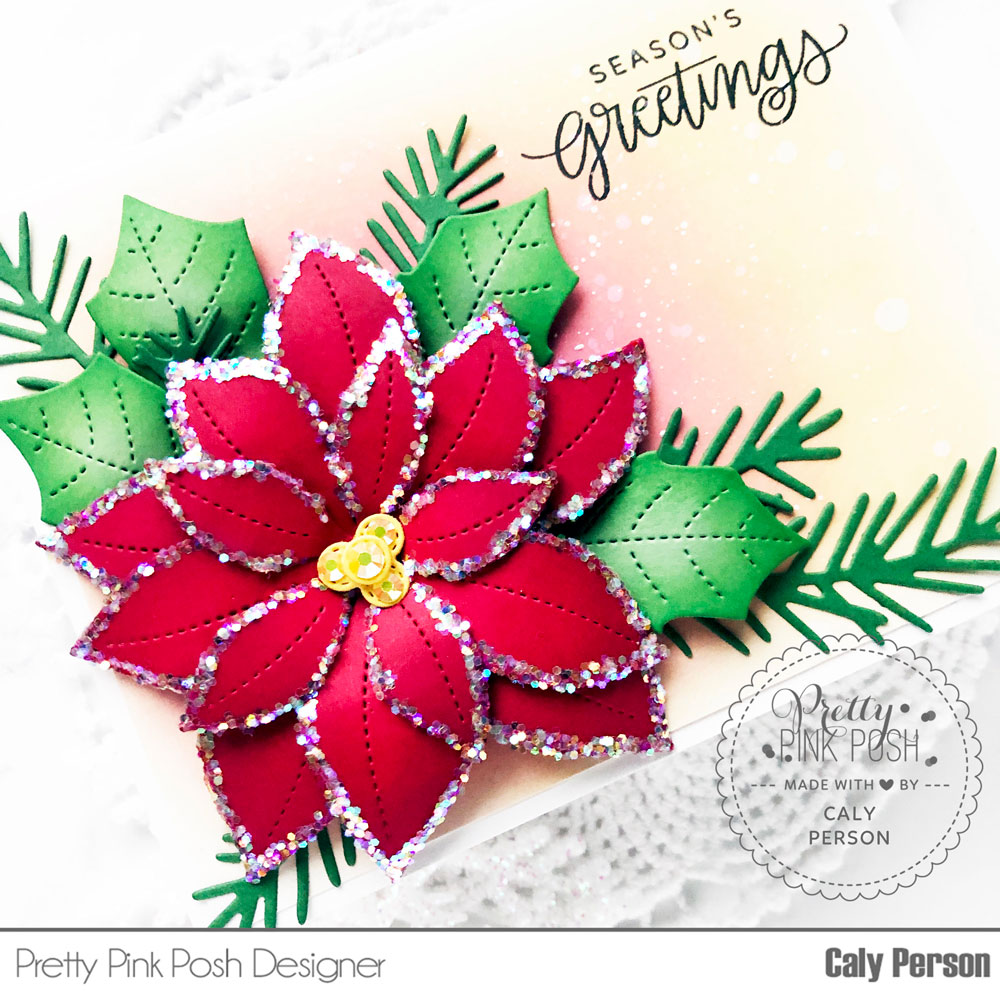
Once I was done ink-blending, I added glitter to my poinsettia by applying clear lacquer to the edges and applying glitter, then setting it aside to dry. Next, I worked on my background. I ink-blended the background using Victorian Velvet at the center where I wanted my poinsettia to be, and then blended out towards the edges using Tea Dye Distress Oxide Ink. Then I splattered the panel with water, white paint, and white iridescent paint.
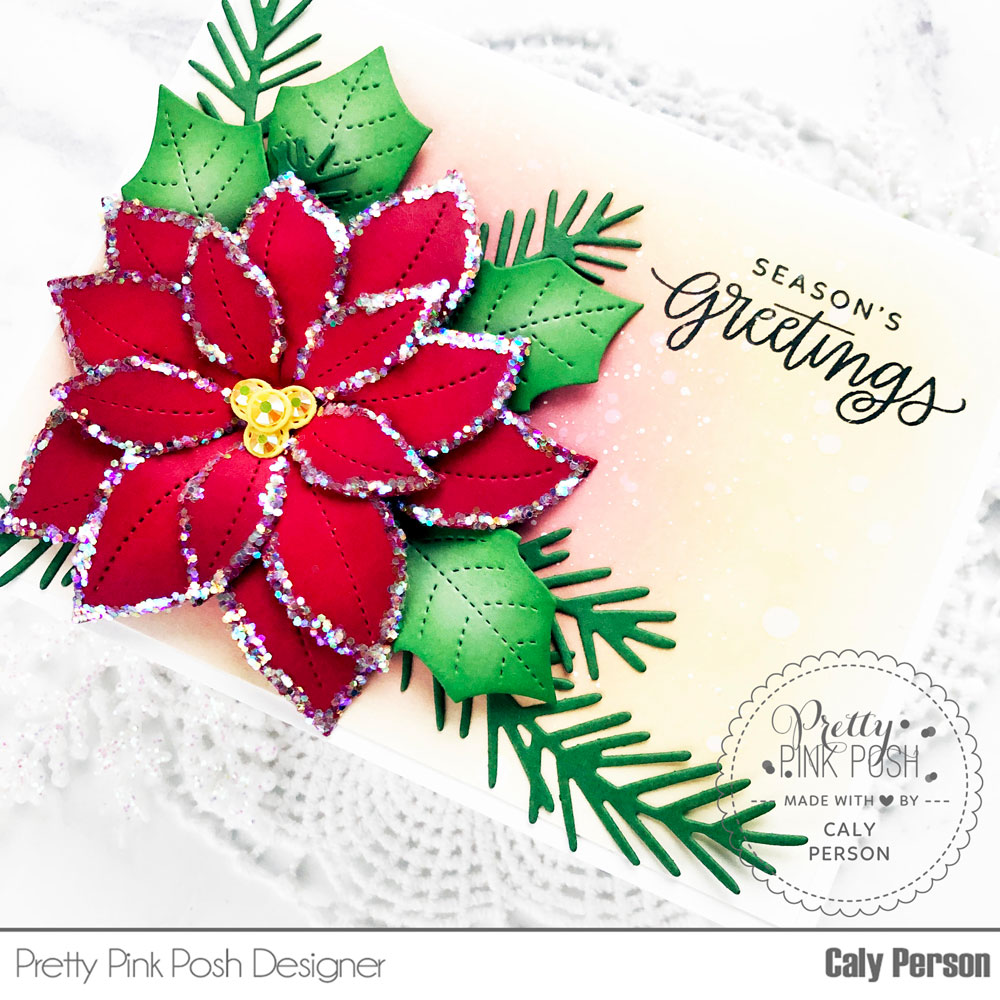
To construct my card, I first curled all the petals on my poinsettias and leaves. Then, I glued the poinsettia pieces together at the center. The centers are attached using foam adhesive for some height. I adhered the entire flower at its center to the card and added some Lemon Drop Jewels to the yellow centers. Finally, I added the foliage and pine springs around the poinsettia and then added my sentiment in the upper right hand corner from the Decorative Ornaments stamp set.
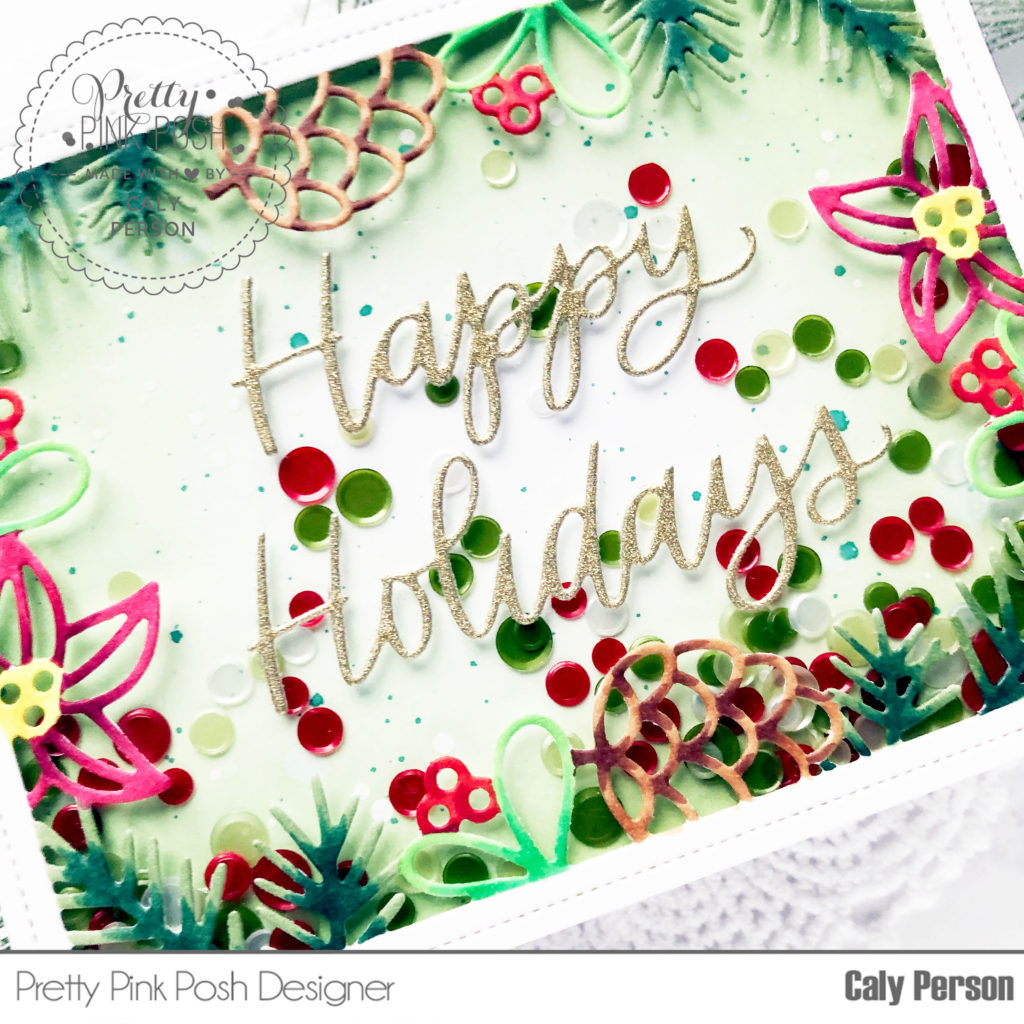
My second card features the Winter Frame die. I die-cut the frame using white cardstock and colored it using Copic markers.
Copic colors used: [R08, R29], [R37, R39], [Y04, Y35], [YG07, G05], [YG63, G29], [E35, E27]
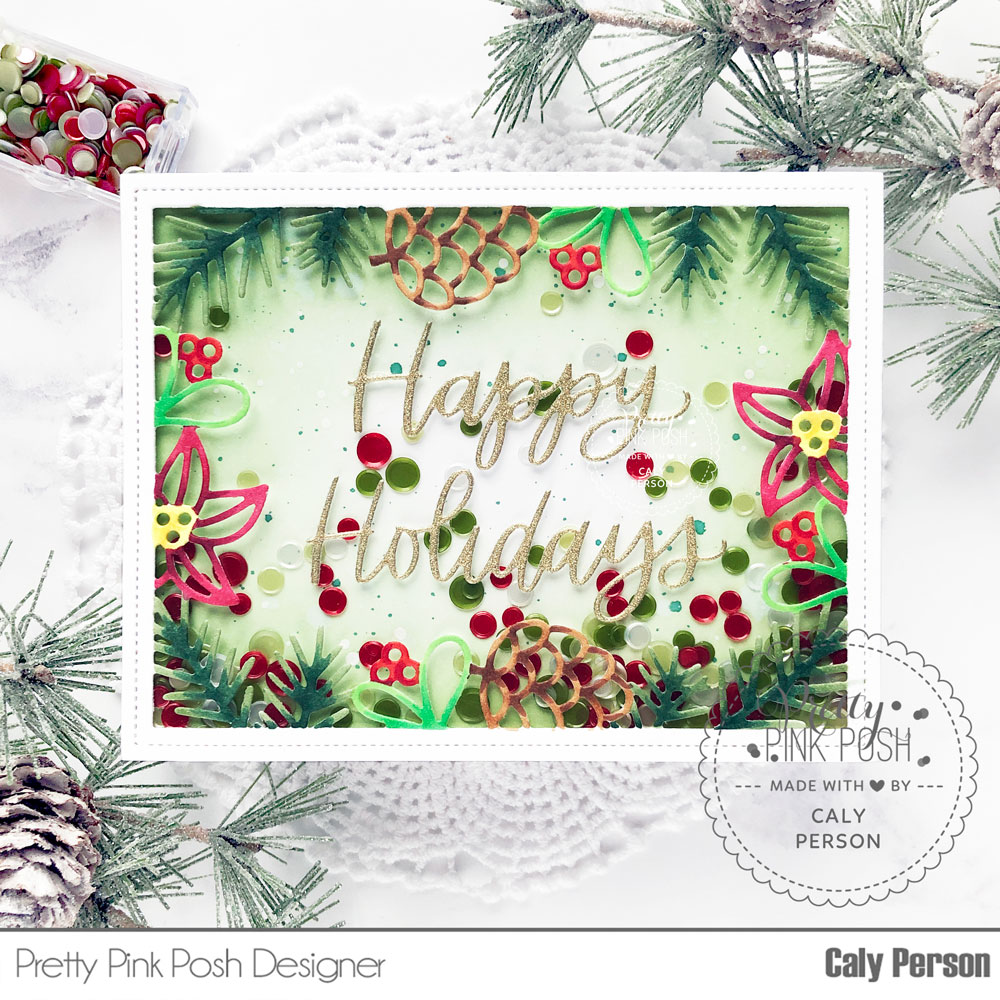
To create my background, I ink-blended a white panel with Bundled Sage Distress Oxide Ink. After ink-blend a fade towards the center, I splattered the panel with water, white ink, and watered-down Pine Needles Distress Oxide Ink.
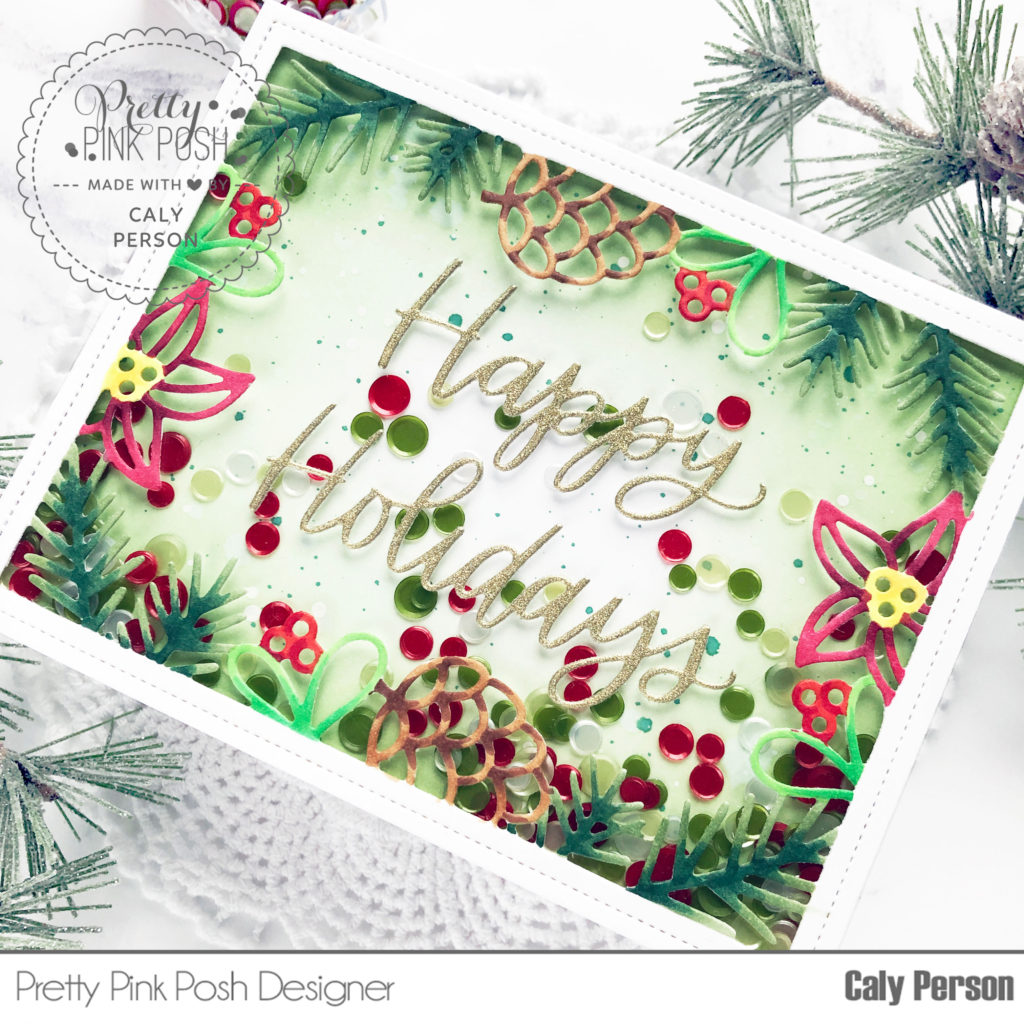
To turn my card into a shaker, I added acetate to the back of my Winter Frame and added foam adhesive to the border. Before attaching, I filled the space with the Merry Confetti Mix which is also new with this release. My sentiment is die-cut from the Happy Holidays Script in gold sparkle card stock and is adhered over the front of the shaker on top of the acetate.
I hope you enjoyed these projects and are excited about the next release! Thanks for joining me today!
These are gorgeous! Looks like a great release!
Beautiful!!!!!!!
Dear Caly
Both your cards are simply stunning but i like the card with the sentiment happy birthday. Simply love it. Blessings
Lovely creations :)
Wow – very pretty!!!
These are lovely. I can’t wait to see this release. I really like these dies.