Sneak Peek: Fall Scene + Pumpkin Patch Critters
Hi, Friends! This is Caly and I’m thrilled to be sharing two sneak peaks with you today using the new Pumpkin Patch Critters stamp and die set and the Fall Scene stamp set from the September 5th Release! Fall is one of my favorite times of the year – the weather is nice (albeit, for only a few short weeks), the kids are back in school, and everything in nature becomes so colorful!
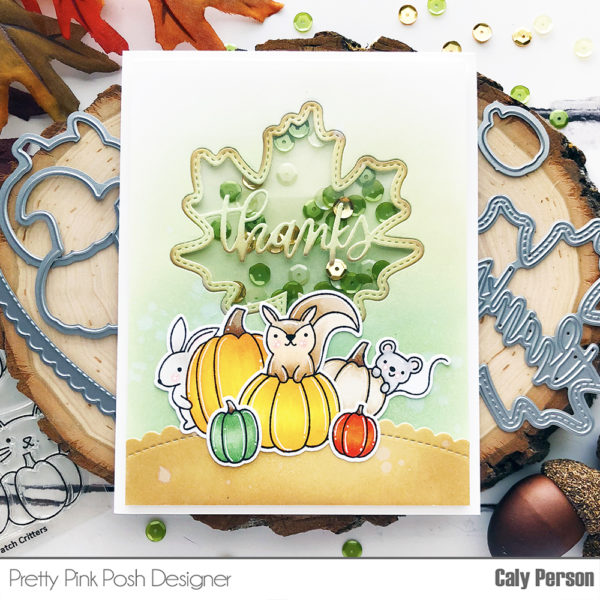
My first card features the Pumpkin Patch Critters set. I wanted to color all the pumpkins in this stamp set different colors – like what you would see at a real pumpkin patch. I actually really love non-orange pumpkins (especially white ones)! I first stamped the images using a Copic-friendly ink. I used Momento Tuxedo Black ink and my trusty MISTI tool to ensure the images are scripted before coloring.
The following Copic colors were used: T0, T2 (mouse); W00, W1 (bunny); G21, G2 (green pumpkin), R20 (blush for critters); Y13, Y15, Y17, YR14, R05 (orange/red pumpkins); E50, E42, E43, E55, E57 (pumpkin stems and squirrel). Once done coloring, I die cut my images and then add white gel accents to each image (quick tip: doing it before die-cutting risks the gel lines getting scratched or becoming dull).
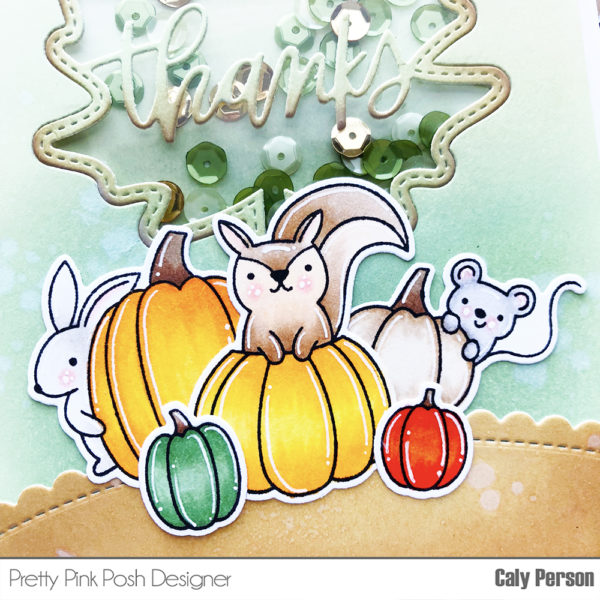
I set the images aside and began creating the card front. I ink blended a panel using Bundled Sage and Old Paper Distress Oxide inks and used the new Thanks Leaf Shaker die to cut out the maple leaf center. Then I used Gathered Twigs Distress Oxide ink to ink-blend a different panel for the ground and added some color to the Thanks Leaf Shaker die-cut piece. I used the Scallop Borders 1 die and cut a small hill using the Gathered Twigs panel I ink-blended for the critters and pumpkins to sit on.
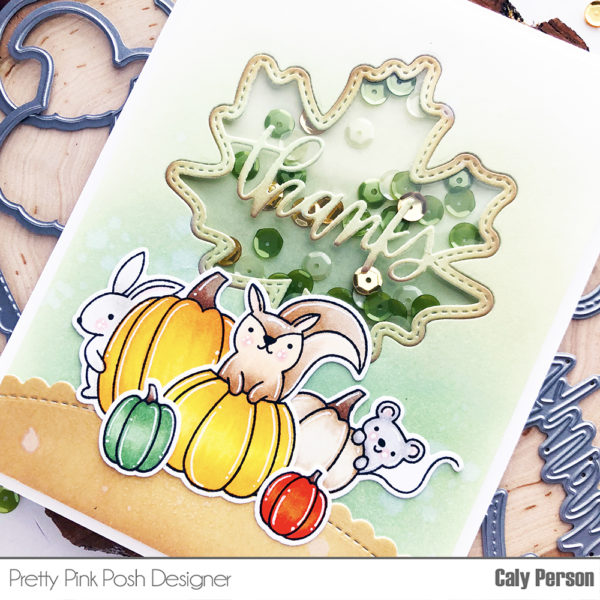
I splattered some water drops on the panel to remove some color and I added acetate to the window and in-laid the Thanks Leaf. I added 3M foam tape underneath this panel to create dimension for the sequins. I also ink-blended the exposed window on the card base with the same green Distress Oxide inks to give the card a more uniform look before adding the Whimsical Forest sequins mix and adhering the top panel to the card base.
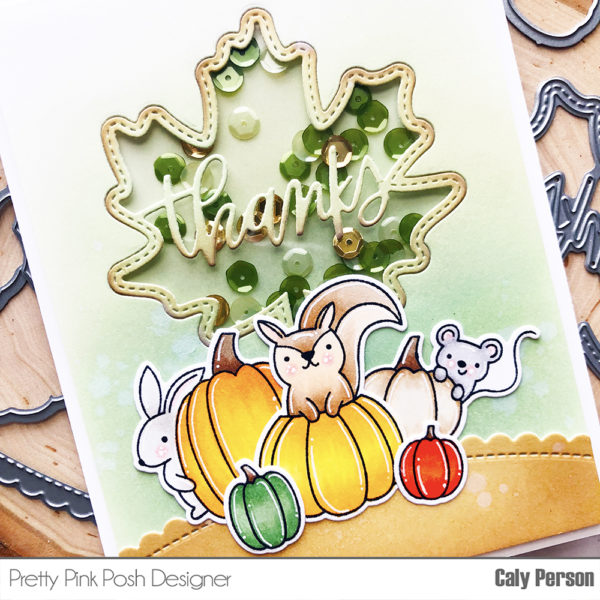
Once the shaker was constructed, I arranged my images and adhered them on the card front as desired.
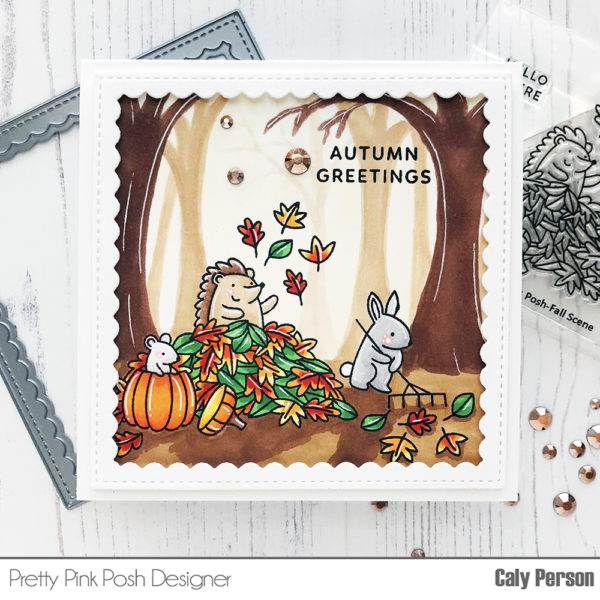
For my second card, I created a one-layer Copic scene. I stamped the image using Momento Tuxedo Black again and colored the images using Copics.
Colors used: Y13, Y17, YR15, YR09, R37, G14, G09 (Leaves); T0, T1 (Bunny), W00, W1 (Mouse); E41, E31, E55 (Hedgehog and Trees); YR30, E25 (Trees); R20 (Blush).
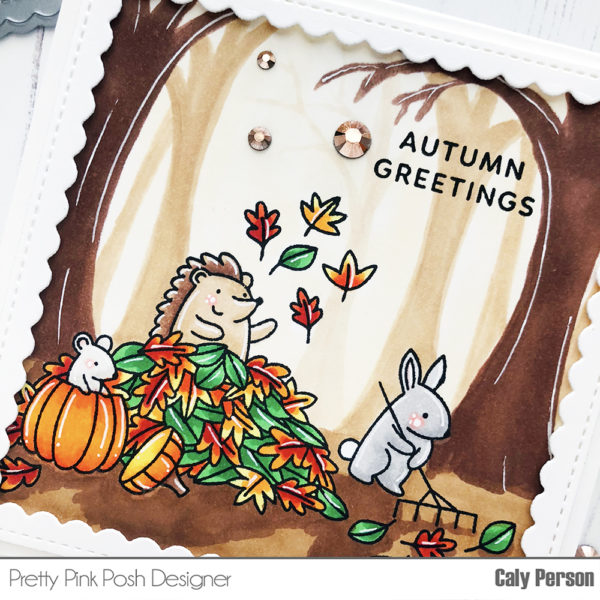
I don’t create full Copic scenes very often, but I was inspired to create one for this cute fall scene. I colored the trees in the front the largest and darkest and when back with lighter colors to give dimension to the scene. Once I was done, I went through and added white gel pen highlights over all the images.
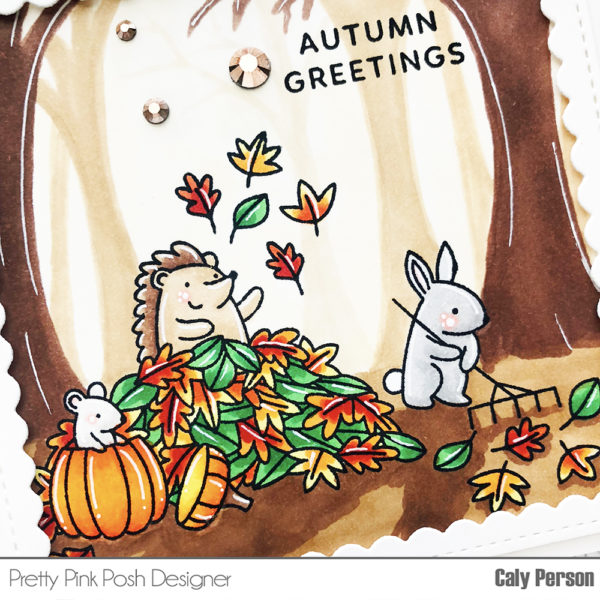
I framed in this colored panel using the Scallop Squares die-cut with white cardstock. The sentiment is from a new stamp set called Autumn Wreath – I love the simple block letters. I then completed the card using new Espresso Jewels. The new Pretty Pink Posh release is full of fun fall inspiration! I hope you enjoyed these projects and I hope it inspires you to create a fun fall scene! Thanks so much for joining me today! Have a fabulous day!

Wow, so cute! Love the shaker!
Beautiful cards showcasing the new sets. Gorgeous coloring and I love shakers! So fun! Looking forward to the release.
How delightful are these cards! I honestly don’t think I’ve ever seen a cuter mouse than the one on the Thanks card, and I just love the leaf/word die used in the card design!! The second card is full of color, critters and the beauty of fall! (Those trees look wonderful!) I’m looking forward to the new PPP release!
Love this fall scene with all the leaves that have fallen! What stamp set did you use to create this?