Pretty Paisley

| | |

Creating Felt Flowers + PDF Download
Pretty Pink Posh: Creating Felt Flowers

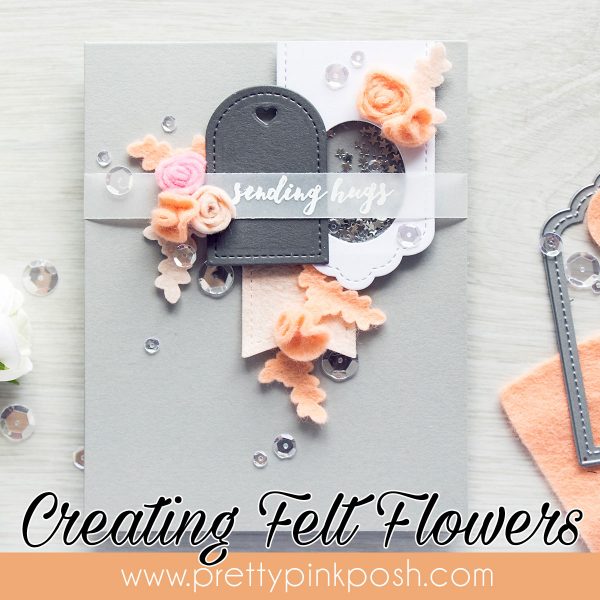
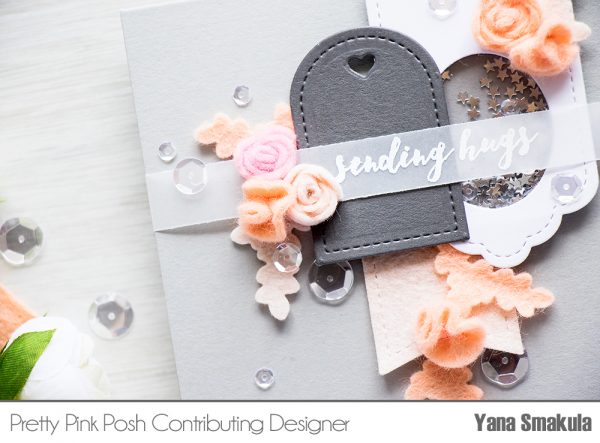
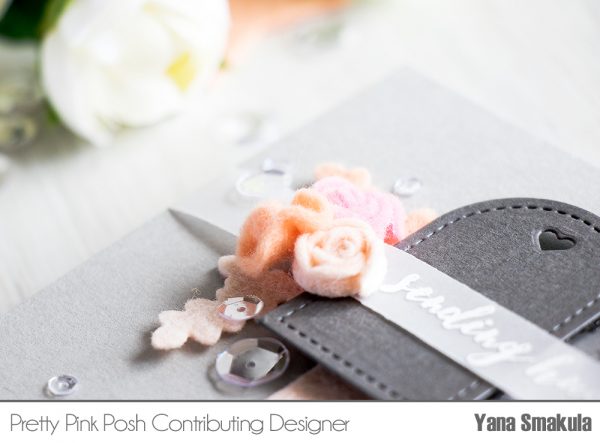
Hello, Pretty Pink Posh fans! This is Yana and today I am stretching my dies and using them to make flowers for an elegant Sending Hugs card.

Pretty Pink Posh: Creating Felt Flowers

Dies are such versatile tools and you can do so much using them. In one of my previous blog posts I shared a card where I used one of Pretty Pink Posh dies to die cut canvas, today I’m going to die cut felt and manipulate the die shapes slightly to create florals.
Pretty Pink Posh: Creating Felt Flowers

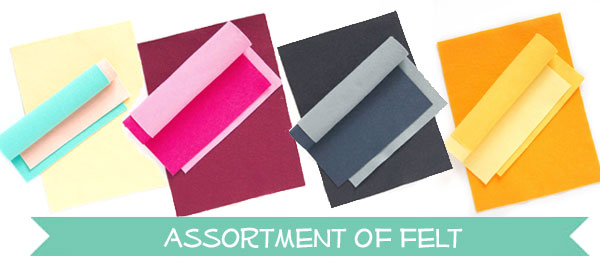
Before we get start I’d like to point out that you can use your thin dies to die cut felt, but not all brands felt will cut equally nicely. I suggest staying away from the cheapest felt and going with something a bit more expensive if you’d like to get a nice clean cut with your dies. I have a few different brands of felt and some die cut okay, some die cut beautifully, others don’t cut at all. My favorites so far are Simon Says Stamp and WPlus9.
Pretty Pink Posh: Creating Felt Flowers

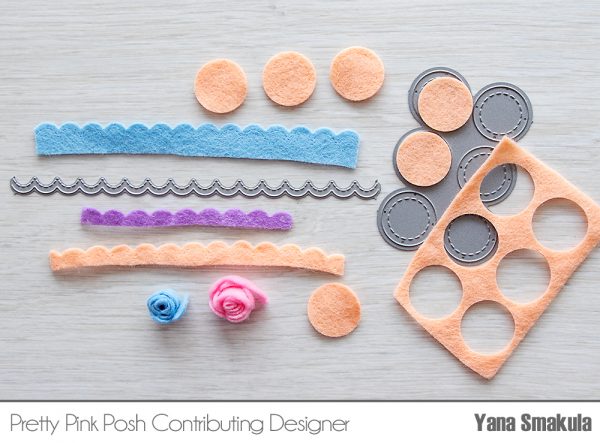
So grab your felt and Pretty Pink Posh dies and start die cutting! I’m using a scalloped border die from the Stitched Borders 1 set and also an inner circle die from the Stitched Duo 2 set.
Pretty Pink Posh: Creating Felt Flowers

The scalloped border die gives you a nice border which you’ll need to trim with your scissors. I like to trim mine pretty close to the scallops, this way when I roll my flowers they end up being not too dimensional (not too tall). You can also use border die from the Stitched Borders 2 set, Stitched Borders 3 and Stitched Borders 4. If you have all of these sets you can even mix and match your die cuts and have flowers with different size petals. To create the flower simply roll the scalloped strip and secure the end with glue. I used Glossy Accents, however a hot glue gun would probably be a better option.
Pretty Pink Posh: Creating Felt Flowers

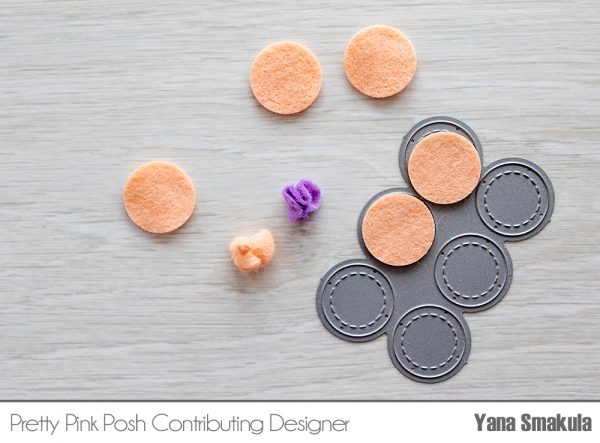
You can also create flowers out of circles. Here I’ve die cut a few using the inner die from the Stitched Duo 2 set and used white thread to pinch the middle of the circle to create tiny blooms. If you’d like to have bigger flowers, use a circle die from the Stitched Essentials 1 set or even from the Stitched Banners Duo 2.
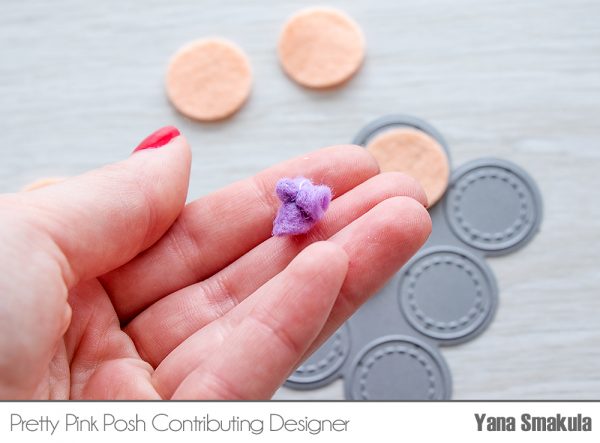
Pretty Pink Posh: Creating Felt Flowers

No flowers look complete without a few leaves, so I used a branch from the Holiday Pals die set to die a few leaves for my floral clusters.
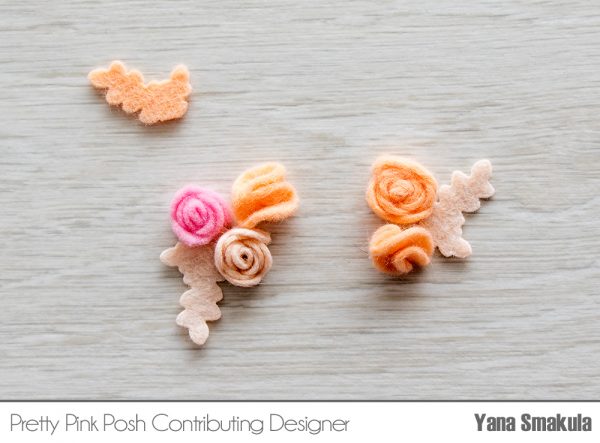
Pretty Pink Posh: Creating Felt Flowers

To put this card together I also created a mini see-through shaker by using a die from the Stitched Essentials 1 set along with tiny silver confetti stars and smallest clear sequins from my Sparkling Clear Sequin Mix. I die cut one more tag out of dark gray cardstock by using a die from the Mini Tag die set. The sentiment, Sending Hugs, was heat embossed in white embossing powder onto vellum and the vellum strip was wrapped around the card.
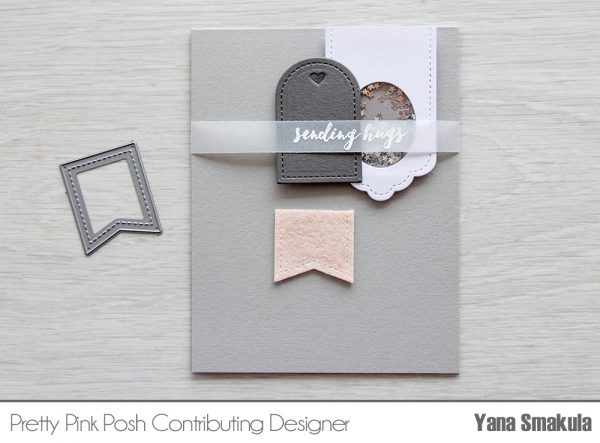
Pretty Pink Posh: Creating Felt Flowers

I also added one tiny banner die cut out of felt to continue the overall felt theme and embellished my card with a number of clear sequins.
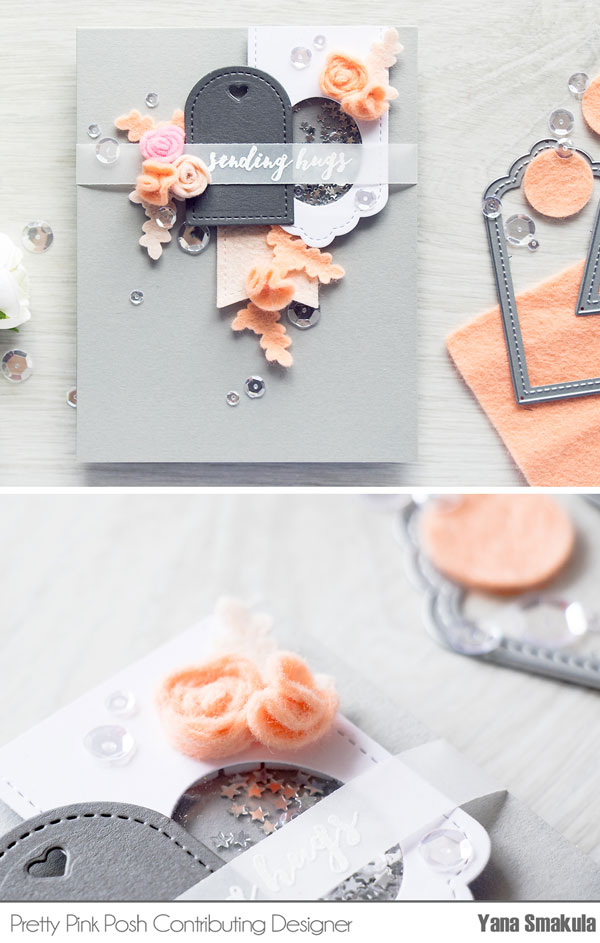
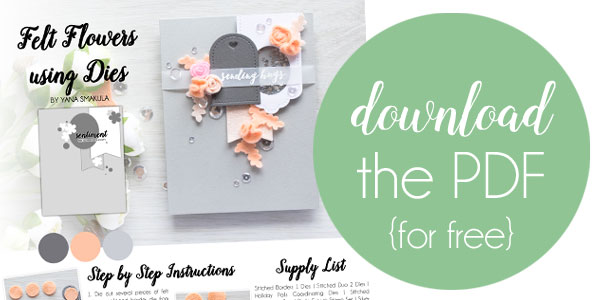
Pretty Pink Posh: Creating Felt Flowers + PDF Download

Pretty Pink Posh: Creating Felt Flowersborder

Pretty Pink Posh: Creating Felt FlowersPretty Pink Posh: Creating Felt FlowersPretty Pink Posh: Creating Felt FlowersPretty Pink Posh: Creating Felt Flowers

Have fun cardmaking!

Bright Paisley Birds

Have you ever found yourself using a stamp or set in a unconventional way? Today I’ll be sharing a card that fits this description.

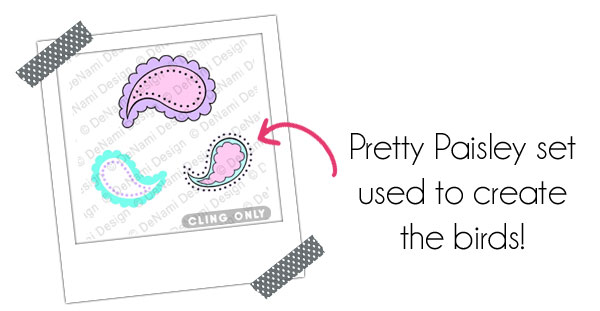
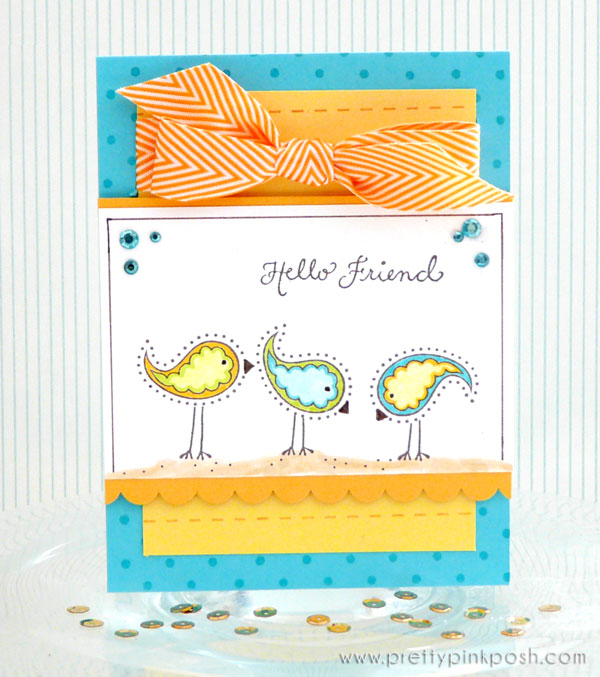
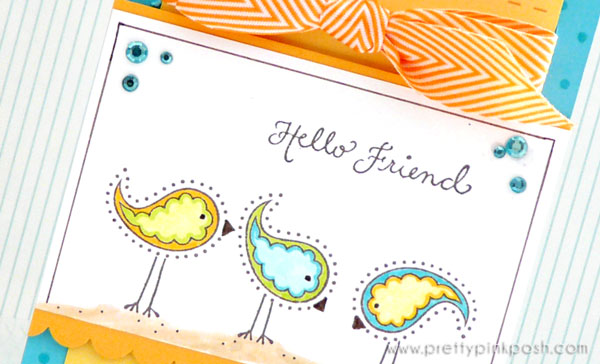
My bestie is one of the most creative people and I know. She’s gifted in all the areas I’m not- cooking, sewing, babysitting, piano playing…. on top of that, she’s also good at everything craft related. Now she doesn’t stamp (except when she visits me), but she always has great ideas of what I should try out with my stamps. When I showed her this paisley set, she said I should try creating birds with them. What in the world?! Would this even be possible? Much to my delight, it WAS possible and the results are darling.paisley

prettypinkposh_paisley2a

It may be a little obvious that I had this card in the archives. The colors are ones I typically use in the summer and one of the rhinestones shifted (I’m guessing because it was under a stack of other cards that have yet to see the blog). I wasn’t kidding when I said I need an assistant…

prettypinkposh_paisley2b

In closing, I have to share another shop update. I’m bursting with excitement…..and no, it’s not just from all coffee I’ve drank today. The labels that go with the items in my shop finally arrived and today I’ll be receiving the rest of my items. Needless to say, I will be a busy bee this weekend getting things ready, shipping items out to some upcoming special guests and hopefully getting some samples made. I’ll be posting a picture on Facebook, Instagram and Twitter later today with a sneak peek of what will be in the shop!

Thank you to everyone who has shared in my excitement thus far and already promised to purchase from me (even though I haven’t officially confirmed what I’m selling). I feel so blessed and I’m hopeful this little shop will do well so I can bring even more exciting things in the future! :)

Pretty Paisley + Holiday Weekend

For my readers that are fans of DeNami Design, you know that we are in the process of sneak peeks right now. In fact, there’s only a couple more days until the new release goes live {hello July 10th}! Normally I provide videos to coordinate with the sneak peeks and card samples of the stamps, but as you may have noticed, that didn’t happen this time around. Between health issues and a crazy schedule, I just couldn’t make it work this time around.

Not to fret, the DeNami DT has created AMAZING samples and I was able to create a few myself. If you haven’t already, be sure to head on over to the DeNami blog to see what the design team has created and to enter for a chance to win one of the SIX gift certificates we are giving away!

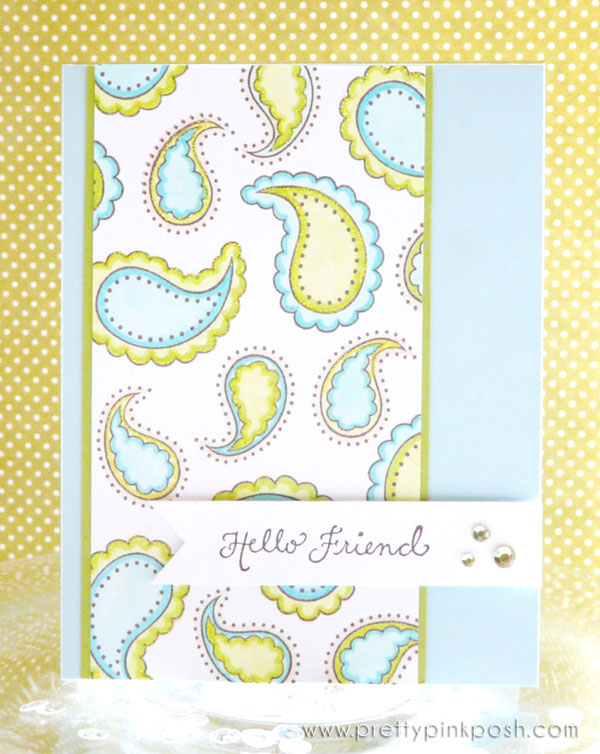
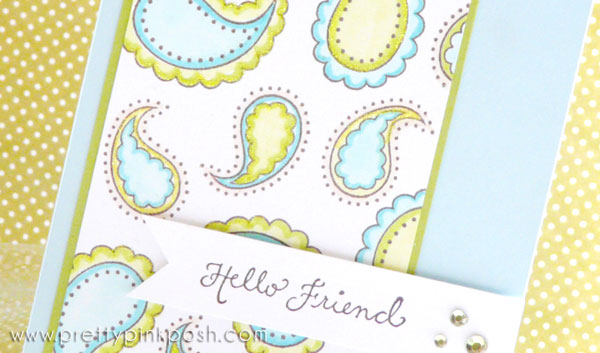
Today’s card is a little peek into one of the new sets- Pretty Paisley, which is a cling set with three individual images. I always love the aqua and green color combination and I must say, it looks fabulous with these paisley stamps.

prettypinkposh_paisley1a

These paisley stamps are so easy to use and I love how you can customize them to be whichever colors you like. I plan on trying out lots more colors in the future, so stay tuned!

prettypinkposh_paisley1b

As some of you may have seen on my Twitter or Facebook pages, this weekend didn’t go how I planned at all. On Friday morning, I passed out under a less than ideal situation and it put quite a wrench into my plans. These last few days I’ve been nursing a concussion and my bed has been my best friend. It’s the moments when I’m secluded to my bed that I realize I really need to spend some time dressing up my room. Pinterest, since you and I are buds and I can spend time with you in bed {hello handy dandy iPhone app!}, I’ll be pinning up some ideas stat.

room

For those of you who have emailed me, I’ll be responding as soon as I can. The moments of not feeling dizzy and nauseous come and go, so I’m trying to make the most of them. To all of you who have uploaded to the 10 Minute Craft Dash #21 thus far, thank you! The entries that have come in are amazing and I’m thrilled they are coming in so quickly! Crossing my fingers I can find time to visit each of your blogs! :)