Tutorial: Fuse Tool + Giveaway

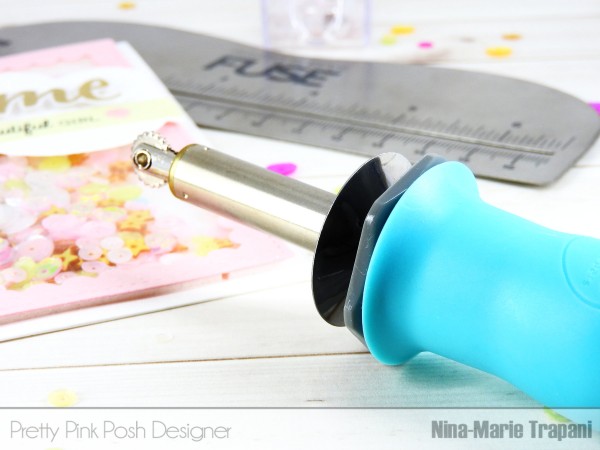
Hi everyone, it’s Nina-Marie here with you today! I’m going to share some inspiration and tips for using the We R Memory Keepers Fuse Tool with your Pretty Pink Posh products to create an easy and fun shaker card!
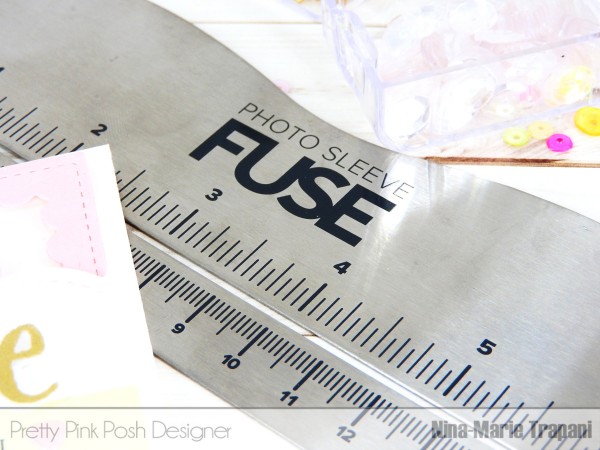
I love making shaker cards and prior to the Fuse Tool, most of us were making our shakers using LOTS of foam tape. While that works well, I have found that the Fuse Tool makes shaker cards not only easier to create but there are other benefits as well…
- The sequins and other shaker elements do not get stuck to the sides of your shaker because there is no foam tape for them to stick to
- There is less bulk because we do not need to create a dimensional well to allow the shaker bits to move around.
- Purchasing inexpensive photo sleeves to use for your shakers is more cost effective then using a lot of foam tape.
These are just some of the benefits I have found so far with the Fuse Tool; honestly, I’m questioning myself as to why I hadn’t gotten this tool when it first came out!
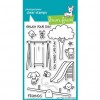
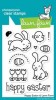
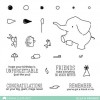
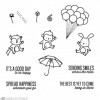
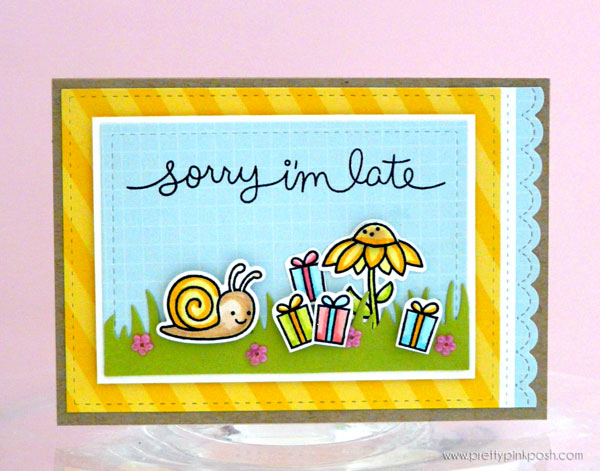
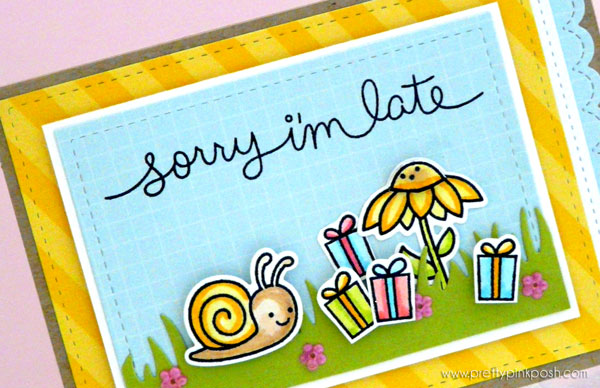
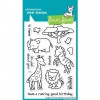
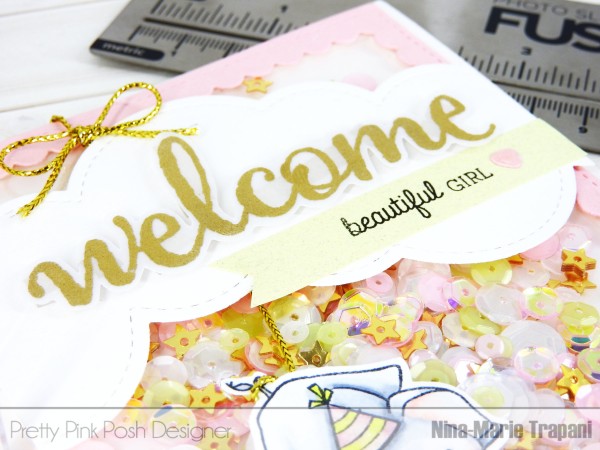
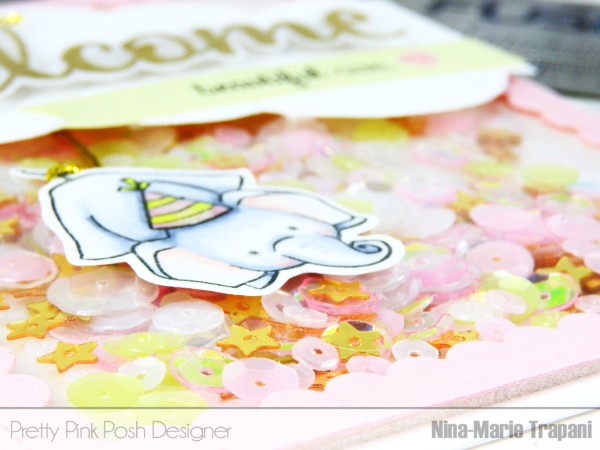
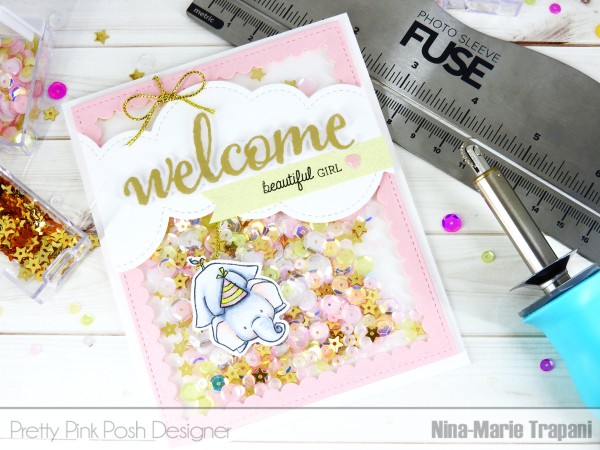
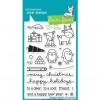
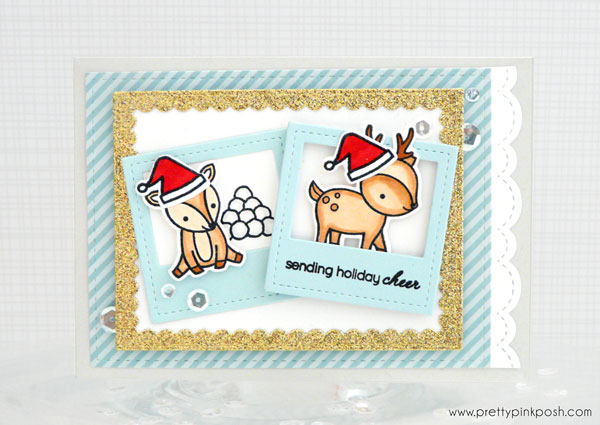
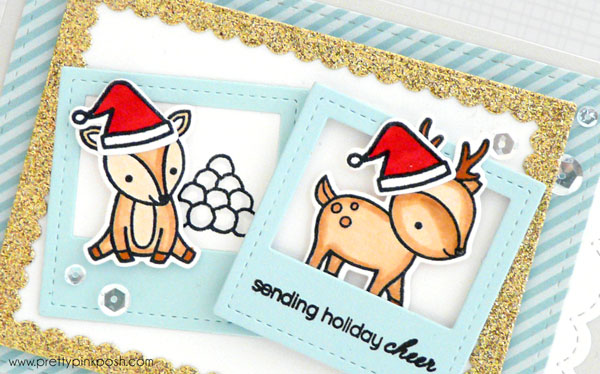
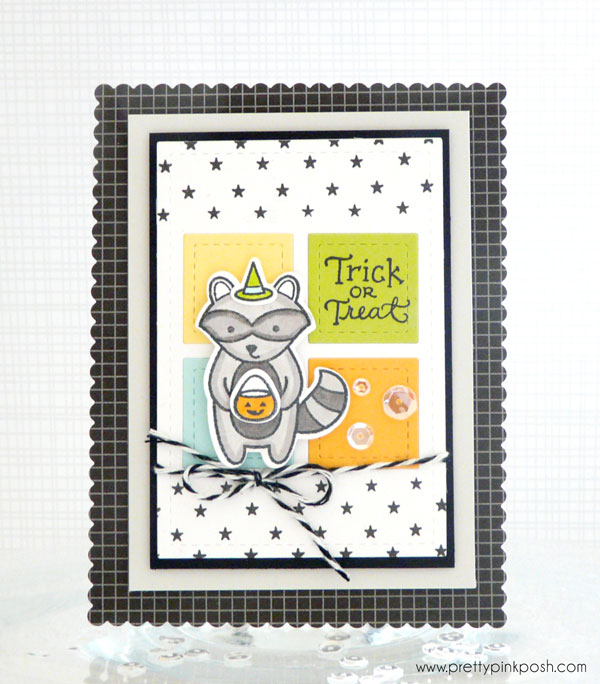
For this card I’ve created, I used a few different stamp and die sets; all the products are listed at the bottom of the post. I felt that the darling little elephant from WPlus9’s Unforgettable stamp set would be a perfect for a “welcome baby” card.
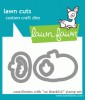
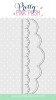
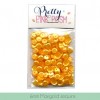
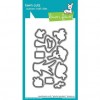
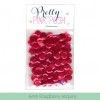
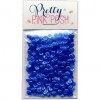
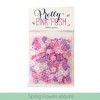
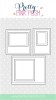
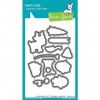
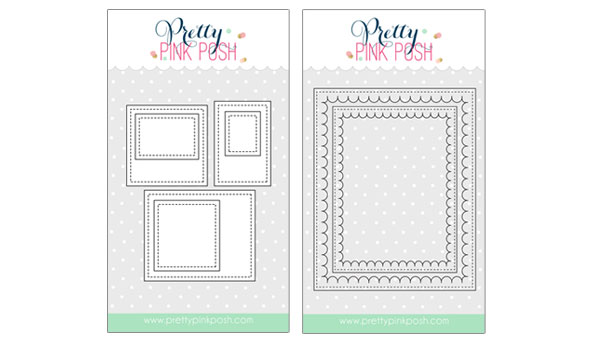
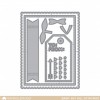
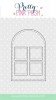
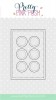
For the main piece, I started out with the Scallop Frames die and had that be the inspiration I based my whole card around. For the shaker part, I filled it with the Sweet Pea Mix, Gold Stars, 8mm Sparkling Clear and 10mm Sparkling Clear.
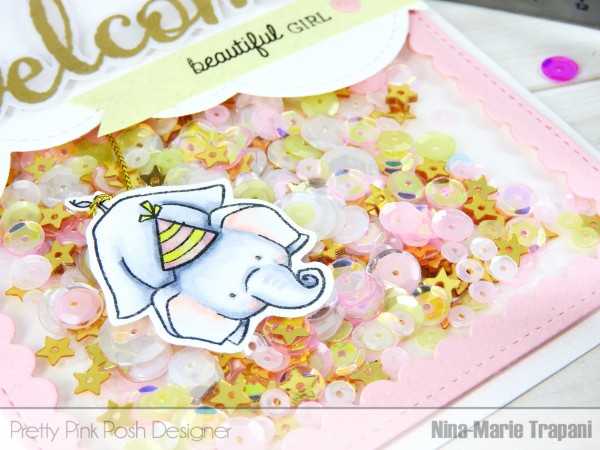
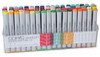
I colored the elephant with Copics and use him to create an extra interactive element on this card… watch the video to find out! I’ll also be talking more in-depth about the Fuse Tool in the video. I hope you enjoy and get some inspiration for using the Fuse Tool in your upcoming projects!
Thanks for stopping by and watching today’s tutorial… please give the video a “thumbs up” and subscribe to our channel for more inspiration, techniques and more!


- Photo Sleeves: Amazon
- Fuse Tool: Amazon // Ellen Hutson // Simon Says Stamp
- Mini MISTI: Ellen Hutson // Simon Says Stamp
- WPlus9 set: Ellen Hutson // Simon Says Stamp
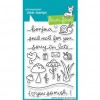
- Winnie & Walter set: Simon Says Stamp
- Lawn Fawn Puffy Clouds: Amazon // Ellen Hutson // Simon Says Stamp
![]()
We also wanted to have a giveaway in this post for the Fuse tool, along with a $50 Pretty Pink Posh gift certificate (so you can fill those shakers up)! Enter the giveaway below…
If you have any questions about this post, feel free to leave it in the comments! Thanks so much for stopping by and spending some time with me; I’ll see you again soon!
xoxo, Nina-Marie
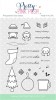


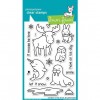
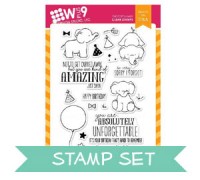
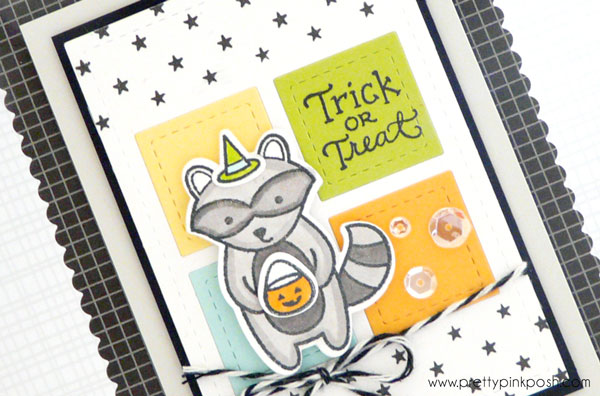 I purchased an extra set of the Holiday Party Animal and want to give it away to one of you, along with a pack of sequins! With these products, you’ll be set to create all sorts of fun holiday cards.