Pretty Pink Posh Birthday Celebration- Day 3
If you missed Day 1 CLICK HERE // If you missed Day 2 CLICK HERE
Hello and welcome to the last day of the birthday celebration!
Before I start with today’s post, I just have to say a truly heartfelt thank you to every single person who has ordered during this release, left comments on the blog hop/ social media and been supportive during the last four years of Pretty Pink Posh. As many of you know, I’m a one woman business, so I’m working as quickly as I can to get all of your orders sent off. Please be patient as the order volume is far greater than it usually is so I’m struggling to keep up but I’ll be working through the weekend to try to get caught up! ![]()
This is Yana and today I am sharing video tutorial showing how to color petunias from the Pretty Petunias stamp set for a no-line look!
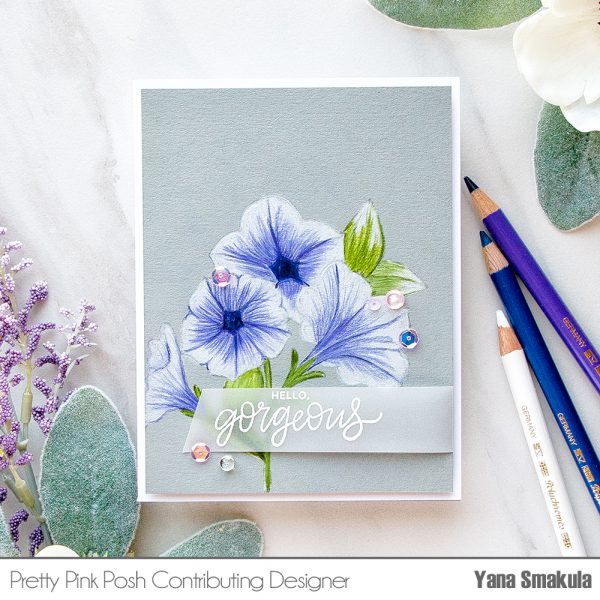
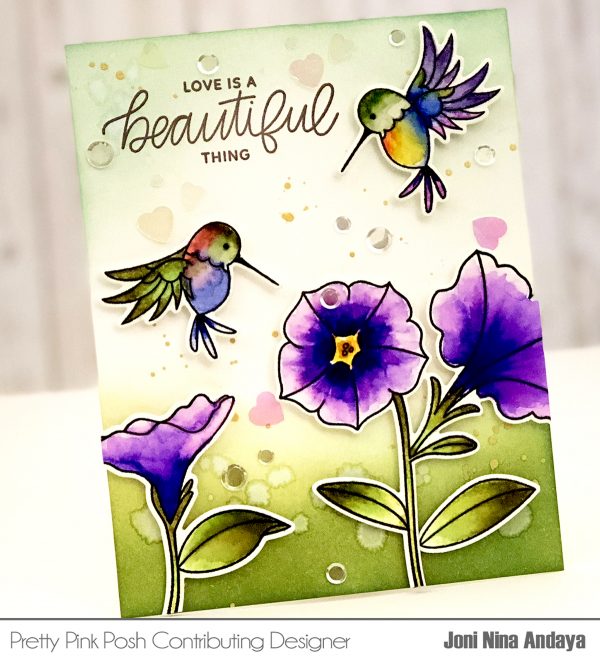
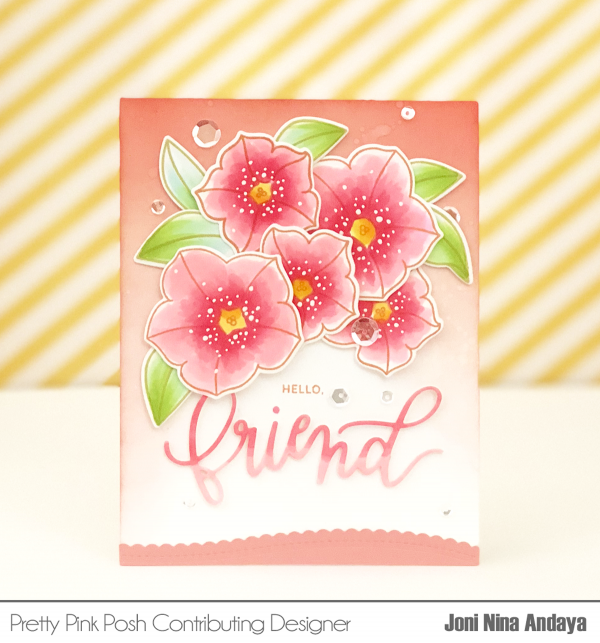
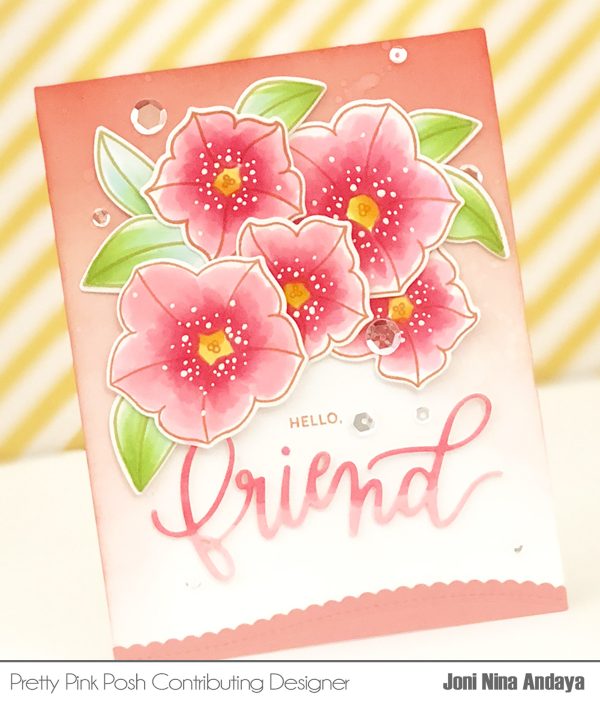
Since violet is the color of this year and because I happen to love this color quite a bit I decided to color my petunias violet. I started working on my card by stamping images I wanted to use in watermark ink onto light gray cardstock panel. I knew I wanted to use the large flower duo and also add additional flowers and leaves to make this cluster a bit fuller. I am very lazy when it comes to masking, I was planning to use masking for today’s stamping, but later ended up not making them and I simply stamped my images in watermark ink overlapping previously stamped layers.
Watch my video tutorial below to learn how I made this card.
Watch the video above I Watch the video in HD on YouTube
I picked embossing watermark ink, but any pale ink color will do for this technique – just make sure to pick the color of ink you’ll be able to color over with the pencils you plan to use – and you can always test this on the back side of your paper. Use it as your palette, I always do so.
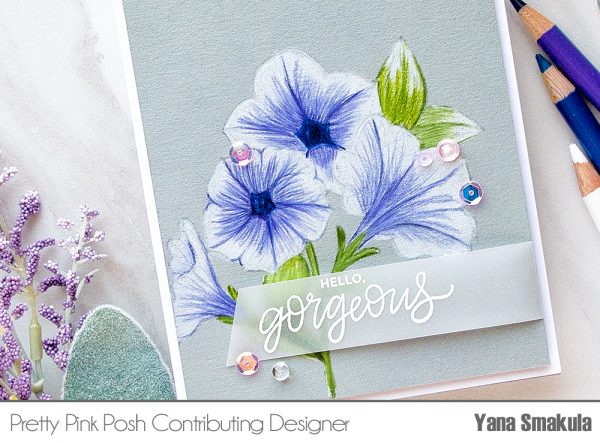 As I was stamping I made notes in my head which flowers and leaves were going to be in the front and which would be in the back. If you struggle with this – you can either mask your images so that you don’t have confusing stamped lines on your panel or test stamp your cluster onto a piece of scrap paper and label everything – then when you go to color your image you can use that as a cheat sheet.
The pretty Petunias stamp set from Pretty Pink Posh has very little detail to it and this is a good thing, because as you color, regardless of what coloring method you chose, you can add those details in yourself.
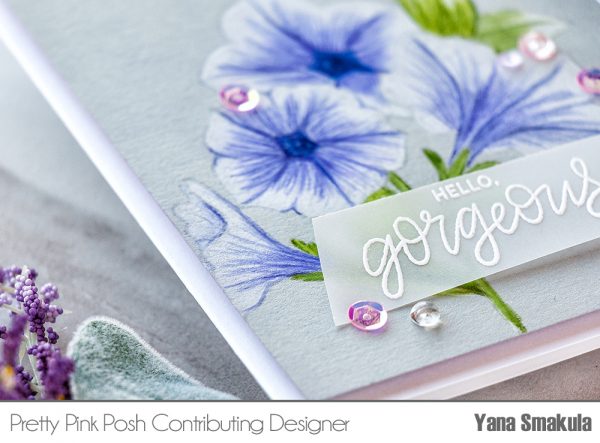
I used Polychromos colored pencils to color this images and I went with just a handful of pencils. I sharpened my pencils prior to starting an first used the blue violet color and outlined the base of the petal, added vines and slight details on the tip of the petal.
It is very helpful to look up the image you are coloring online. I simply go to Pinterest and type in Petunias. I look at photos, sometimes I search for illustrations, I can also add the name of the coloring medium I plan to use to look up examples. For instance petunias watercolor, or petunias pencils – it is very helpful to see how others have colored it – this will give you color combo ideas, detail ideas.
I added my pencil strokes going in one direction – I followed the imaginary vines of the petal. I don’t color in circles or horizontal and vertical lines. To blend out the violet color and color the rest of the petal I used a white pencil. I went over the violet coloring and extended it further into the petal. Next, I came in with the violet pencil again and added more details to the particular element.
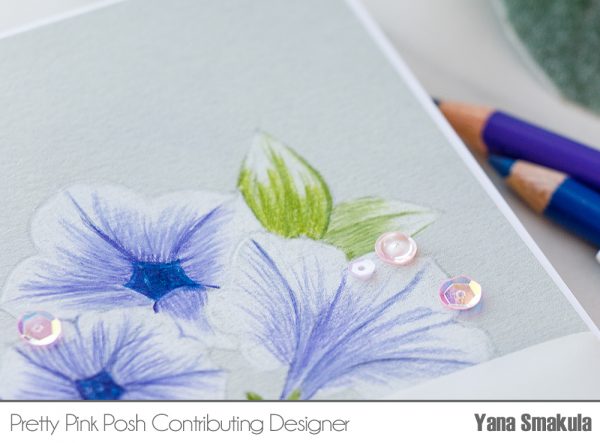
I don’t use any blending solutions when I color, I only blend the using my pencils and as I get to the end of the blending I use a very heavy hand.
Once my coloring was complete I trimmed my panel to 4 x 5 1/4″. To create a sentiment I white heat embossed Hello Gorgeous from the Love Sentiment stamp set onto vellum. I trimmed it into a skinny strip, wrapped one end around the panel and cut the other end at and angle. I foam mounted the panel onto an A2 card base and added sequins from the Spring Blooms Mix to embellish this card.
No party would be complete without guests, gifts and a party favor, right? During the celebration, save 10% off your order using the coupon code provided below.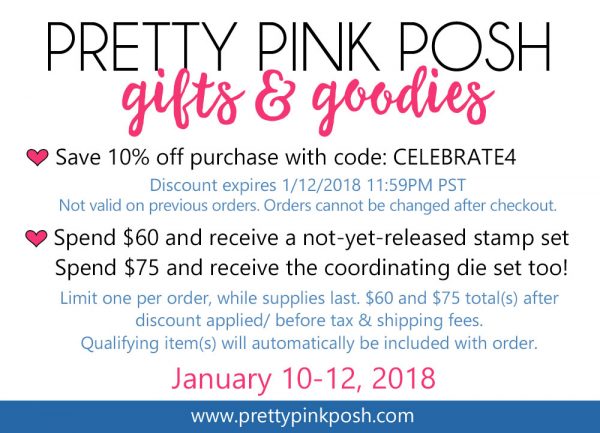
We have lots of amazing designers in today’s blog hop sharing new inspiration. Be sure to leave them lots of love- I’ll be giving away prizes to some comments left on their blogs!

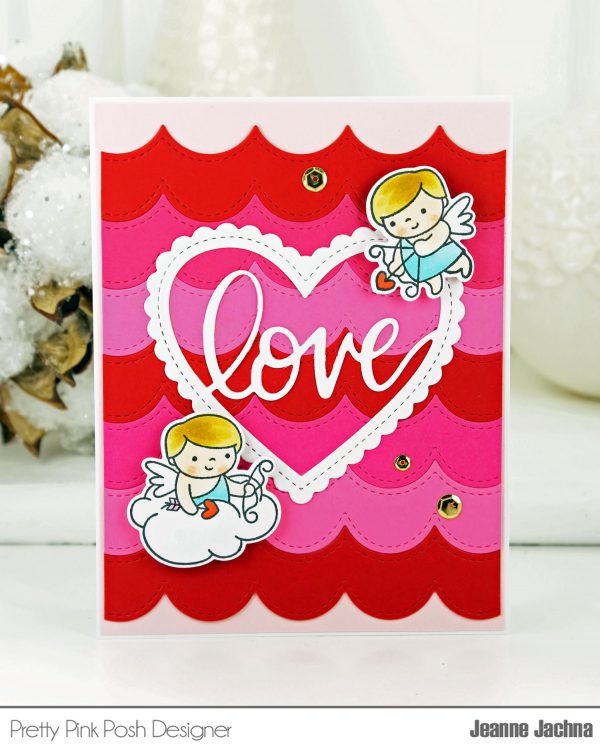
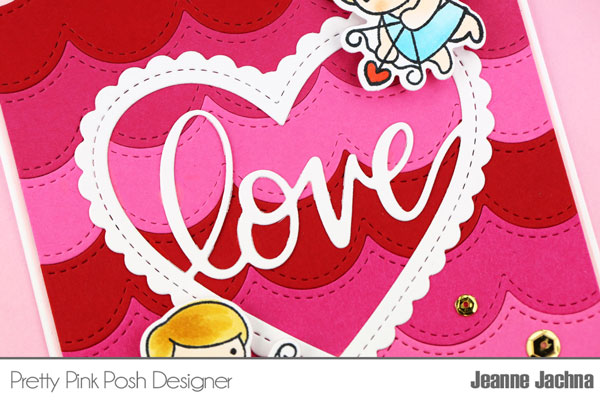
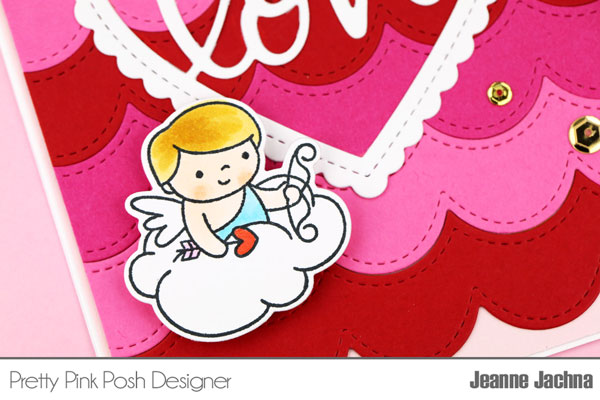
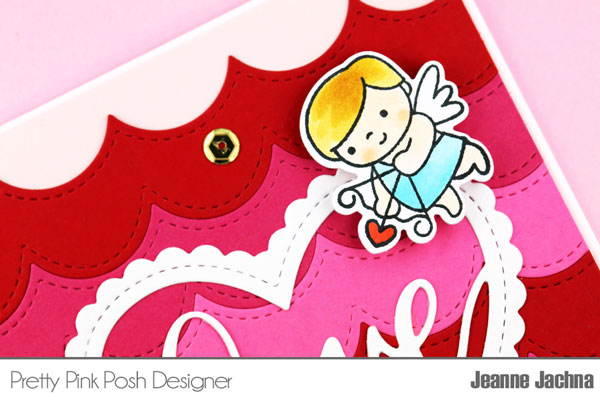

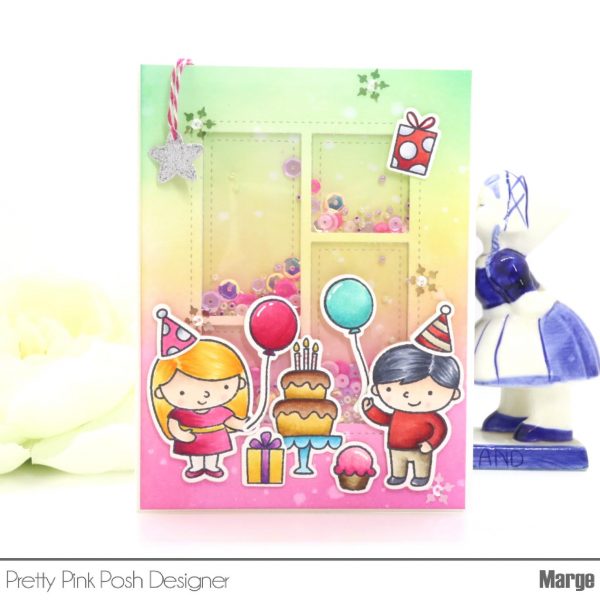
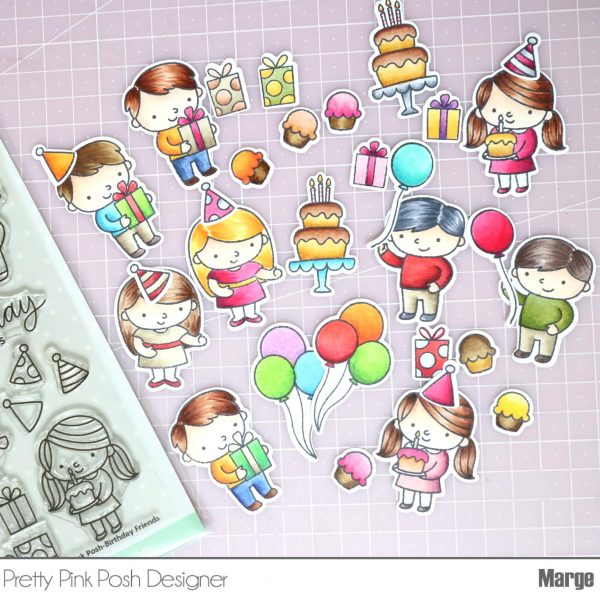
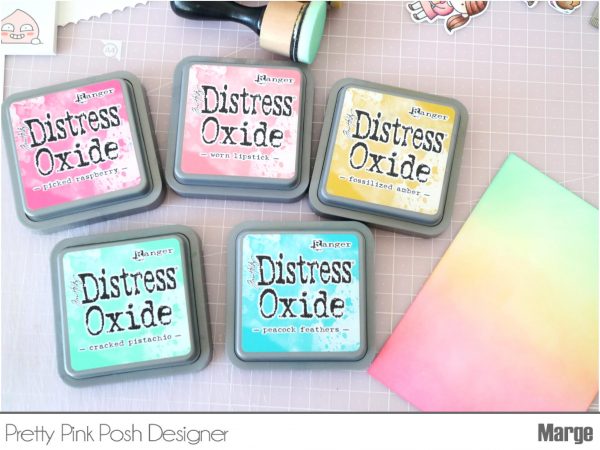
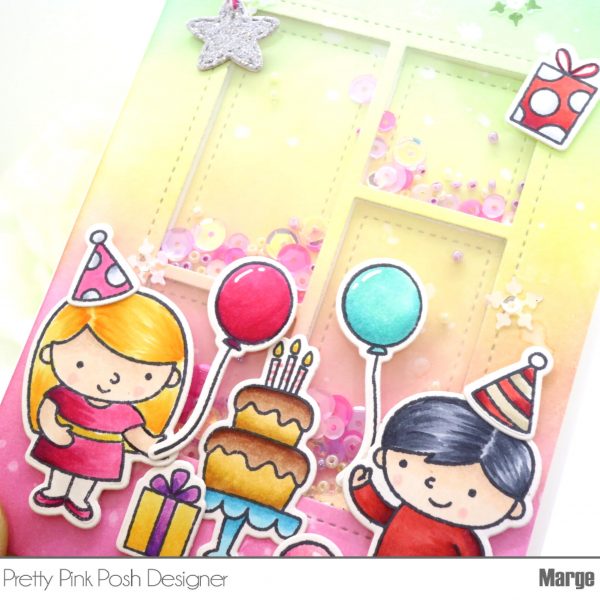
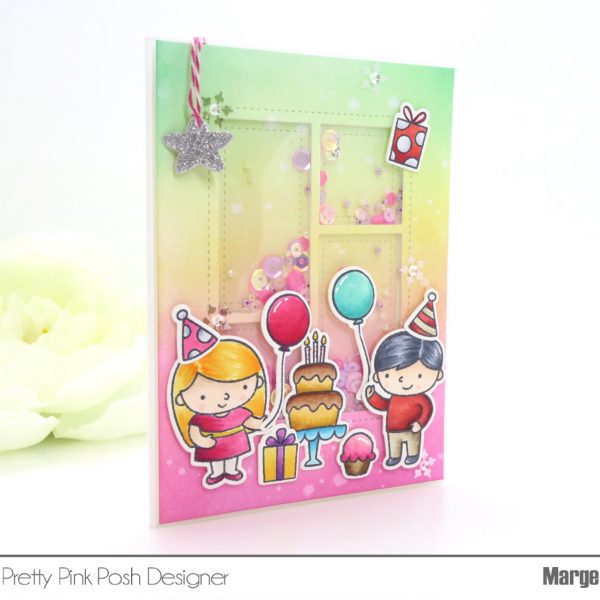
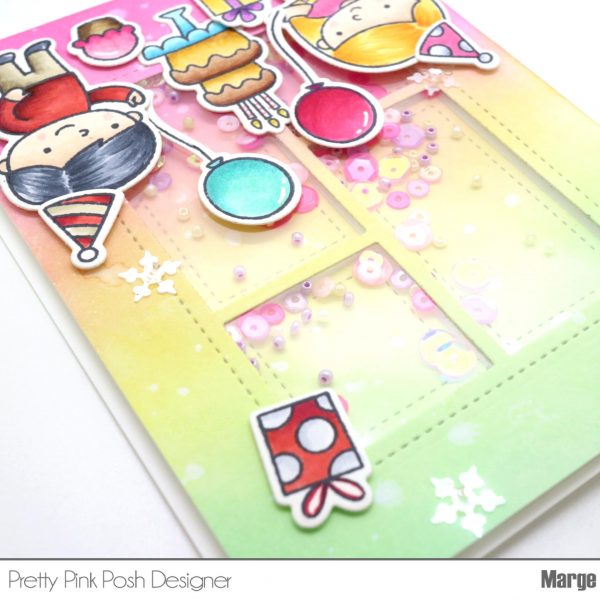
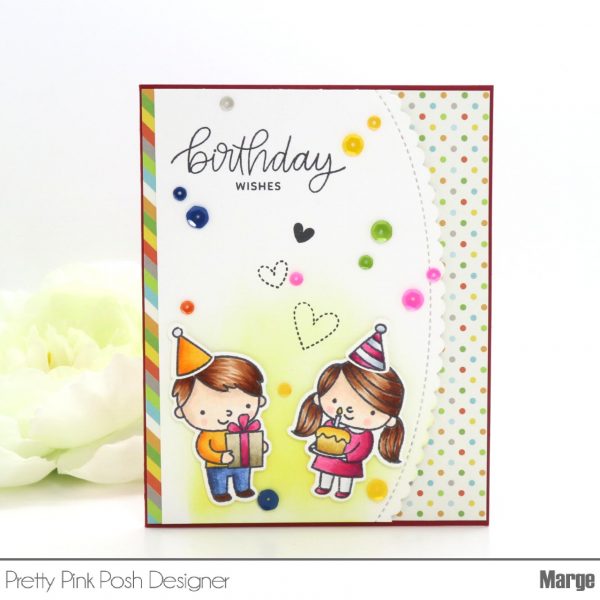
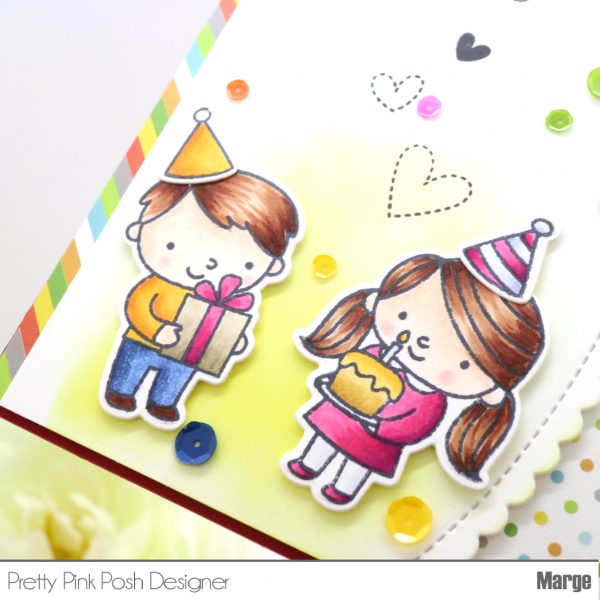
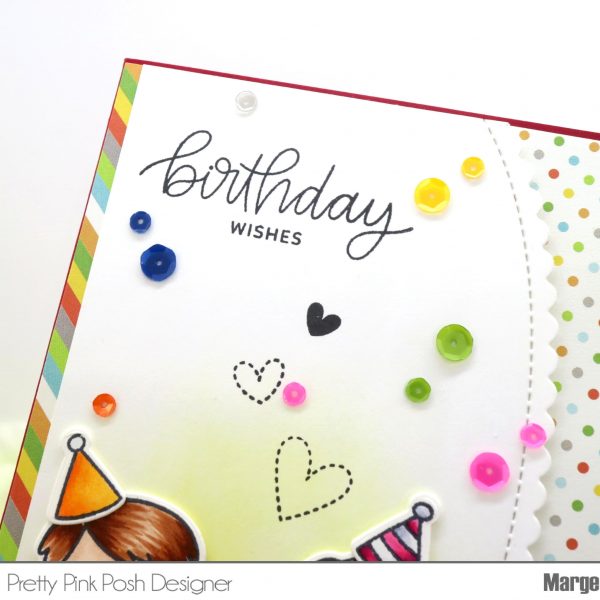
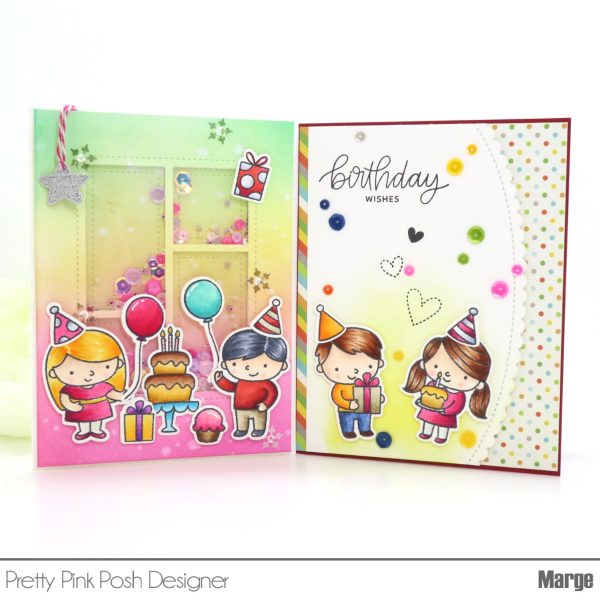

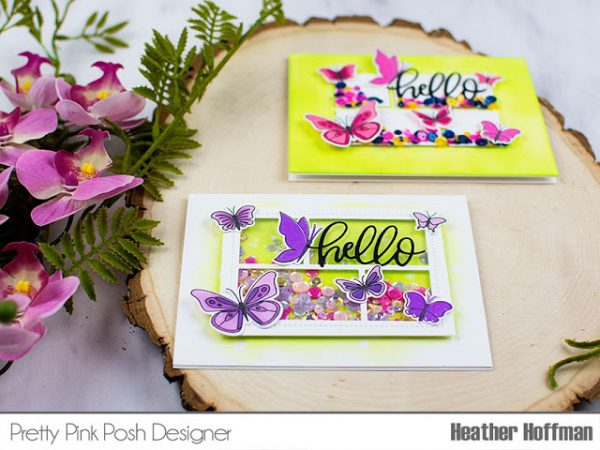
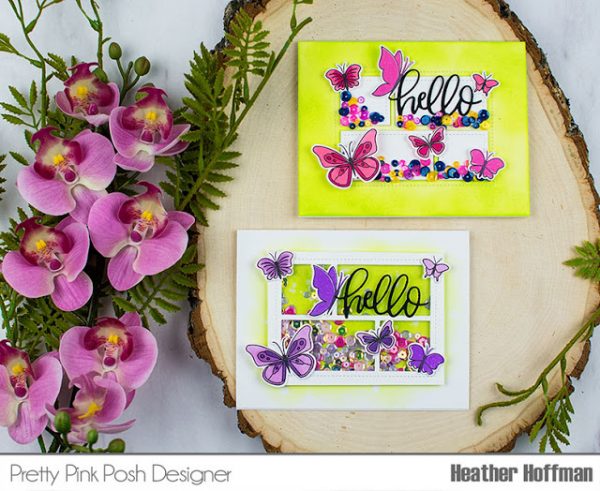
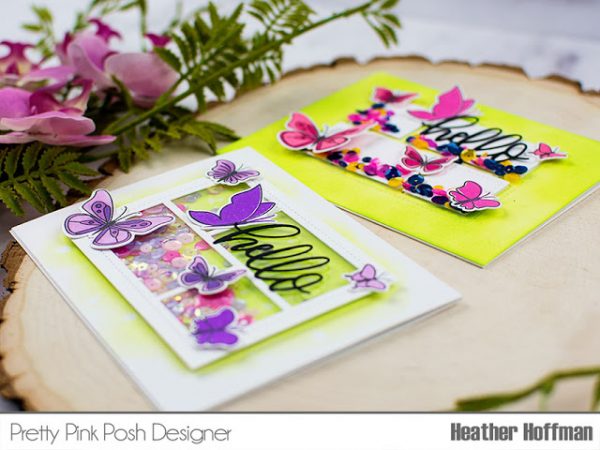
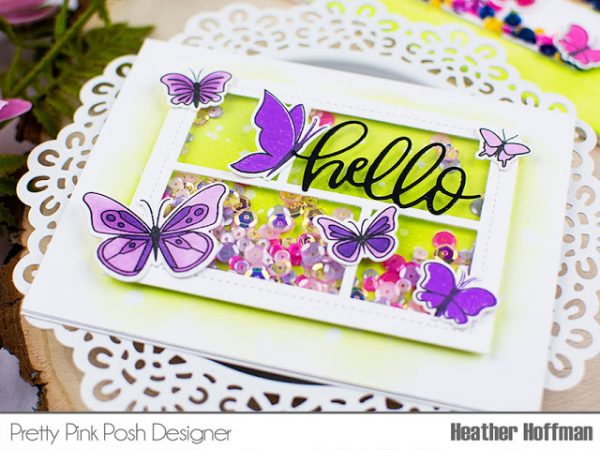
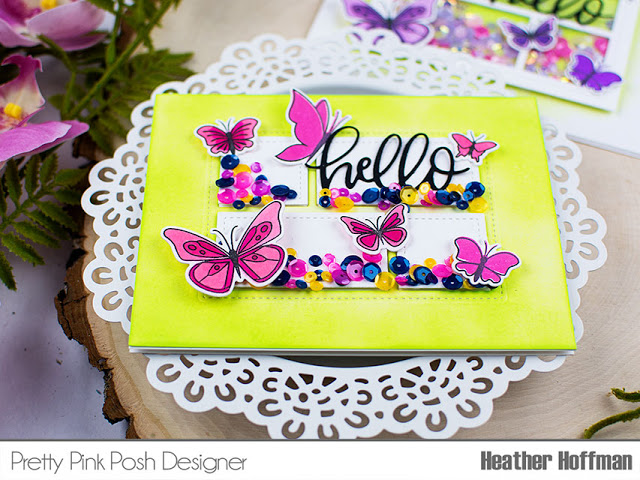
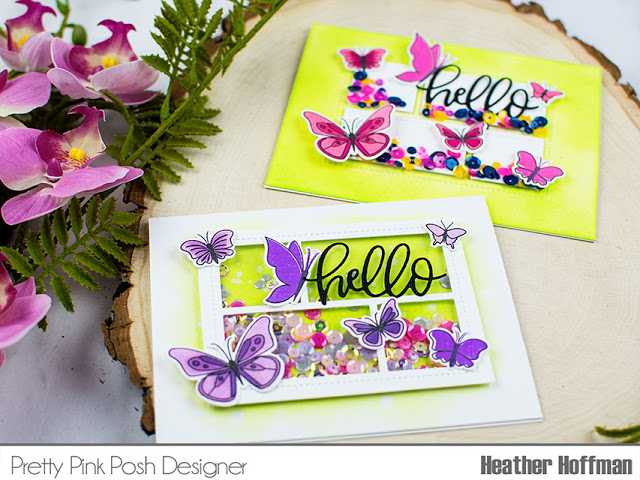
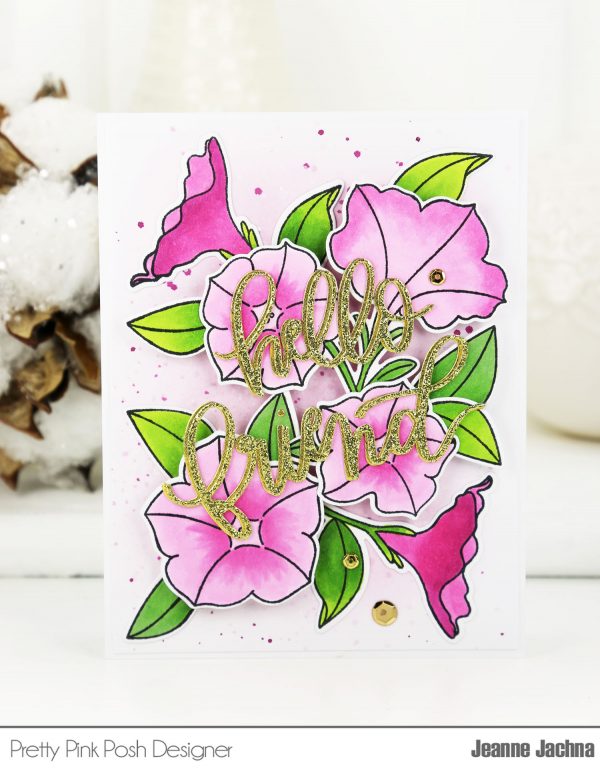
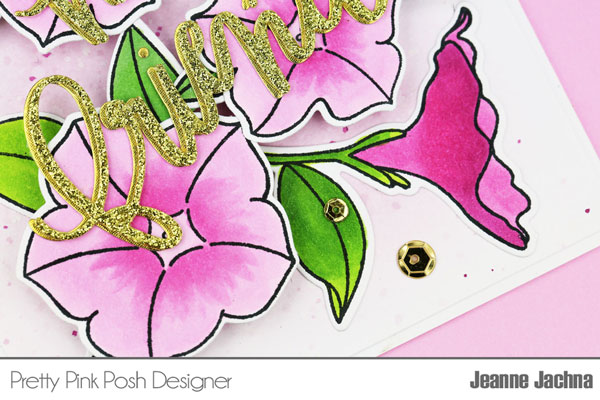
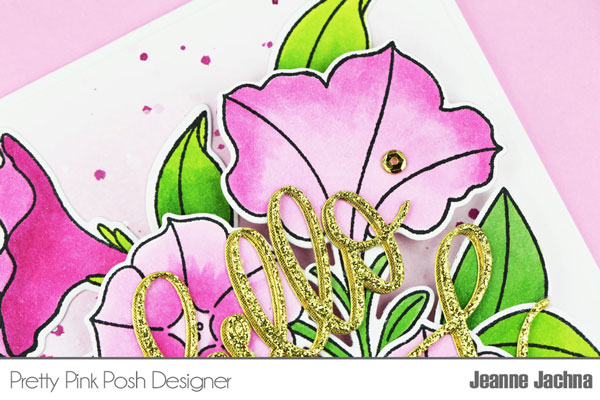
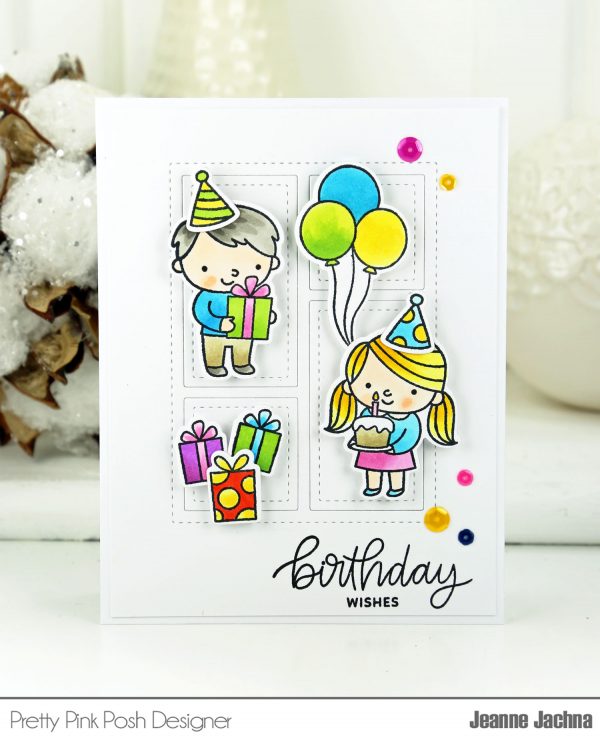
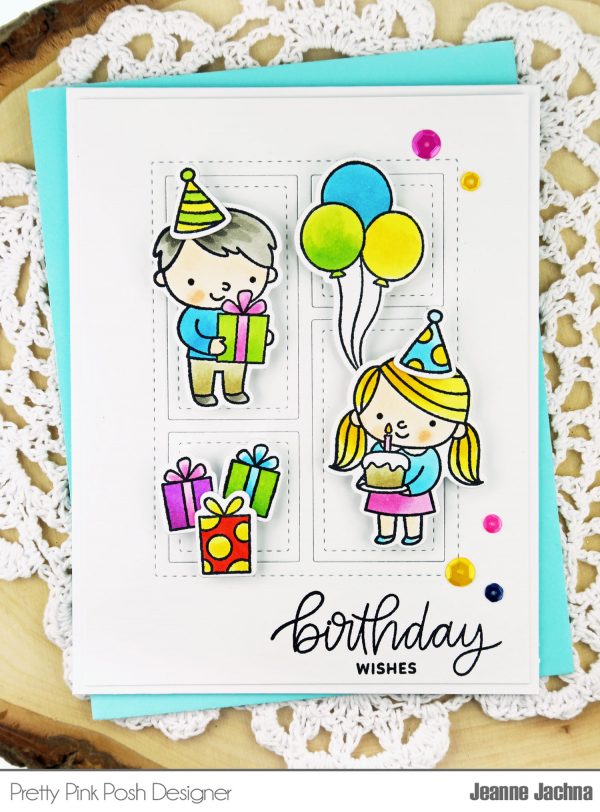
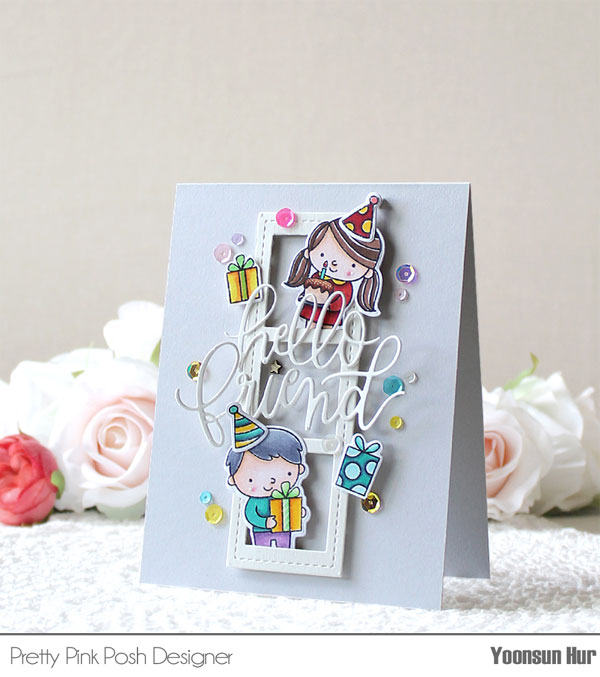
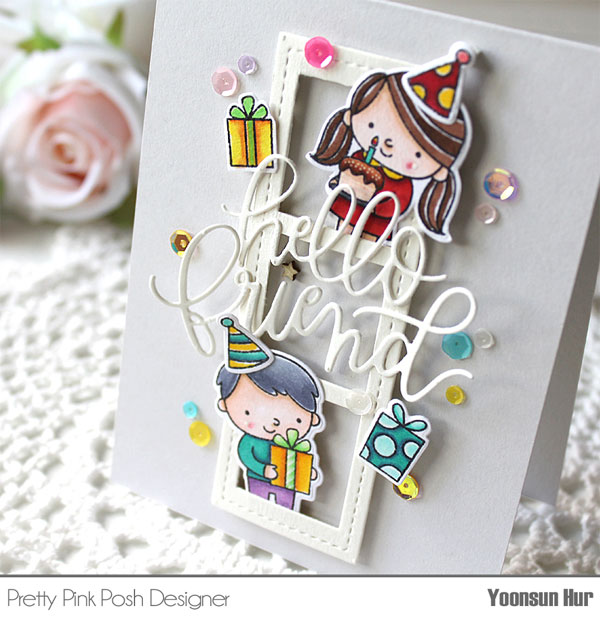
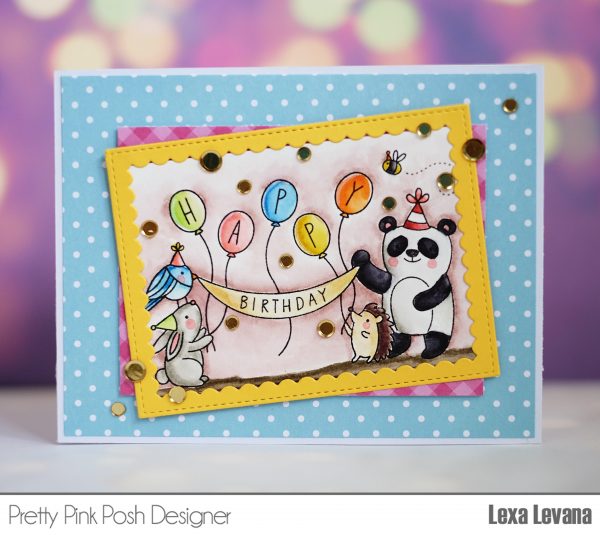
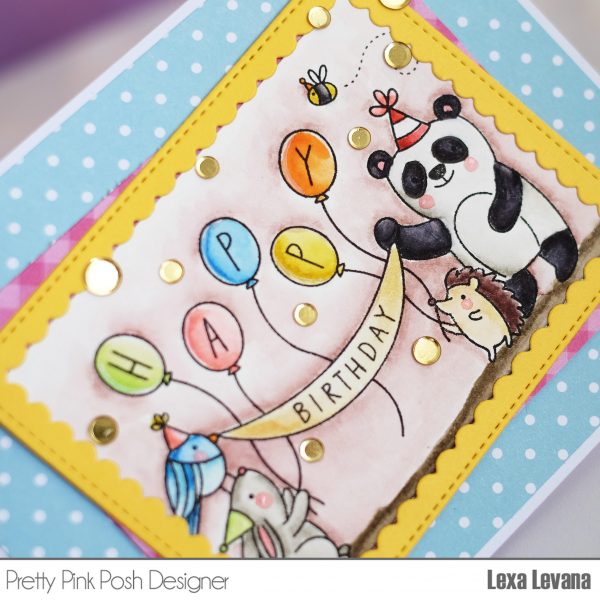
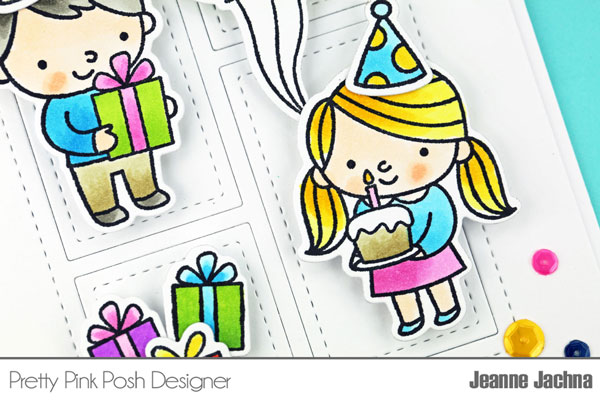 I stamped images from Birthday Friends with Memento Ink and colored them with Copic Markers. The coordinating die cuts make these easy to cut and create with. I left each of the die cut boxes white so they didn’t have to compete with the bright colors of the stamped images.
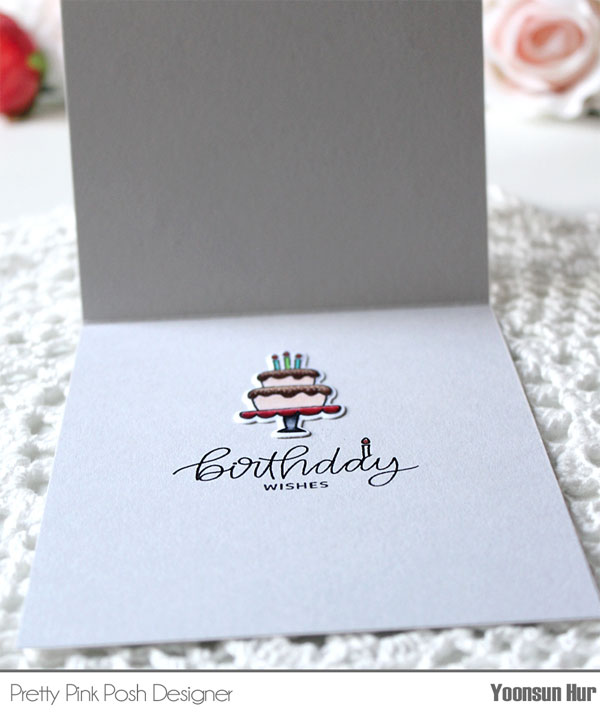
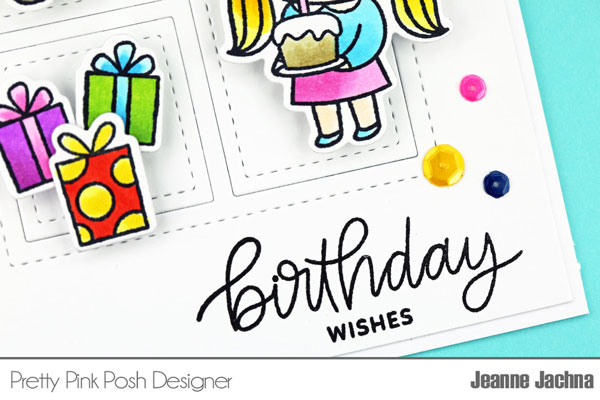 The Birthday Friends stamp set has several different characters complete with lots of accessories!!! Like what? Well… A birthday cake, cupcake, presents and balloons so there’s lots of ways to arrange these!