Sneak Peek: Hedgehog Friends + Ladybug Friends
Hi Pretty Pink Posh friends! Suzy here and today I have a post sharing two new stamp sets called Hedgehog Friends and the free with order stamp set from last month called Ladybug Friends. I have 3 cards showing these new sets that will be available on March 20th.
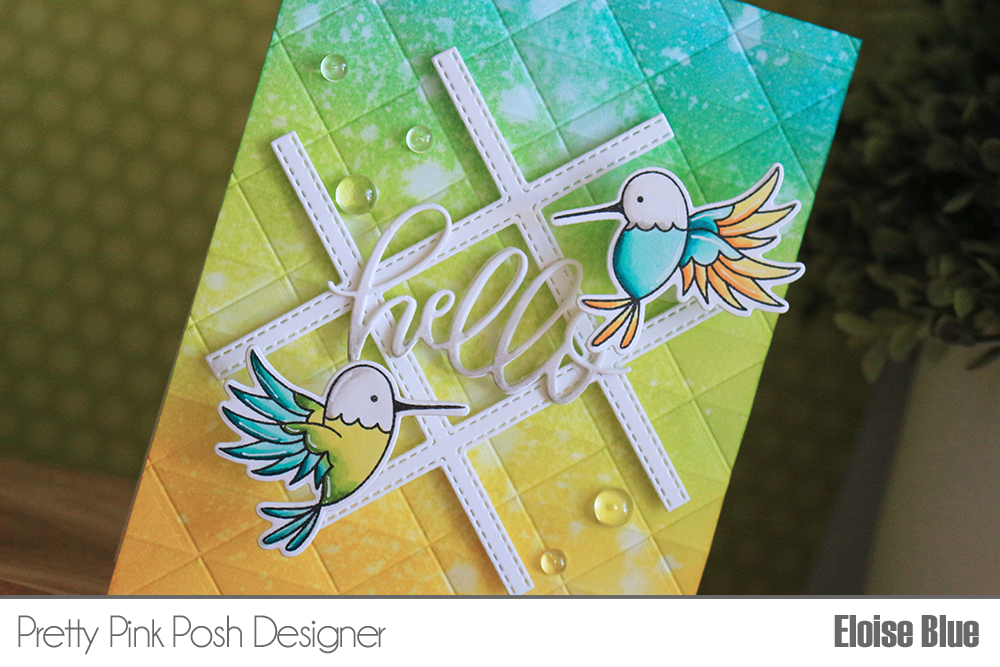
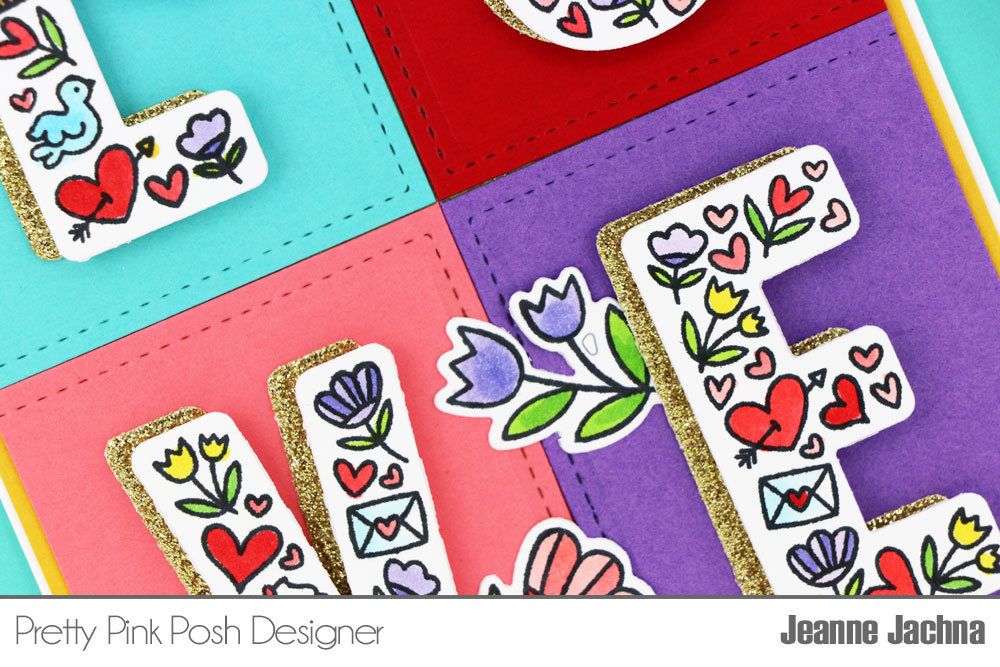
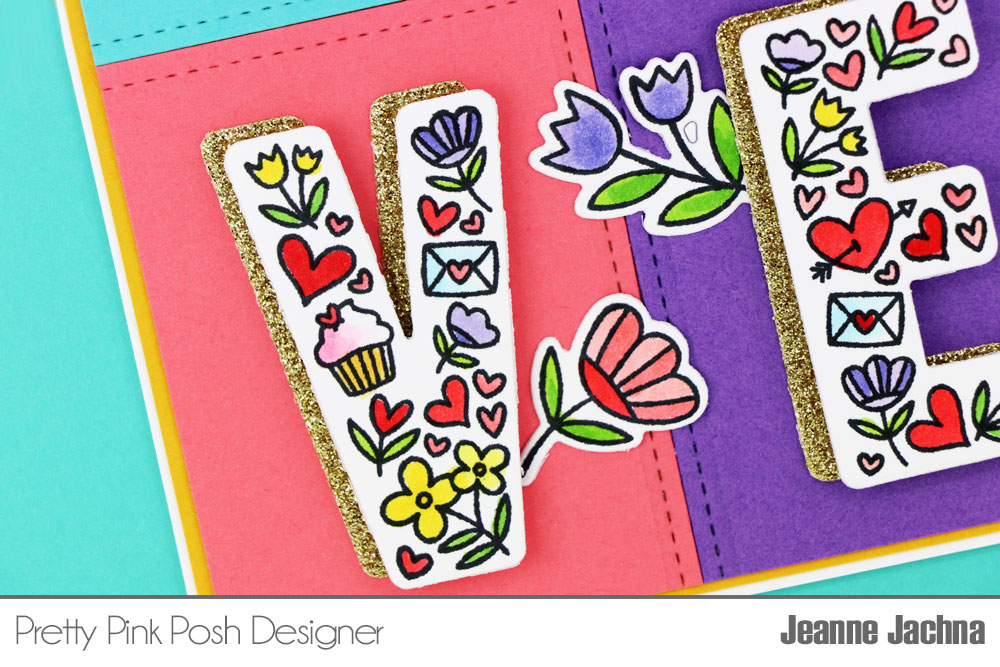
The Hedgehog Friends is my favorite stamp set from this new release as I love critter stamps! This set is just adorable as not only does it have a lot of cute critters, it also has a bunch of complimentary stamps to help create scenes. On both of my cards, I use ALL of these smaller stamps as well as the hedgehogs!
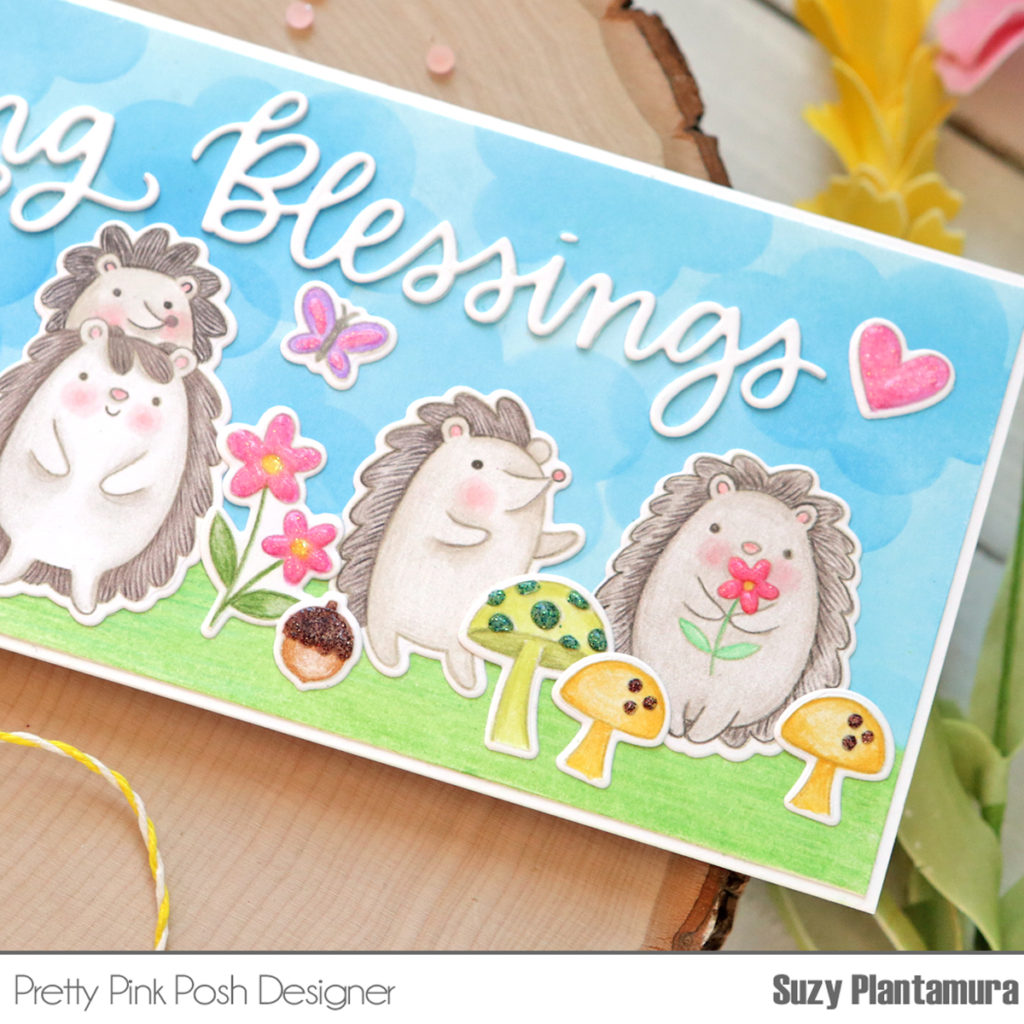
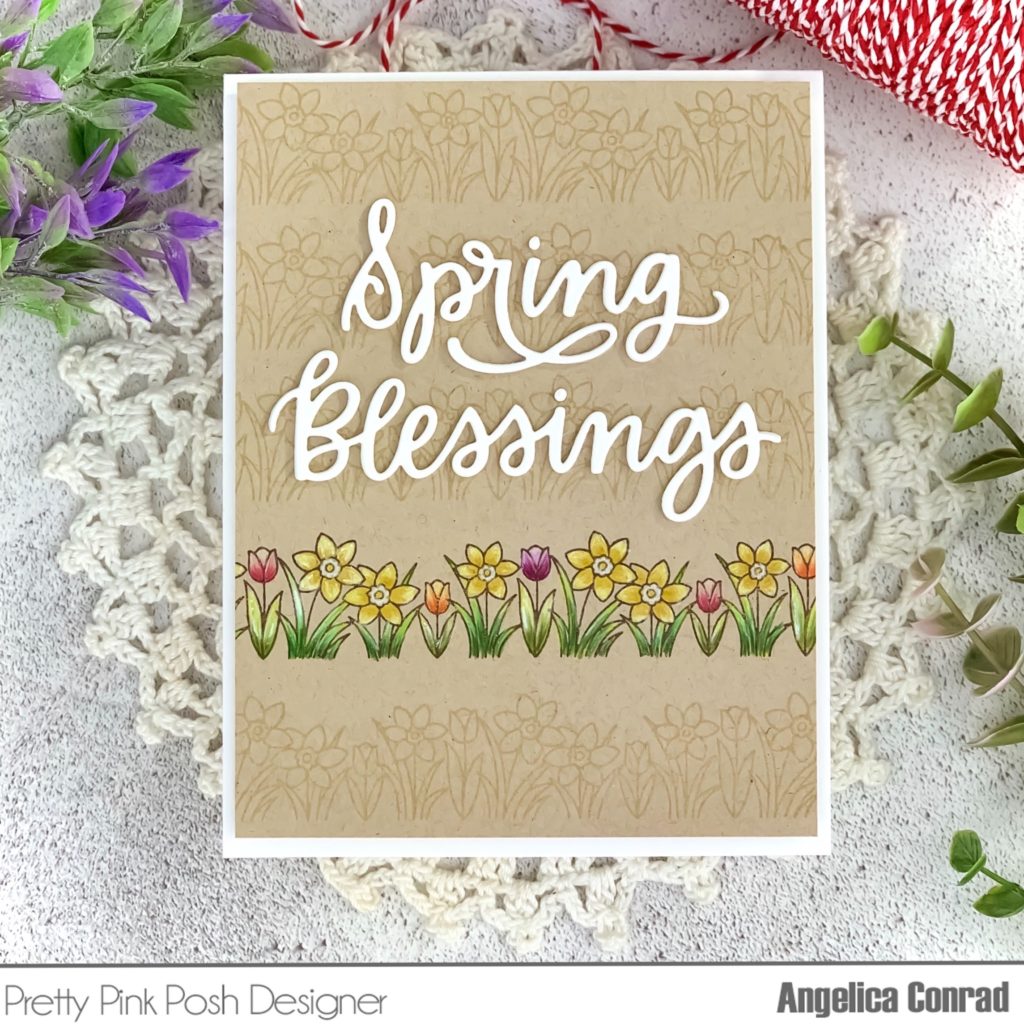
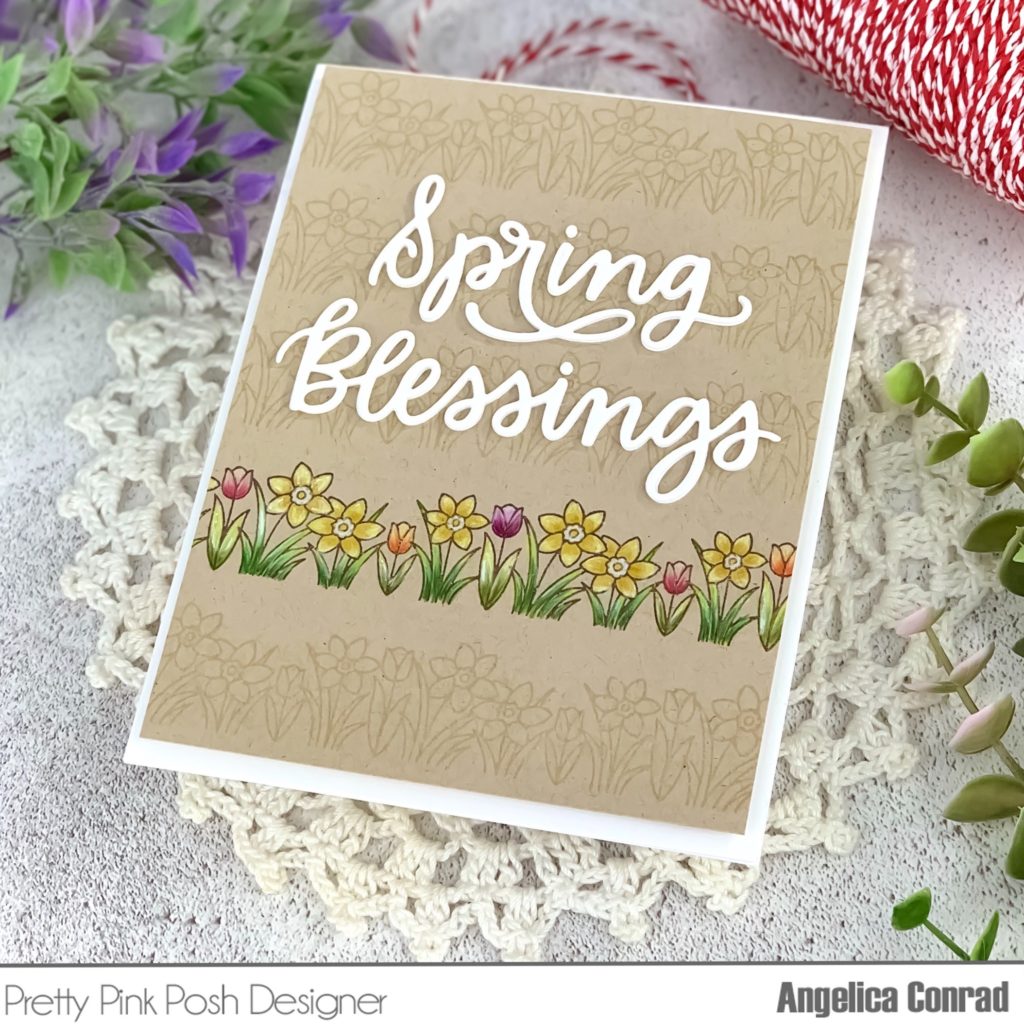
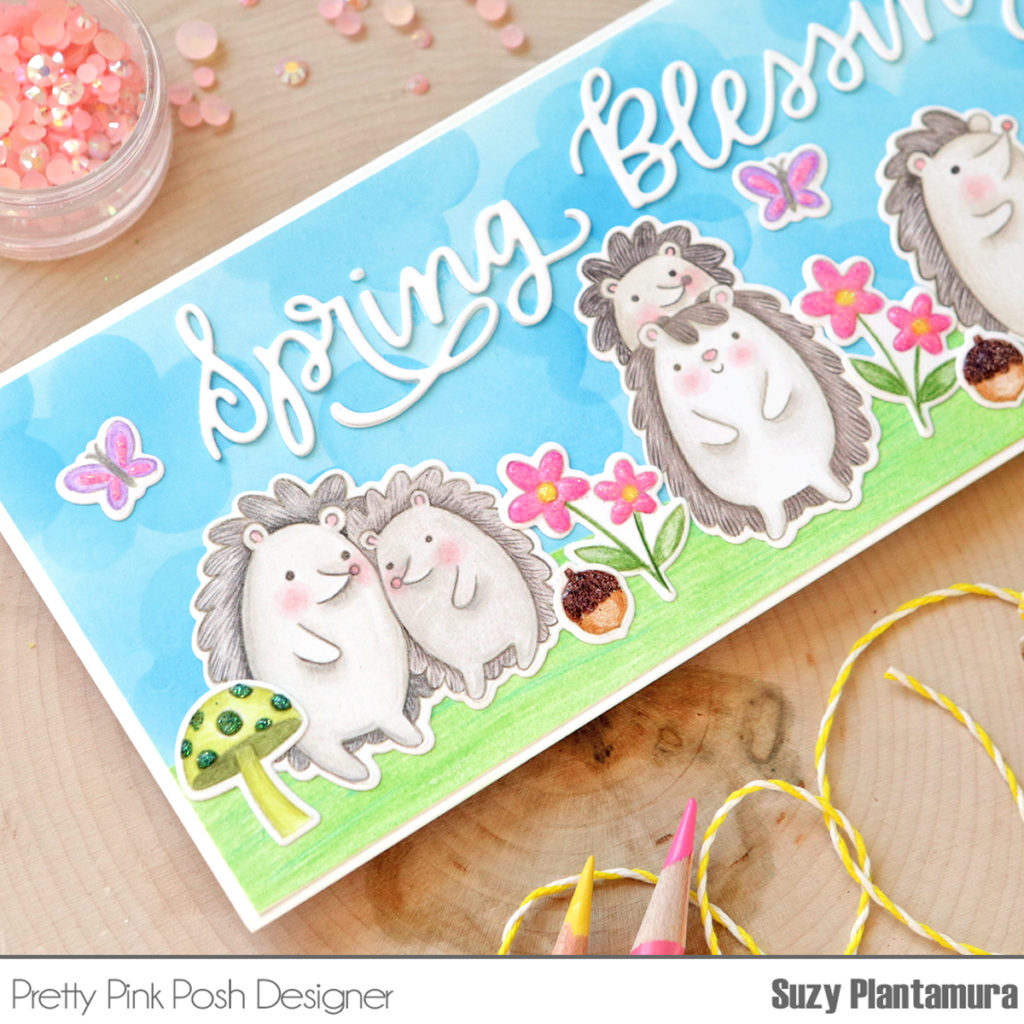
This card is a slim-line card and measures 3.5” x 8.5”. I cut a piece of cardstock to be 7” and folded that in half for the card base. I cut the remaining piece to be 3.5” and used that for the front of the card. I used the new Layered Clouds stencil to make the sky with Distress Oxide Inks. I colored in grass with colored pencils.
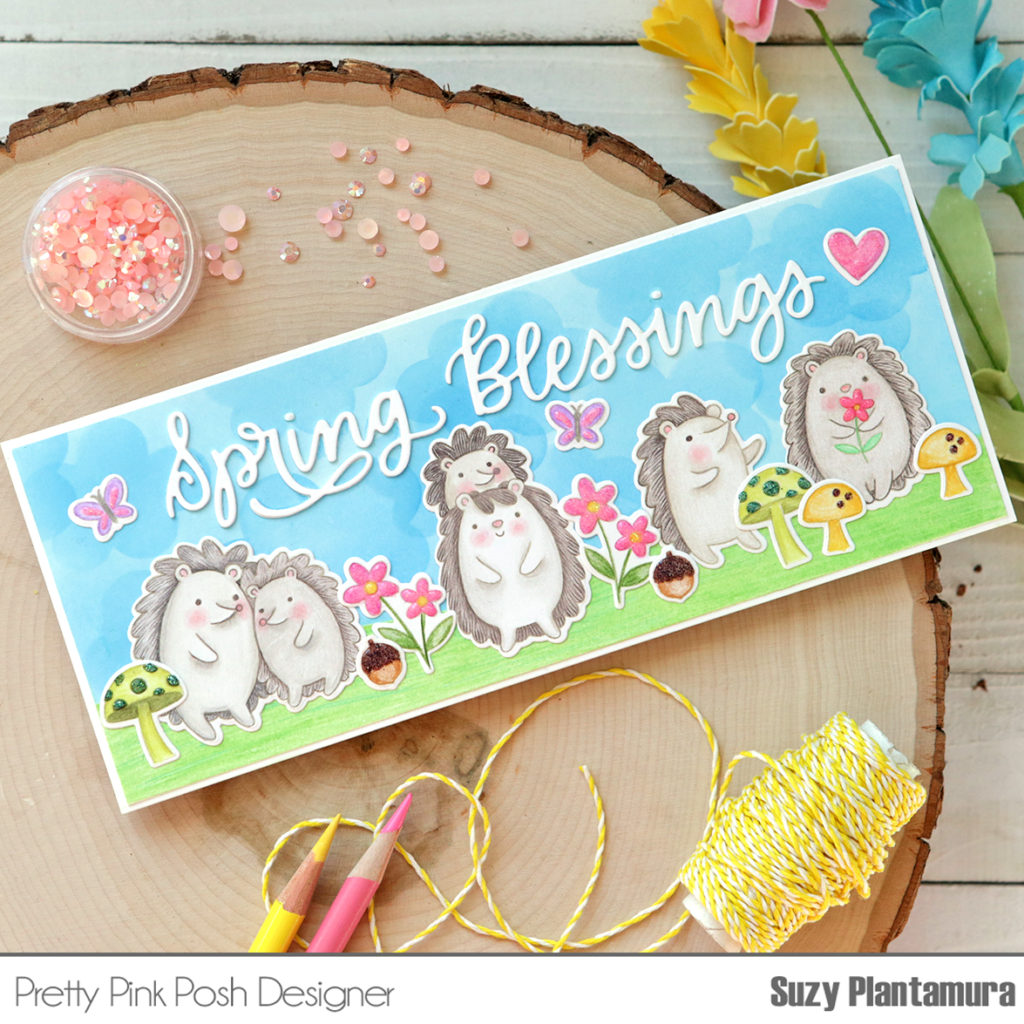
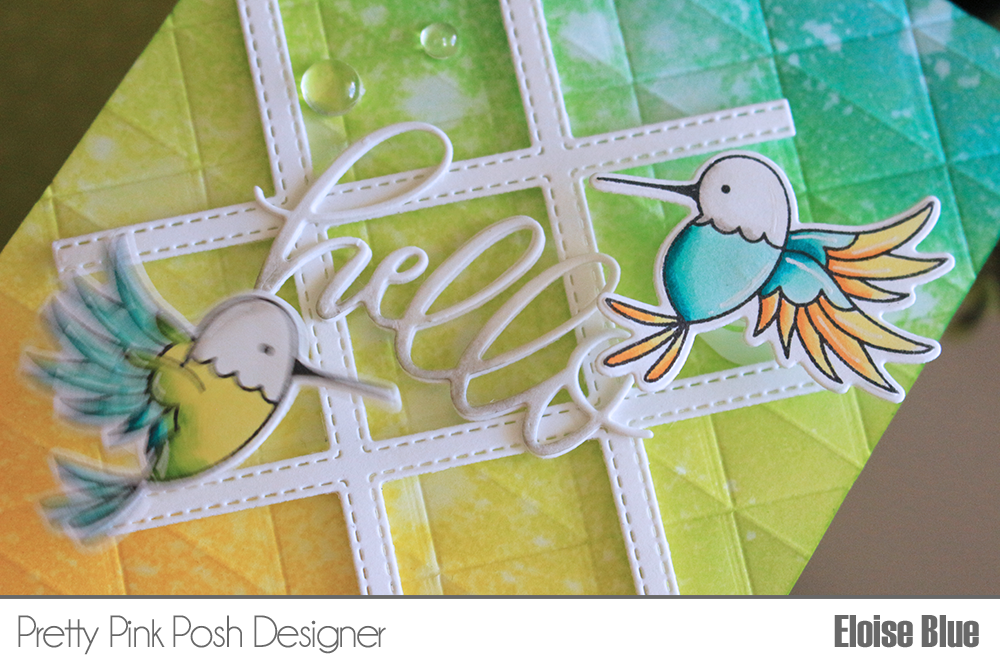
I stamped all of the images using the Hedgehogs Friends stamp set with a light color of ink and colored them in with colored pencils. I die-cut the Spring Blessings Script from white cardstock twice and layered them on the top of the card.
I added some Nuvo Glitter Drops to the images to give them more dimension and shine!
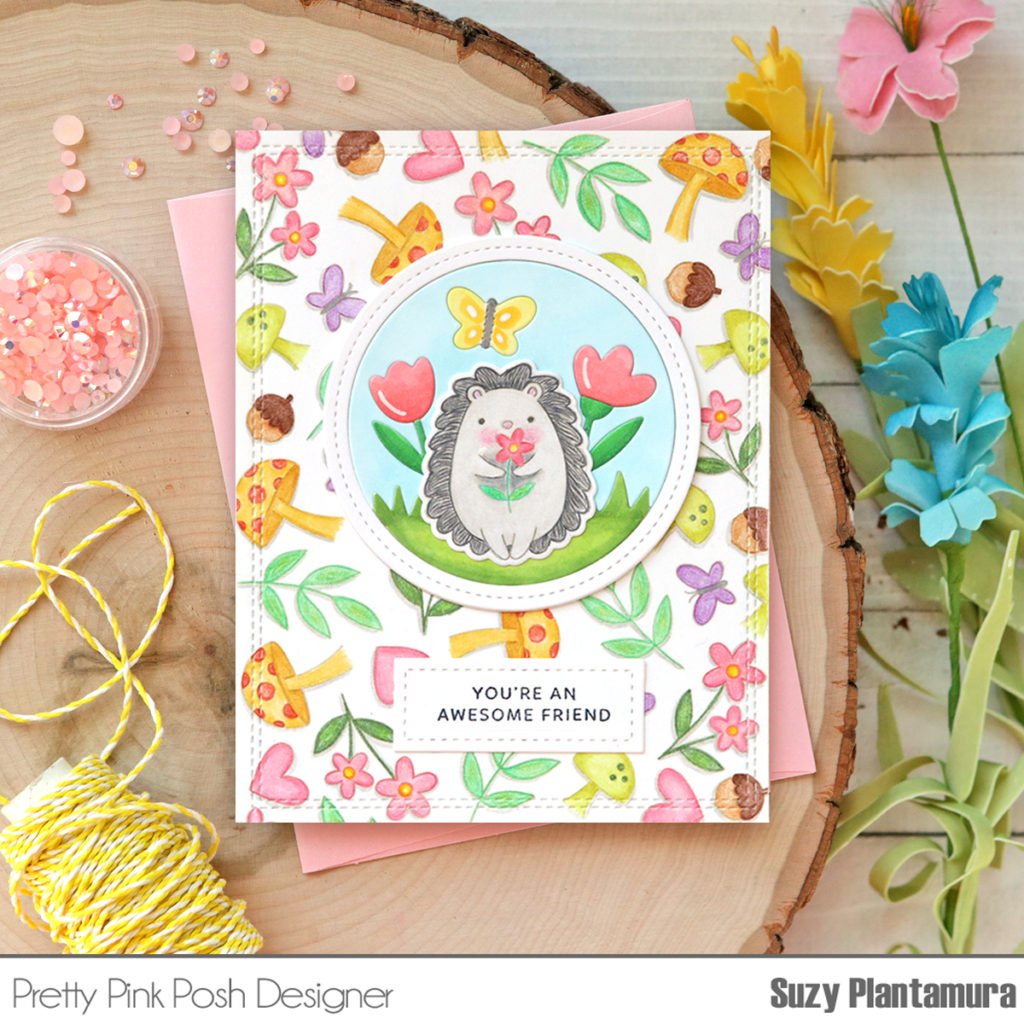
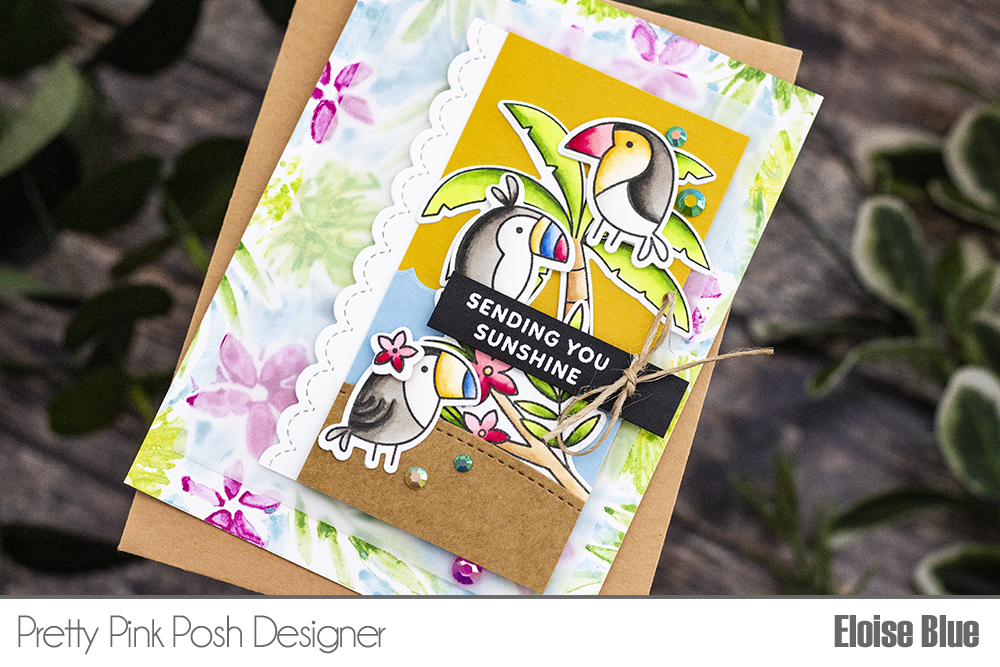
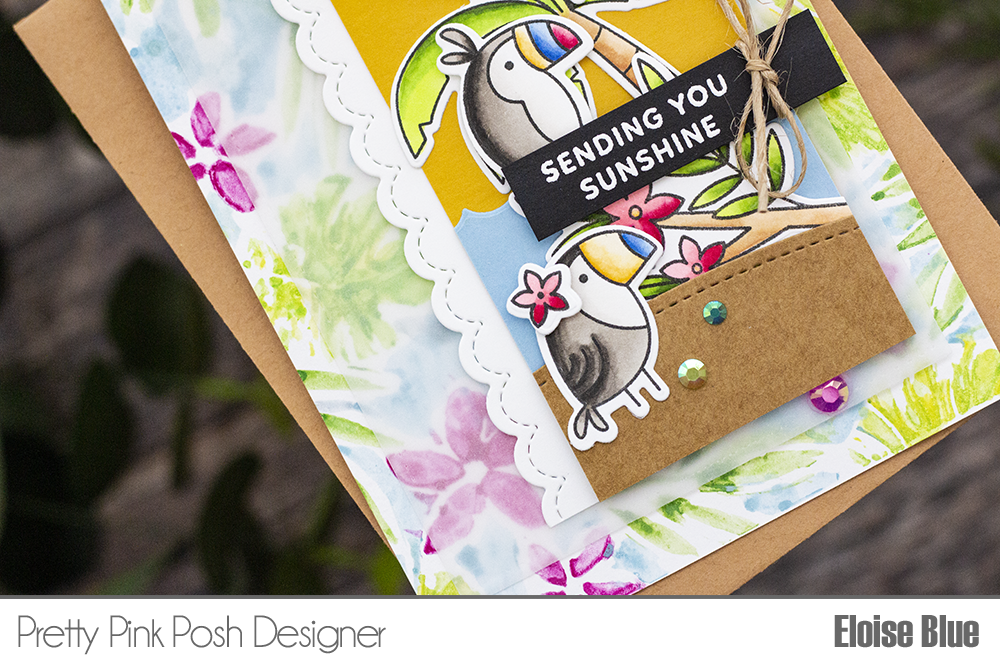
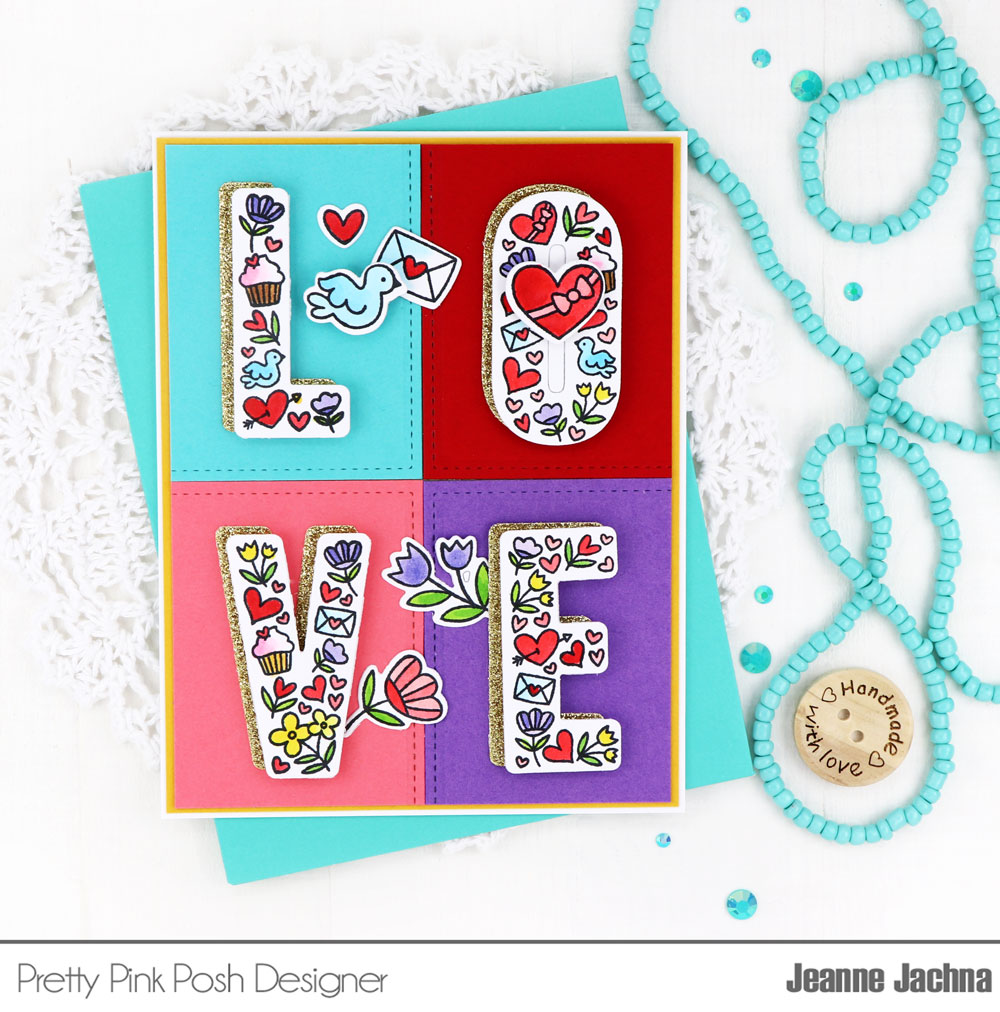
I made this card by “random stamping” all of the smaller complimentary stamps on a white card front with a light color of ink. I colored them in with colored pencils. I added shading behind each image with a gray pencil.

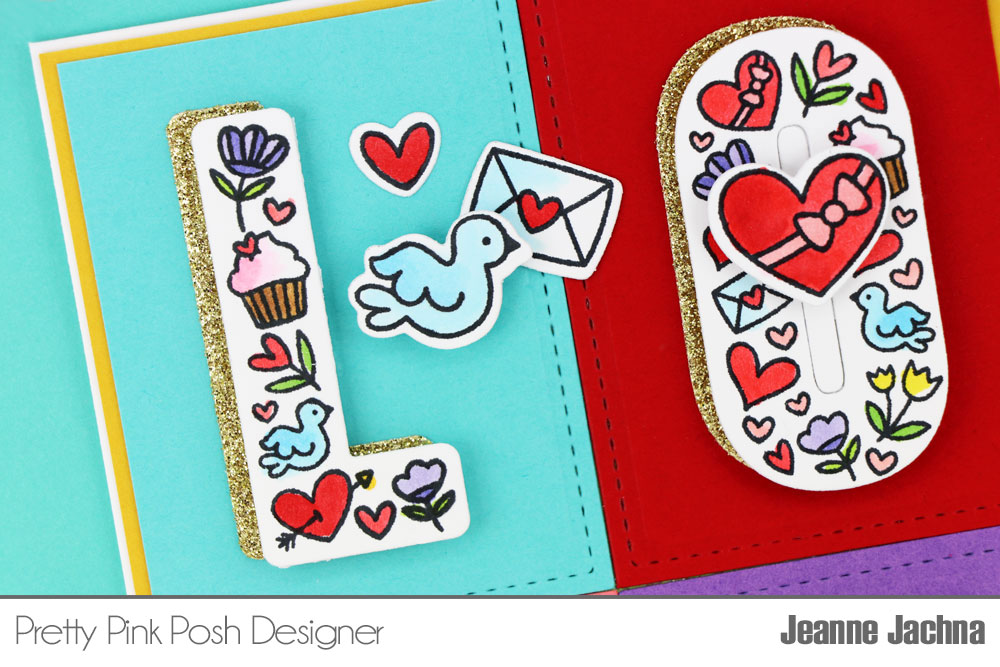
I die-cut the Spring Scene from white cardstock twice. I attached the first one to the top center of the card front and colored all the pieces from the second one with Copic markers. I then attached that one over the first one for more dimension and to make it easier to get the pieces in the right place. I stamped the hedgehog and colored her in with colored pencils. I attached that image to the front of the circular die. I stamped the sentiment on a stitched rectangle and attached that to the bottom of the card.
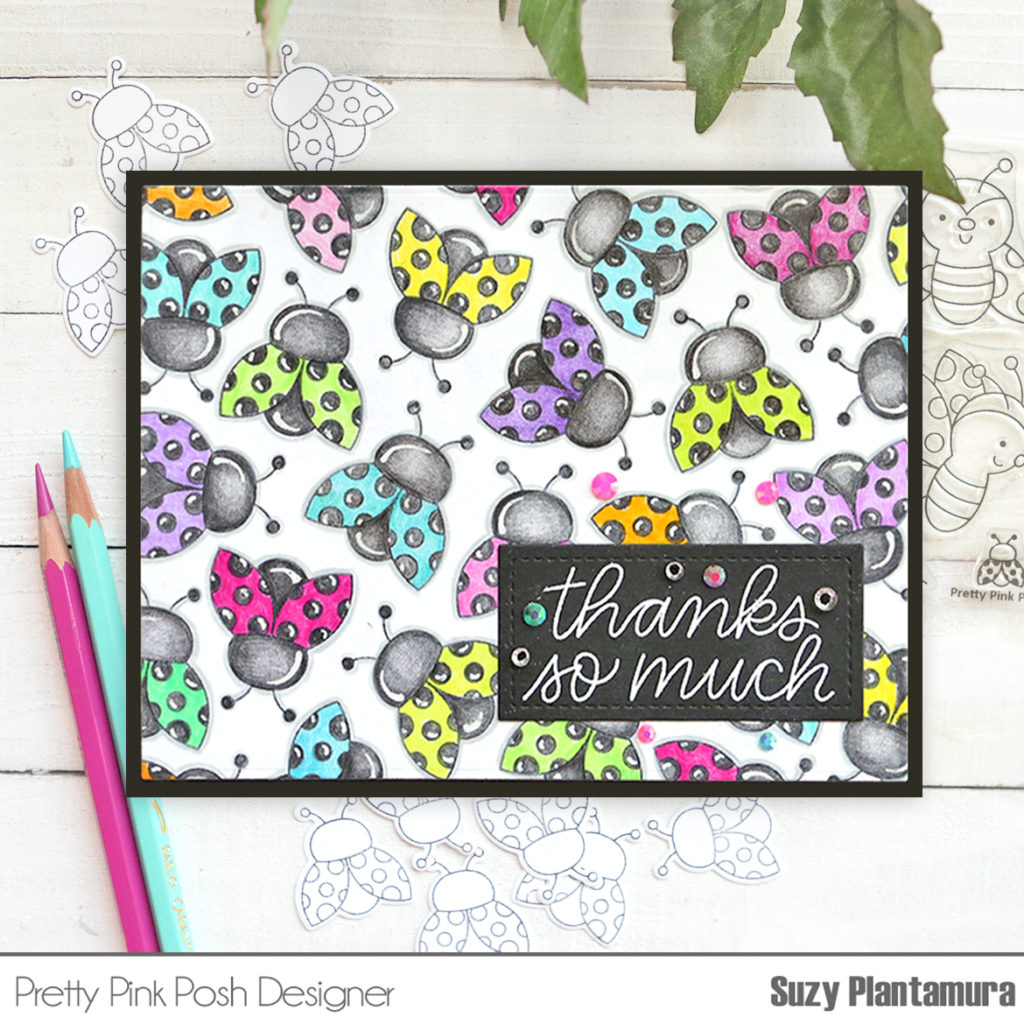
I stamped the ladybug stamp over and over on a white card base with black ink as I call “random stamping”. I turned him every which way to create a pattern. I love that you can make this card with just one ladybug stamp! I colored them all in with colored pencils in different bright colors. I attached that to a black card base.
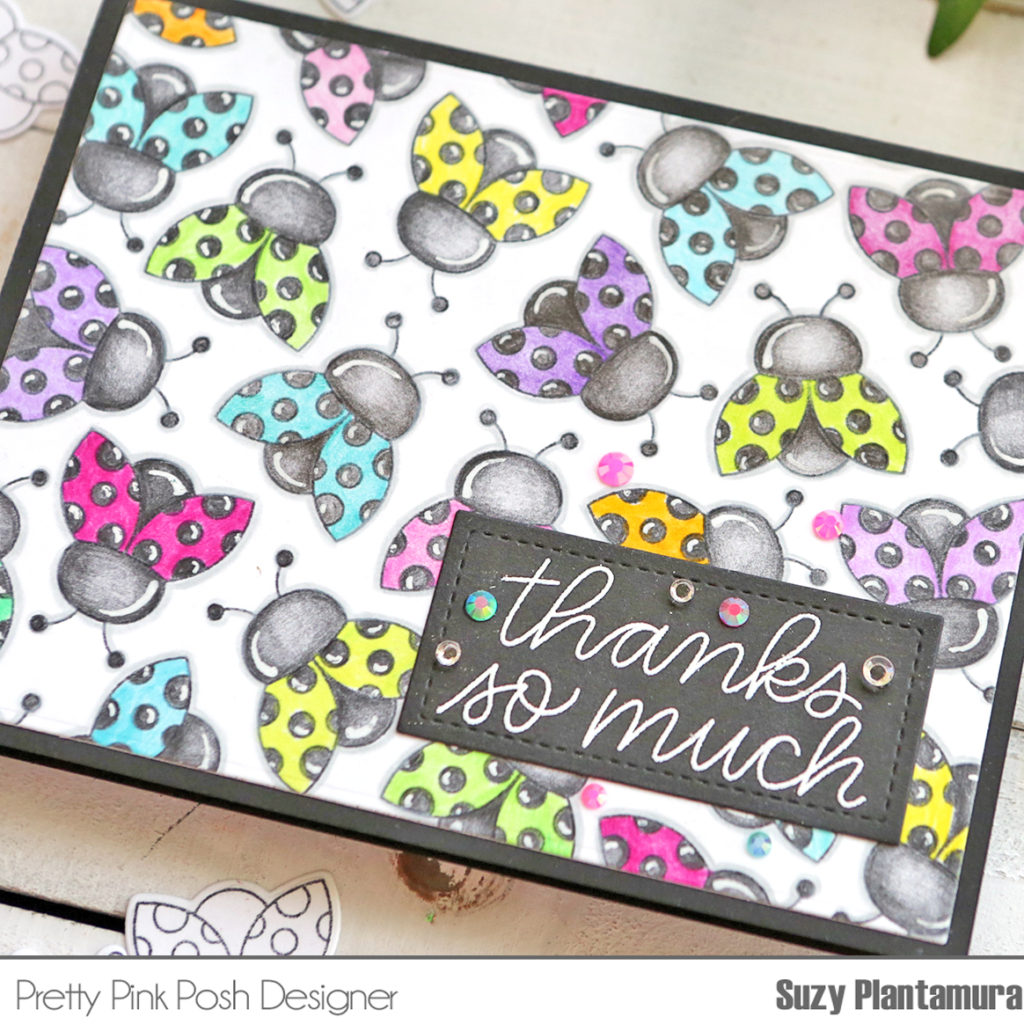
I added some lines on each ladybug with a white gel pen. I embossed the sentiment on a black stitched rectangle with white embossing powder. I used some Pretty Pink Posh Jewels on top of the sentiment rectangle.
Thanks so much for visiting the blog today and I hope you are enjoying this new release. It is chock full of fun and cute images that will add some cheer during these tough times!