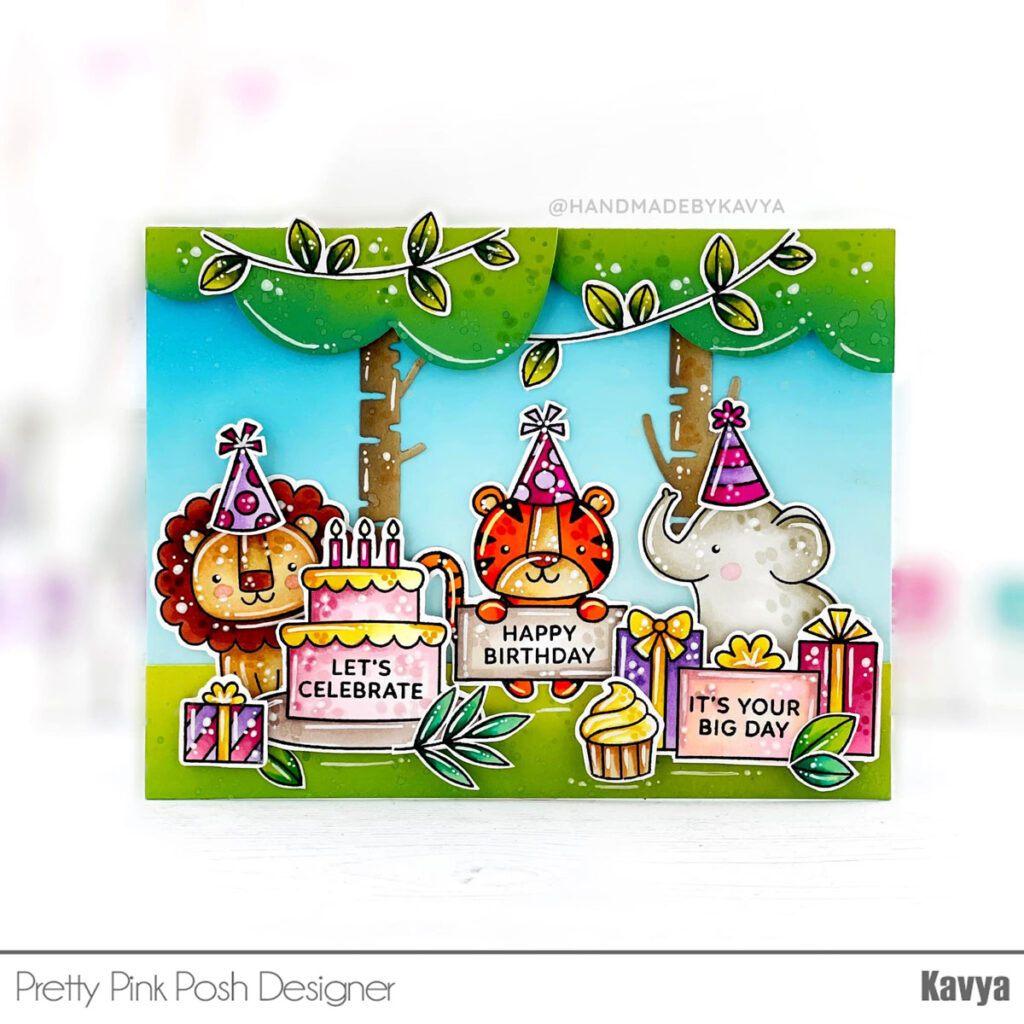
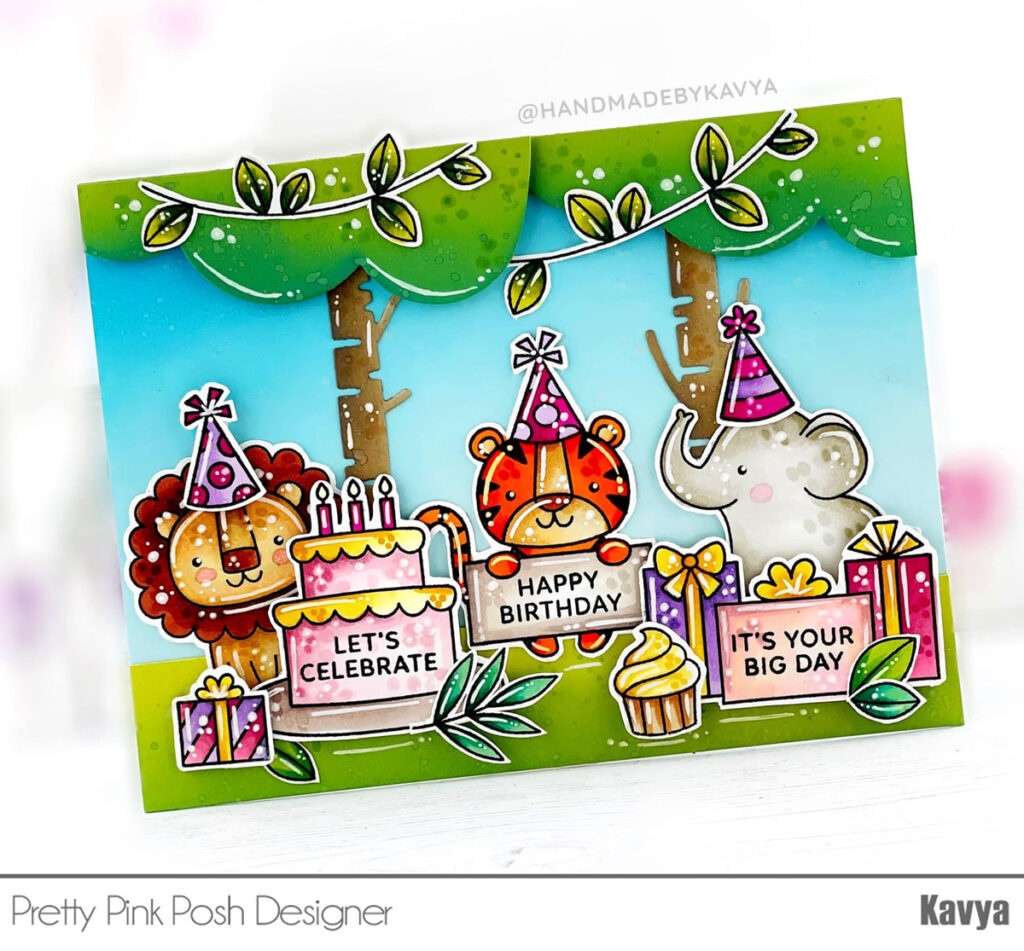
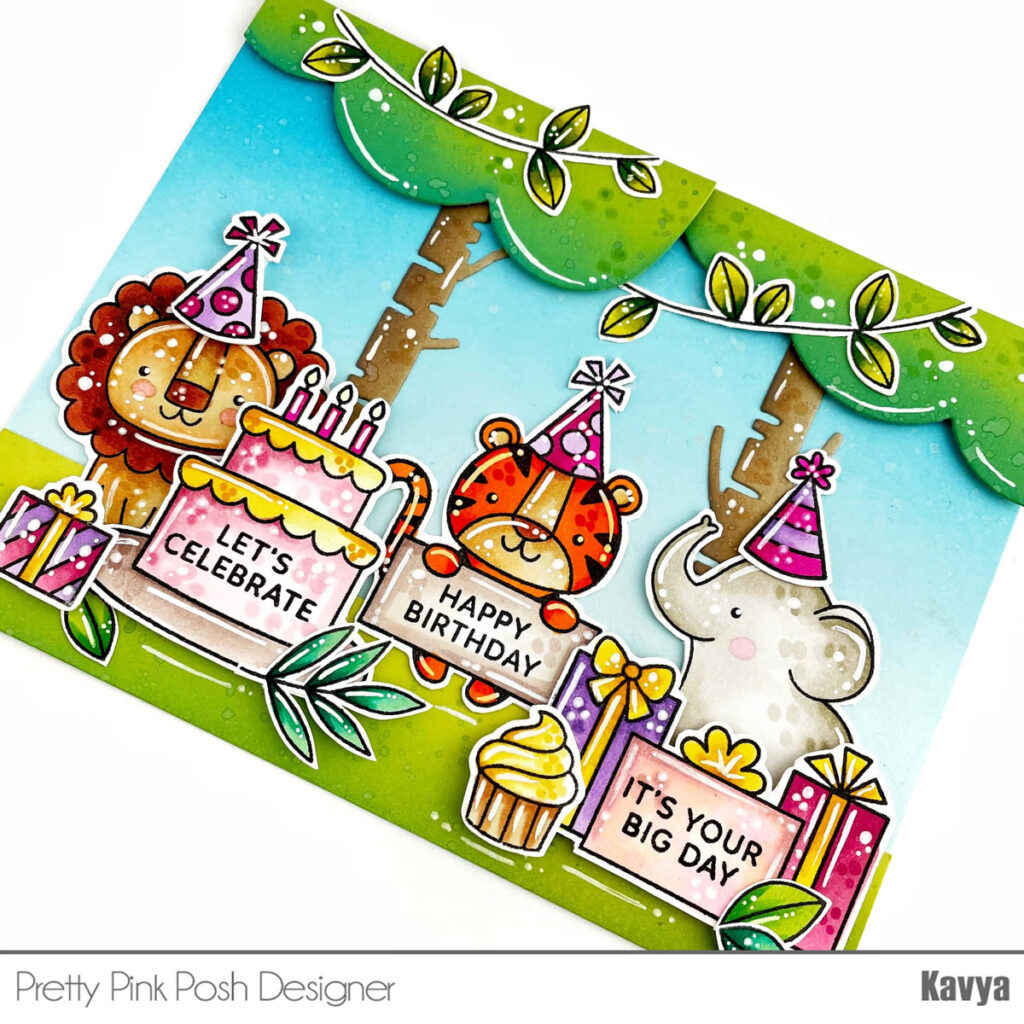
Hi folks, Kavya here with another fun card using a bunch of products from the latest release! I love the new Birthday Signs. They pair so well with the previously released jungle and animal themed stamp sets.
For the trees, I ink blended the edges using coordinating dye ink and splattered some paint to make it more dimensional. Placed all of them on some blue cardstock and I was done!
We are having a special gift offer and discount code to celebrate our birthday!
PRIZES: be sure to leave comments on each stop. We are giving away 8 $25 gift certificates to eight random comments (2 winners each day) left before February 15, 2023 at 11:59 PM PST. I’ll be announcing the winners next week, so be sure to return and see if you are one of the winners!
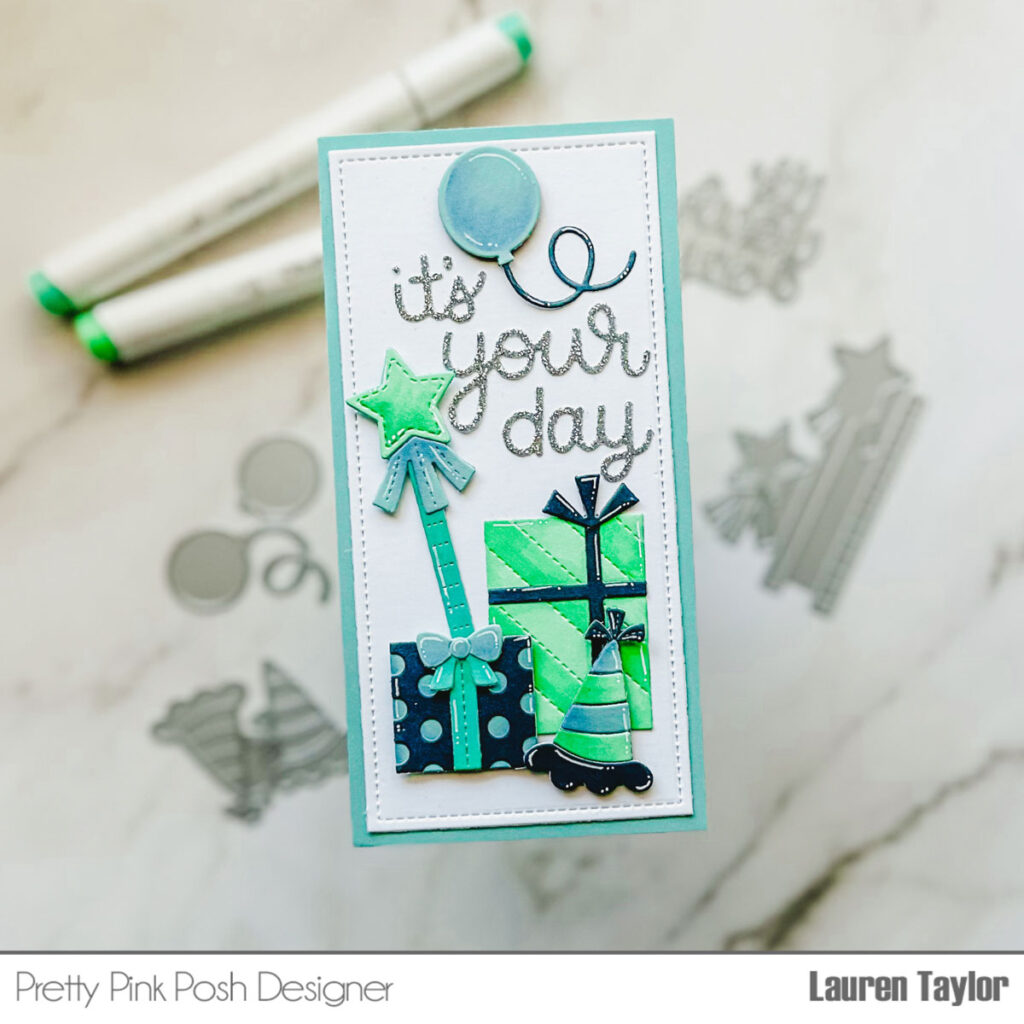
Hi, friends! It’s Lauren and I am so excited to be sharing a card with the new Birthday Mug Addition Dies! If you have the Winter Mug Dies and the Valentine Mug Addition Dies, you’re going to love these new add-ons. But, I also have some inspiration of how you can use these new dies without the mug!
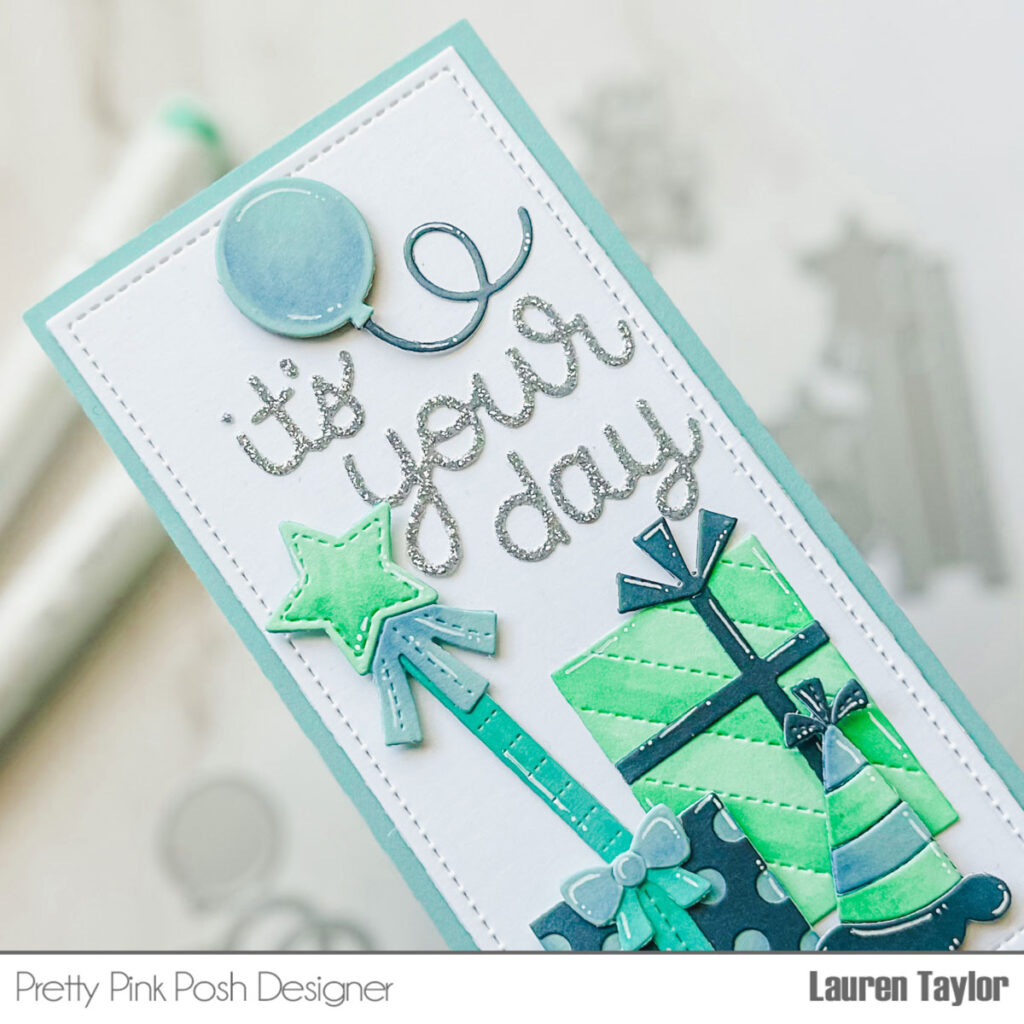
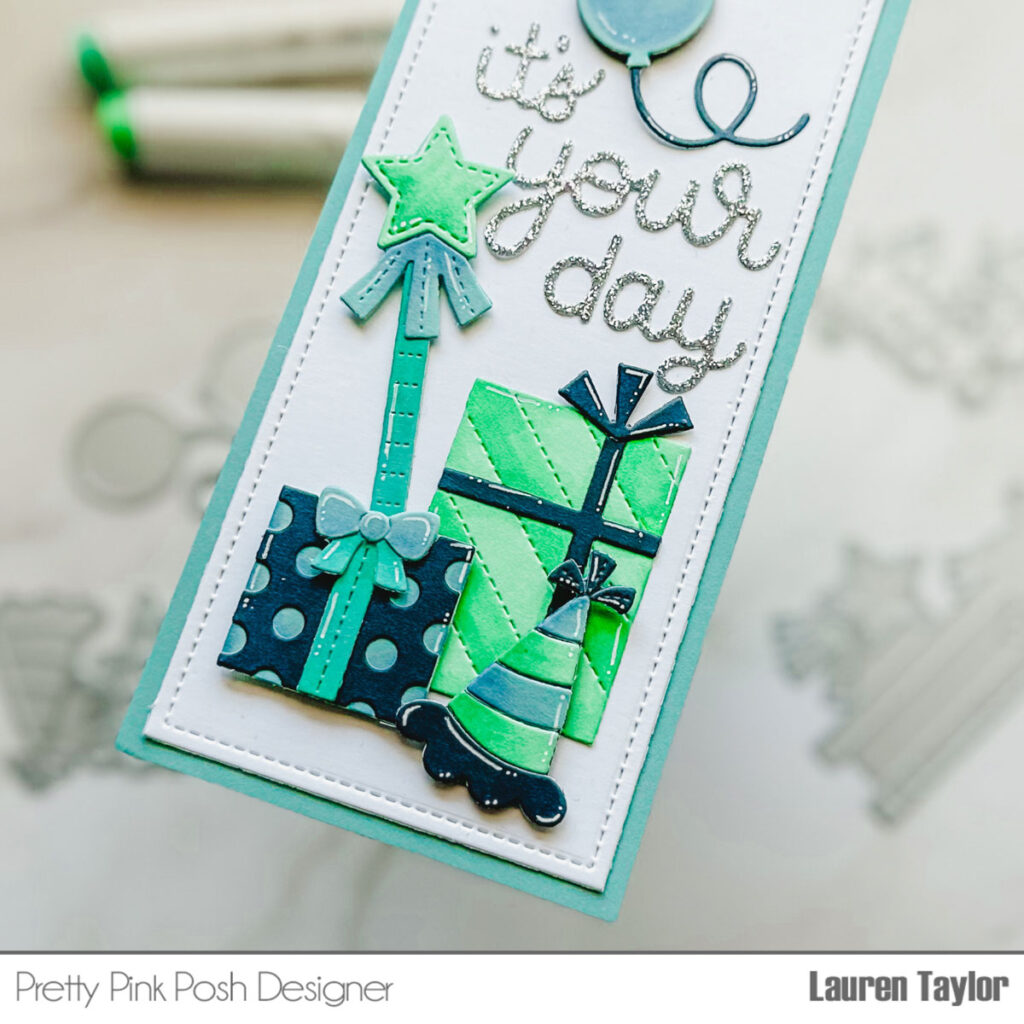
I combined the Birthday Mug Addition Dieswith the Build A Gift Dies to create a mini slimline card that does not have any stamping. All of the images were die cut from these two sets – I used different shades of blue and green cardstock and die cut the two gifts, party hat, balloon and birthday wand.
Each item has different pieces that are glued together to create the image and I used my Ohuhu Art Markers to add some color and dimension to each of the images. I also die cut out the sentiment from sparkly silver cardstock. I layered the images and sentiment on my mini slimline, white background and adhered them with wet adhesive as well as foam adhesive so some of the images have some dimension.
The white background was then glued to a blue piece of cardstock that was on my card base of 3×6” when folded. I cannot wait to see all of the birthday mugs with this release that you make but also other creative ways to use the Birthday Mug Addition Dies!
We are having a special gift offer and discount code to celebrate our birthday!
PRIZES: be sure to leave comments on each stop. We are giving away 8 $25 gift certificates to eight random comments (2 winners each day) left before February 15, 2023 at 11:59 PM PST. I’ll be announcing the winners next week, so be sure to return and see if you are one of the winners!
The February 2023 Release is now available in the Pretty Pink Posh Shop and select retailers that carry our products. If you missed our post yesterday, we revealed all of the products in picture form, but if you would like to see them in a video, Mindy has that for you today!
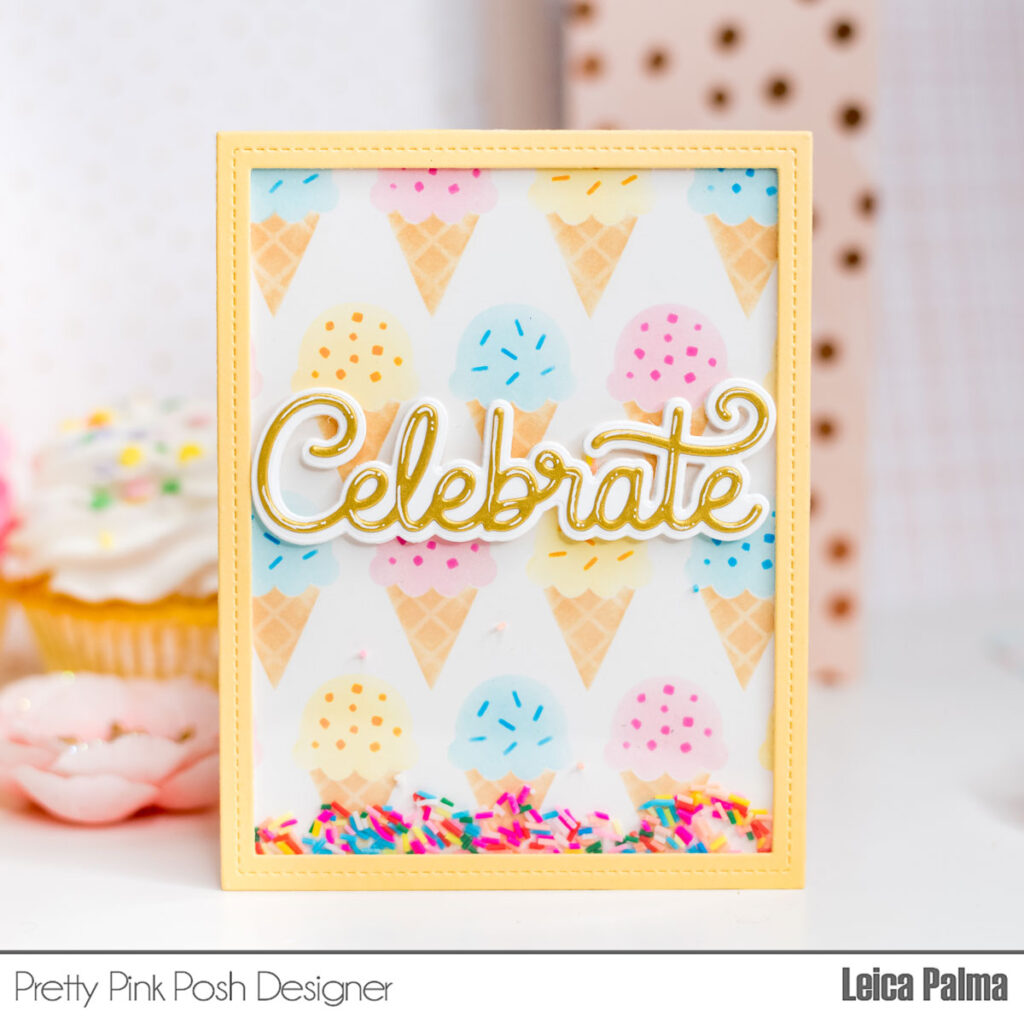
Hello hello! It’s Leica here today with a super sweet birthday shaker card. For my card, I’m using the latest products from the PPP birthday release. Happy 9th birthday, PPP!!!
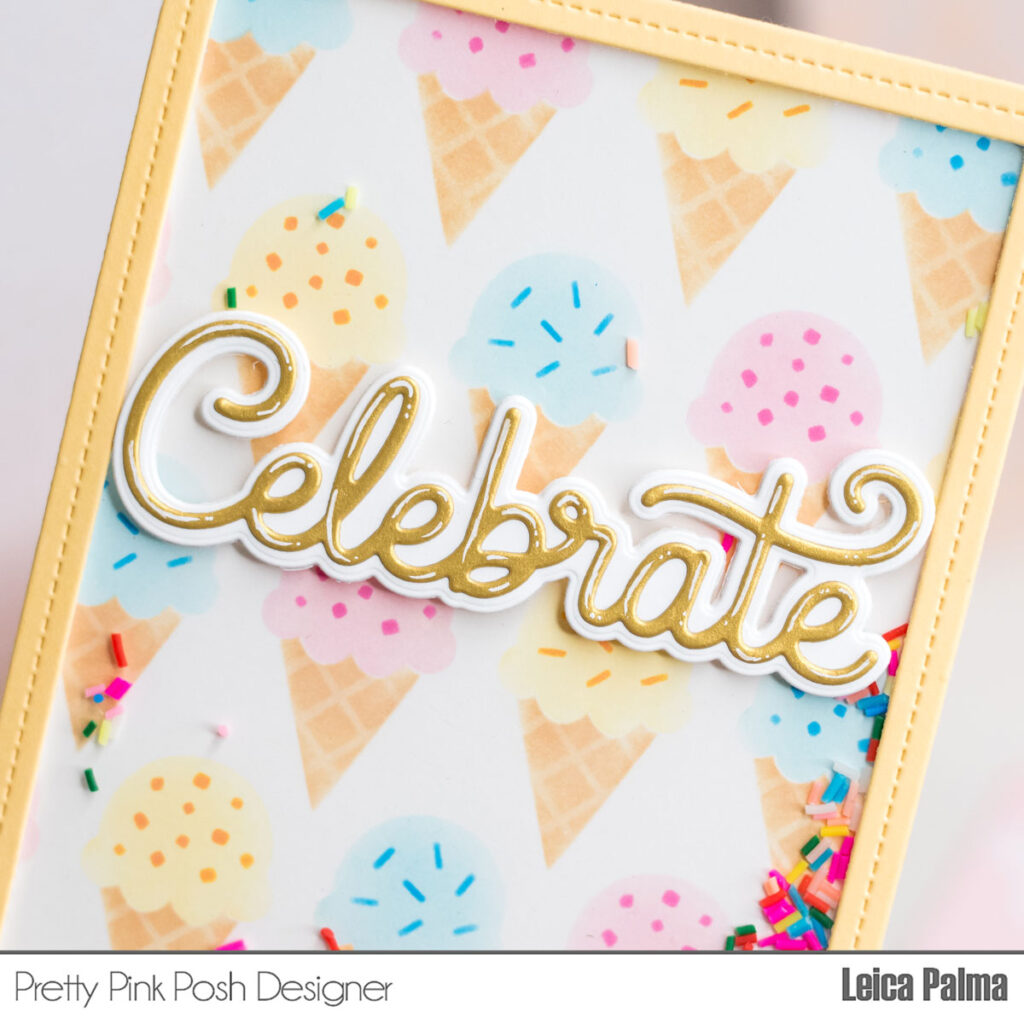
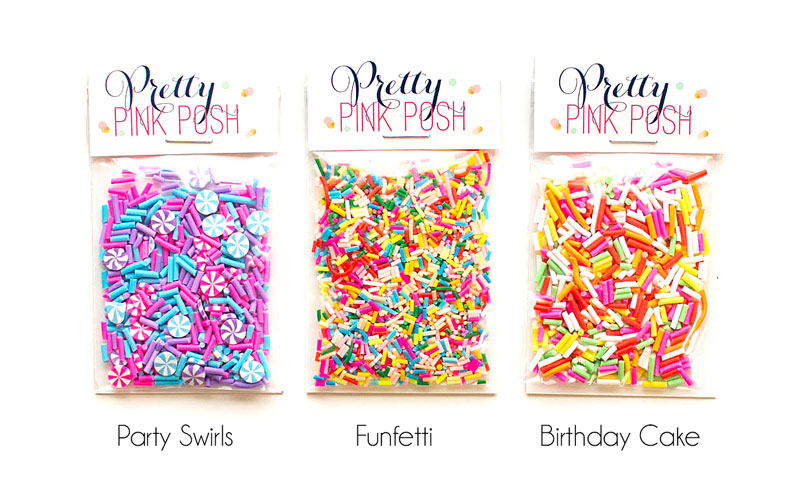
I first cut a white cardstock down to 4.25” x 5.5” and ink blended the A layer of the Layered Ice Cream Cones Stencils with Gina K Amalgam Ink in Warm Glow. For the B layer, I used Spun Sugar, Tumbled Glass, and Altenew Buttercream ink. Next, I cut the frame from the Fancy Cake Dies in yellow cardstock, glued a sheet of acetate, and added foam tape to make a well for the shaker. Inside the shaker, I added some Funfetti Clay Confetti. I then cut the Large Celebrate Shadow Die in gold cardstock and the shadow outline die in white cardstock. I added white gel highlights. Lastly, I glued the card panel onto an A2 size card base.
That’s all for my card. I love how easy it is to make a background with the Layered Ice Cream Stencils and the frame from the Fancy Cake Dies is my new favorite frame for shaker cards.
We are having a special gift offer and discount code to celebrate our birthday!
PRIZES: be sure to leave comments on each stop. We are giving away 8 $25 gift certificates to eight random comments (2 winners each day) left before February 15, 2023 at 11:59 PM PST. I’ll be announcing the winners next week, so be sure to return and see if you are one of the winners!
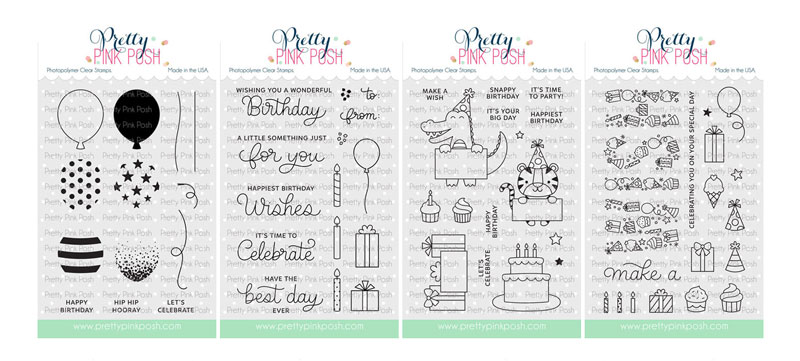
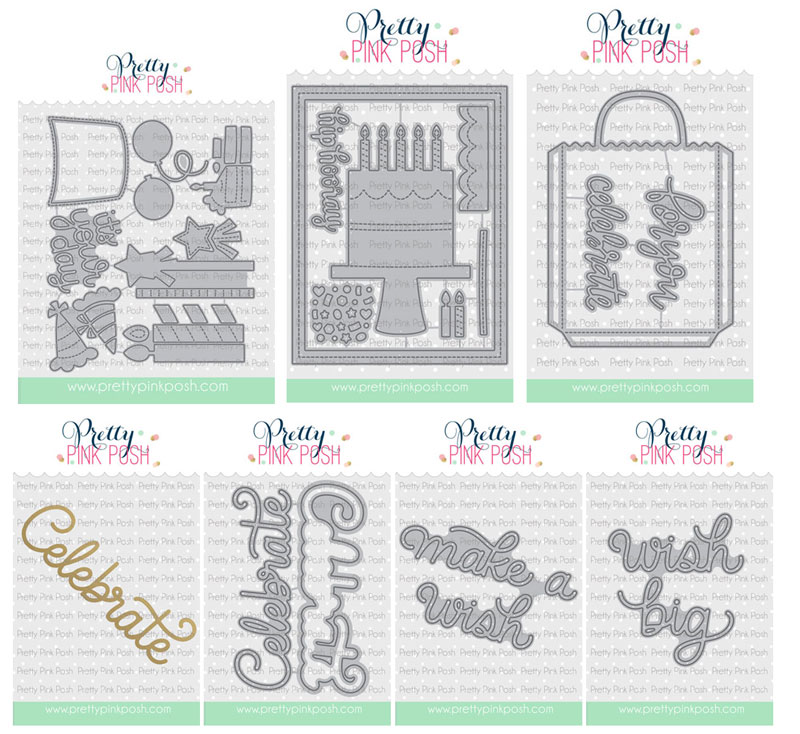
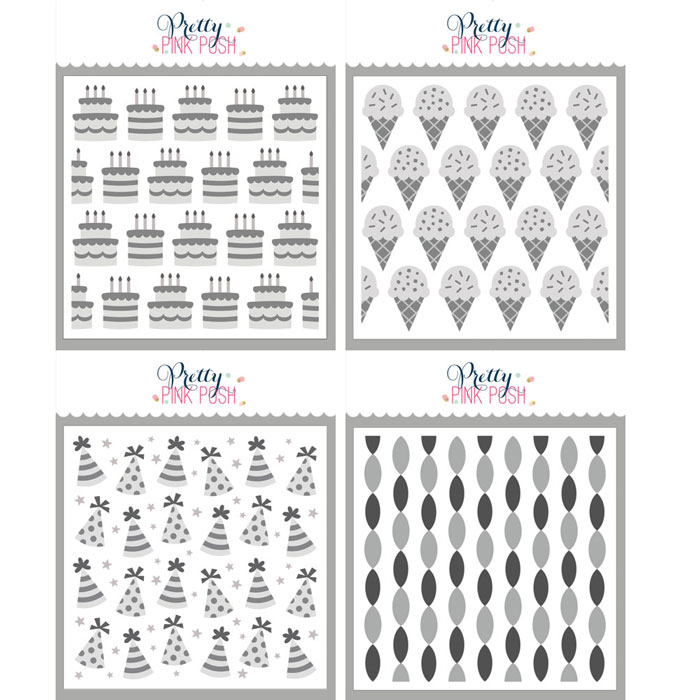
Hello friends! It’s time to reveal all of the products that are part of the February 8th release. This release is one that I am so proud of as everything works together, individually or you can pair it with some “older” PPP products!
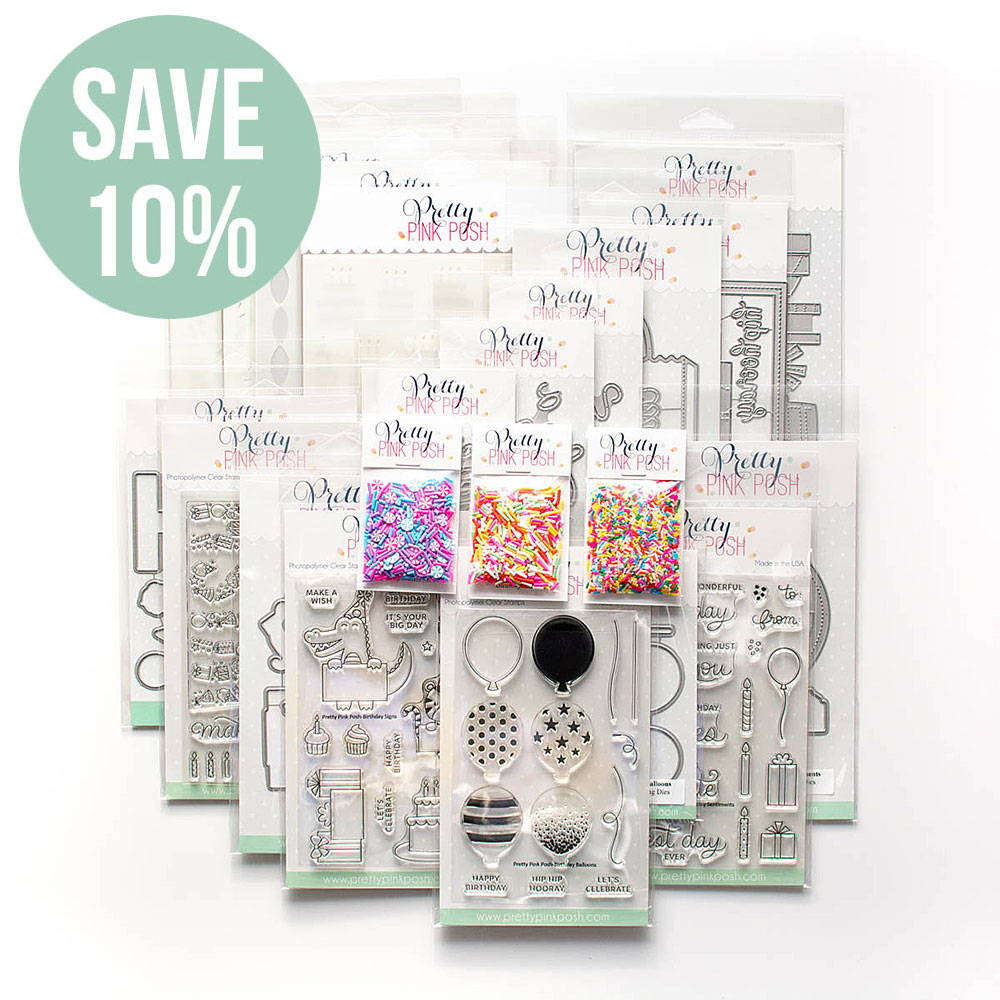
We have a limited amount of bundles available where you can buy this release in one easy click. Plus, you’ll get 10% off when you buy it all together.
Due to not everyone owning a hot foil machine, we did NOT include the hot foil plate in this bundle.
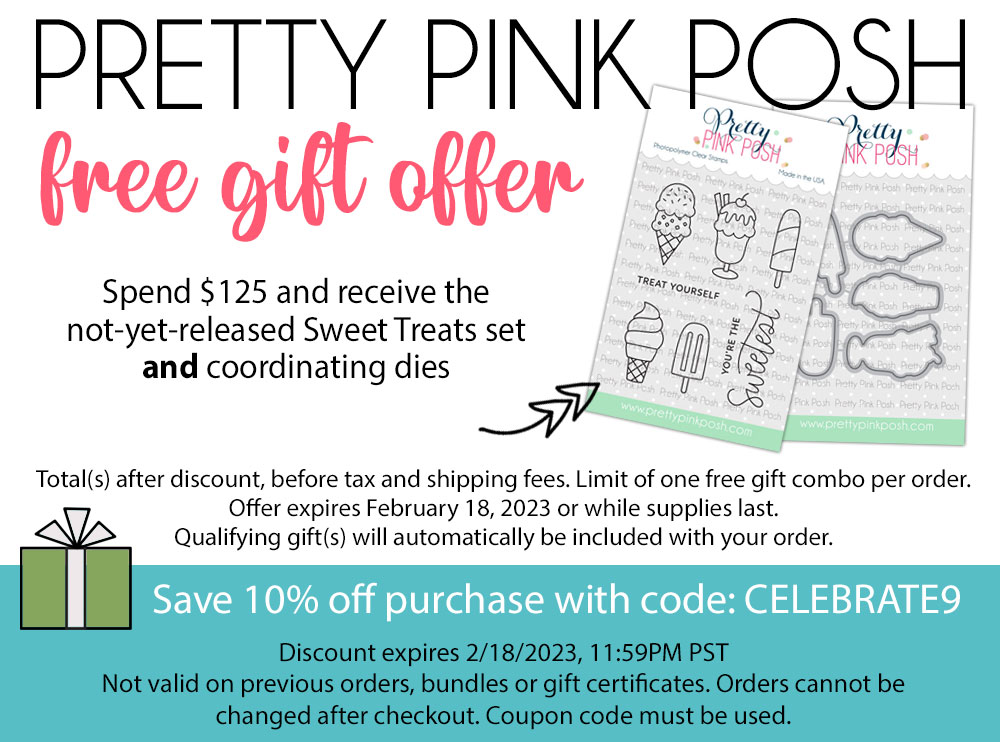
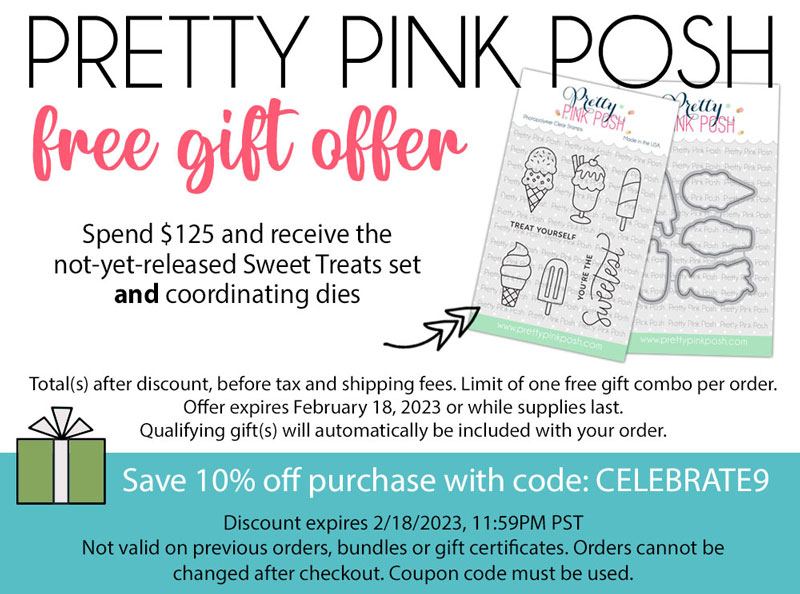
In honor of us turning 9 and having our big birthday celebration, we have a free gift offer along with a coupon code. Valid February 7-February 18, 2023, or while supplies last.
We will see you tomorrow as we show you the new products in a video and the products go live individually. Plus, we will kick off our BIG blog hop that is packed full of guests. We have a week of inspiration coming your way and you won’t want to miss out on the fun!
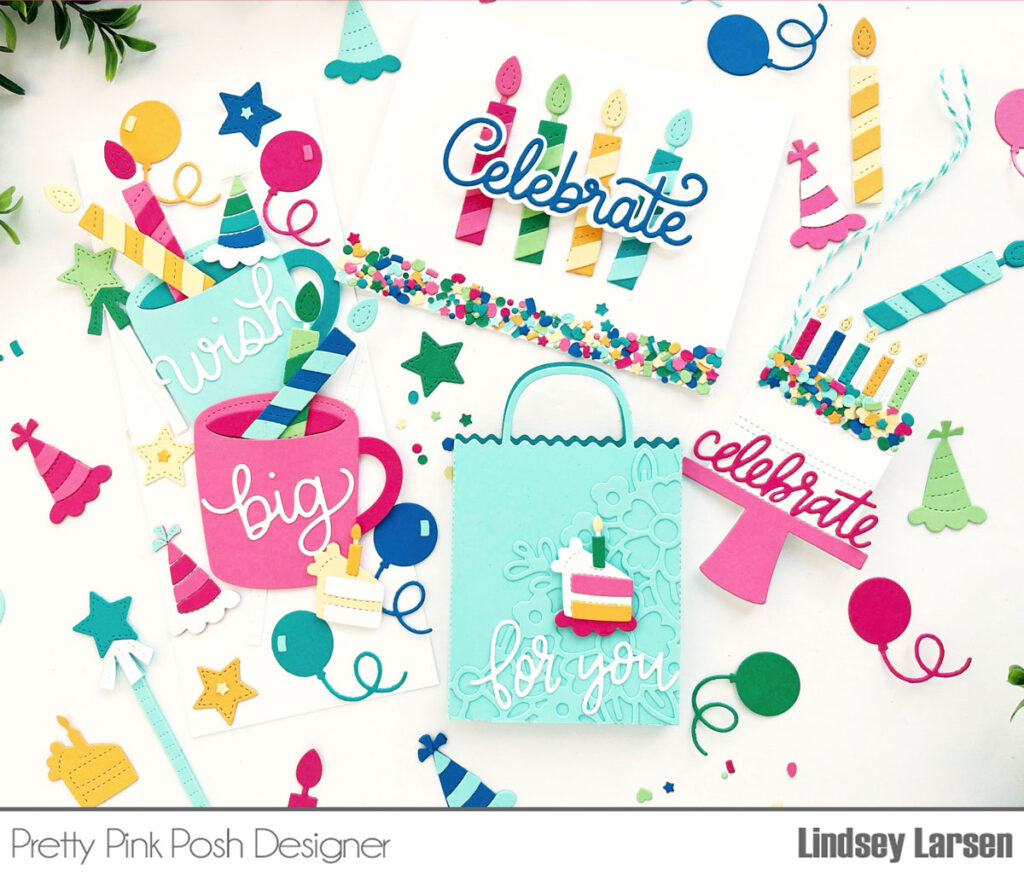
Good morning! It’s Lindsey here and I’m excited to be giving you a sneak peek of several new dies releasing this month. Creating these projects truly felt like a party!
New release will be available February 8th.
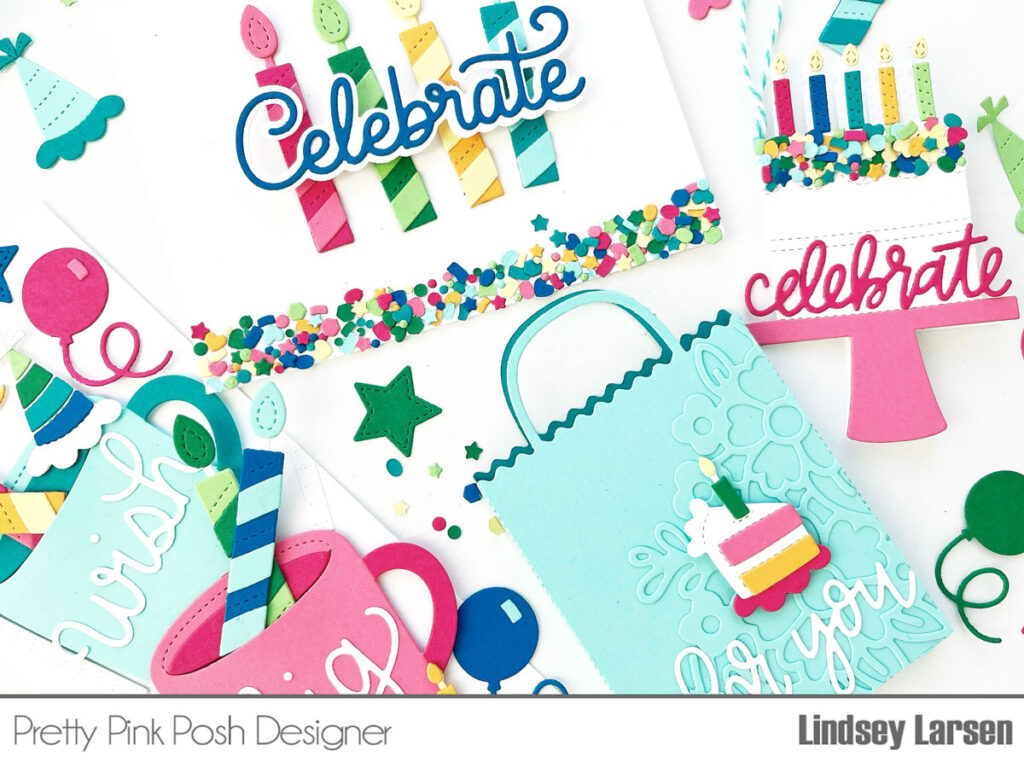
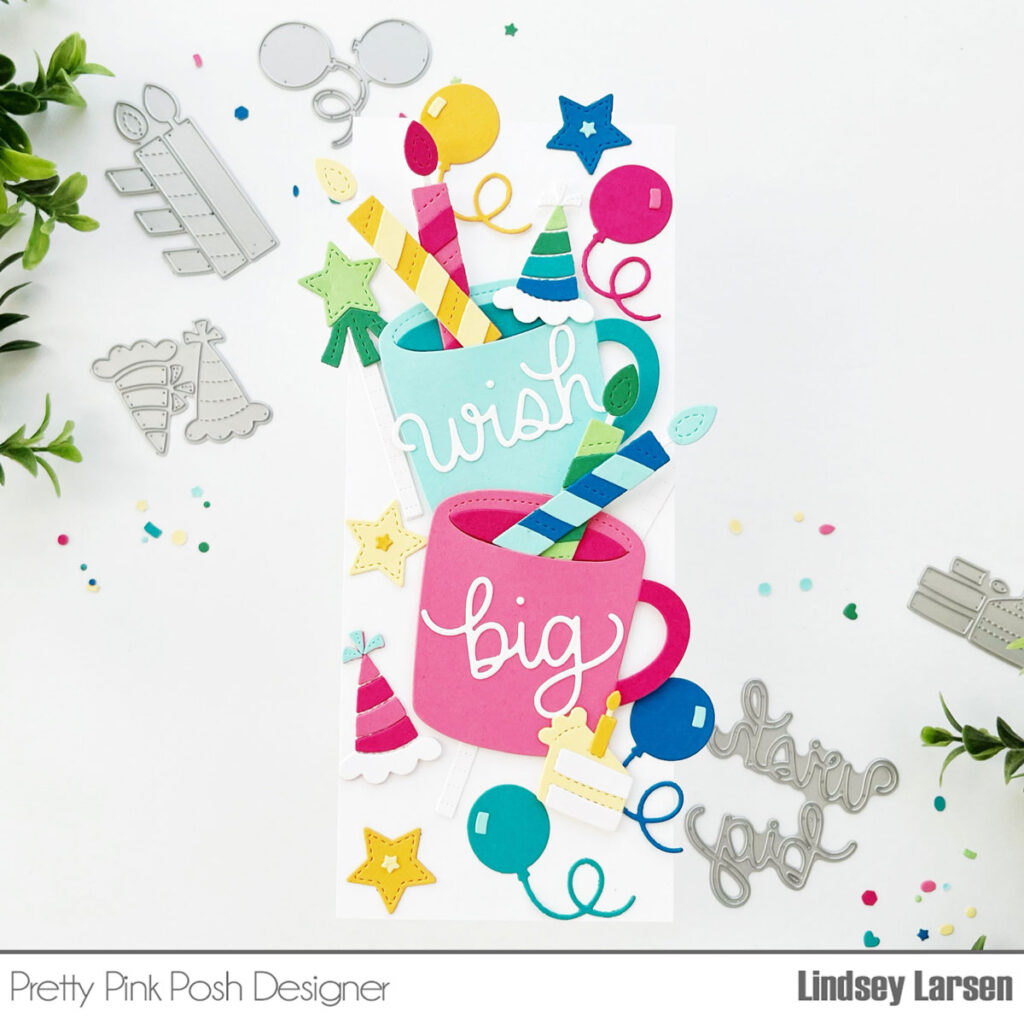
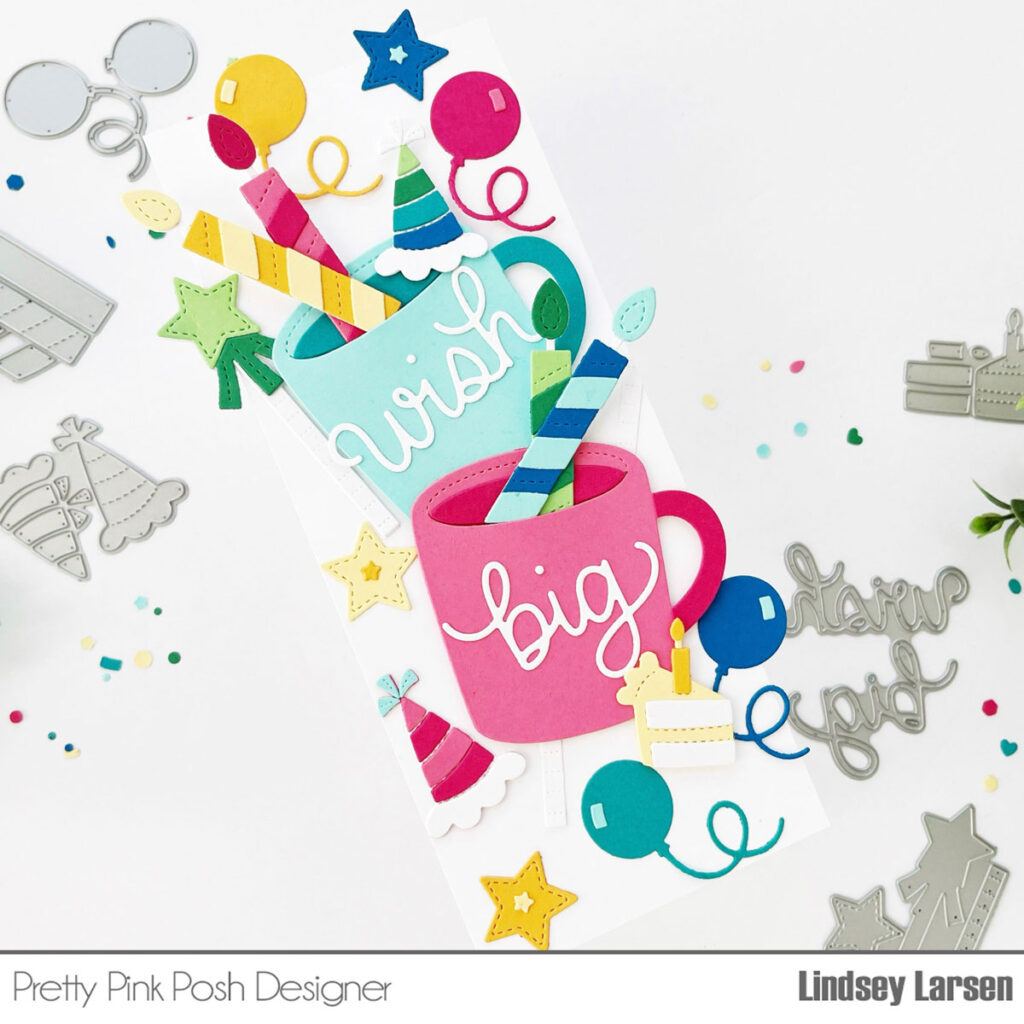
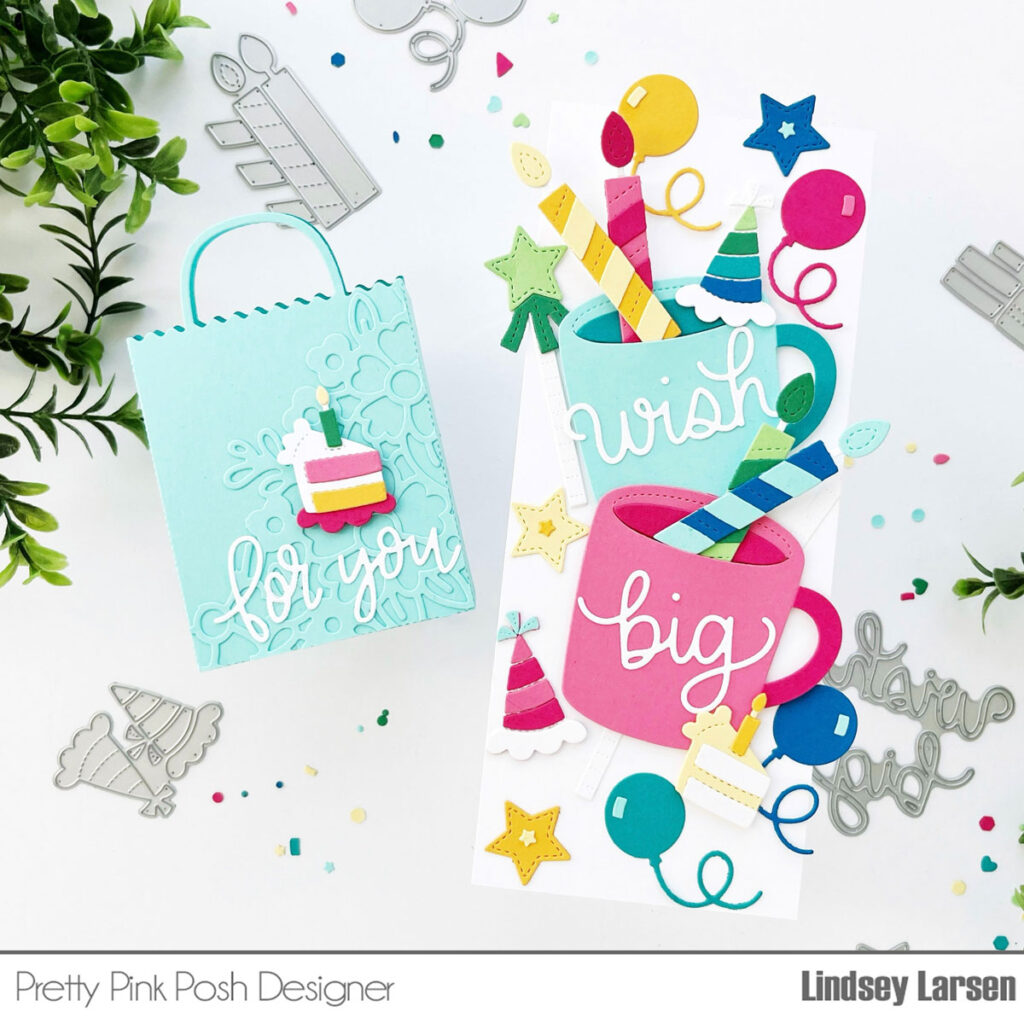
My first card uses the Birthday Mug Additions. It’s a fabulous set that compliments the Winter Mug Dies, but it can also stand on its own.
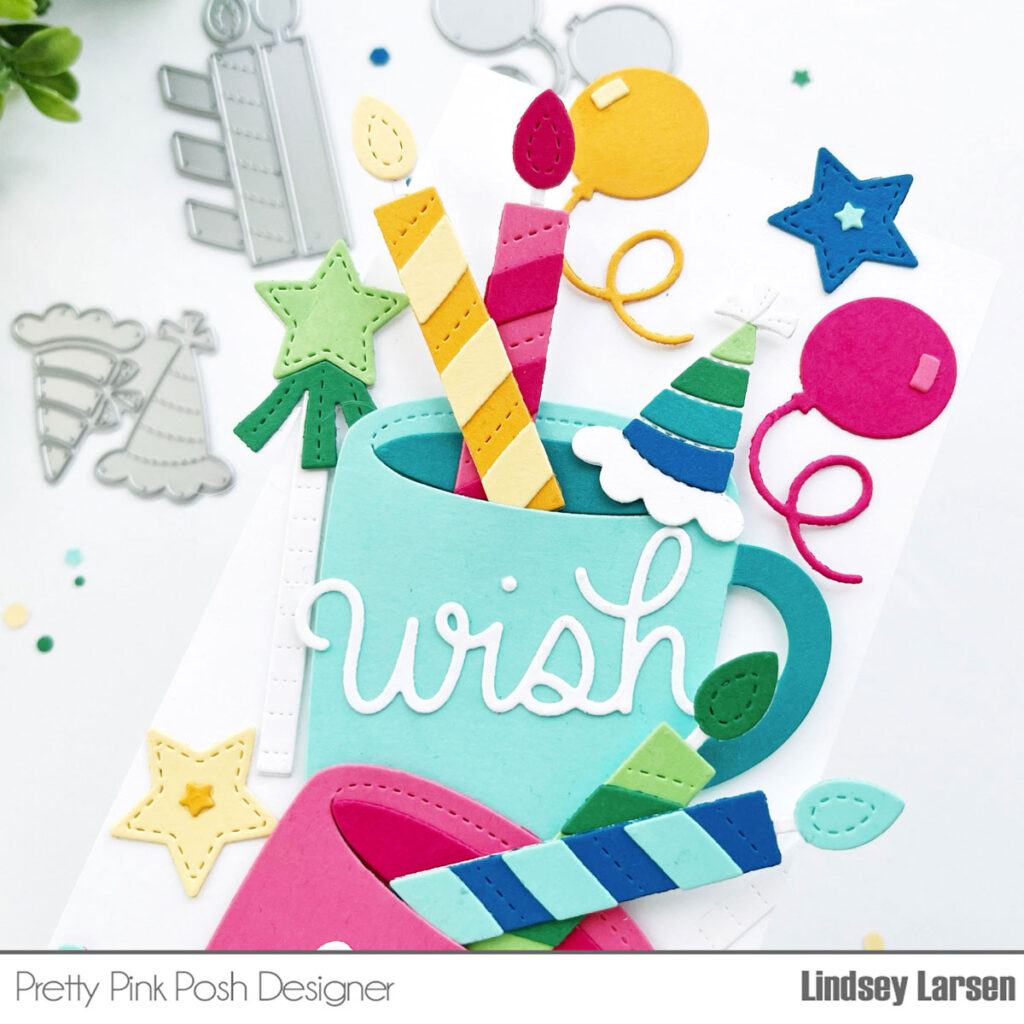
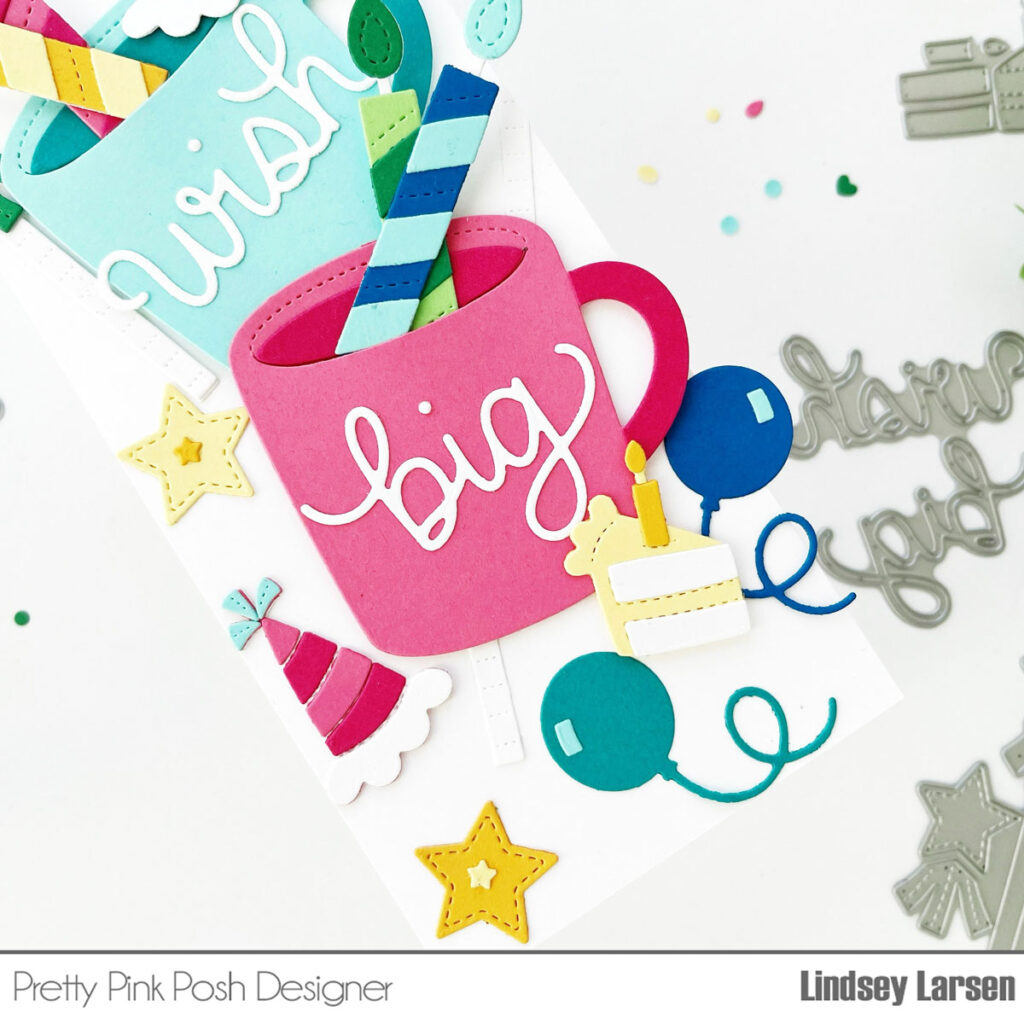
I love the look of mugs that have a different color on the handle and the inside, so I set out to create them on my card using the Winter Mug dies. I simply trimmed off the handle of the mug in a darker shade and adhered it on top of the lighter mug’s handle.
I filled the mugs with dies from the Birthday Mug Additions and added several on the card base as well. These dies have lots of paper piecing options and cute stitched details. The tiny stars and rectangle details on the stitched stars and balloons are from the little confetti dies in the new Fancy Cake die set. I thought they paired perfectly together.
Finally, I added the sentiment onto the mugs using the new Wish Big Script Dies. This card is a little over the top, kind of like a party exploded on it, but it sure makes me smile.
Next up is a matching little gift bag.
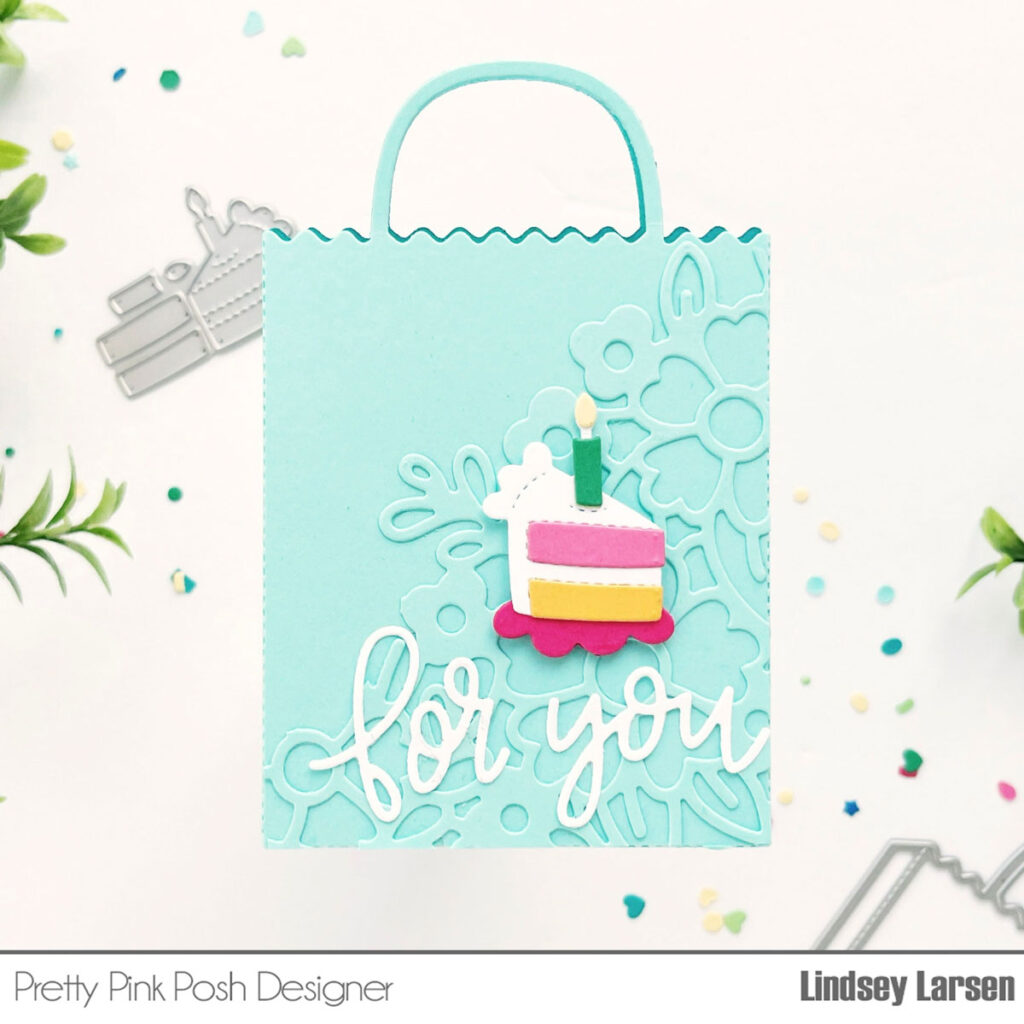
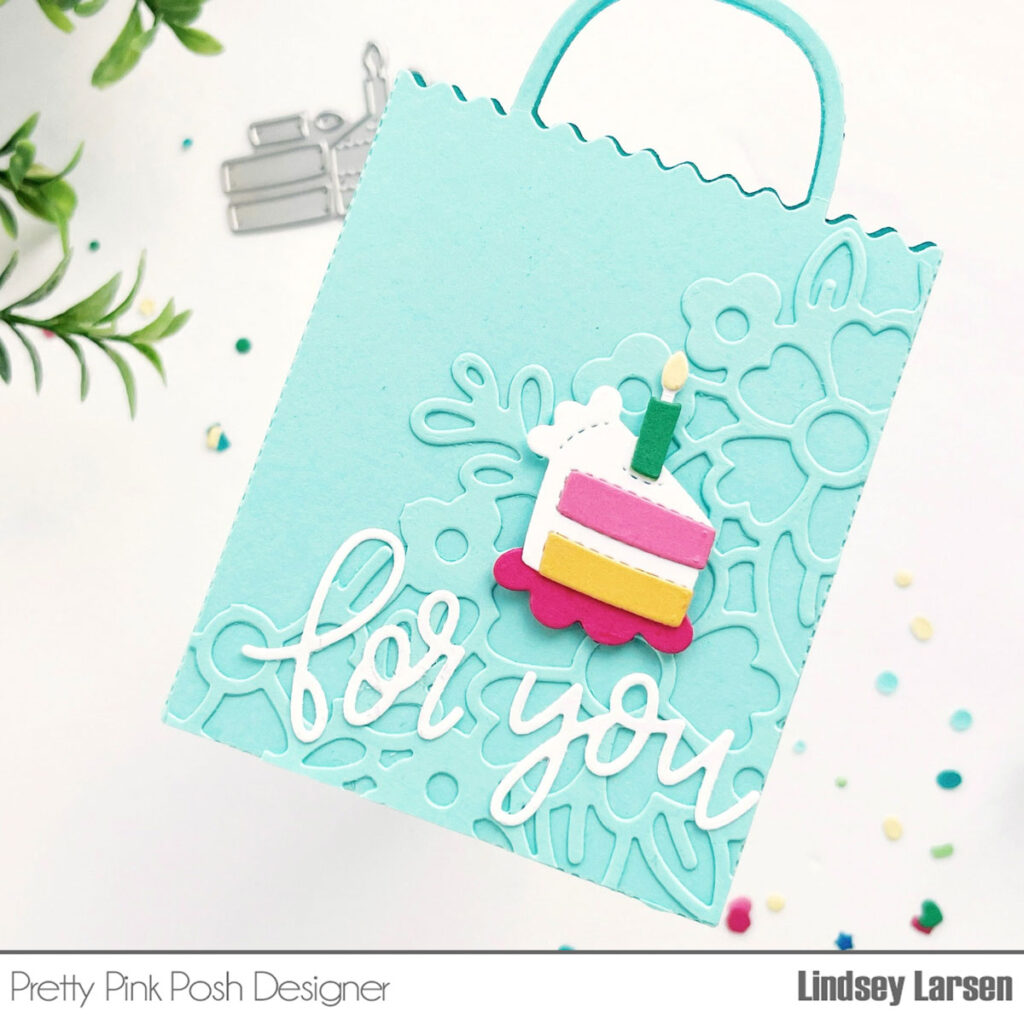
The new Gift Card Bag die is so much fun! You can cut the die once and adhere it to a card base, or you can cut it twice and create a little bag that stands on its own as I did here. A gift card tucks perfectly inside, but thin treats, jewelry, etc. could fit inside, too.
I chose to die cut the die in two different shades of blue, and adhered the tabs to each other to create a little bag. I decorated the front of the bag with the Spring Corner Frame die, trimming off the excess portion. Then I added a little piece of cake from the Birthday Mug Additions and one of the sentiments in the Gift Card Bag die set.
There were so many fun dies, so I made a second card/tag set.
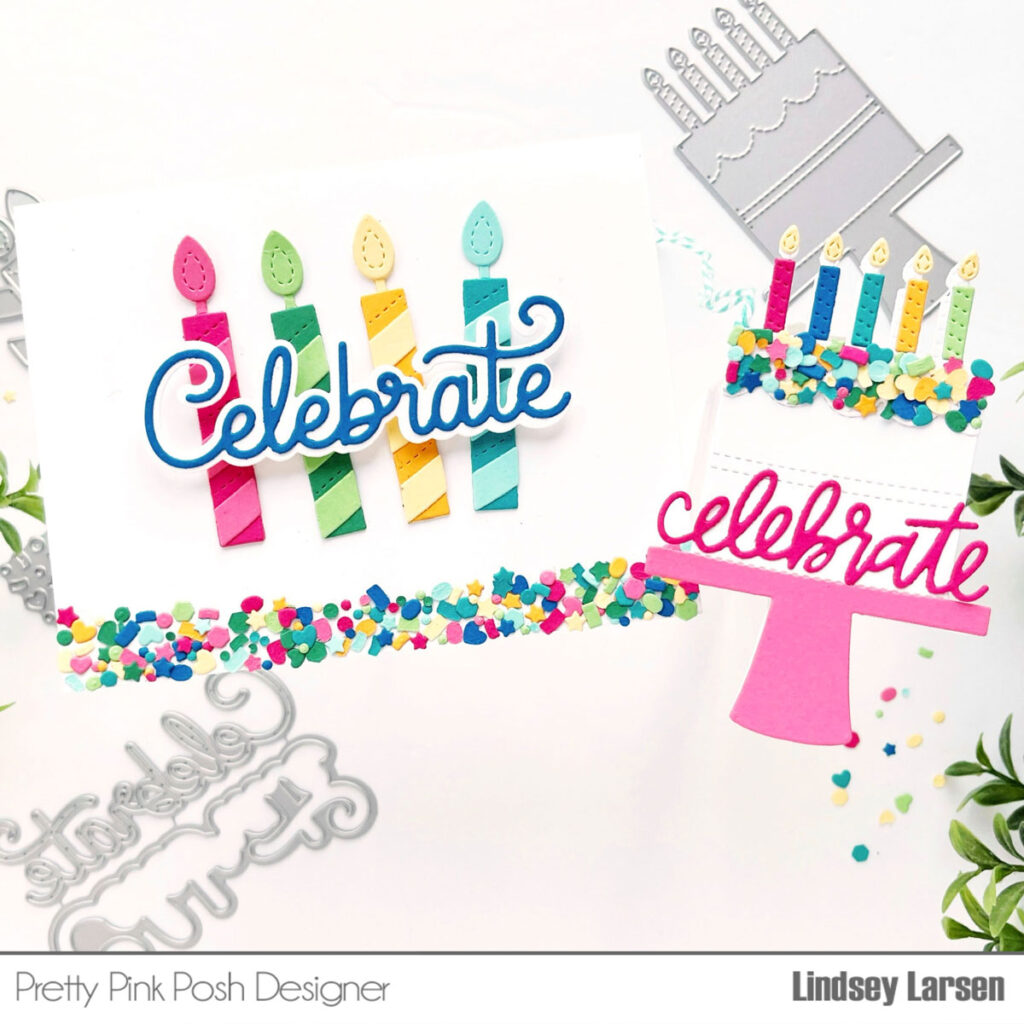
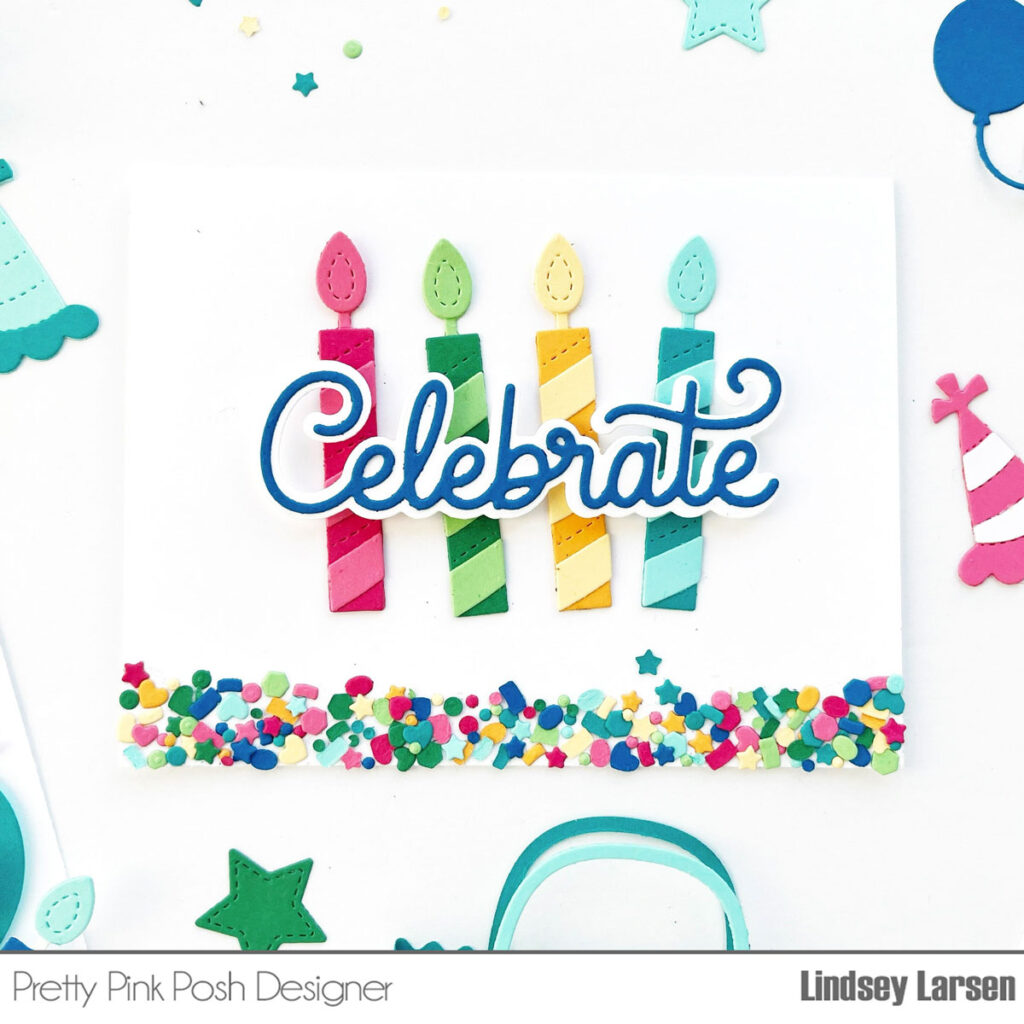
I used the candle dies from the Birthday Mug Additions as the focal point on my card and paired them with the new Large Celebrate Shadow Dies.
Next I cut the little confetti/sprinkles dies in the Fancy Cake die set in 9 colors until I had a big pile. I added liquid glue across the bottom of my card then sprinkled the confetti all over it.
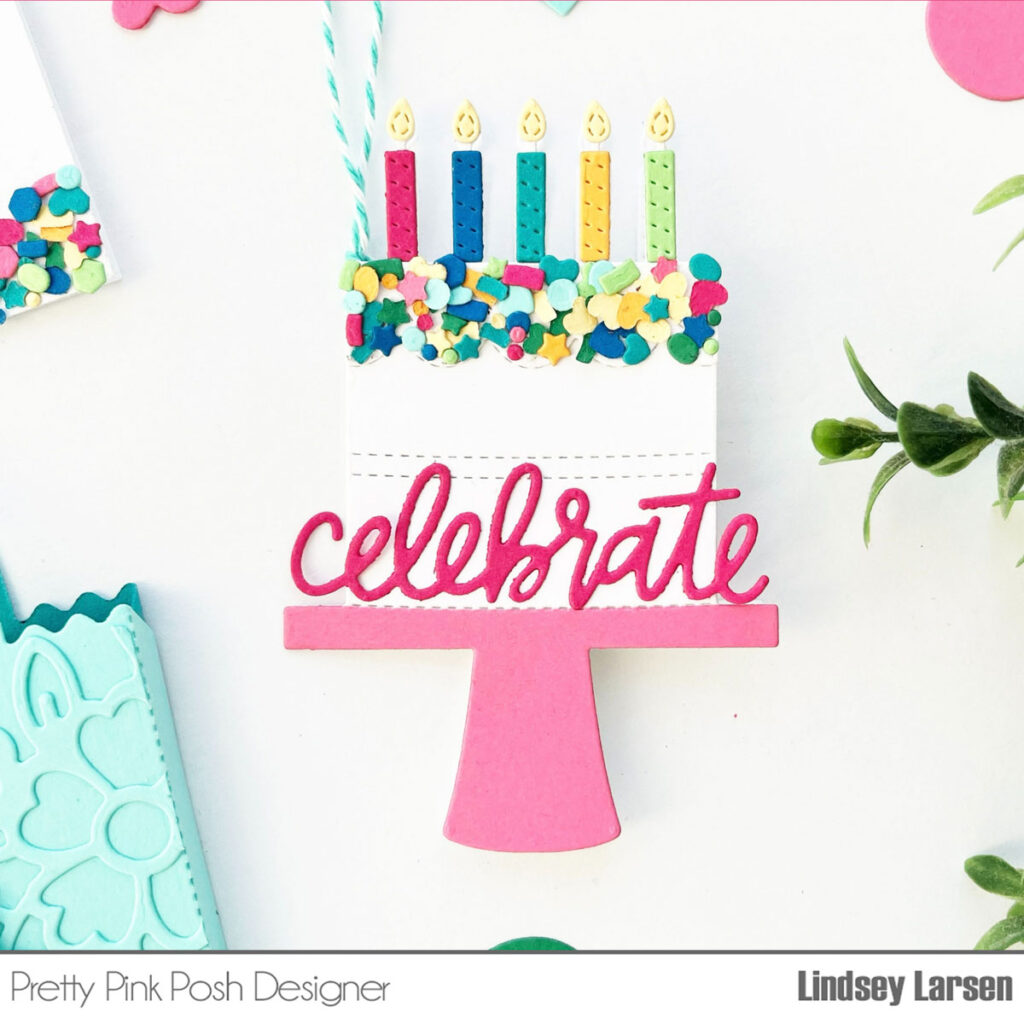
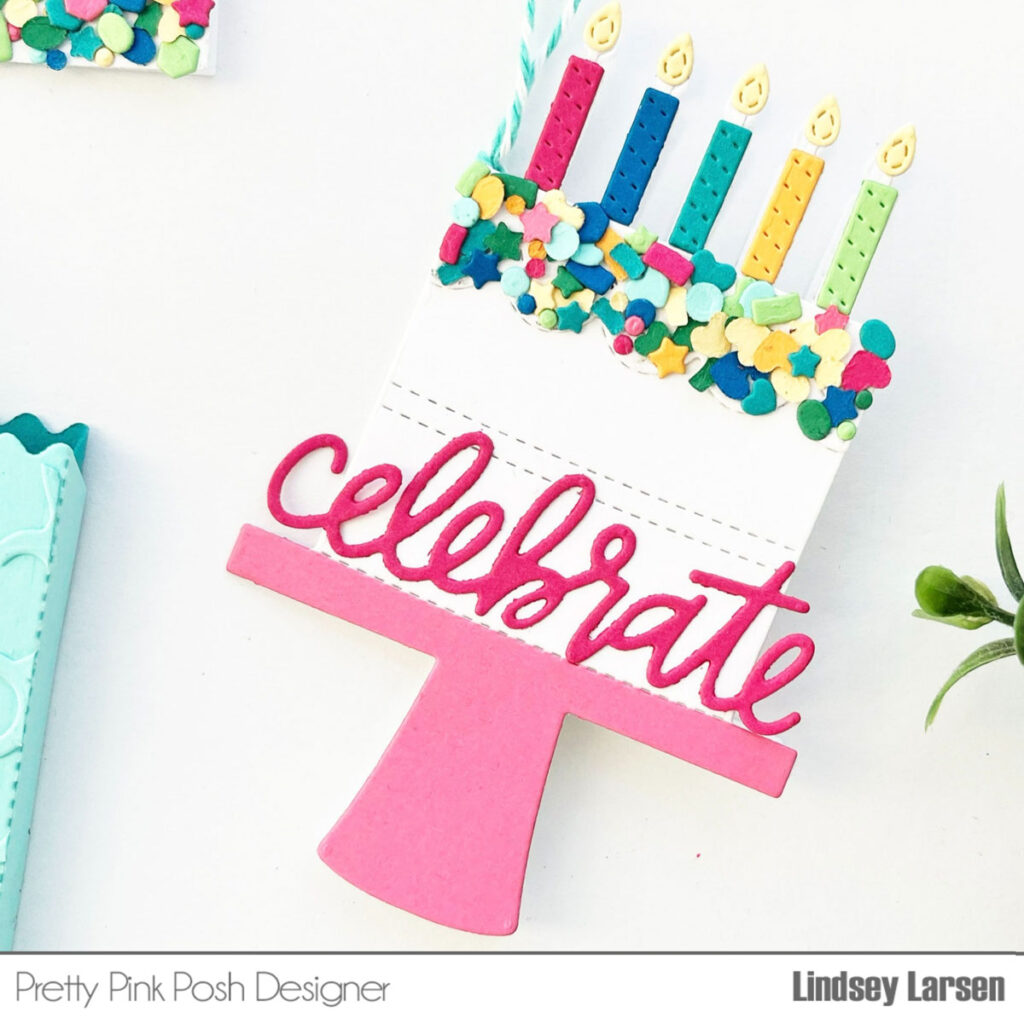
It reminded me of the sprinkle covered cakes, so I repeated the idea on a matching cake tag using the Fancy Cake dies. The “celebrate” sentiment is from the Gift Card Bag dies.
I die cut the cake from a folded piece of cardstock, so the the tag opens like a little shaped card.
Thanks so much for visiting today! These dies have boundless potential for creativity and are so much fun to use. Join us tomorrow as we reveal the products and the bundles go live!
Hi friends! It’s Dana here today and I am excited to be back sharing a sneak peek of the new stencils coming to Pretty Pink Posh. This release is packed full of fun new birthday products and includes four new stencil sets! Today I will be using two of the sets- Layered Birthday Cakes and Layered Party Hats– let’s get started.
New release will be available February 8th.
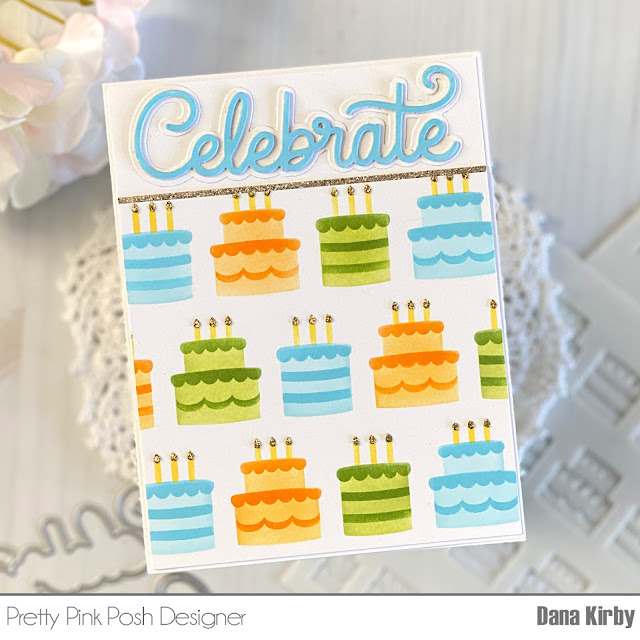
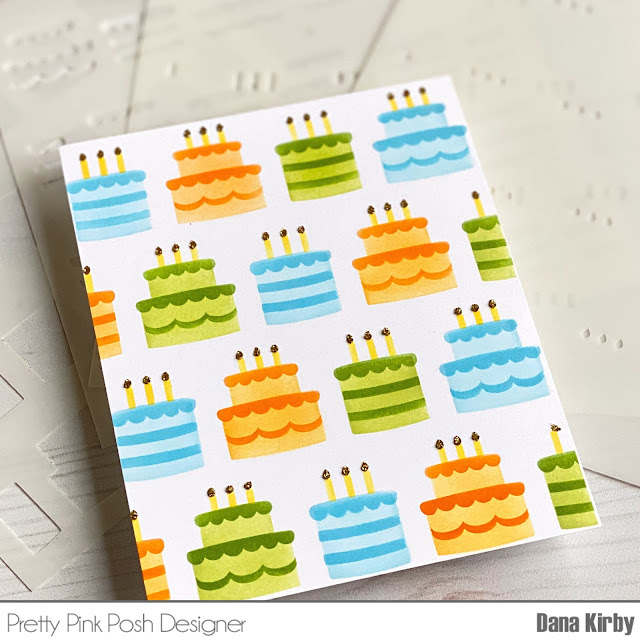
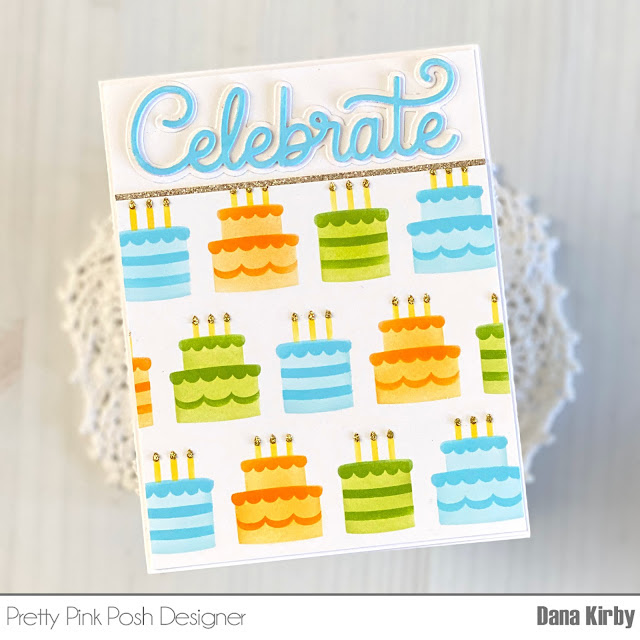
My first card uses the Layered Birthday Cakes stencil set. This is a four pack of stencils that line up to create the sweetest cakes ever! I used dye ink for my blending and chose to use colors with a more “boyish” feel… though these cakes are adorable with any color palate! For my last layer (the candle flame) I used Glitz Glitter Gel in goldfor a little extra sparkle.
Next, I trimmed my panel down and attached a thin strip of gold glittered cardstock to the top. I then attached my panel to an A2 card base. Lastly, I used the new Large Celebrate Shadow die for my sentiment.
My next card uses the new Layered Party Hats stencil set.
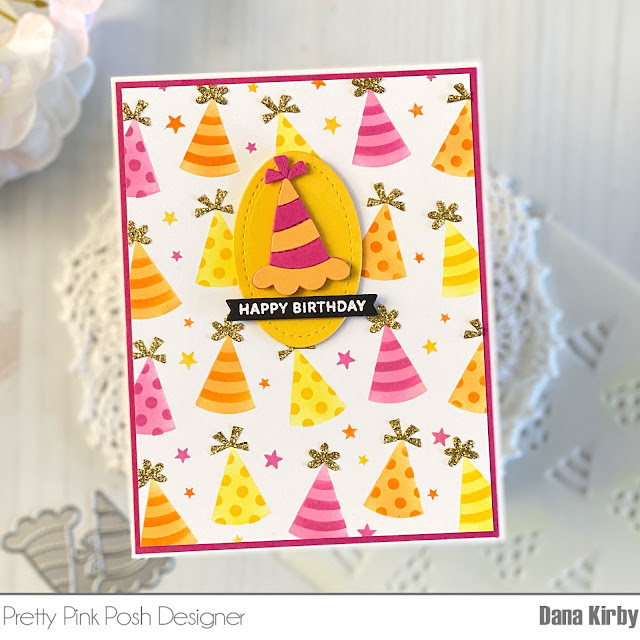
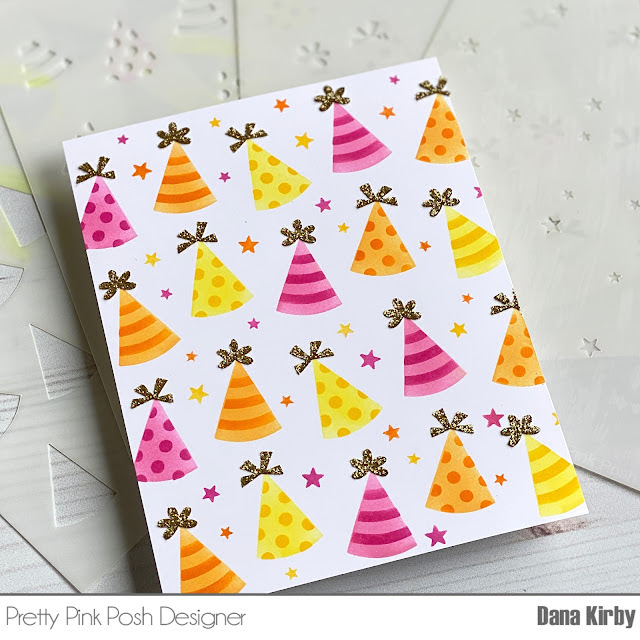
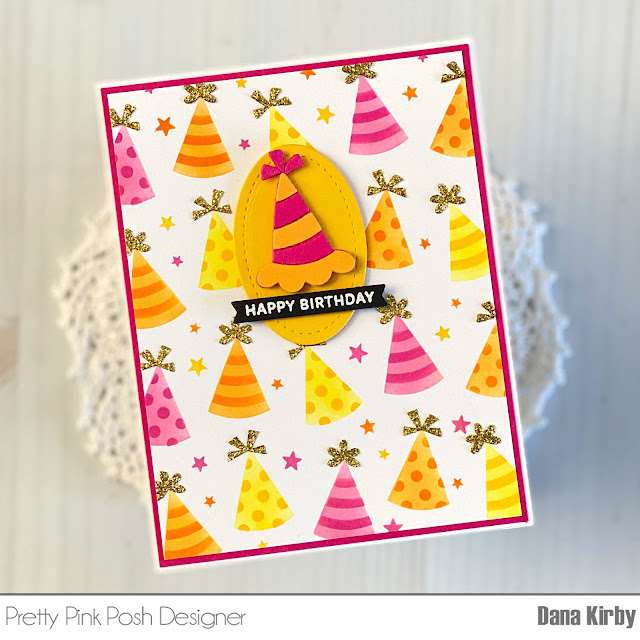
I started my card by using the Layered Party Hats stencil set to create my card panel. This is a set of four stencils that layer together to create a fun birthday panel. I once again used dye ink and finger daubers for all of my blending. On my final layer (the party hat toppers) I used Glitz Glitter Gel in goldagain, to add a little sparkle.
To finish my card, I trimmed my panel down and attached it to a bright pink card panel before attaching it to an A2 card base. I then used the new Birthday Mug Additions die to create a coordinating party hat. I attached the die cut hat to a Stitched Tag oval with foam adhesive. Lastly, I used the Simple Sentiments set for my sentiment.
Thanks for joining me today! I know you will love these fun new products and I can’t wait to see what you create with them.
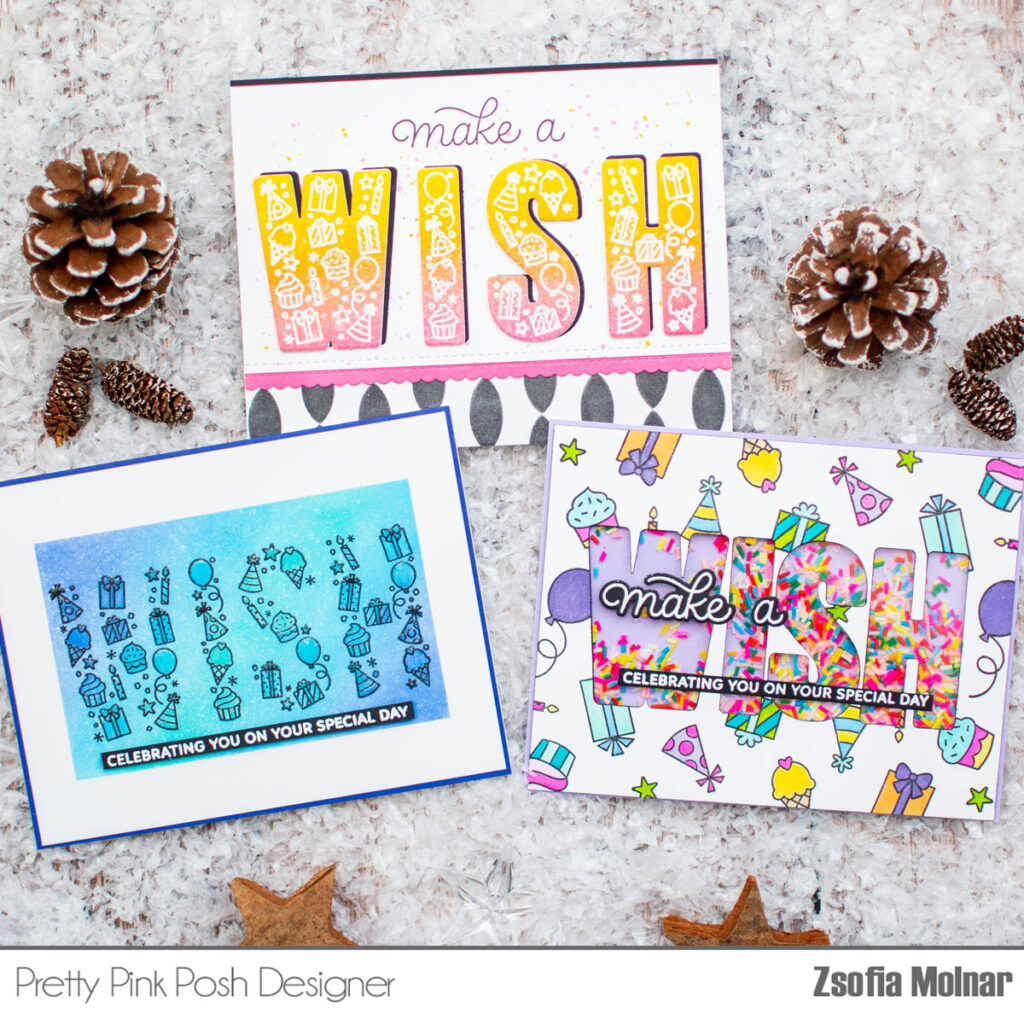
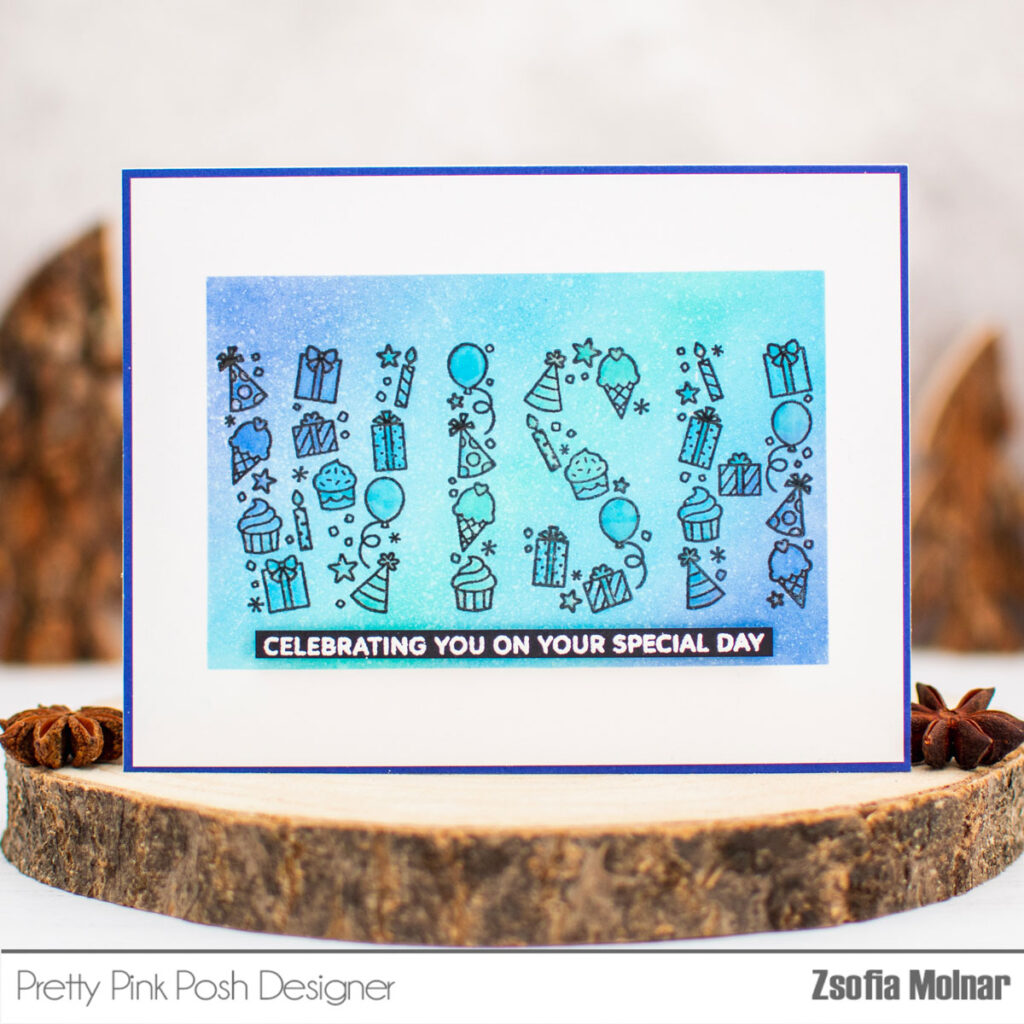
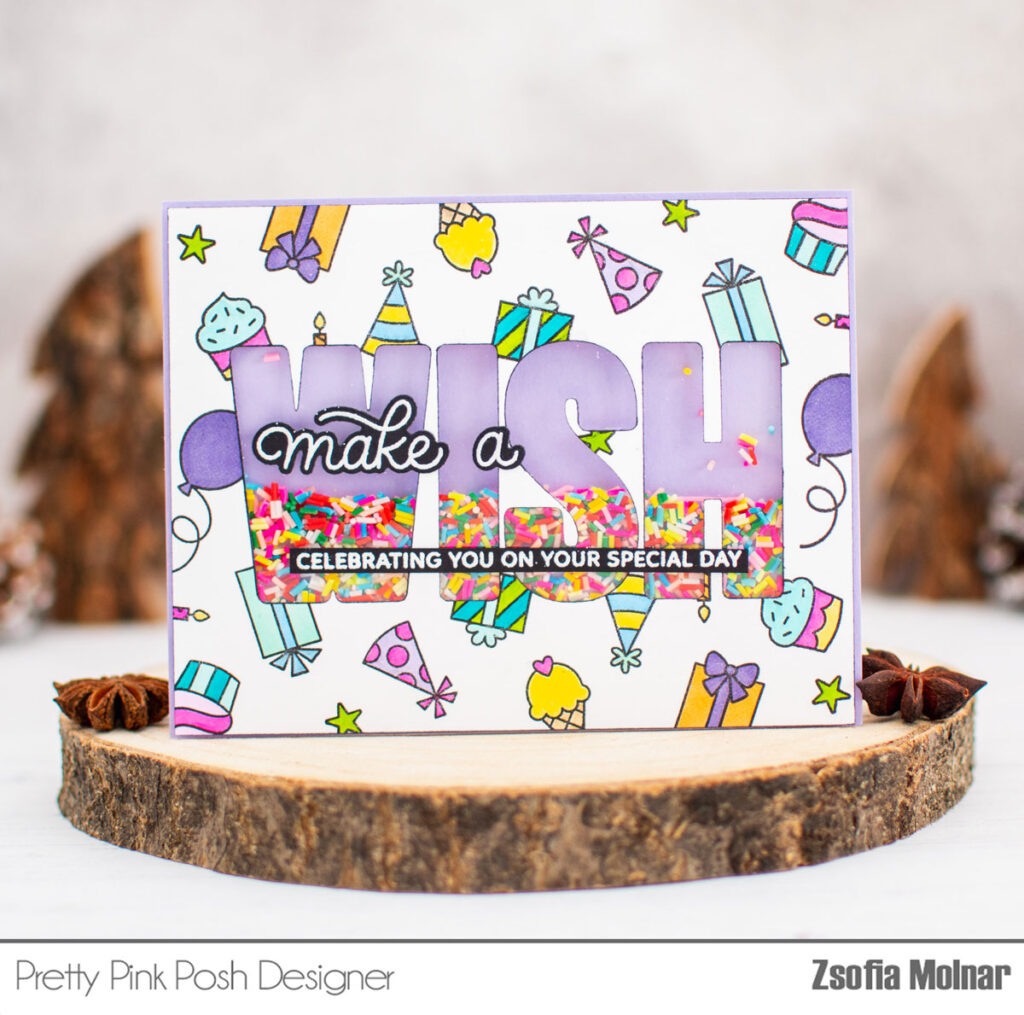
Hi friends! It’s Zsofi here today and I am sharing a sneak peek of the Wish stamp set. It is an incredibly versatile set full of small images besides the big sentiment and it comes with a coordinating die set. I made several cards to show you how many different ways you can use this set.
New release will be available February 8th.
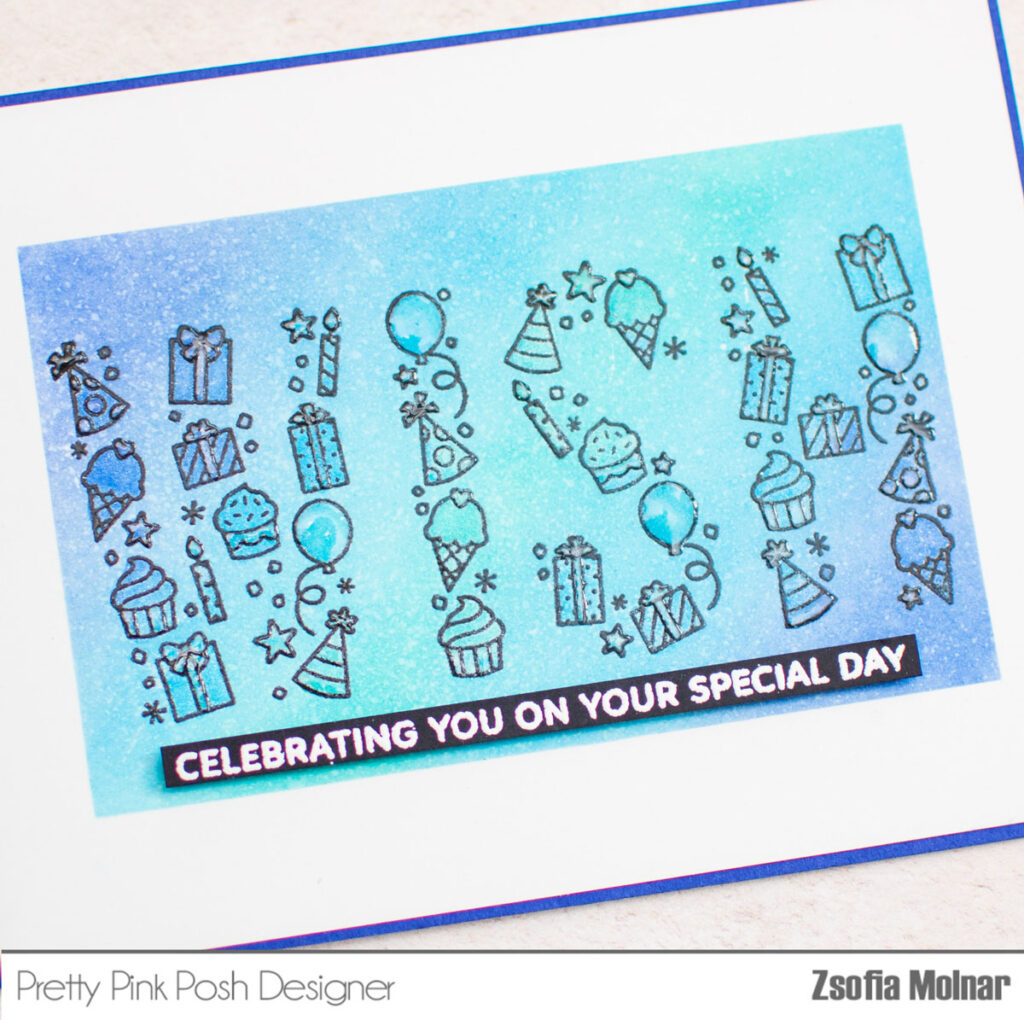
For my first card I stamped the big Wish sentiment with Versafine Onyx Black ink in the middle of Bristol Smooth cardstock which measures 4.25 x 5.5 inches. I heat embossed it with clear embossing powder. I love the raised edges and in this way I can be sure that I will not smear the ink while doing some ink blending.
I masked off the sides of the cardstock with masking tape and used Distress Oxide inks with a blending brush to give it some colour: Blueprint Sketch, Mermaid Lagoon and Peacock Feathers. Then I squeezed some ink on my glass mat and painted the images using a clear shimmer pen as a paintbrush. It gives a tone-on-tone sparkly look, I love it!
I cut down the panel tiny and gave it a blue violet mat. I also white heat embossed a sentiment on black cardstock and cut it down to be a thin strip. I used 3D foam squares to pop it up. I finished the card by adding glossy accents to emphasize some details.
CARD #2
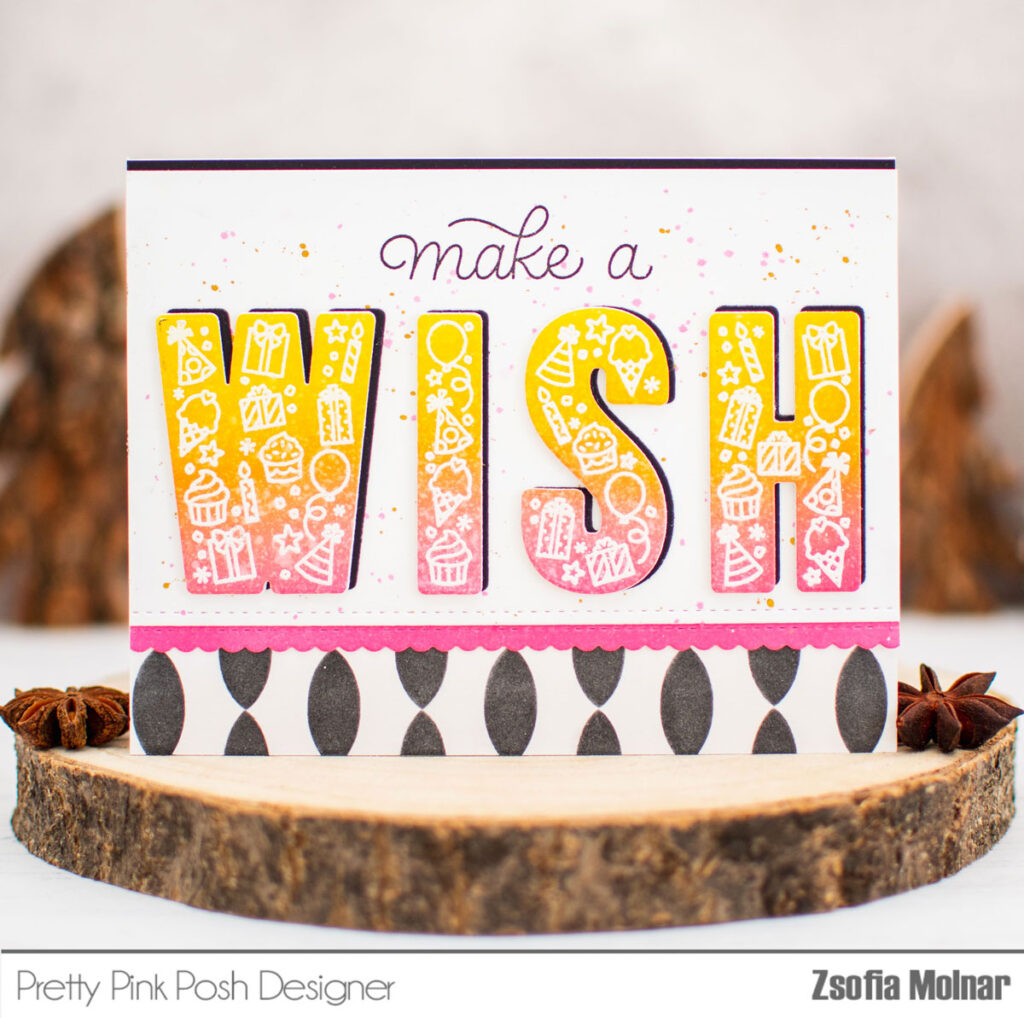
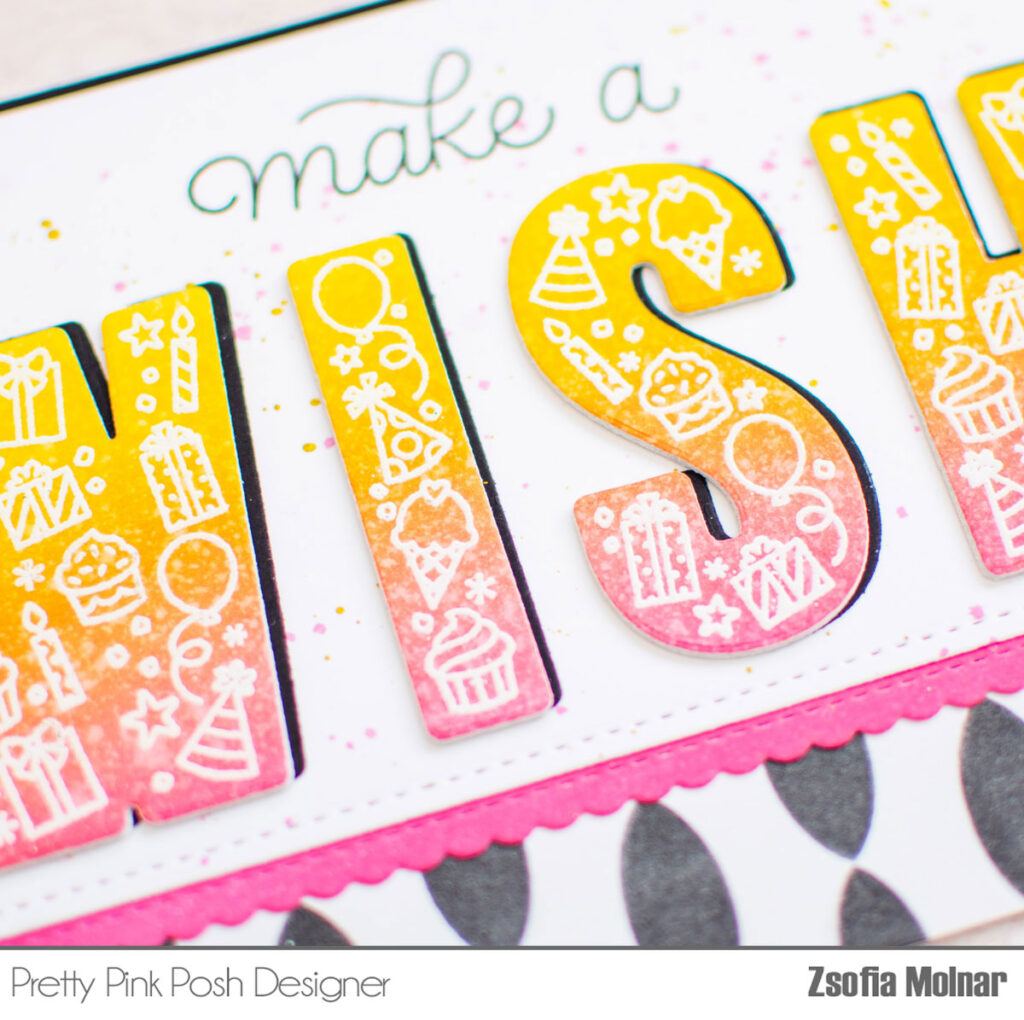
For my second card I white heat embossed the big Wish sentiment on Bristol Smooth cardstock and did a quick ink blending with Distress Oxide inks: Picked Raspberry, Spiced Marmalade and Mustard Seed. I used the coordinating die to cut it out and I also cut it from black cardstock to create a shadow for the sentiment. I simply adhered the black letters tiny offset behind the inked ones.
I used the Scallop Borders die set to cut down a piece of white cardstock, I love the stitching detail. I used another die from the same set to cut the scalloped border and blended it with Picked Raspberry ink. This way it surely matches the sentiment in colour. I added some diluted ink and gold splatters to the white background, stamped a sentiment on the top from the Wish stamp set and adhered the letters.
I used the new Streamer stencils to add a fun black pattern to the card base before popping up the focal panel.
CARD #3
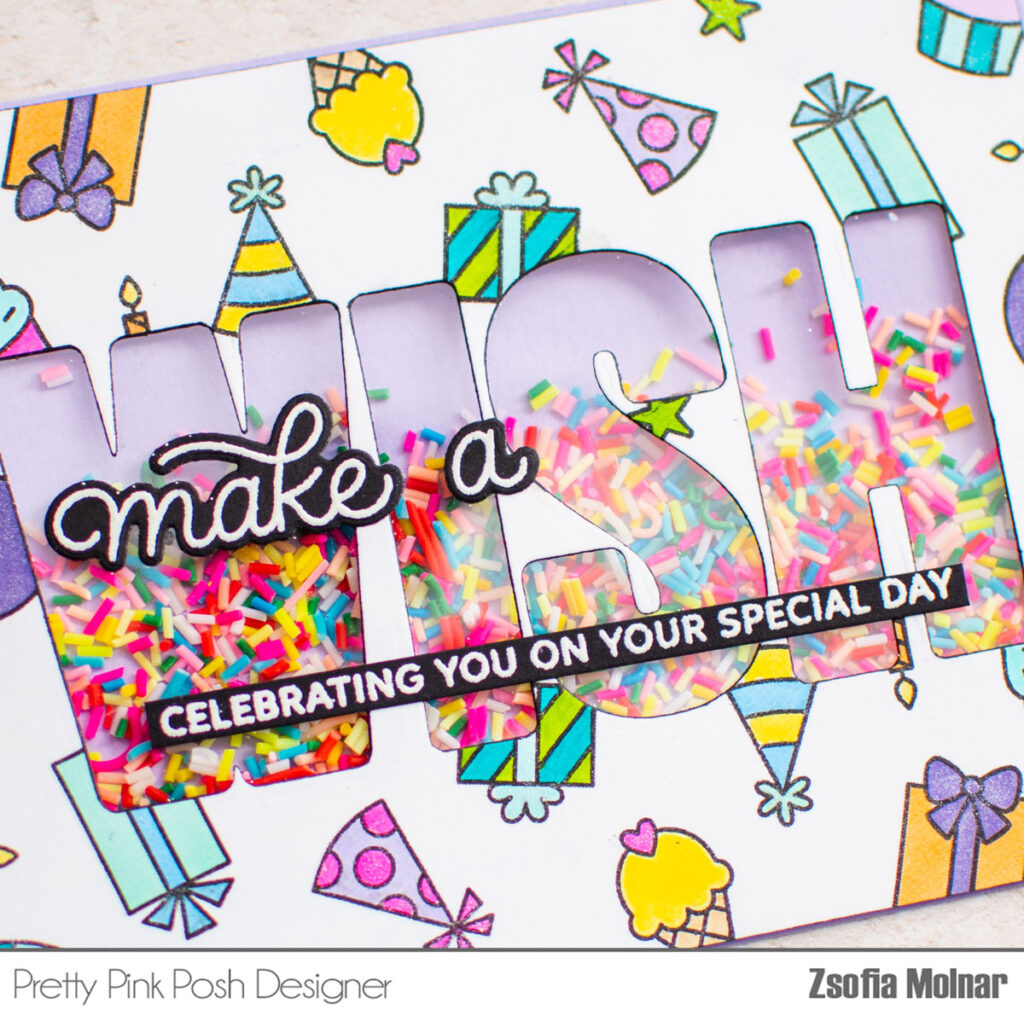
As the Wish stamp set has a lot of small images, I wanted to create a fun shaker card using those: I cut the coordinating Wish die in the middle of a piece of white cardstock and stamped the small images around. Using a stamp positioner makes this process super-fast. I quickly coloured them with Spectrum Noir Illustrator markers but without shading, just very simple colouring. When I was done, I used a black Memento marker on the die cut edges, I gives it a very thin border.
I adhered a piece of acetate to the back of the coloured panel and added 3D foam tape around the window. I used a light purple card base and poured some Funfetti Mix to the middle and assembled the shaker.
I white heat embossed the sentiments on black cardstock. I used the coordinating die for one of them – I love die cutting stamped sentiments! The other one I cut down to be a thin strip and adhered both to the window.
As a finishing touch I used a clear shimmer pen to make some elements sparkly.
Make sure you come back in the coming days to see all the amazing inspiration and product reveals from the design team. Thank you for stopping by, I hope you were inspired!
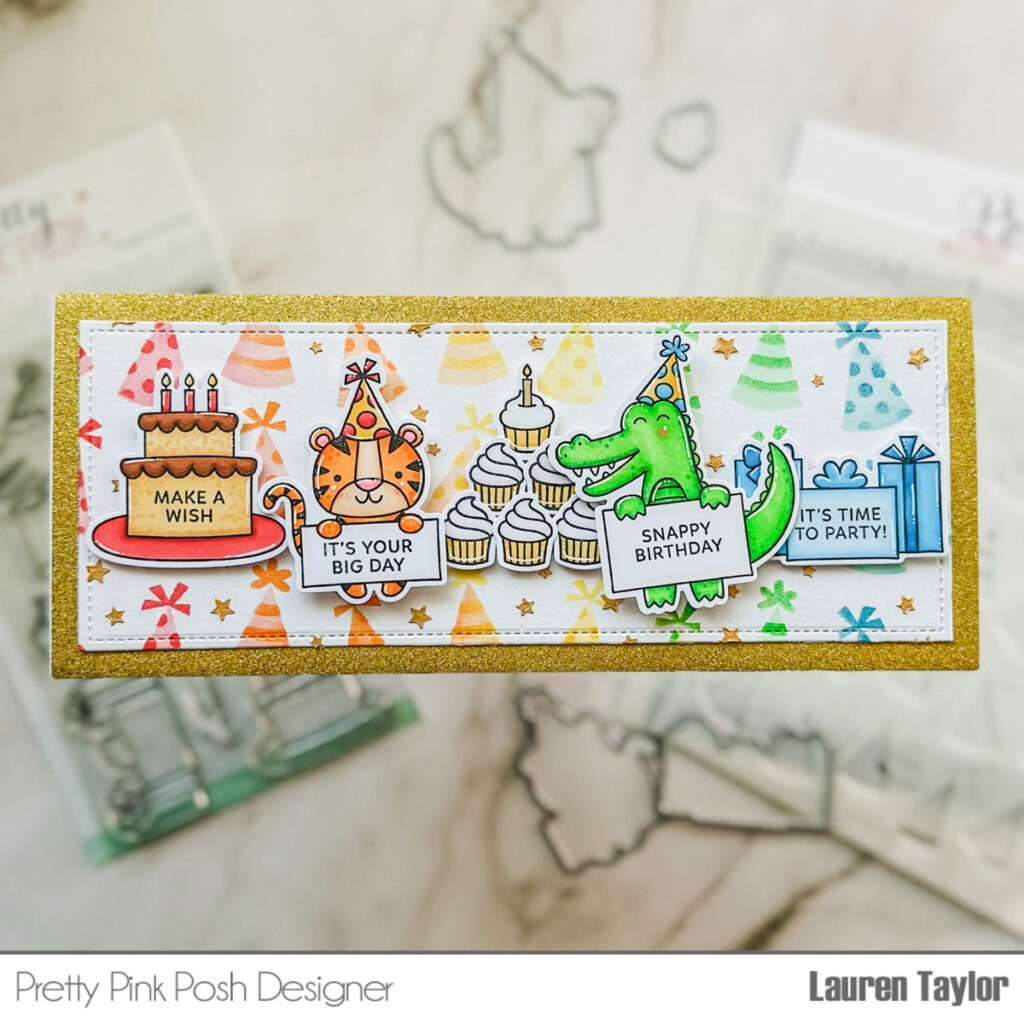
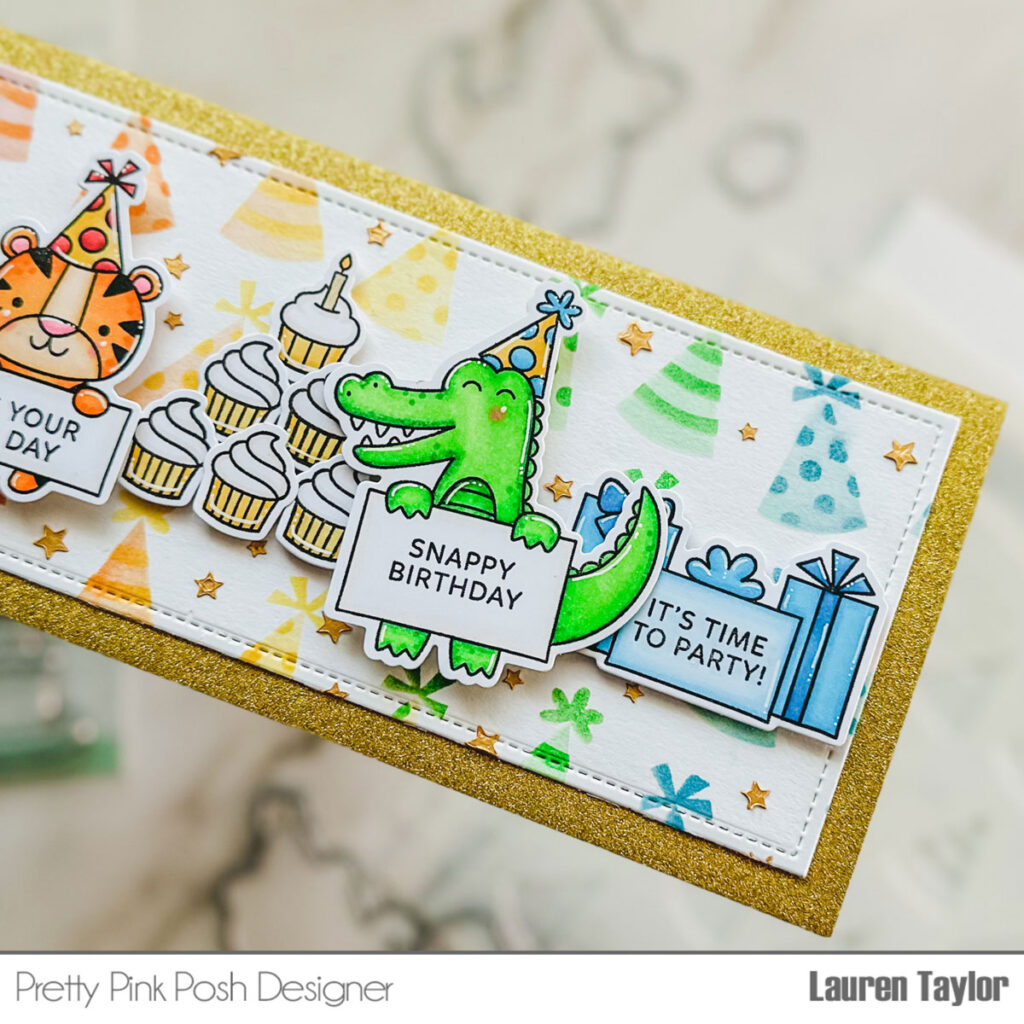
Hi, friends! It’s Lauren and I am so excited to be sharing a little peek at the new Birthday Signs stamp set and coordinating dies! It’s an adorable set that adds more critters in the signs line of stamps.
New release will be available February 8th.
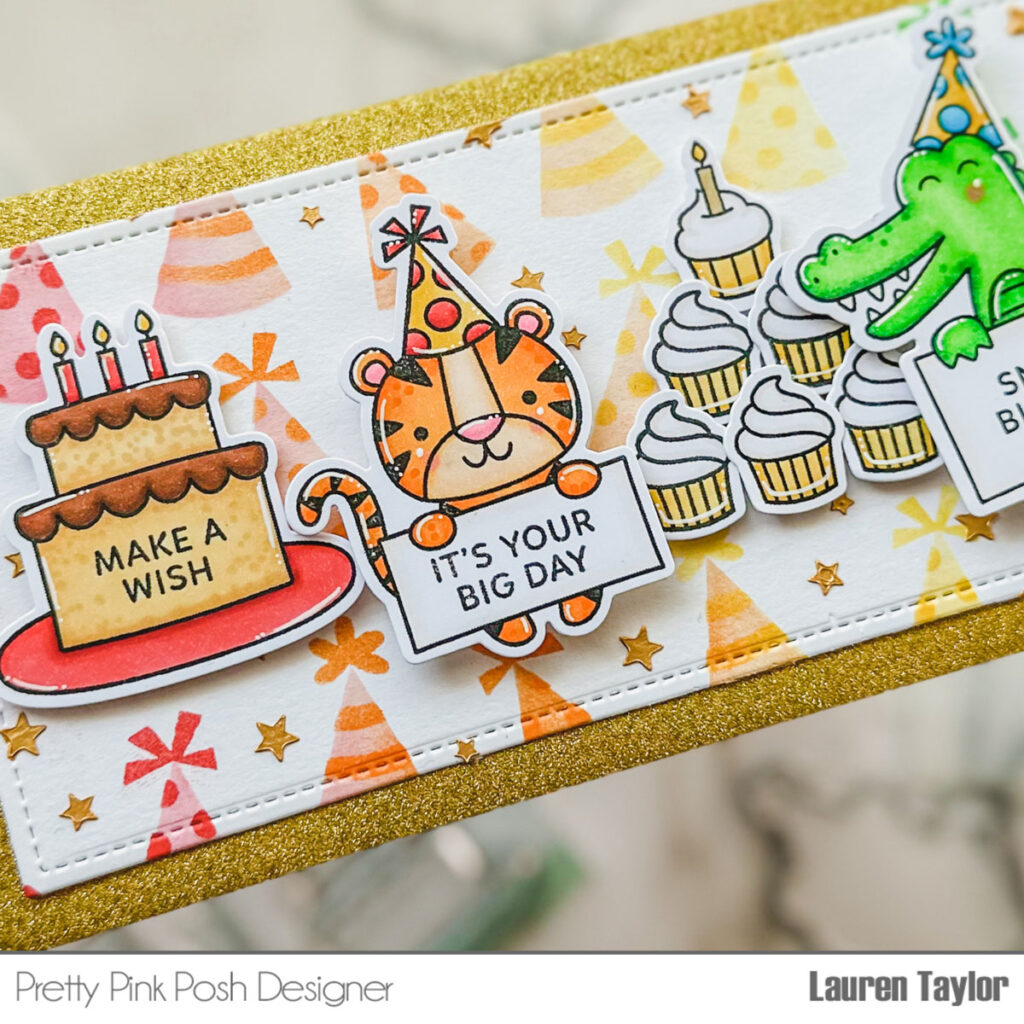
I started with stenciling some party hats using the new Layered Party Hats Stencils with Candied Apple, Carved Pumpkin, Mustard Seed, Mowed Lawn and Broken China Distress Inks. The first layer of hats was a light layer of ink and the hat details layers were with the same ink, but a heavier hand with the ink.
The final layer were the stars and I used some Champagne Gold Stencil Butter for some shine!Once the background was dry, I die cut it into a slimline background and adhered it onto a slimline card base (3.5 x 8.5” when folded) with a shimmery gold background.
Next I stamped the lots of images from the Birthday Signs stamp set. Using Ohuhu Art Markers, I colored in the sweet critters, birthday cake, presents and cupcakes. Once I added some highlights with a white gel pen, I die cut them out with their coordinating dies.
I added the images in the same rainbow order as my background using foam adhesive for some dimension on the card.
I hope you’re as excited as I was to see a tiger and alligator in the signs line of stamps and that you enjoyed this little sneak peek! Come back for tomorrow for another sneak peek!
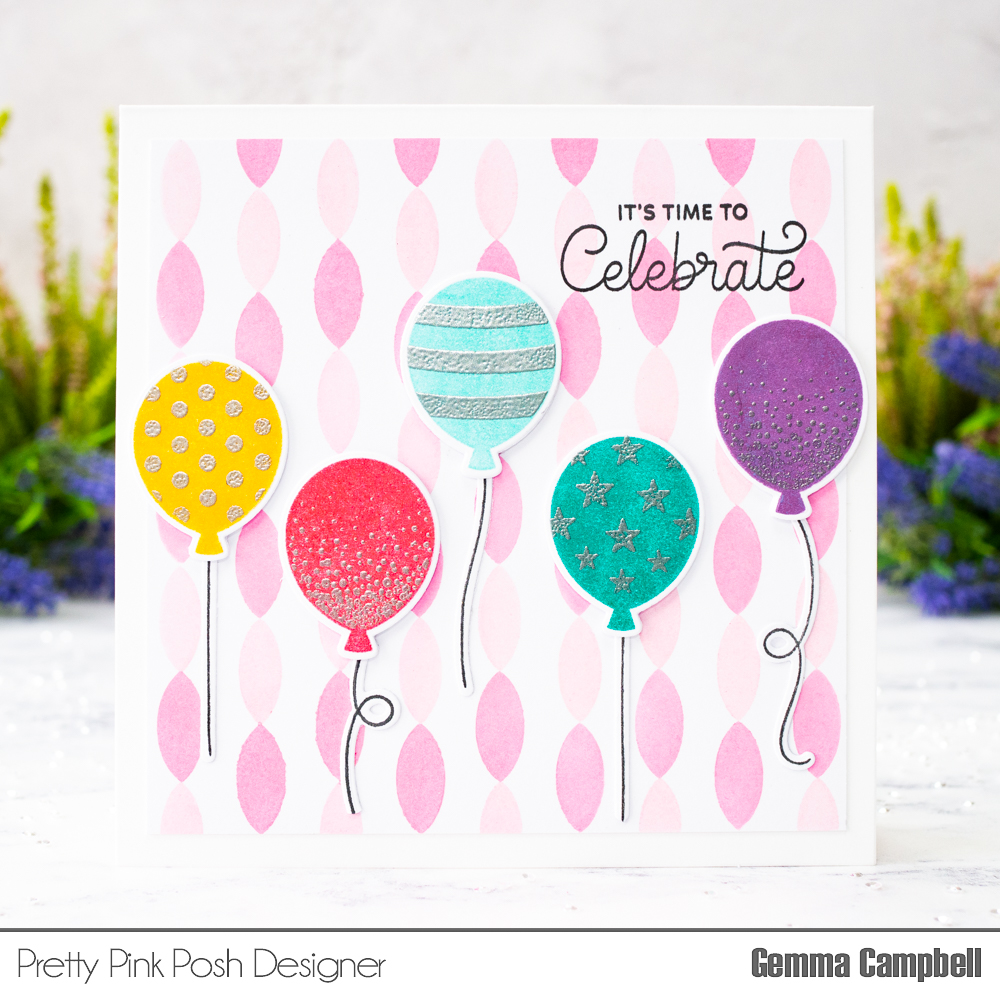
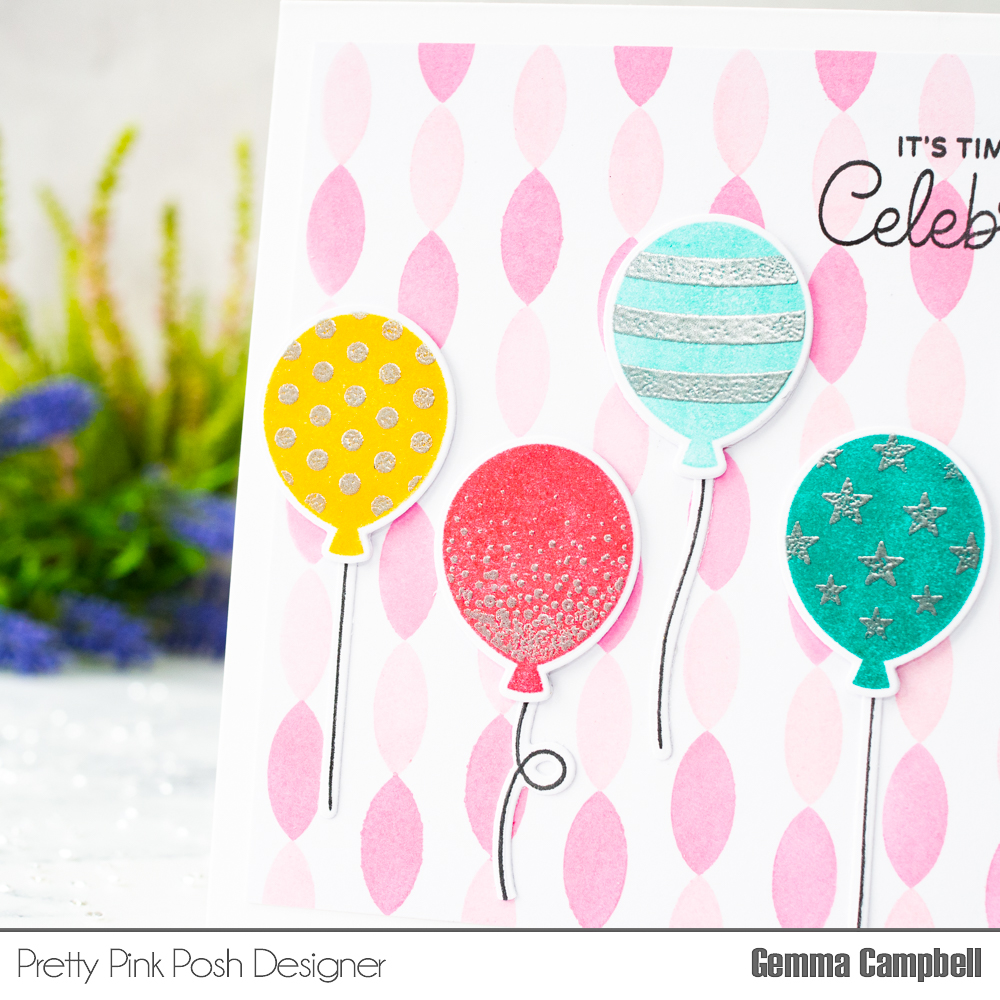
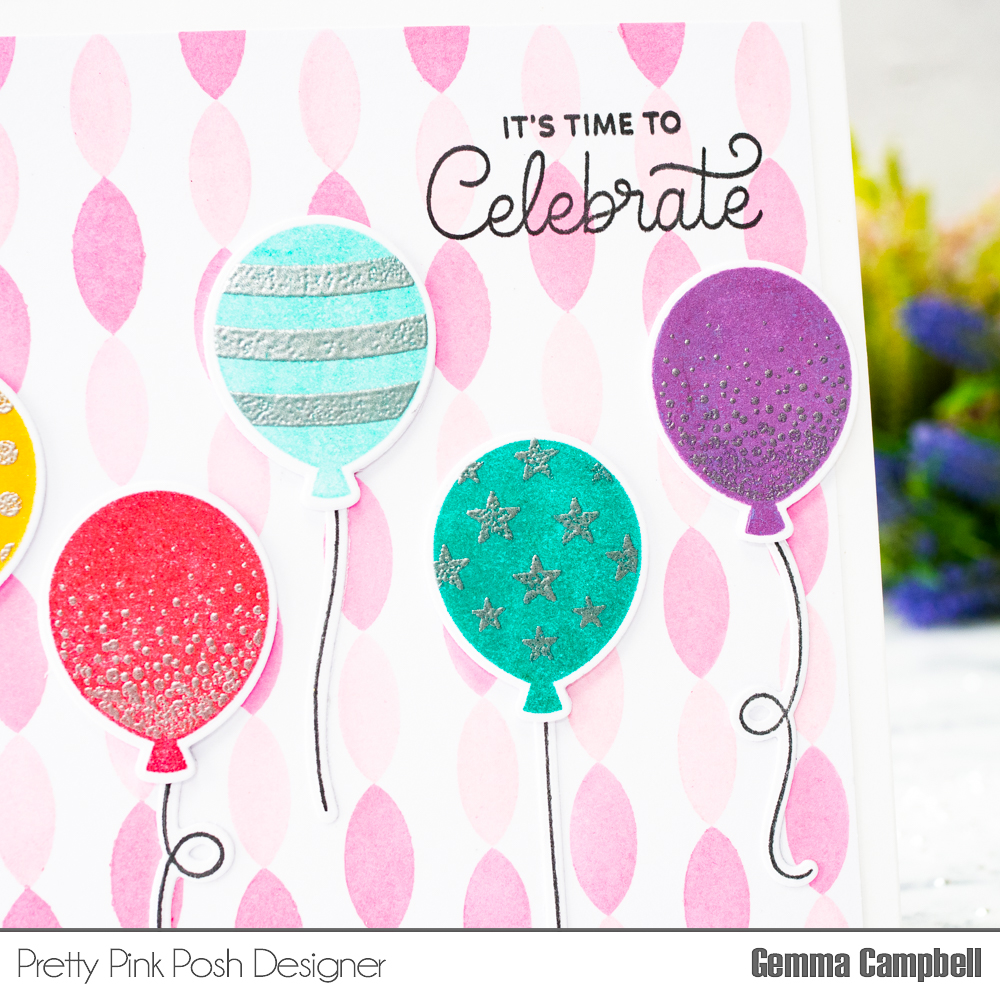
The Birthday Balloons stamp setcomes with both an outline and solid balloons image, along with stamps to add decorative patterns and strings for the balloons.
I stamped the solid balloon image with different coloured inks. Once the inks were dry, I stamped the patterns and heat embossed them in silver. I stamped the balloons strings, then die cut the images with the coordinating dies. The background is created using the new Streamers stencil set, with Spun Sugar and Kitsch Flamingo distress oxide inks.
I adhered it to a square card base, then stamped a sentiment from the newBirthday Sentiments stamp set. I adhered some layers behind the balloons, then added them and the strings to the card to finish.
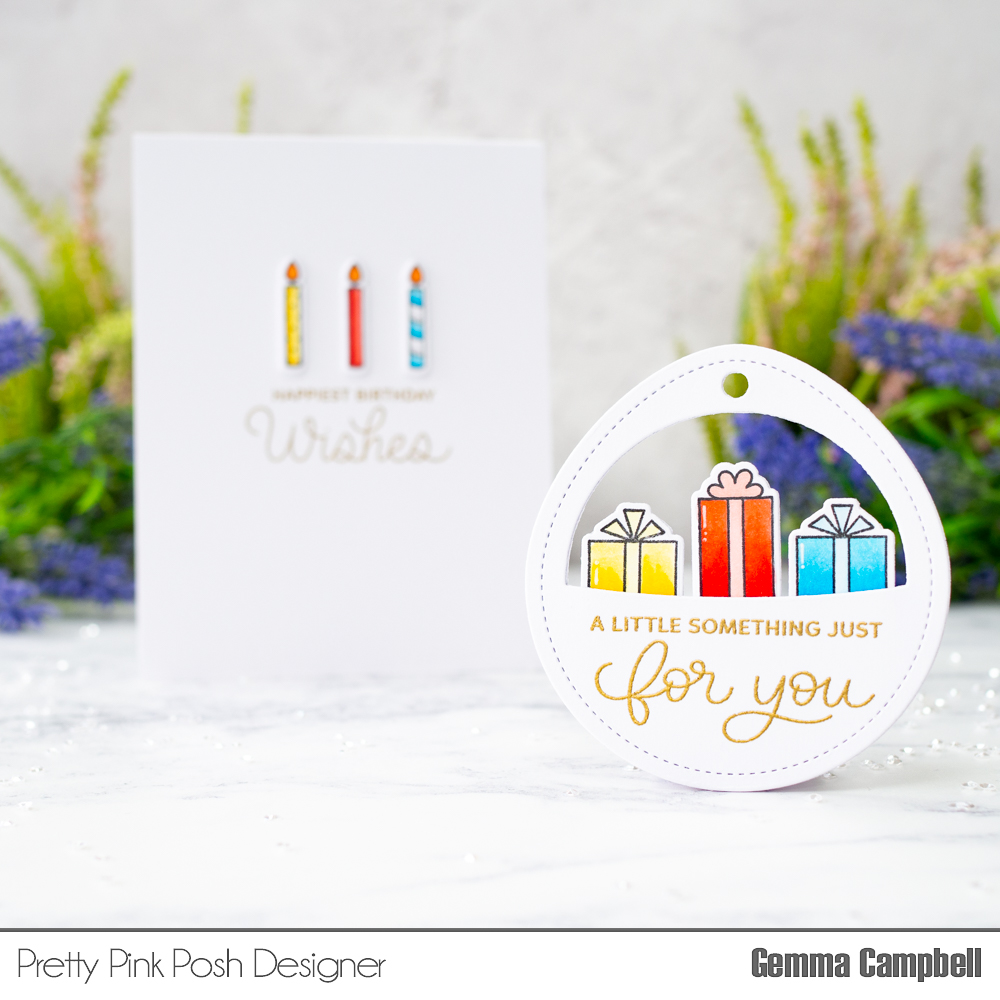
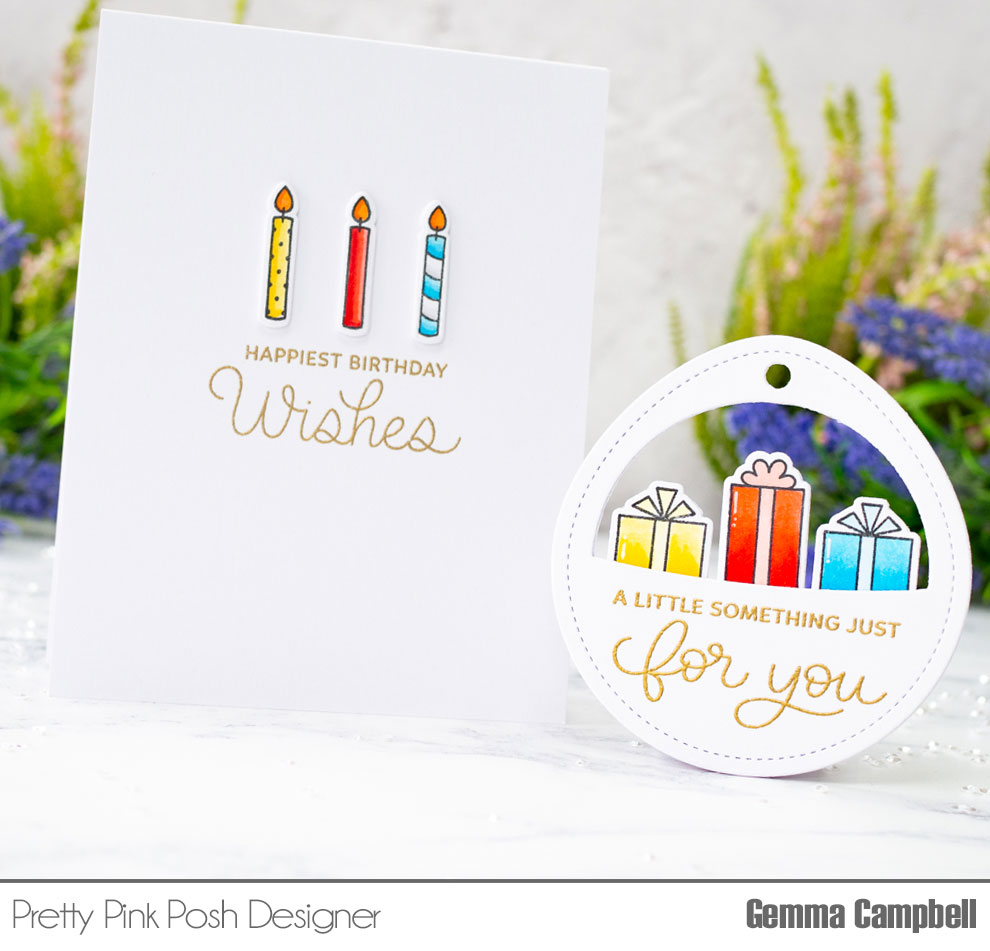
The newBirthday Sentiments stamp set is perfect for both the outside and inside of your cards, along with gift tags. The coordinating die set comes with a unique tag shaped die so I created a card with matching tag.
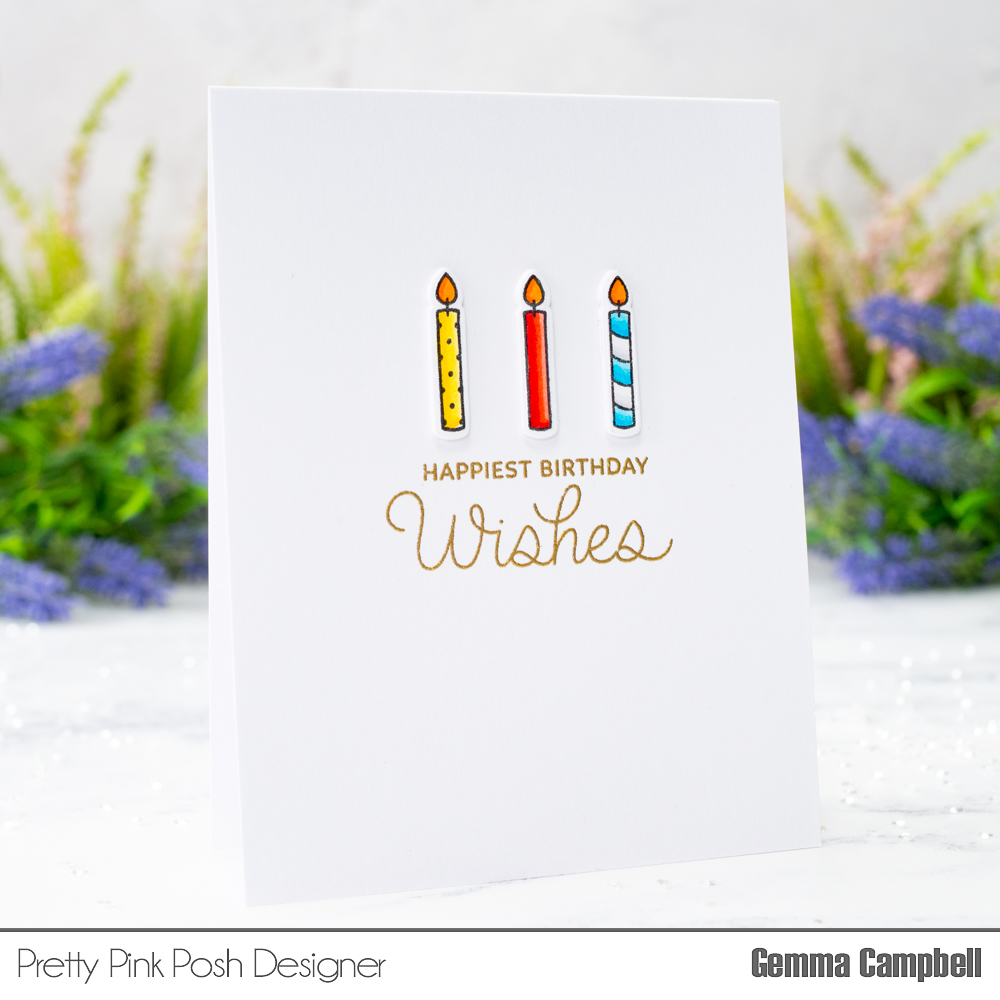
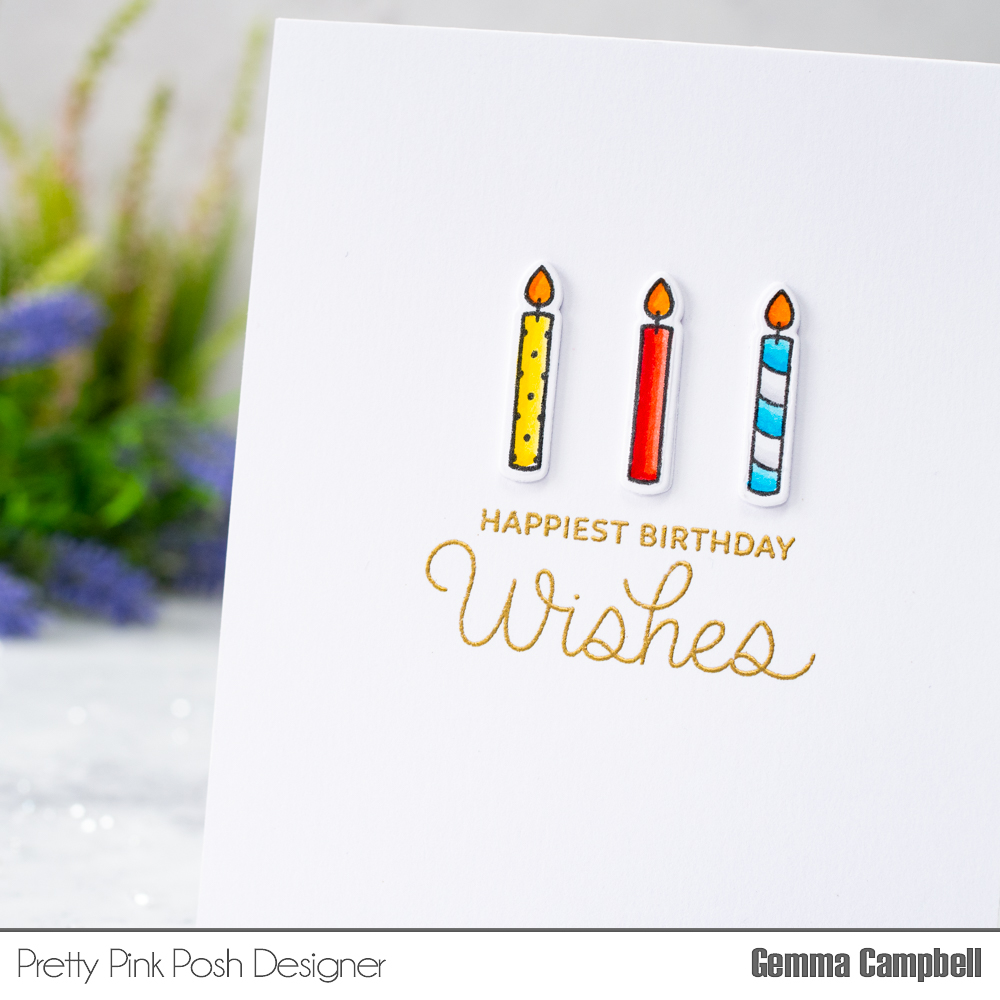
For my CAS card, I stamped the candles from the set and coloured with copic markers. I die cut them with the coordinating dies and added layers for dimension.
On an A2 panel of card, I heat embossed a sentiment from the Birthday Sentiments stamp set. I adhered the three candles above, then adhered the panel to an A2 card base.
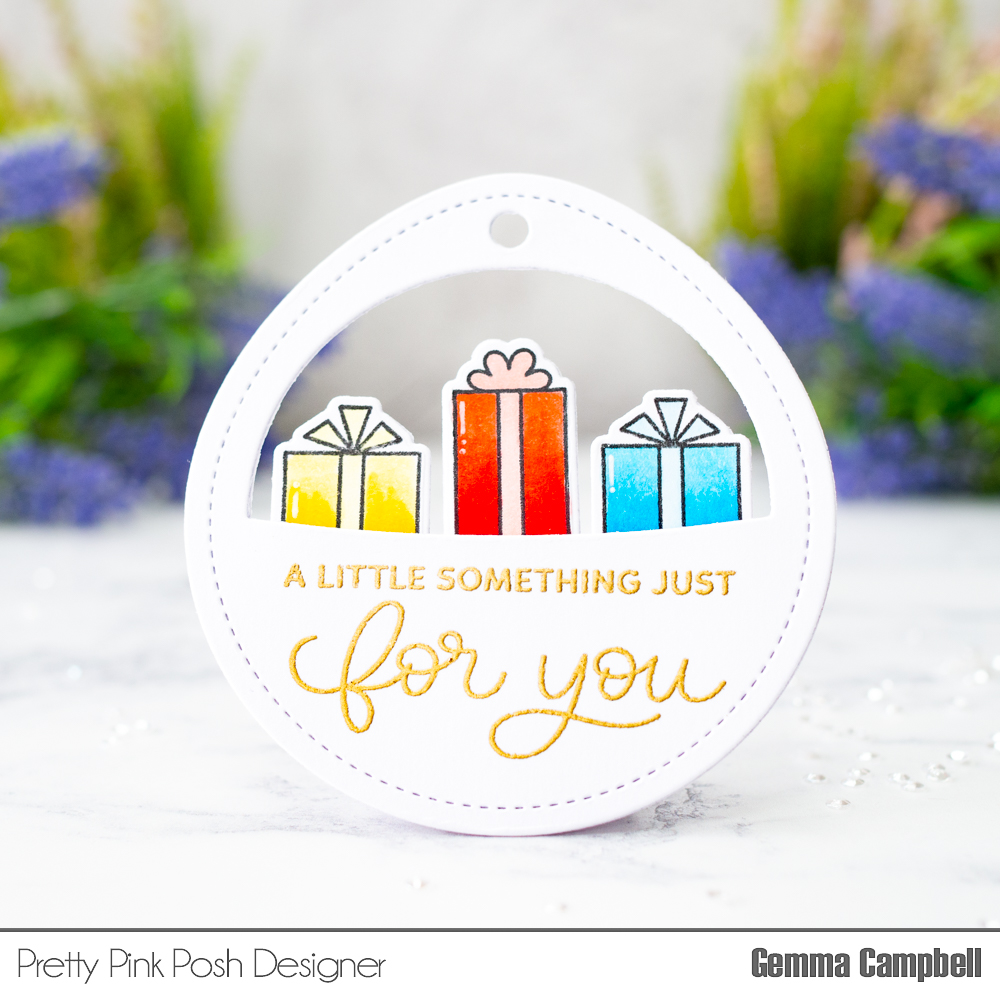
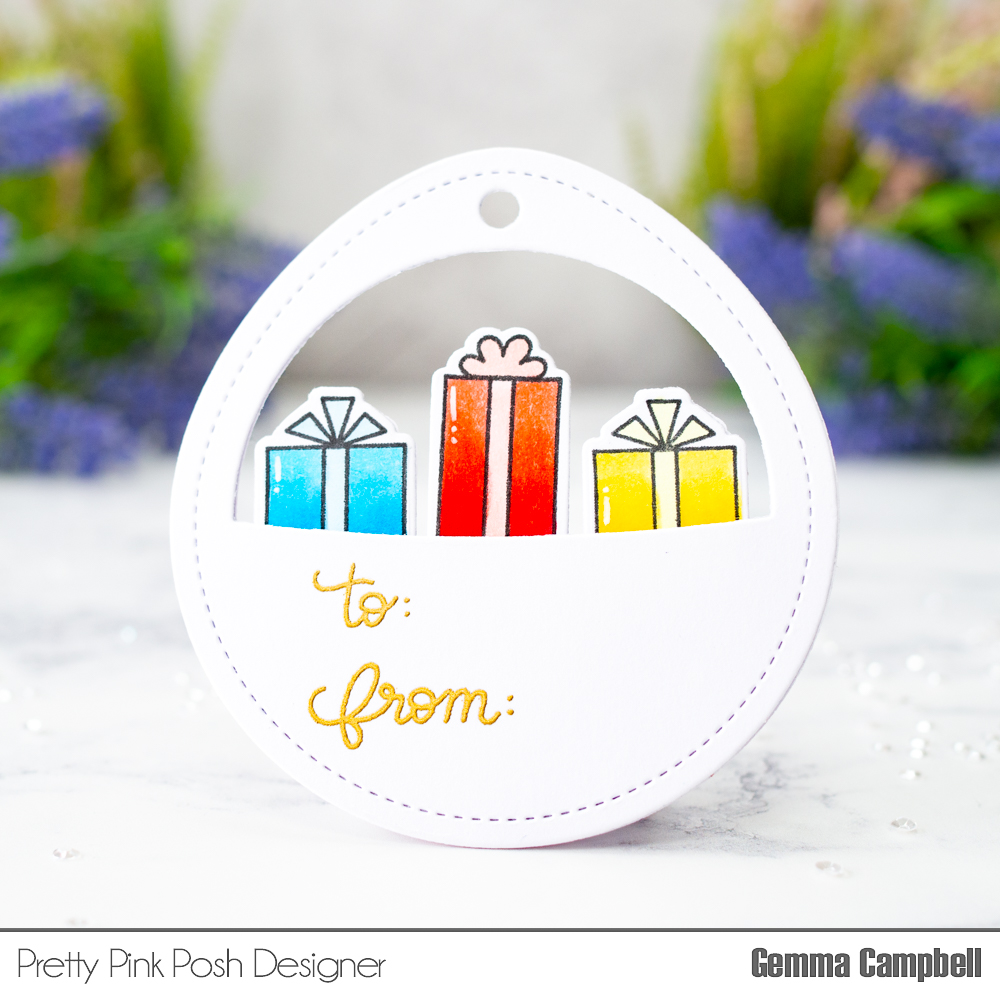
For the tag, I stamped out presents and coloured with copic markers. I coloured two of each, so I could adhere them back to back and the present can be seen from both sides of the tag.
Next, I die cut two tags. I heat embossed, in gold, a sentiment from the Birthday Sentiments set on one tag. On the other, I heat embossed a ‘to:’ and ‘from:’. I adhered the presents to show through the space in the tags, then adhered the tags together to finish.
Thanks for joining me today! I hope you were inspired by these samples, these sets are so fun to use!
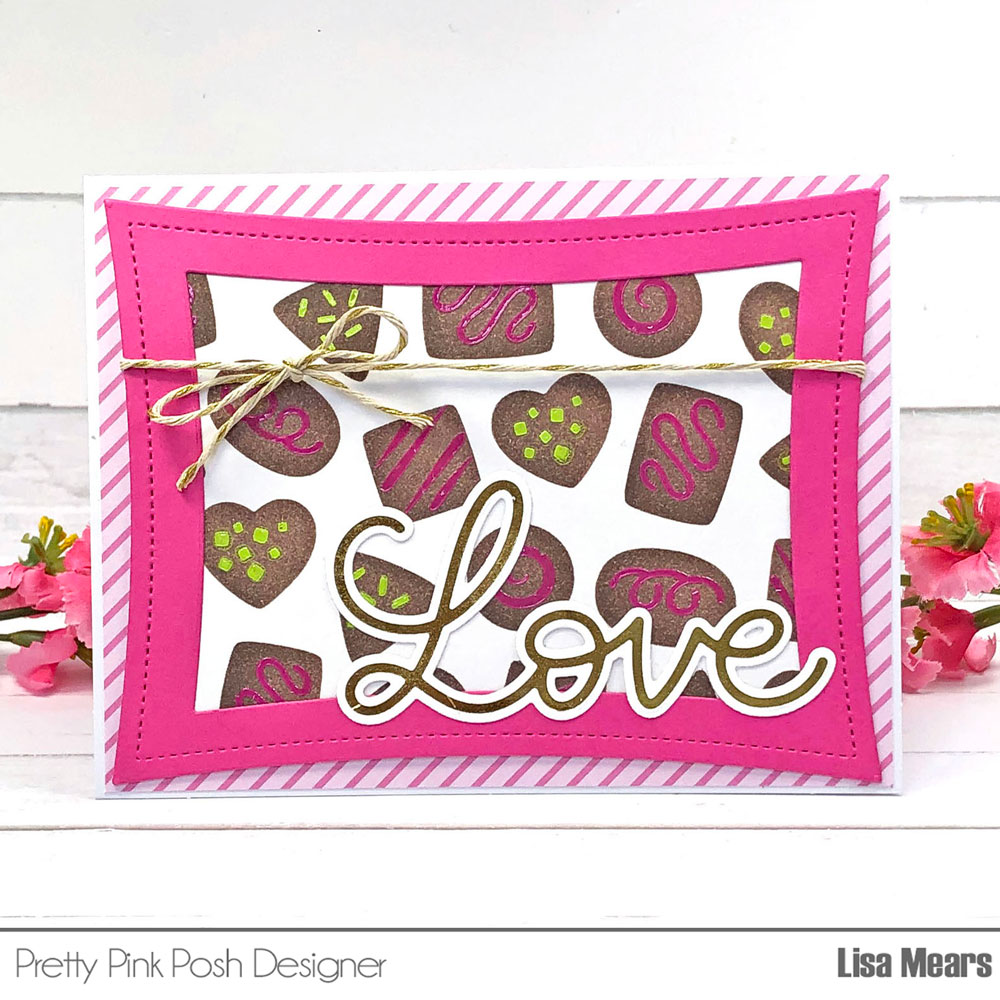
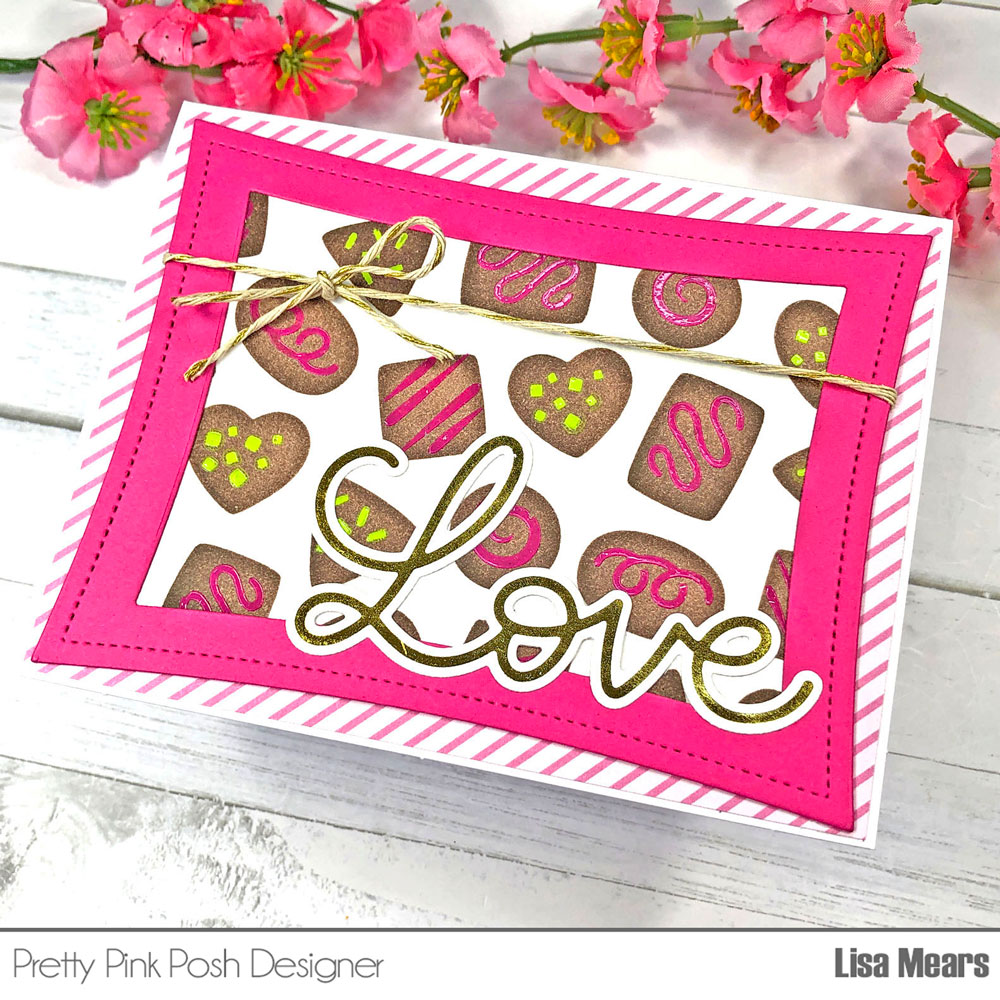
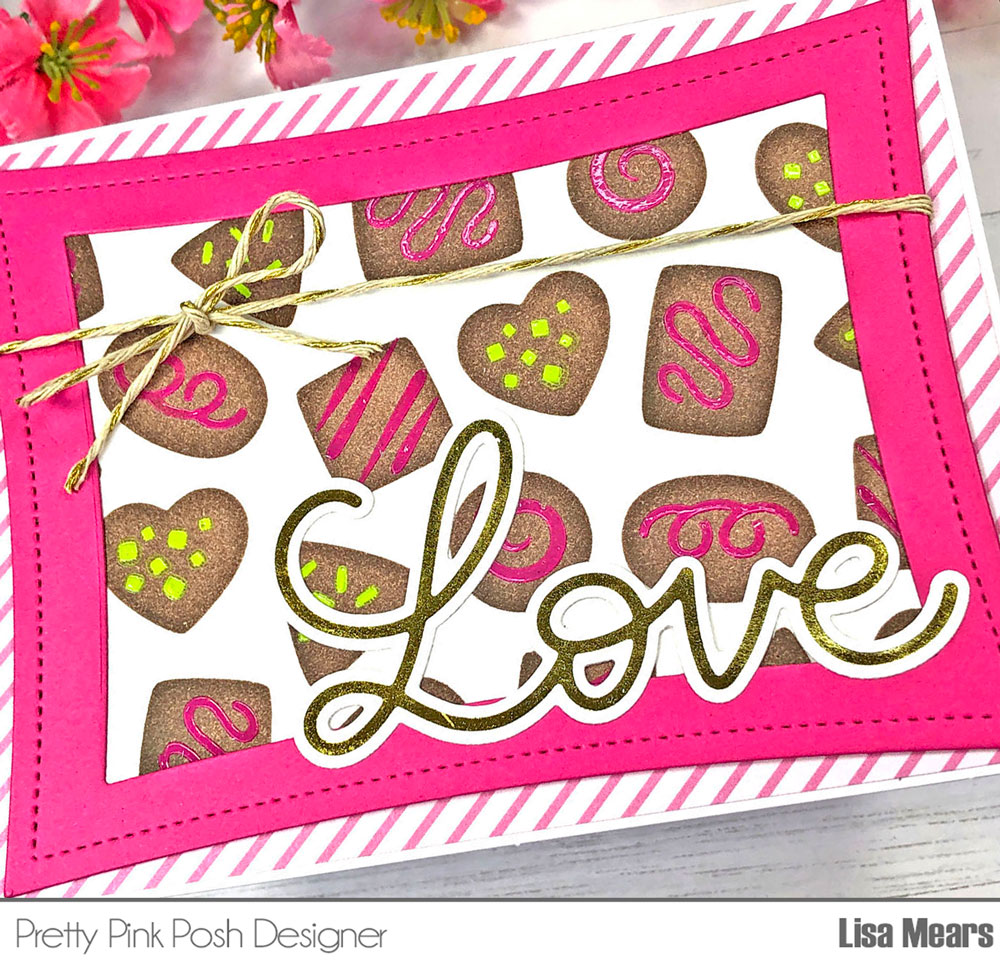
Hello crafty friends. It’s Lisa Mears here. For my card share, I used the Layered Chocolates stencil and made a card that resembled a candy box. If you would like to see how I made my card, watch my tutorial on YouTube.
I started by creating the stenciled background. For Layer A, I used a dark brown ink to color the shape of the chocolates. For Layer B, I added Scrapbook.com Pops of Color in the Raspberry Kiss color. The Pops of Color is a liquid embellishment that dries with 3D dimension and a glossy finish to your project. I chose to use the Pops of Color because of its vibrant color and I knew it would show up well on top of the dark brown ink that I used for the shape of the chocolates. After applying the Raspberry Kiss Pops of Color to the squiggly lines for the topping on Stencil Layer B, I let the background dry completely before adding Stencil Layer C. For Stencil Layer C, I added the Scrapbook.com Pops of Color in Key Lime for the sprinkles. Again, I let the background dry completely before moving on to the next step.
Next, I used the largest and second largest Wonky Stitched Rectangle dies to die cut the pink frame. Using the largest Wonky Stitched Rectangle, I also die cut the stenciled background. I glued the frame to the stenciled background.
I tied a piece of twine around the Wonky Stitched Rectangle panel and then added that layer to a piece of pattern paper that I cut to 4 1/8″ x 5 3/8″. Finally, I added the card panel to an A2 size card base.
Thank you so much for stopping by today. Have a wonderful day!