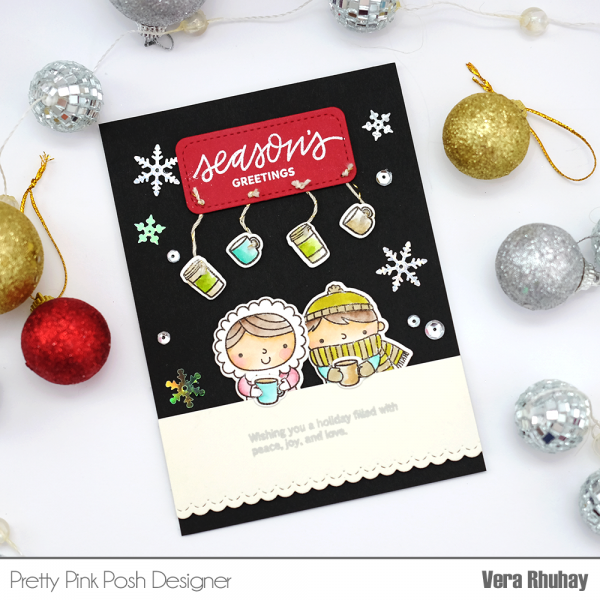
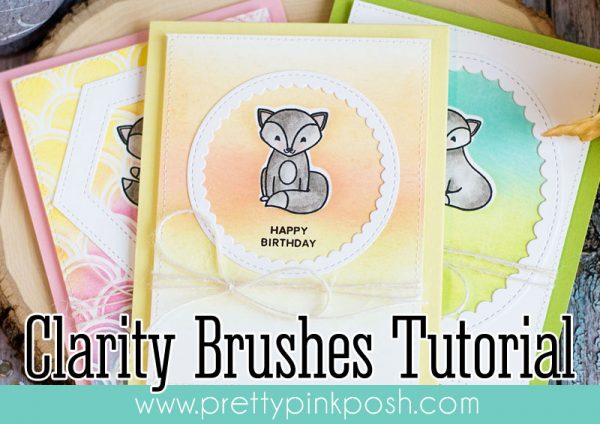
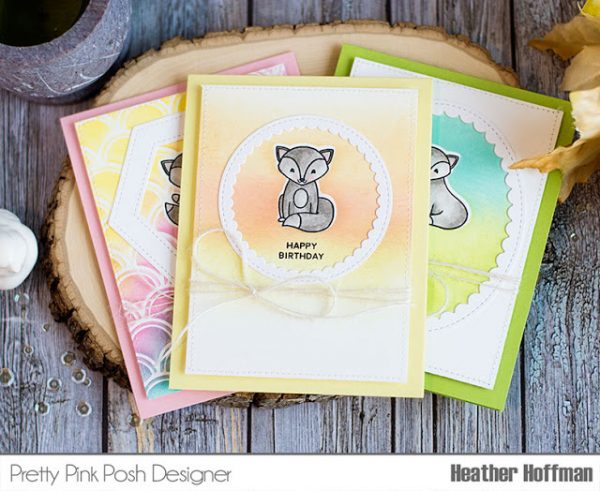
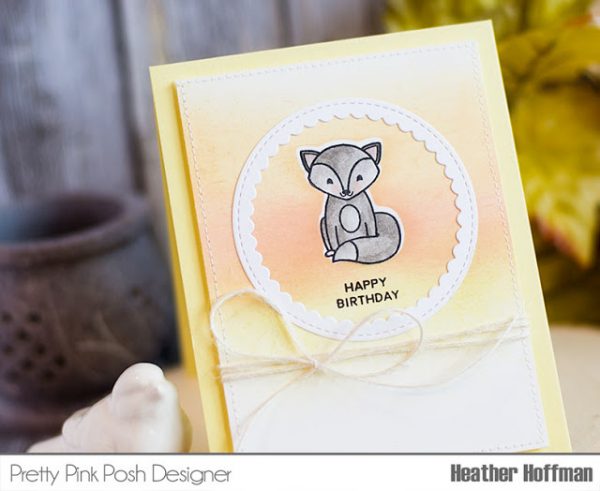
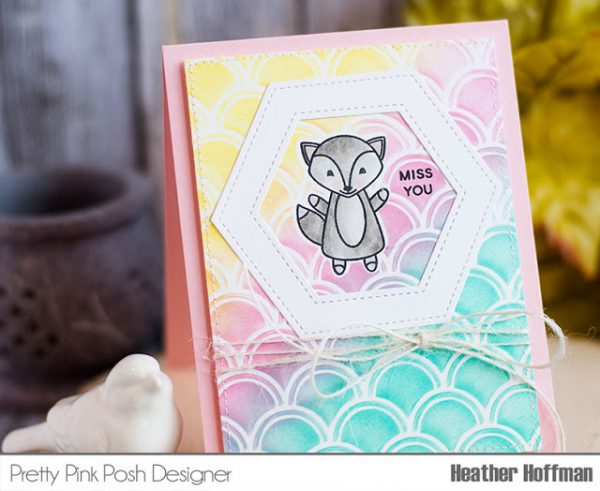
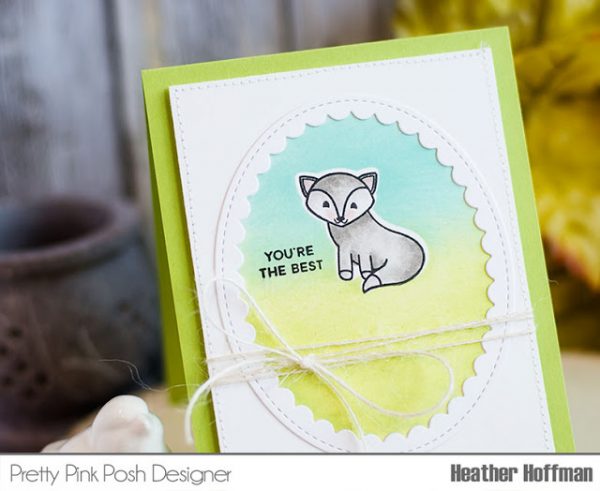
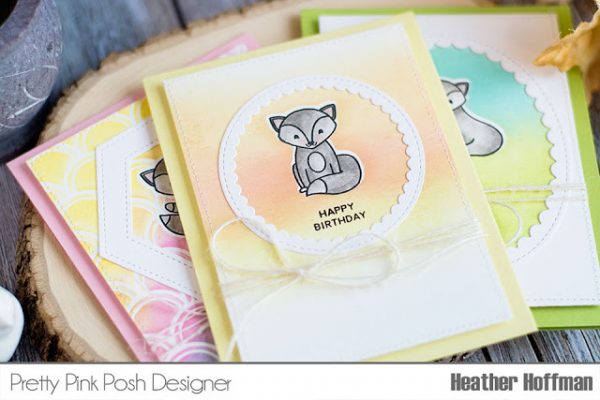
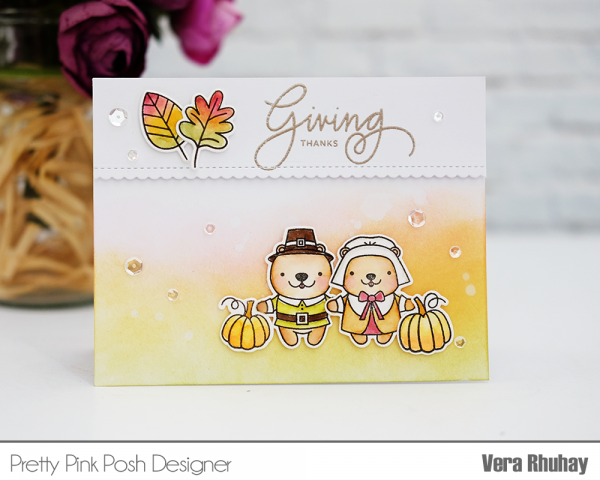
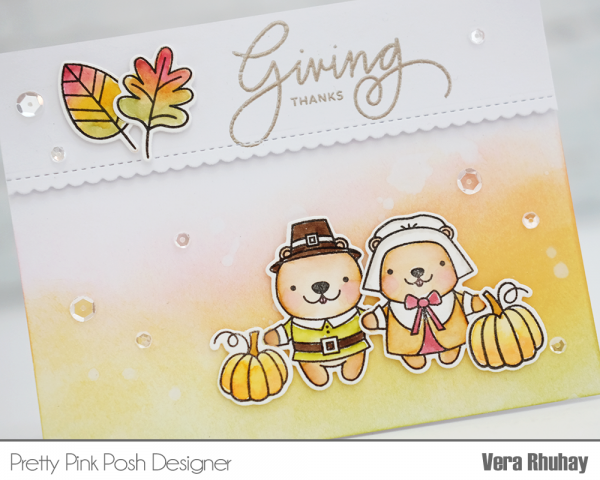
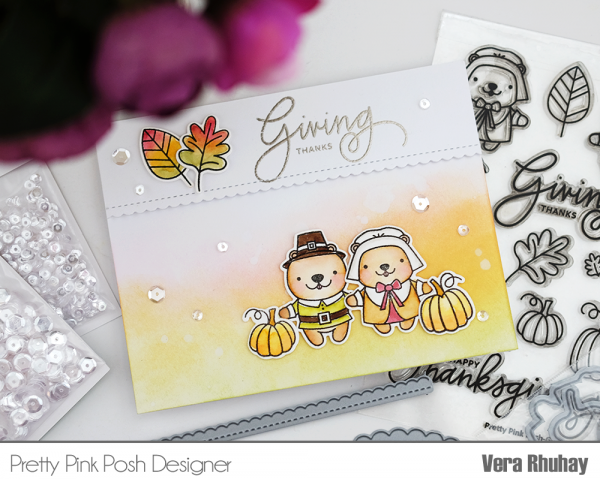
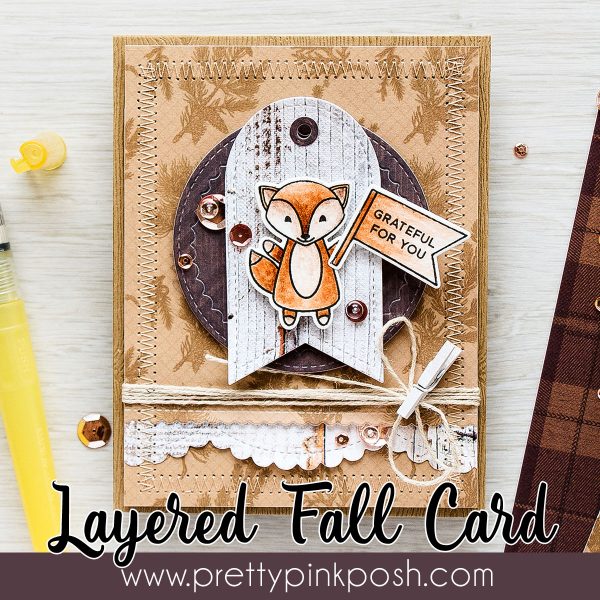
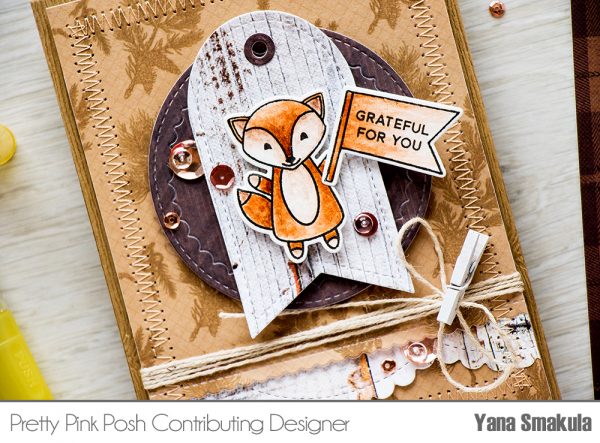
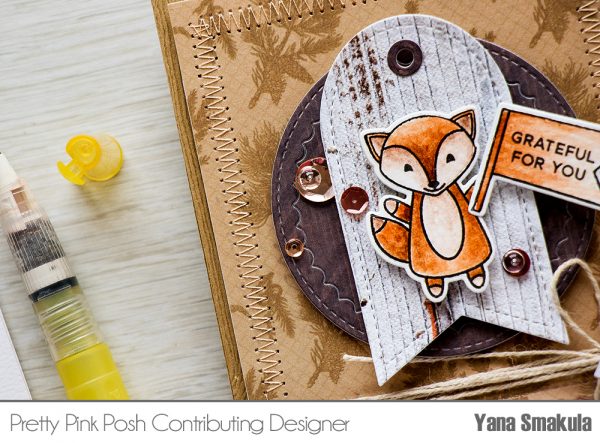
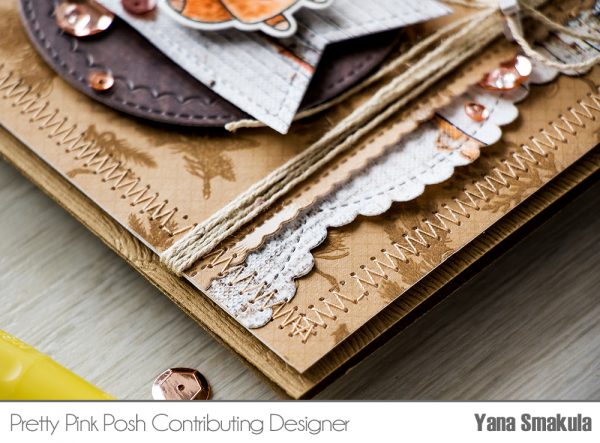
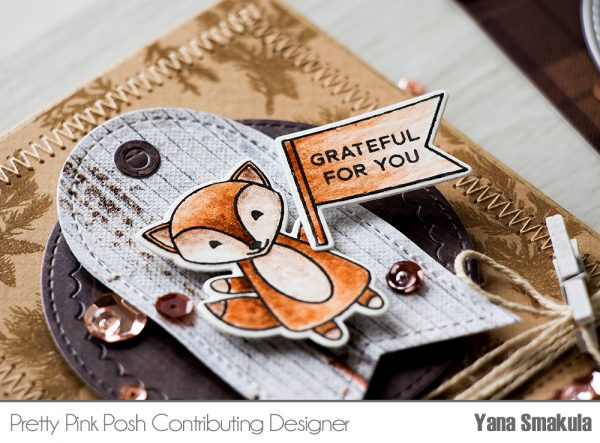
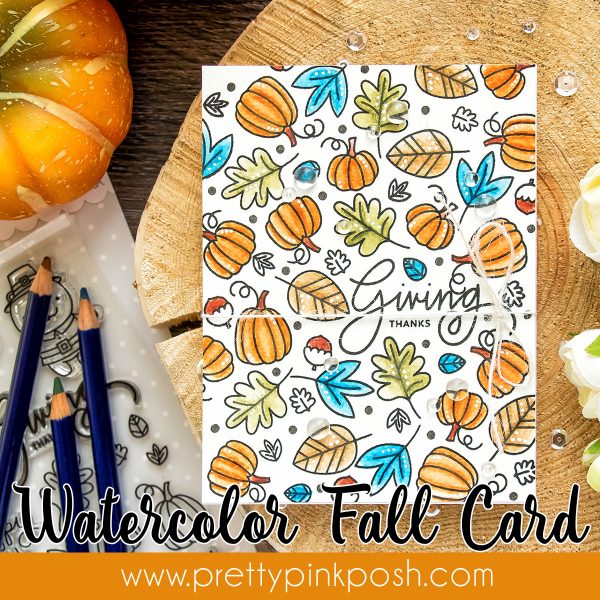
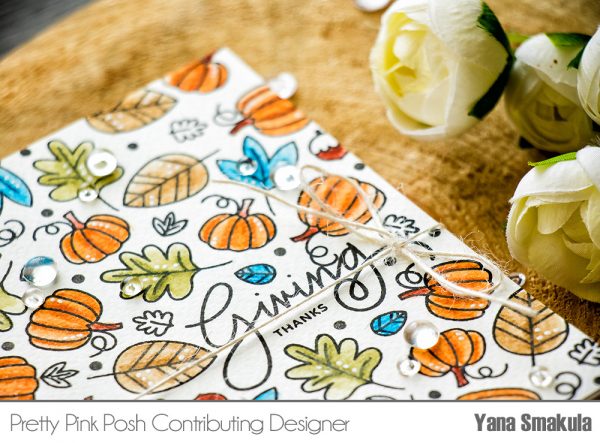
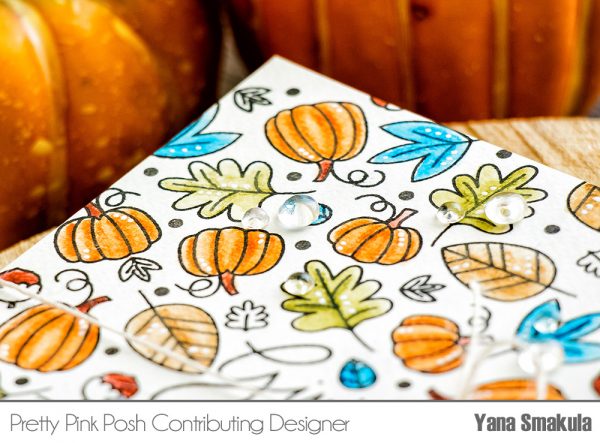
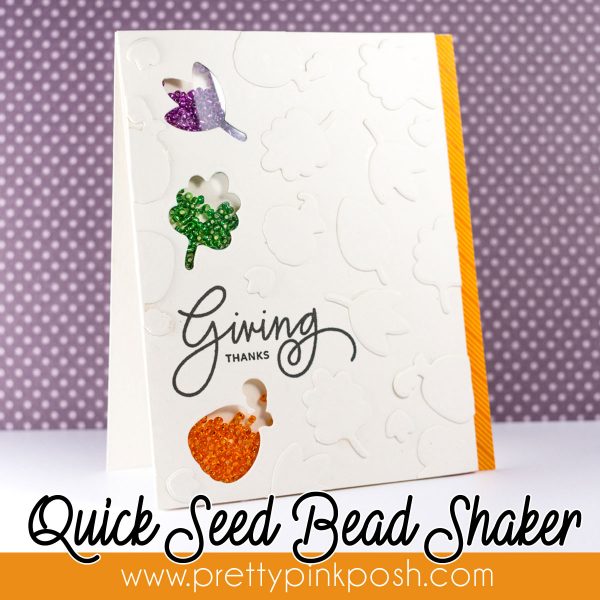
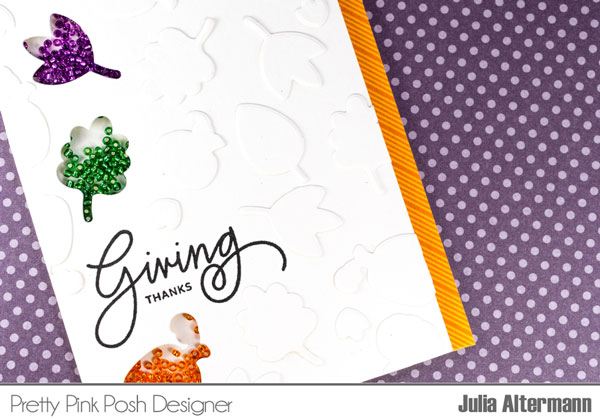
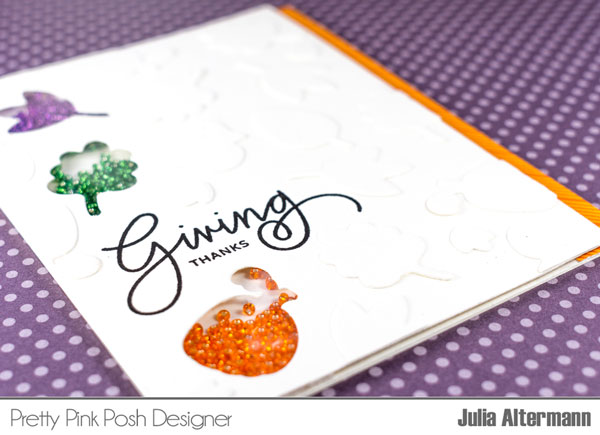
I have put together a video showing how I created the card from start to finish, so be sure to check that out below, or over on the Pretty Pink Posh YouTube channel… don’t forget to subscribe too so that you don’t miss any of our future videos!
I hope this card has inspired you to do some watercoloring using any watercolor mediums you have on hand…. remember that watercoloring looks good whether it is “controlled” or “freestyle”. Use the method you like best and give it a try. Then, link up your projects over at the Ellen Hutson blog for a chance to win a $50 gift certificate!
Like many of you, I am always looking for great storage solutions to keep my supplies and tools organized. Over the last two years, Paulina has gotten emails and comments asking for the best way to store her small sequins and embellishments and we are so excited to finally share our recommended storage in today’s post!
Sequins and other small embellishments can sometimes get a little tricky because they are so tiny and very easy to not only lose, but keep organized too. Well today I am sharing with you how simple organization can be using the Tiny Container Tray made by Bead Storage Solutions! (We found the best price is from Amazon, so we’re linking to their site.)
I found these boxes online about 10 months ago and I have loved them! Not only does it allow me to keep myself organized (which is so important!), but it also looks pretty too. :)
The tray holds 78 individual containers and the entire tray is about 14” x 10” in size; containers are about 2” x 1”. A single bag of the Pretty Pink Posh sequin packs fit into a single container, which really optimizes the space!
I love how handy this is too when I am working; I simply have to pull out the individual containers that I want to use from the tray and sit them on my craft table without taking up a lot of space.
I’ve put together a video, giving you a closer look at the Tiny Container Tray so you can see if it’s right for you.
Our personal favorite option is Storage #1(which is what we referenced in today’s post and video) but if you have larger quantities of certain sequins, or perhaps bigger embellishments like beads and buttons, you might like Storage #2. It really comes down to your craft stash and personal preference.
We wanted to have a giveaway in this post that both new sequin collectors, or ones who have been collecting a while, would enjoy. Enter the giveaway to win one of these storage trays and a $50 Pretty Pink Posh gift certificate (so you can fill those trays up even more)!
If you have questions on anything in today’s post, be sure to leave a comment. We hope you enjoyed this post!
xoxo, Nina-Marie
I hope that you all were able to hop along in the Product Release Blog Hop yesterday. The design team did such a great job with their cards and videos and judging from your orders, you all seem to like the new release- yay! I’ll be working all week and through the weekend on the orders, so please bear with me as it may take a bit longer than usual to process.
I always love creating- both with my products and with other brands. When I first started the shop, I loved that my products could work with all my favorite companies and to this day, I still keep that in mind when I design new dies, mixes and other products. For today’s card, I wanted to bring out some of my favorite stamps from other brands- WPlus9 and Mama Elephant.
It’s been a while since I created a shaker card, so I knew that I’d use the new Storybook 3 die set in this way. I love using the Storybook dies with critter stamps and for this card, I decided to use the adorable little elephant from WPlus9. For my sentiment, I used the ‘thinking of you’ from Mama Elephant and paired it with one of the dies from the Stitched Labels 1.
I wanted to add another pop of blue to bring out the sequins in the shaker, so I die cut one of the tabs from the new Stitched Tabs die set. Can I just say, I love the way these look on cards and I can really see this being one of my favorite die sets. (Don’t tell my other sets that though!)
In previous releases, you all seem to enjoy the videos showcasing the new products, so I have one for this release as well. In this video I show all the products and give some comparisons to current products, along with some info on how the products came to be.
Excuse the poor lighting- this new system I have isn’t my favorite and the sun hasn’t been peeking out in Seattle much lately.
It’s hard to believe, but I just celebrated the business turning 2! It’s been such a whirlwind ride of amazing, new experiences and opportunities, along with some tough times and learning experiences. Through it all, you all have stuck with me and for that, I am so very grateful.
Join the event page on Facebook for tons of sneak peeks, interaction and exclusive giveaways! We have TONS of special guests joining in the celebration and I know you’ll be inspired.
I truly hope you enjoyed this release and will continue to join me here on the blog. Thank you from the bottom of my heart for continuing to make my dream a reality.
Today I have a brand new In Review post and video to share with you. I was recently in contact with Create A Smile, a new stamp company based in Germany. Their stamps are cute, quality made stamps with a hint of whimsy to them. The owner, Christine, is very sweet and I had such a great time testing out and playing with her products. PLUS, her international shipping rates start at just $5!
If you’re new to my blog, I’ve done a couple In Review posts in the past (and am hoping to continue them on sporadically through 2015). In these posts I showcase the cards I created with the company featured, along with a video showcasing the products I tried out and info/ giveaway details. Let’s get started with the post, shall we?
The first card features the cute little penguin and sentiments from the Penguin Party set. This cutie can be used to create all sorts of fun scenes. I used the Stitched Duo 2 to create my scene and then added in a grass die, along with the Picket Fence die (that I will be releasing on March 1st). To finish off the scene, I added in some white sequin flowers and a couple sequins in the corners. Sweet, simple, but super cute results.
The second card showcases the Monster Party and Arrows stamp sets. As I mention in the video, the arrow set is what made this whole feature come to be. I loved how simple this background is, yet it makes such a difference on cards. It’s a nice change of pace from my polka dot backgrounds!
For this card, I decided to use the Stitched Duo 3 die as my focal panel and created a little scene with the monsters. These silly guys are so fun and you can’t help but smile when you color them. To finish off the card, I added a twine bow to the largest monster and a few yellow sequin flowers.
This last card is the brightest of the bunch, but I thought it was appropriate since it’s a birthday card. I knew I wanted to have the penguin with cake as the focal point, so I played around with a few dies and thought he looked the best with the Stitched Film Strip. The card needed a little extra pop of color, so I added the scallop from the Stitched Borders 1 to either side. A little addition of sequins to bring in more color and this card was done.
Since today was a special post, I also found some time to film a quick little video. I show these cards a little more in depth, along with a peek at the three stamp sets I featured in this post.
GIVEAWAY ALERT: At the end of the video, I share how you can win some Create A Smile goodies and sequins.
Want to enter the giveaway I mentioned in this video?
1) Like the video
2) Subscribe to the Pretty Pink Posh channel
3) Leave a comment on the video with your favorite color combination
Despite the fact that I’m totally behind on everything Christmas, I really wanted to do something special for a few people that I see on a regular basis. You know, the people at the post office, UPS and USPS delivery drivers, my baristas- the ones that sometimes get overlooked during the holidays, but that make our lives easier and more pleasant.
I was out and about and found a few items that I thought would be great little gifts for them. Well, leave it to this crafty girl to package it up, snap some photos and a video and create some stamped (but simple) gift tags. Nothing fussy about these, but I think it’ll bring a little Christmas cheer to each person.
1) cranberry cereal bars from Trader Joes (granola bars would be good, too!) 2) chocolate bark from Target 3) Lindt Lindor mini chocolates 4) hand sanitizer from Bath & Body Works 5) Ghirardelli Peppermint Bark squares
Lately I haven’t been posting many videos, but I really am trying to change that when the weather permits. It was sunny yesterday, so I decided to take advantage of that and film a quick video showing you this quick and easy gift idea, along with the gift tags that I whipped up using the Snow Days and Milo’s ABCs sets from Lawn Fawn.
Let me know if you were inspired by this video and post- your input really does help with the content I post. I want to continue posting things you enjoy and would love to hear what you would like to see more of in 2015!
Oh boy, it has been a crazy two weeks. I am all caught up on orders and I’m excited because I’ve set aside the whole day to just craft. I’m going to try to avoid business things today and be creative in the studio, edit videos and maybe even schedule some blog posts. Eeeek, I don’t even know where to begin!
To kick off my creative day- why yes, I think this is what I will put in my planner whenever I craft- I thought I’d bring a brand new post to share. I created these cards and video right before the Black Friday madness and now I get to share them. I know it’s getting awfully close to Christmas, but these DeNami Design stamps are adorable and you just might want to pick them up for next year’s cards.
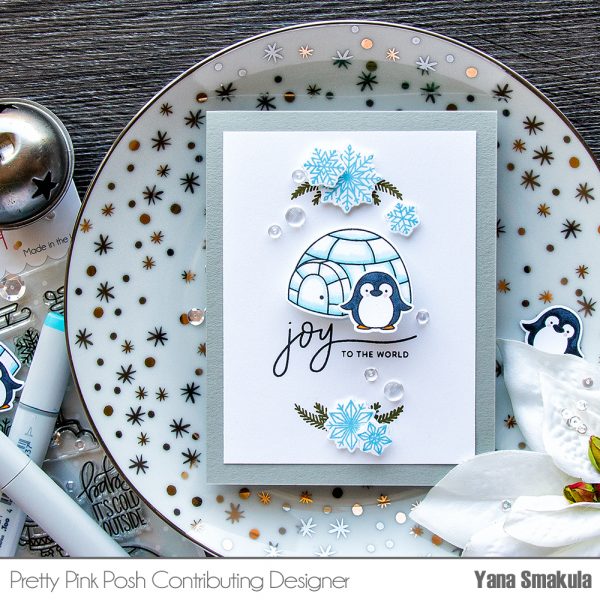
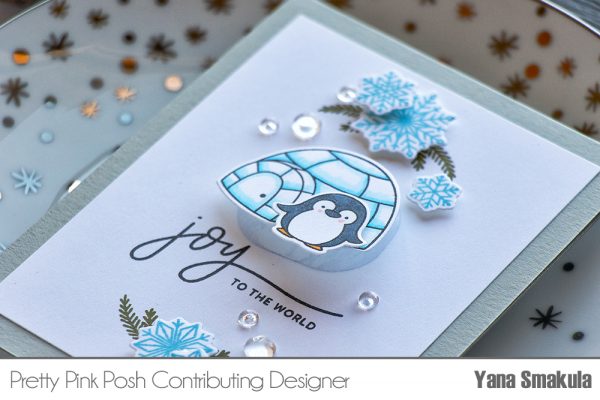
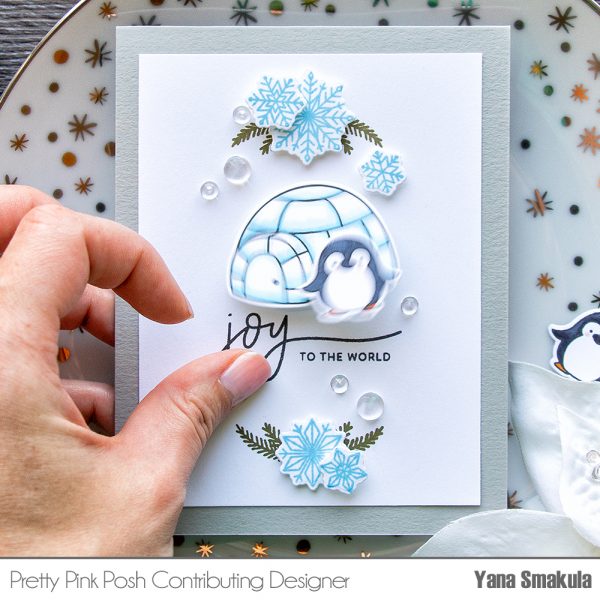
No surprise here, but I had to create at leas one shaker card for this post. The Penguins In Igloo stamp is just plain adorable, so I decided to let it shine and not add any other stamps. I paired the stamp with the Stitched Duo 1 and Stitched Borders 1 dies for the focal point and added a little handful of sequins.
My second card is one of my favorites from the past few months. Every once in a while, a card will turn out exactly how I envisioned and this card was one of those lucky ones. I’ve been loving red these days- it’s so festive and bold- and I paired it with a fresh green and gray. A little twist to the “traditional” Christmas colors.
This card highlights the No Peeking Chickie Circle, along with the Chickie Christmas Garland. These stamps are two of my favorites from all of the Christmas releases I’ve seen this year. They’re cute, versatile and sure to bring a smile wherever they’re seen.
You may have noticed that I used the Stitched Film Strip on this card, but I used it in a different way. Instead of creating three mini scenes, or having critters peek out of all the squares, I decided to have the circle stamp in the middle and then do little scenes at the top and bottom. I totally love how this turned out and am already looking at my other circle stamps to see what other combinations I can create!
I recently was introduced to the Silver Delicata ink pad and I am IN LOVE. It’s so perfect! I need to get my hands on the gold one since I don’t have any good gold metallic ink pads. How did I not find these sooner?!
To coordinate with today’s post, I have a video showcasing these cards, along with an extra one and a look at the whole DeNami Winter 2014 release.
GIVEAWAY WINNER: It’s time to announce the winner of the Studio L2e set and PPP gift certificate from my last giveaway. Congratulations to Anika Estes! I have emailed you and you will have seven days to claim your prize.
For those who entered my latest giveaway- thank you! It was so fun to read about the last time you mailed out cards and to also introduce many of you to the brand Studio L2e. If you’re planning on getting organized in the new year and keeping a planner, be sure to check out Kanani’s adorable line of stamps.
That’s going to wrap up my post for today. I hope you’re having a great December and getting all sorts of Christmas projects finished.
Wow, you all have absolutely blown me away with your enthusiasm about my new dies. I’m thrilled to say that the first two batches of the Stitched Duo 1 dies sold out within 24 hours, but there’s still some more of the Stitched Borders 1 dies! For those who are wanting to order the tag/ window pane dies, they’ll be available again starting on Thursday and I’ll ship them out as soon as they arrive next week.
Today I’m honored to be a part of a video hop that Laura Sterckx has put together in honor of reaching 1000 subscribers on her YouTube channel. Head on over to her blog post HERE for all of the info and you can get all of the video links there.
When I think of Laura, I think of happy and cheery cards, so I wanted to make one that fit into those categories. I pulled out the darling Happy Monster Partystamp from DeNami Design, along with the Make A Wish and well, you can watch all of it in the video below!
I mentioned in yesterday’s blog post that I’ll be having a blog hop on Thursday showcasing the new dies. I have some very talented gals joining as special guests and I know that you’ll be inspired by their projects. Oh yes, and let’s not forget there are prizes involved, too! I hope you have a fabulous start to your week. Be sure to head on over to Laura’s blog for all the info on the video hop- it’s packed full of amazing videos!
It’s a happy day here at Pretty Pink Posh….not only am I planning some upcoming projects, but it’s also SUNNY and beautiful here in Seattle. There’s just something about the sunny weather that makes everything happier and makes me feel more productive. I really hope this weather sticks around for several weeks.
Today I have a sweet little spring card to share, along with a start to finish card video. After reading the responses on a recent video, I’m determined to bring more videos to the Pretty Pink Posh YouTube channel. I hope y’all are up for this change. If you have requests for specific videos, leave a comment in this post!
I love butterfly stamps (and dies) and with spring here, you can be sure I’ll be bringing lots of them to the blog. One of my favorite butterfly stamps is from the Fancy Flutters set by DeNami. Seriously, isn’t this image adorable?!
We all know I love my Femme Frames dies and recently I’ve become OBSESSED with making scalloped card bases. It adds a touch more interest to cards and really dresses them up.
If you’re curious on how to make this card from start-to-finish, enjoy this video. I tried to make it as short as possible (so I cut out the coloring part). If you would like to see my coloring in future videos, let me know and I won’t cut it out.
I hope you enjoyed today’s card and video. Be sure to leave a comment if you have requests for future videos, or you can let me know if you liked this one. Thanks for stopping in!
Today I’m going back in the archives and bringing you something I created in the past, but never shared here on the blog. I actually had originally created it for a guest post over at My Paper Pinwheel(hi Thuy!) in July, but didn’t get around to sharing it with all of you.
This year, I’ve been making a conscious effort to send more notes out to family and friends. With that being said, I’ve needed to stock up on cute and simple notecards- you know, the ones without a lot of bulkiness to them. I was so thrilled when I came up with this quick and easy layout that is a cinch to mass produce.
In this day and age, with technology so prevalant, it’s rare to get a handwritten card in the mail. It’s sad, but true. I try my best to send out as many as I can, since I know it can make even the crummiest days better. Whether you create an elaborate work of art, or just a simple stamped notecard, it’s the thought and words inside that mean the most.
Curious to see just how easy this card is to make? I did a coordinating video that shows step-by-step how to create this card.
I hope that you were inspired by my notecard trio and video. If you give this design a try with some different stamps, I would love to see it. Feel free to leave me a link with your blog link here, or you can tweet me @prettypinkposh or even leave a picture on the Pretty Pink Posh Facebook page!
Today I have the last 10 Minute Craft Dash Birthday Bash video to share with you. If you missed any of the ones I posted earlier this week, you can view them all on the Pretty Pink Posh YouTube channel, along with the videos I’ve done in the past. I have some ideas for more videos in the future, but if you have requests, feel free to leave it in a comment below!
I adore bling and I brought that together with my love of the Lawn Fawn set, Summertime Charm and the matching dies. Add in a bit of twine and patterned paper and we have a great mixture of my craft loves on one card.
Time it took to create: 9 minutes 22 seconds
And now here’s the video showing how to create this card from start-to-finish.
Like I mentioned in the video, I can’t wait to see what YOU submit for the 10 Minute Craft Dash Birthday Bash. We have received quite a few entries thus far, but I know that some of you are waiting until the last minute to enter. Be sure to do it before the challenge closes on Saturday night! I don’t want you to miss out on the super big prize!