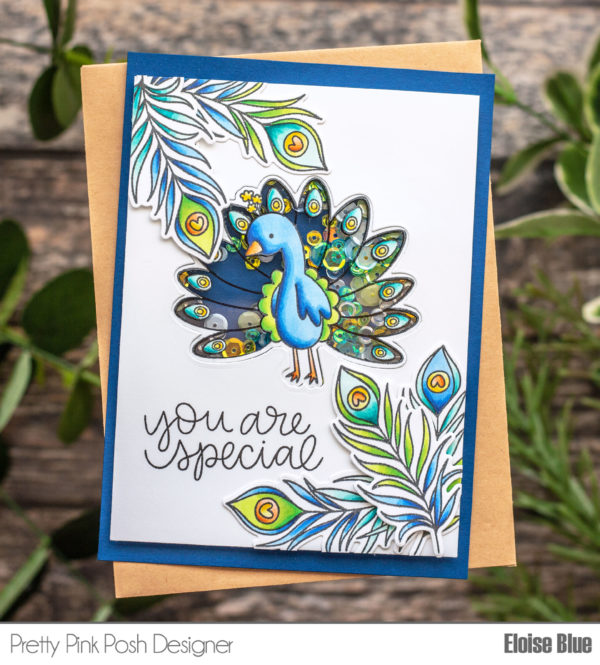
Tutorial: How to Make An Inlaid Shaker
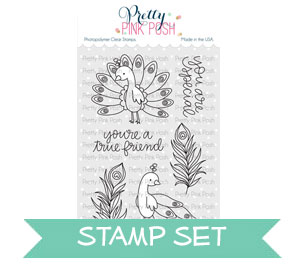
Hello friends, Eloise here and today I have a video sharing how to make the peacocks feathers from the Peacock Friends into a mini shaker. This is quite a long process, but the end look is super fun!
Copic Markers Used: YG01, YG03, YG07, YG09 / BG10, BG11, BG13, BG49 / B32, B24, B26, B39 / YR00, YR02, YR12, YR18 / Y11, Y13, Y15, Y19
Once they’re all die cut out, I took the peacock image and used an exacto knife plus some detail cutting scissors to cut around each of the feathers. I made sure to leave the white border intact as well. Once I’ve cut around all the feathers, I made sure to keep the detail areas in case I needed them later.
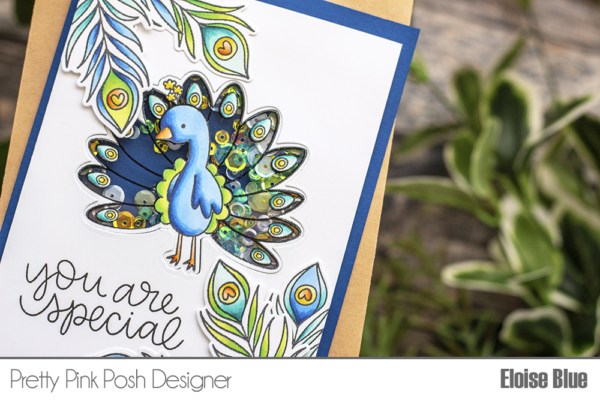
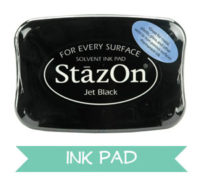
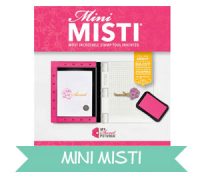
Next, I took my Mini MISTI stamping tool, Staz On Ink and some acetate and stamped another of the same peacock image on it. I didn’t die cut this out, I left it on a larger piece of acetate until I needed to cut it down later. I added adhesive to the coloured peacock and adhered it over the acetate stamped one.

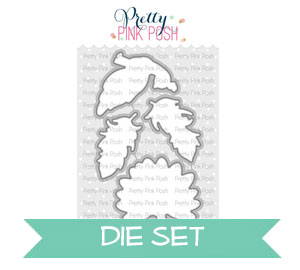
I then took another piece of white cardstock and cut the coordinating peacock die in the middle. I then added adhesive to the backs of the single feathers and adhered them at the top left and bottom right of my panel. I also stamped the ‘You Are Special’ sentiment onto the bottom of the card with black ink as well. I flipped over the panel, added adhesive around the die cut peacock and adhered the acetate piece into place. I cut off the excess and added foam tape all along the back.
I then pulled out some Navy Cardstock and cut it down to a card base. I then pulled some Mermaid Mix and Spring Meadow Mix Sequins since they matched the colours I used well and added them into the centre of the card base, took of the backers from the foam tape and adhered the panel into place.