Fun with Stencils! Bokeh & No Line Stencil Coloring
Hello everyone! This is Yana Smakula, thank you for joining me!
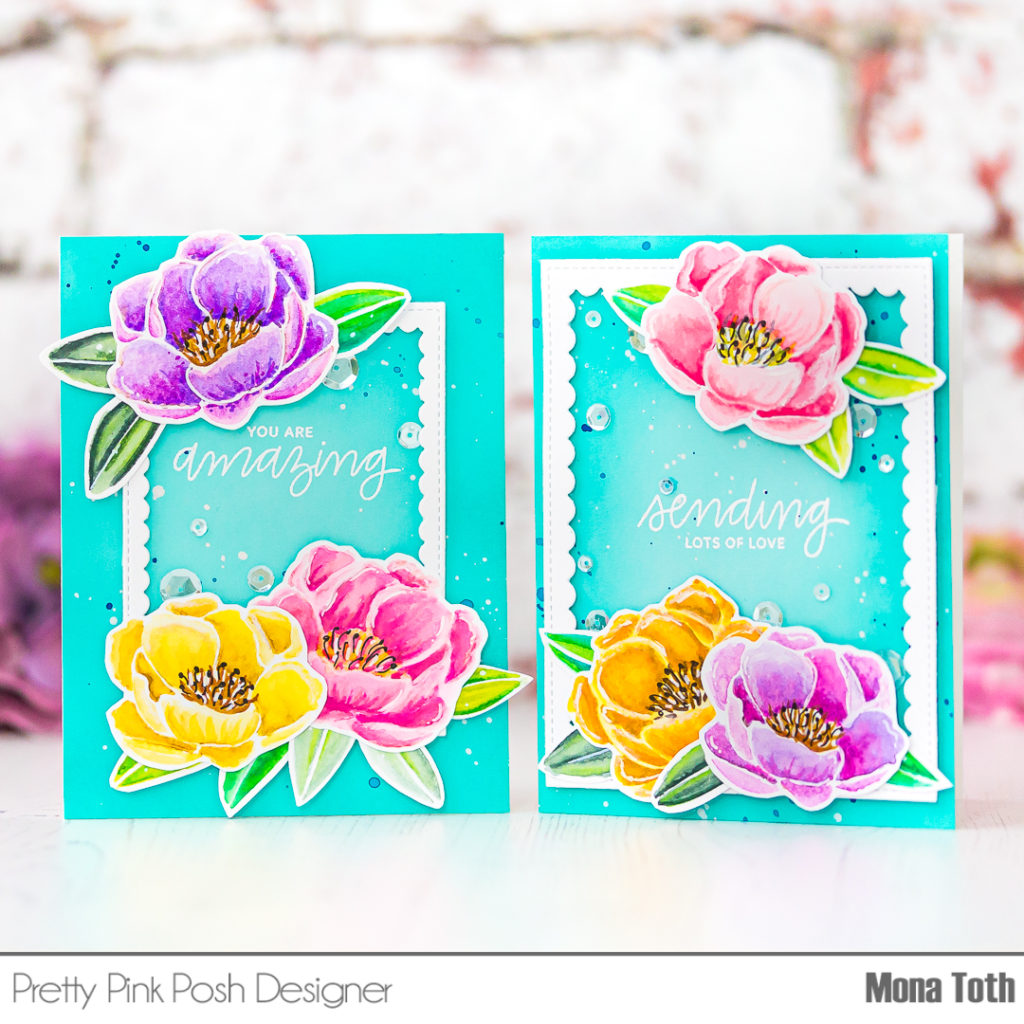
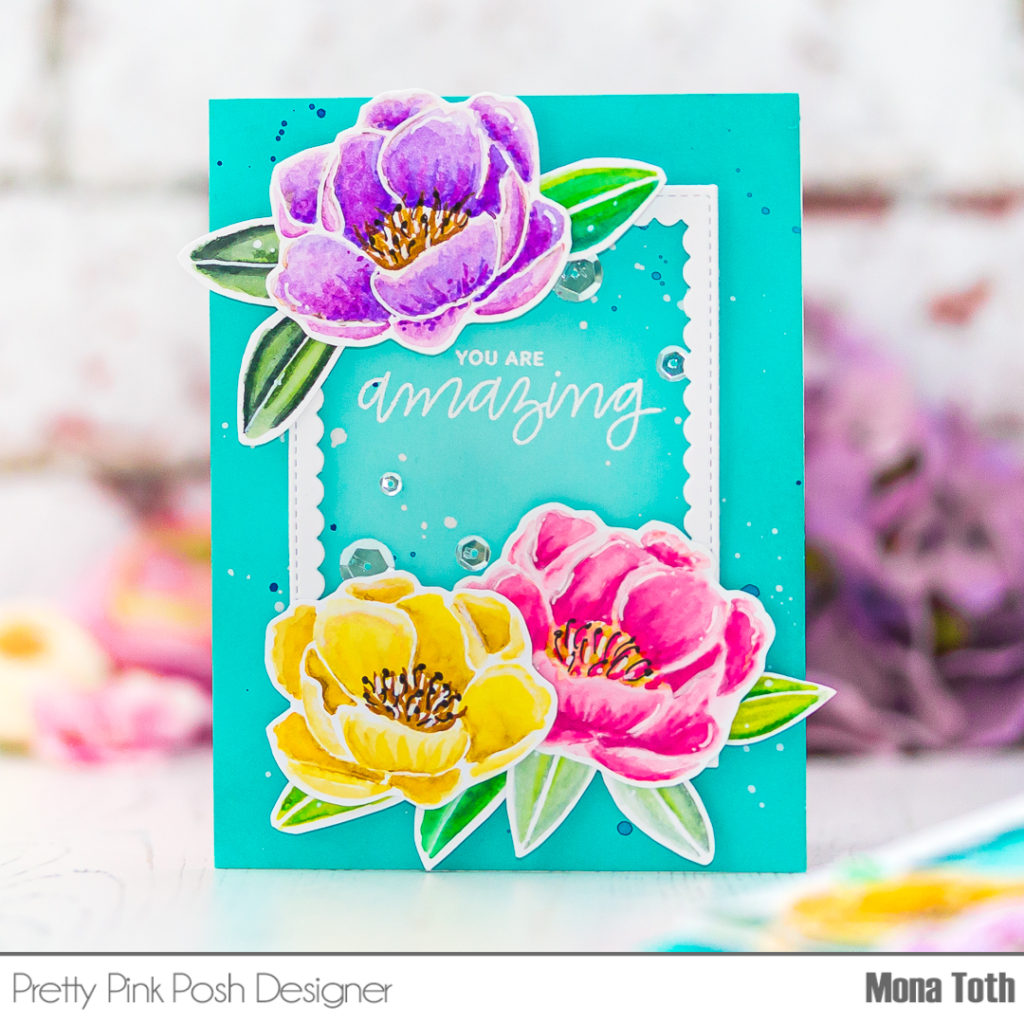
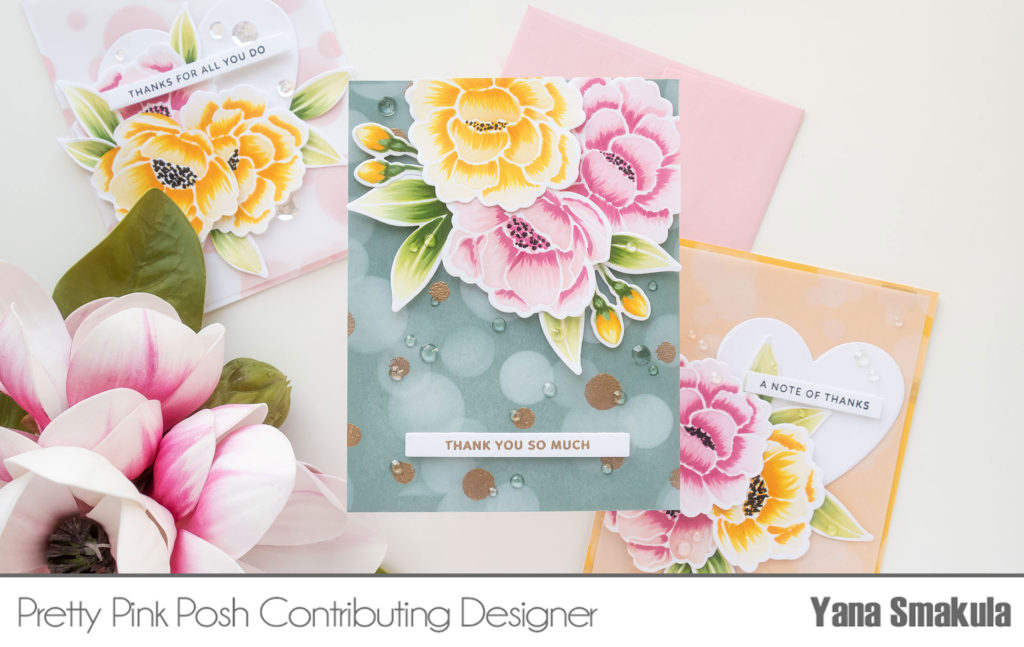
Today’s video takes a different look at the Peonies Stencil and shares a fun way to add detail to these beautiful blooms. Peonies stencil is a 5 7/8″ x 5 7/8″ stencil designed to create beautiful peony flowers. You have several floras, one flower bud, and 3 leaves. Two of the flowers are mirror images of each other.
Watch the video above I Watch the video in HD on YouTube
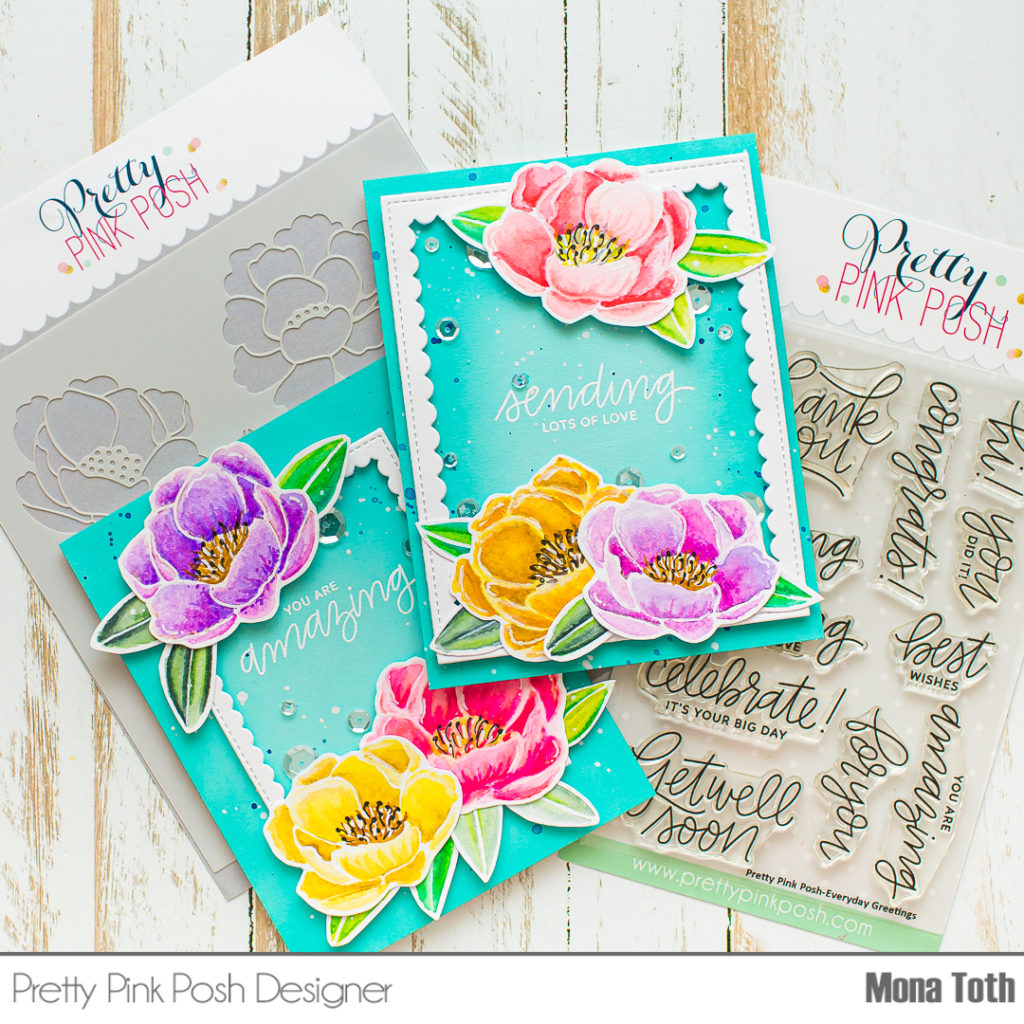
There is also a Peonies stamp set with identical images, the size of these matches, allowing you to stamp the outline in black or any other ink color and blend the petal color using the stencil. It is a brilliant combination, really. There is also a set of coordinating dies that work with both the stamp set and the stencil. How cool is that?
In this video, I’m going to show you how you can combine the stencil with the coordinating dies. I also have a video on my Youtube channel showing how to combine all 3 products to create phenomenal flowers.
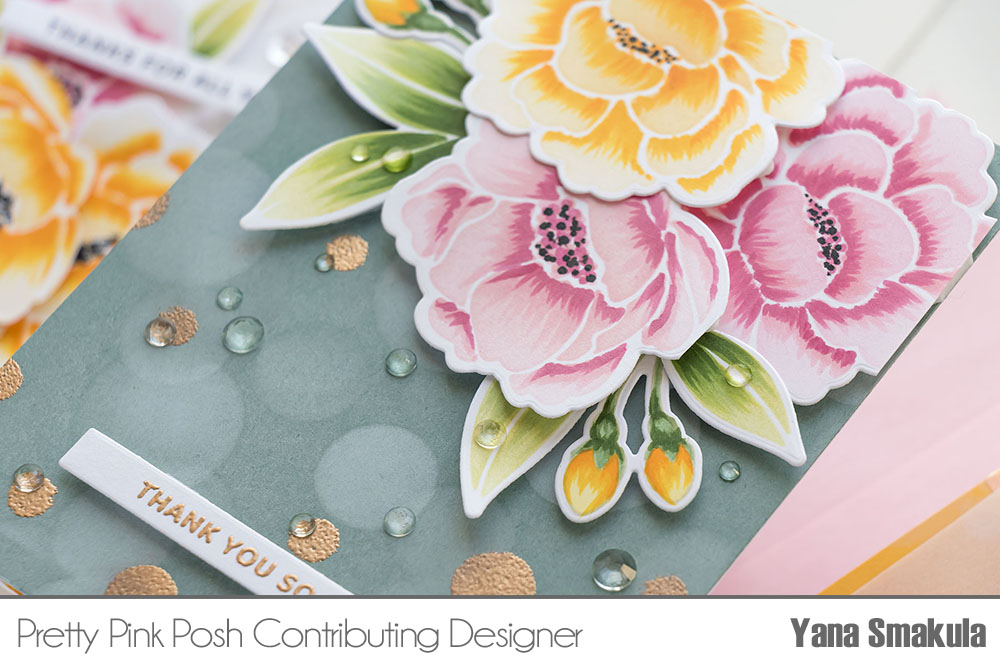
I started by ink blending the flowers and leaves using a blending brush and various colors of ink. I used dye ink for this video, but of course, these can be blended with any type of ink, and of course, any color.
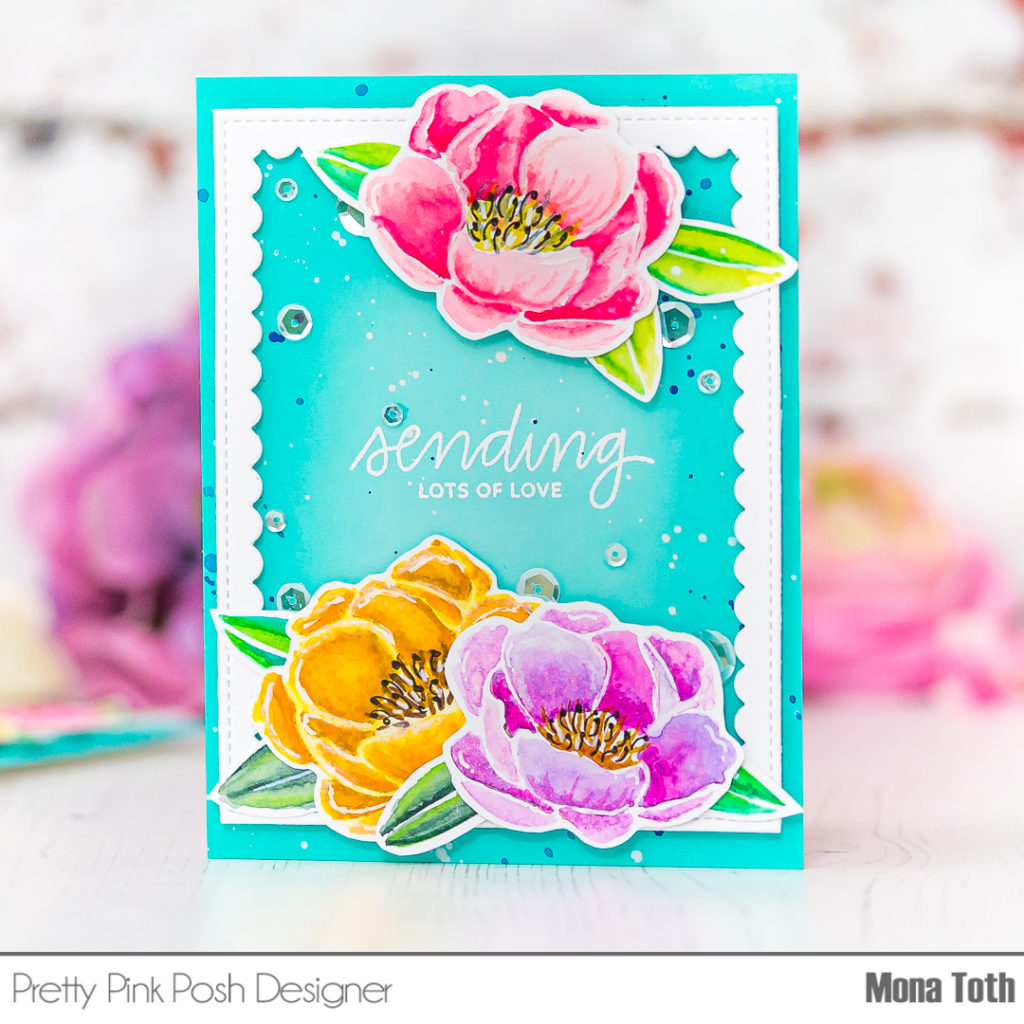
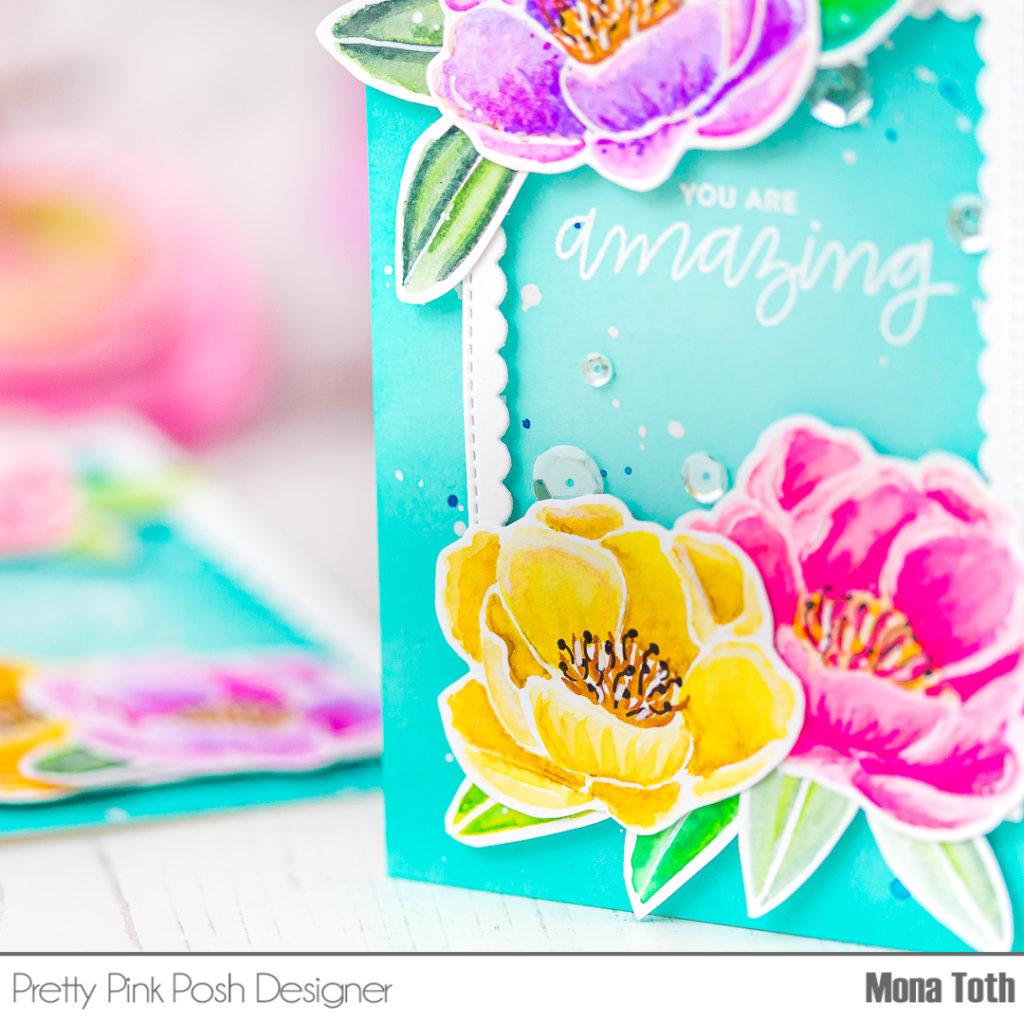
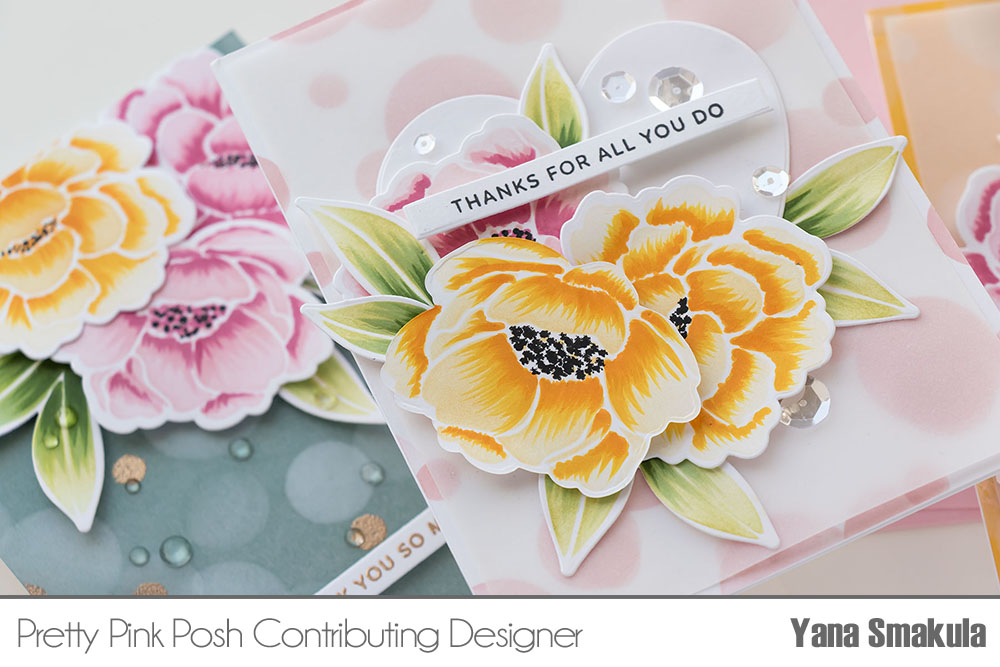
Next, to add detail to these images I used Copic markers. The idea is to use a flick style coloring method and flick the color onto each petal adding veins and beautiful detail. I matched the colors of the markers to the colors of the ink blending. You don’t have to use alcohol markers for this step, you can also use colored pencils if you prefer.
Think of this as a way to do no-line coloring. When you want to do a no-line coloring technique with your stamps, you stamp the image with a very light ink color, the kind of color that is just barely visible for you to do your coloring. This ink blending and flick style coloring technique is somewhat similar – we first ink blend a light color of ink to give us the general flower or leaf shape and then we add detail using a marker.
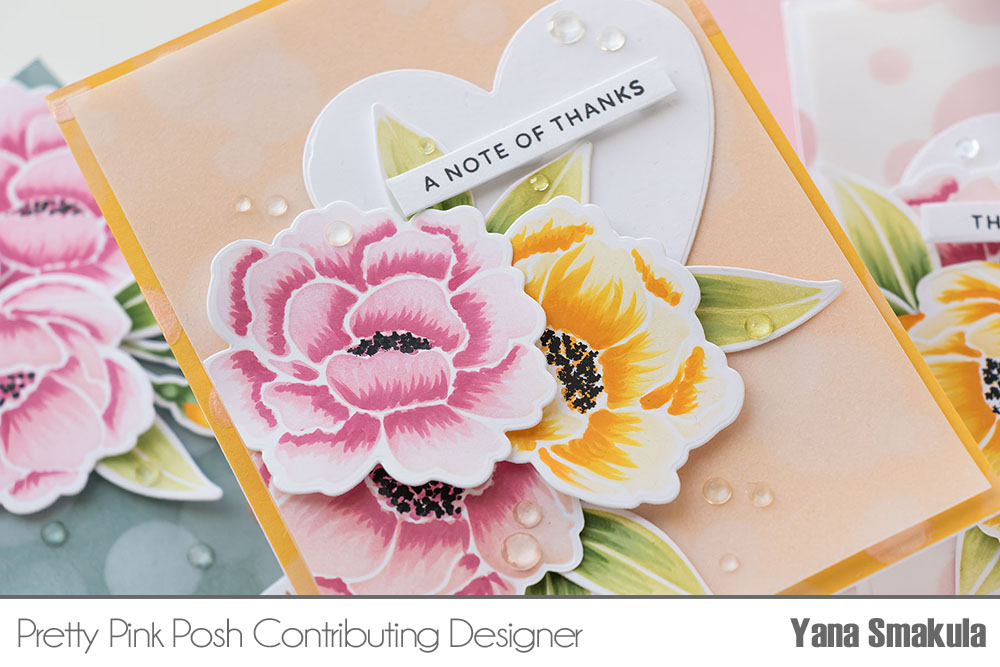
Next, I used the coordinating dies and cut these images out. Isn’t it clever, to have coordinating dies for stenciled images? I think it is quite brilliant.
Now, there are more flowers in the stencil, than there are in the stamp set. One flower is mirrored. That means you can still cut that flower out using a coordinating die, but you need to position the die from the back of the paper. You do get a bit of a different edge to the flower you cut from the backside, but it is hardly noticeable. The edge is sharper, compared to the regular cut flower and if the sort of edge bothers you, you can flatten it using your scoring you – just go over that edge with the tool you use to create card bases and burnish that edge. That should do the trick.
I decided to make the flower centers black, so I used a black pen from my stash and just dotted black marks inside the flowers.
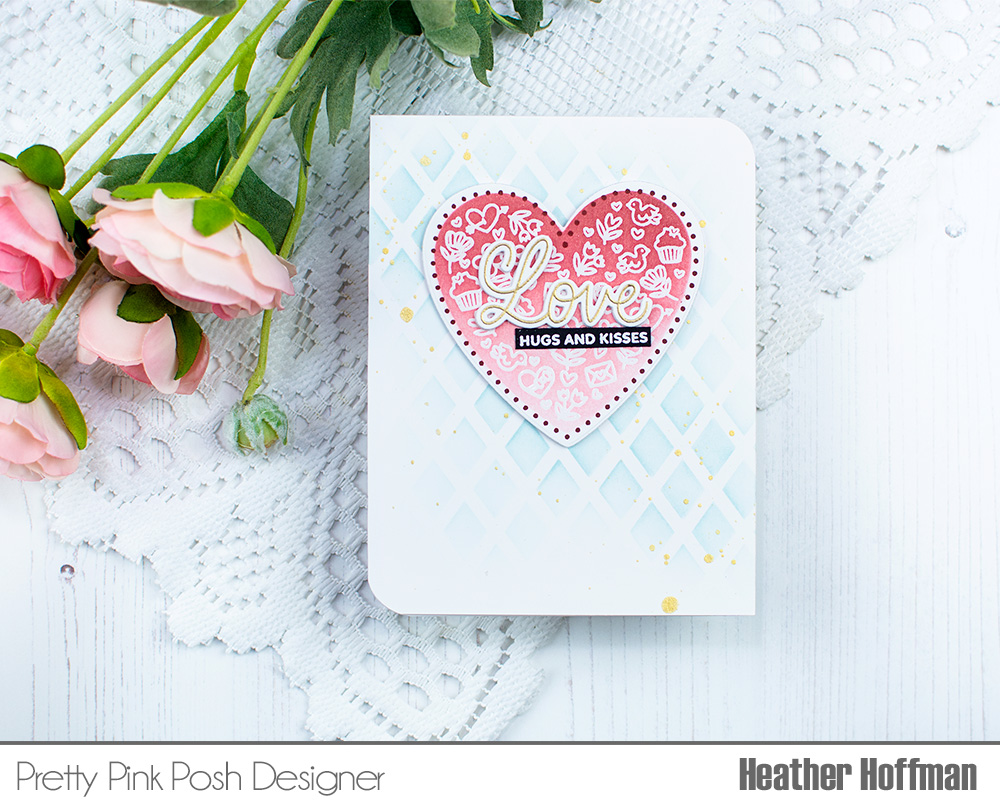
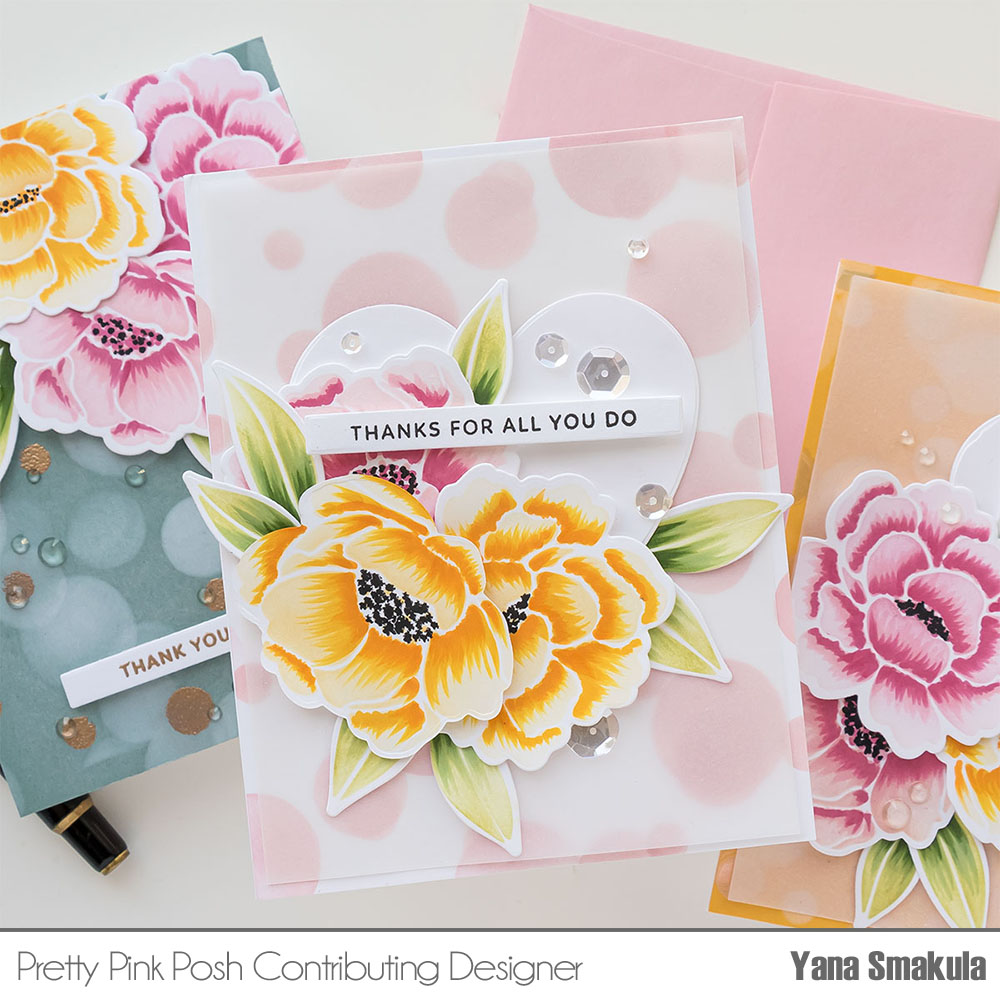
Another fabulous product from Pretty Pink Posh is a set of stencils to create a bokeh background.
The bokeh stencil is a 3 stencil set with large, medium, and small dots. When you overlap the dots you get a beautiful bokeh result.
Because it is a stencil, you of course can use all of the stencil techniques out there. So not just ink blending, you can add paste, emboss, and use various mediums to get different results.
I wanted to have some gold embossed dots on my background so I started by adding those first. As with any heat embossing, I treated the panel with anti-static powder first, I applied a very generous layer of powder to the entire background. Next, I tape the stencil in place using low tack tape. I didn’t want to use a sticky spray, as that can leave a bit of a sticky residue on the paper, not enough to notice the residue, but enough for the embossing powder to stick to. So better to use tape, at least for this step of the process.
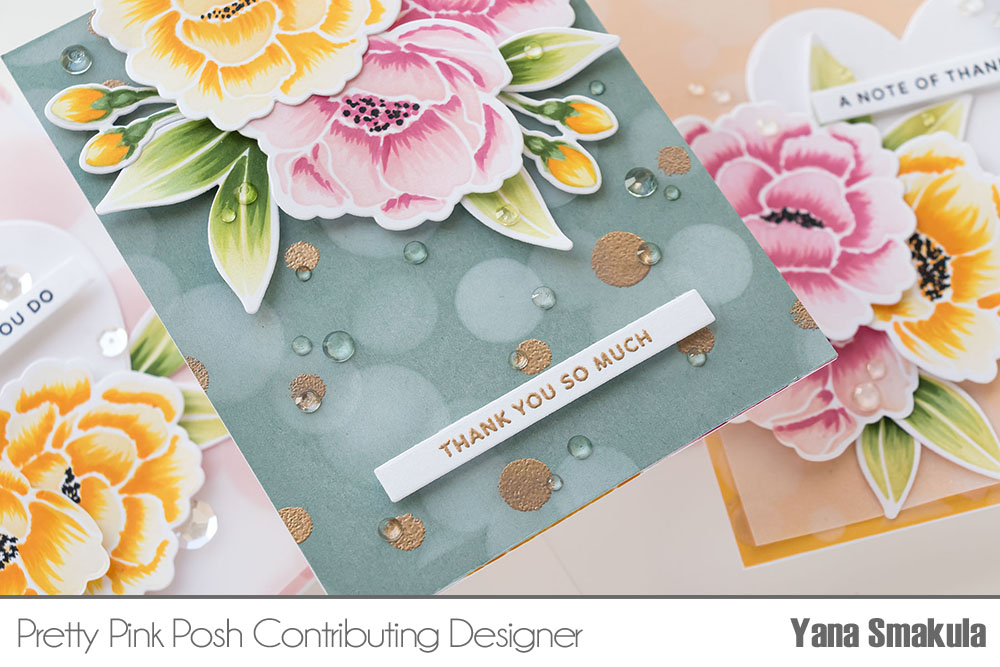
Next, I ink blended the dots using clear embossing ink. I used an ink blending – a dauber type, not a brush, tool and I pounced the ink onto the stencil using my tool. I did go a bit heavy-handedly, but not so heavy, that the ink would seep from under the stencil. Having applied the ink through all the openings on the stencil, I removed it and added Antique Gold embossing powder over the background. I then used my heat tool and heat set the powder in place to melt it. So this created the first layer of my bokeh background. Now the heat embossing wasn’t absolutely perfect, but I didn’t mind, as I knew I’d be adding additional ink blending on top and I’d also pop the flower on a portion of this background so I was okay with some imperfections.
I placed the 2nd layer stencil on top and ink blending white pigment ink. My entire idea for this card was to use a darker color cardstock for the background, heat emboss a part of the bokeh background in gold, and ink blend the rest in white. Where the ink blending overlapped the gold embossing, it muted it significantly, creating a stunning result.
If you want to re-create this background, it is important to heat emboss first, as the rest of ink blending happens with pigment ink, and pigment ink takes a very long time to dry.
I kept on blending the background and used the 3rd layer stencil in the same way. I also went back to the 2nd layer, to add a few additional dots to fill the background in.
You can use the stencil as intended, carefully layering each layer, but you can also go rogue, and layer and blend it in your own way. This is what I did. And I love the result!
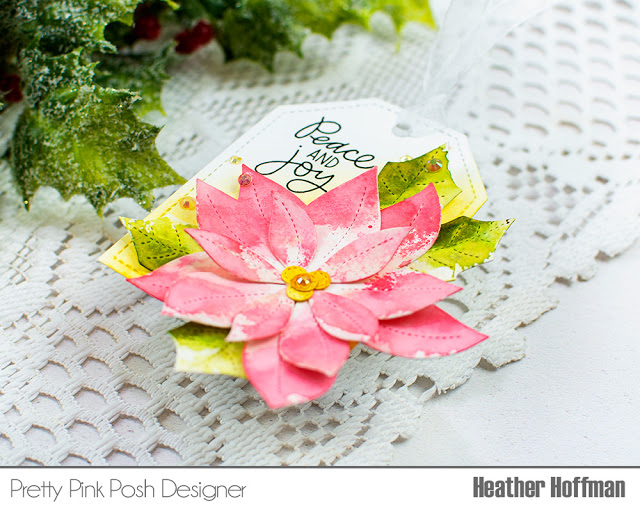
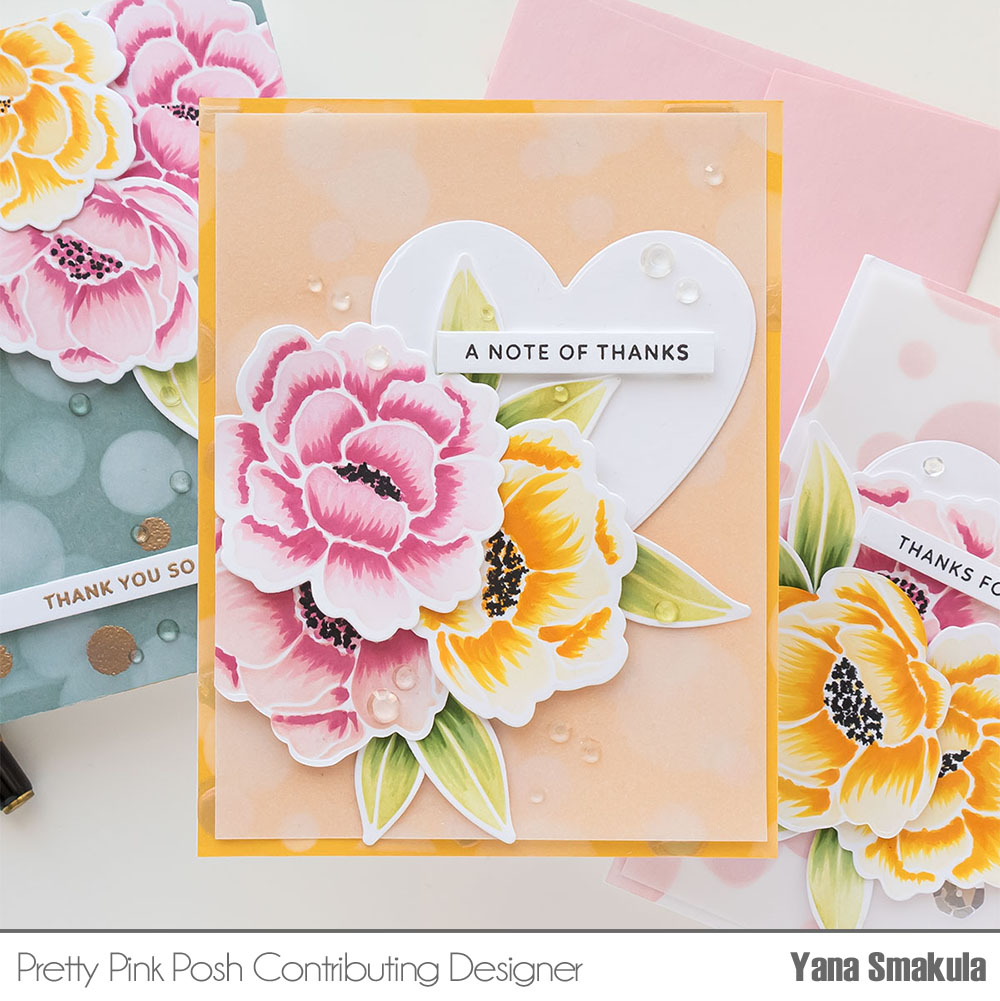
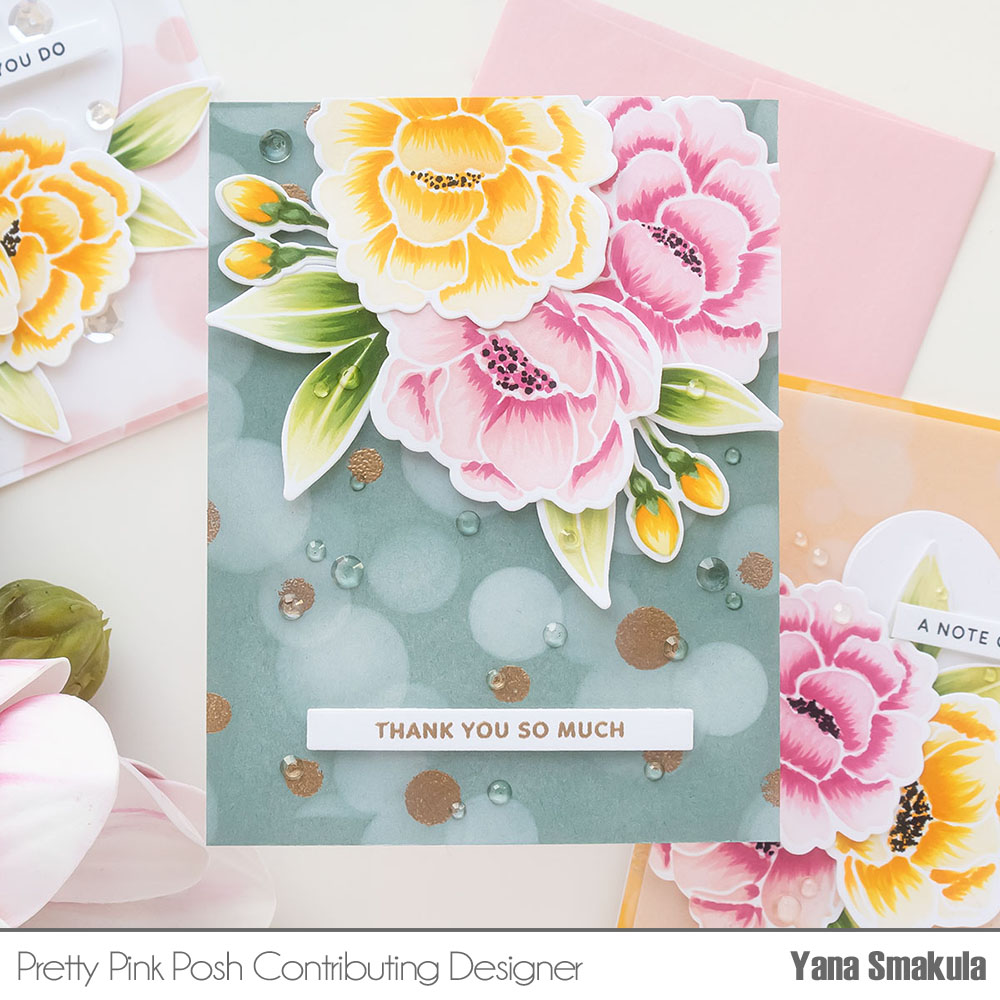
I adhered my background on an A2 white side folding card base and foam mounted my fresh floral cluster on top.
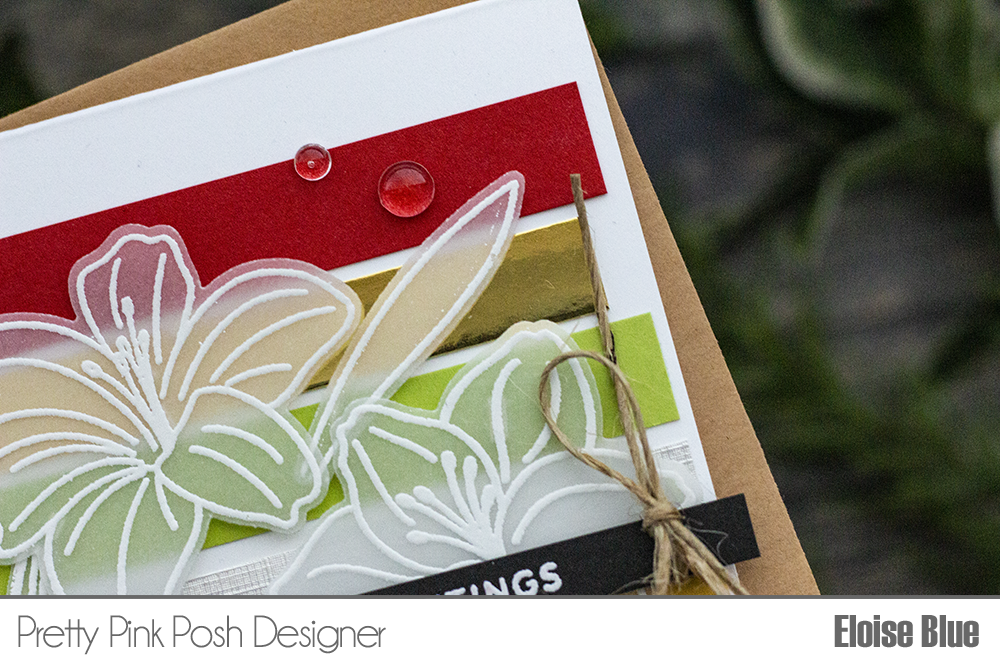
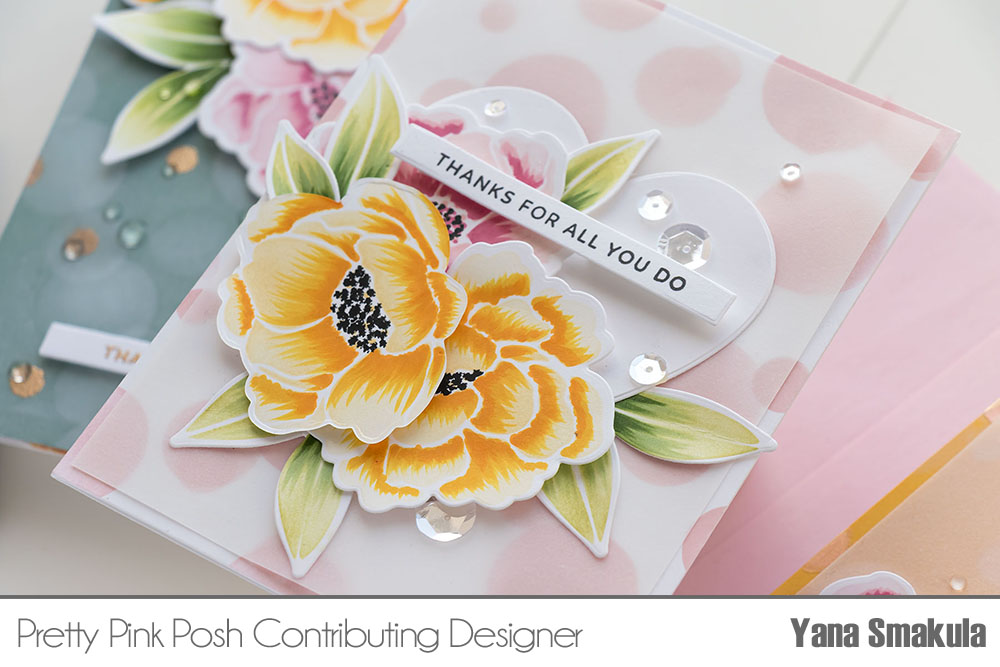
I used my scissors and trimmed the excess flowers off so that there was no overhang. Next, to add a sentiment for this card, I went with a skinny strip heat embossed one – it reads Thank You So Much. But of course, you can add any type of sentiment to this card. This one comes from the Simple Sentiments stamp set. I used a skinny strip from adhesive to add it onto the card and I first thought about adding it over the florals but ended up adding it over the bottom part of my card.
I had quite a few leftover flowers, and I didn’t want them to go to waste, so I added them to the inside of this card. I also used Sparkling Clear jewels and scattered them over the background adding to the overall bokeh look.
Have fun with your stencils!