Cards

|

Mother’s Day Inspiration Week- Day 6

Hello, Gemma here. My card today features the beautiful new Mom stamp set. In the U.K., where I live, we generally use the name Mum. It’s really easy to turn Mom into Mum, by combining this set with the previously released Floral Hearts stamp set.

Pretty Pink Posh: Mother’s Day Inspiration Week- Day 6

I began by stamping the large MOM image, from the Mom stamp set, and colouring the two ‘M’ letters with copic markers.  I kept the colouring simple and didn’t try to blend on the small images. I then die cut the letters with the coordinating die.

Next, I stamped the Floral Heart image with clear embossing ink. I heat embossed it with gold embossing powder and used the coordinating die to cut it out.

Pretty Pink Posh: Mother’s Day Inspiration Week- Day 6

For the letters and floral heart, I added two die cut layers behind them. This is my favourite way to add dimension. I made sure to remove part of the layers where I planned to overlap the images, though.

I stamped a sentiment from the Large Floral Hearts stamp set on a strip of white card, before adhering my images above.

Pretty Pink Posh: Mother’s Day Inspiration Week- Day 6

On my white card base, I added some interest with the Pretty Petals stencil and Worn Lipstick distress Oxide ink. I then adhered the panel on top.

Pretty Pink Posh: Mother’s Day Inspiration Week- Day 6

I adhered some thin gold card strips along the edges of the panel, to echo the gold embossing of the Floral Heart, them some Pearl White jewels to finish.

I hope you were inspired by my project and if you also use “MUM” instead of mom, I hope I gave you an idea of how you can stretch your stamp sets!

| | |

Mother’s Day Inspiration Week- Day 5

Hi there! Laura Bassen here and today I have a couple of project to share with you featuring the Spring Flowers Stencil Set.

Here’s a video to show you how I created these cards.

Watch the video above  I  Watch the video in HD on YouTube

For this first card I used the Spring Flowers Stencil Set in the traditional sense. First I blended three different green distress inks using the leaf stencil, and then I used the stencil with the blooms and added some warm floral colors. I also added a few flicks of Crushed Olive to the blended panel.

For the sentiment I used the Mom/Mother Script Dies with gold foil cardstock. I stamped a coordinating sentiment from the Mom Stamp Set, and finished it off with a few Valentine Jewels.

For this next card I used the Spring Flowers Stencil Set in a more unexpected way. I created a wreath using only the leaf stencil.

I flicked a bit of Mermaid Lagoon distress ink on the blended panel, and for the sentiment I used the Mom Stamp Set. For embellishment I used a mixture of Sparkling Clear Sequins & Ivory Jewels.

I hope you were inspired by today’s video tutorial. Thanks for stopping by!

|

Mother’s Day Inspiration Week- Day 4

Hello, crafty friends! It’s Leica here today with a mini slimline Mother’s Day card. A lot of us are trying the new mini slimline size cards… and so far, I am loving this smaller version of the slimline card. The size of my card is 3.25″ x 6.25″. To make the card, I’ve cut a 110lb Neenah cardstock in white to 6.25″ x 6.5″ scored at the 3.25″ mark. Ok, let’s begin!

Pretty Pink Posh: Mother’s Day Inspiration Week- Day 4

To start, I’ve cut a panel in white cardstock to 3×6 inches. I then ink blended with Milled Lavender and Antique Linen distress oxide inks. I sprayed some water to create the oxidized effect and I also splattered black and gold acrylic paints for added interest. Next, I added stitched details to the top of the panel using the straight stitched die from the Stitched Borders 2 dies. I then added scallop stitched details to the bottom of the panel using the scallop border die from the Stitched Borders I dies

Pretty Pink Posh: Mother’s Day Inspiration Week- Day 4

Next, I stamped, colored, and cut the adorable hedgehogs from the Hedgehog Friends stamp set. I used Copic Sketch markers in E77/74/71/70/11/00/000. I also stamped, colored, and cut the MOM stamp from the Mom stamp set. I colored the M’s in Copic Sketch B41, R81/32/30, Y18/11, YG23/21, V15/12. 

I then cut a strip of black cardstock using the Simple Strips Dies and heat white embossed the Happy Mother’s Day sentiment from the Mom stamp set.

Pretty Pink Posh: Mother’s Day Inspiration Week- Day 4

I then adhered the stamped images with foam tape for dimension and the sentiment strip with liquid glue. Lastly, I adhered the panel onto the card base. 

Pretty Pink Posh: Mother’s Day Inspiration Week- Day 4

Easy peasy! I hope you liked today’s card share! I love adding adorable critters to my Pretty Pink Posh cards, especially using them as a substitute for the vowels in the word stamps. By the way, I heard through the grapevine that there will be a Dad stamp set coming soon. Also, the Elephant Friends stamp set and Monkey Friends stamp set have great images that can be used if you’d like to recreate my card. 

Have a great day, everyone! 

| | |

Mother’s Day Inspiration Week- Day 3

Hi crafty friends! It’s Mona here, today I am sharing with you a lovely card scene with floral basket and birds for Mother’s Day.

Watch the video above  I  Watch the video in HD on YouTube

For this project I have used the Spring Robins, the Floral Corners, the Tropical Toucans and the Simple Sentiments stamp sets. I will also use the Easter Basket and the Mom/Mother Scripts die sets as well as the Nature Essentials die sets.

I stamped the images with alcohol friendly inkpad and colored the images with Spectrum Noir Illustrator Markers. I have used the following colors: PP1, MG2, MG3, PL1, PL2, PL3, CT1, CT2, CT3, GY3, TN3, TN5, TN6, TN8, FS8, FS7, FS6, CG2, AG2, AG3, BT1, BT2, BT3, BT4, BT5, BG1, BG2, BG3, BG4, Blender, as well as CG05, TN05, BG05, PL05, MG05 from the Classique’s. You can watch the coloring process in the video. After the coloring I added white highlights with white pen and pencil.

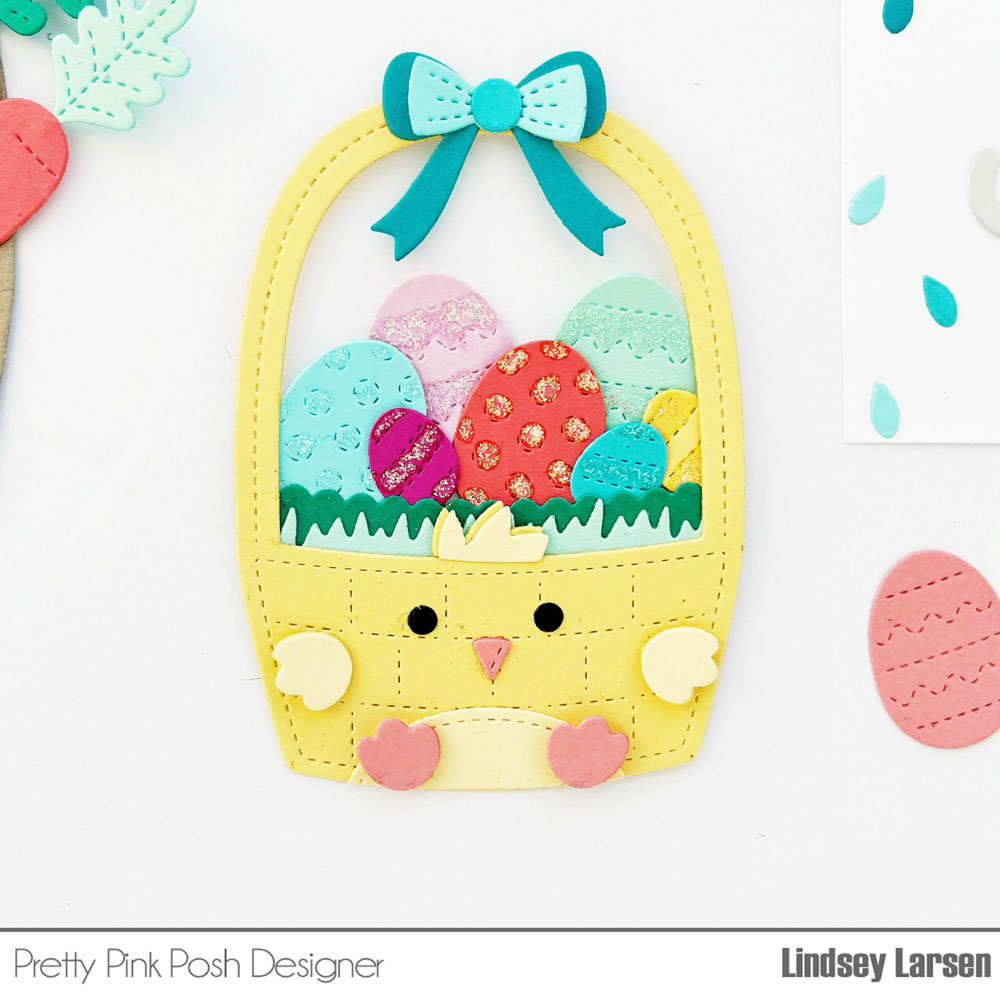
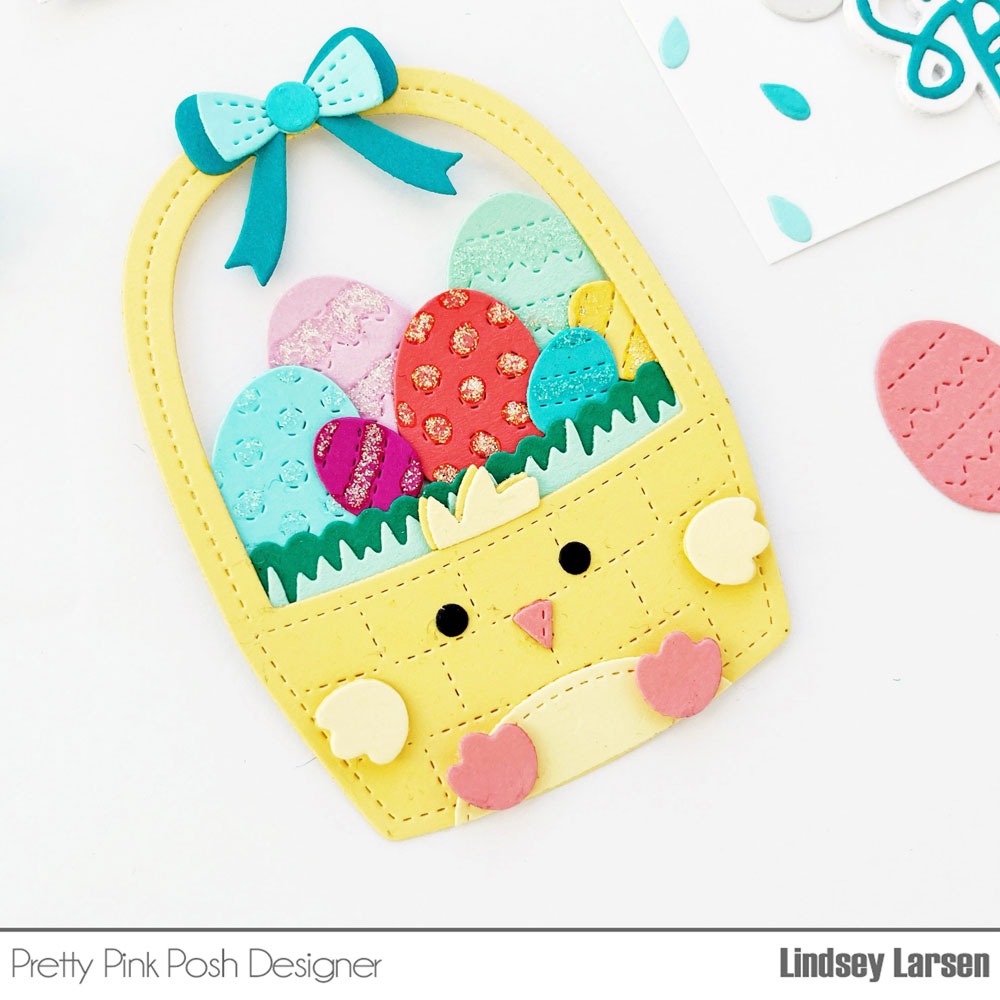
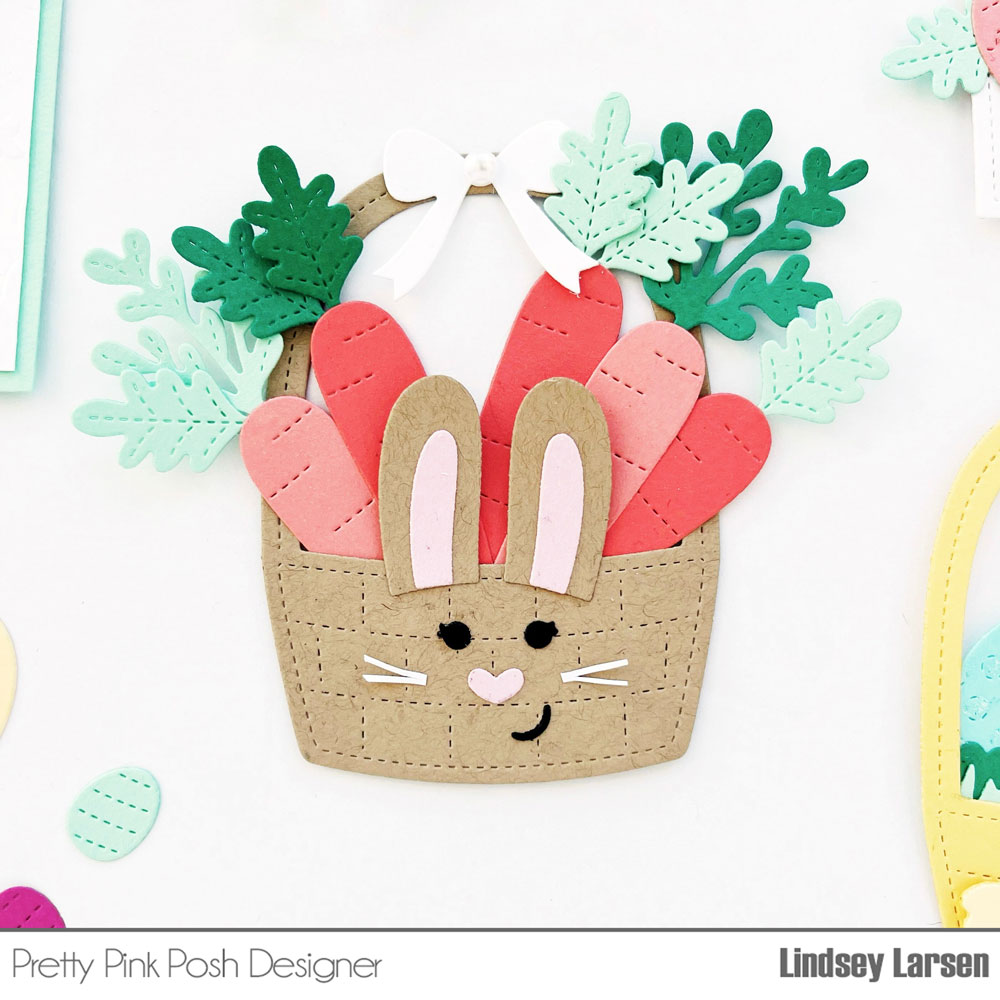
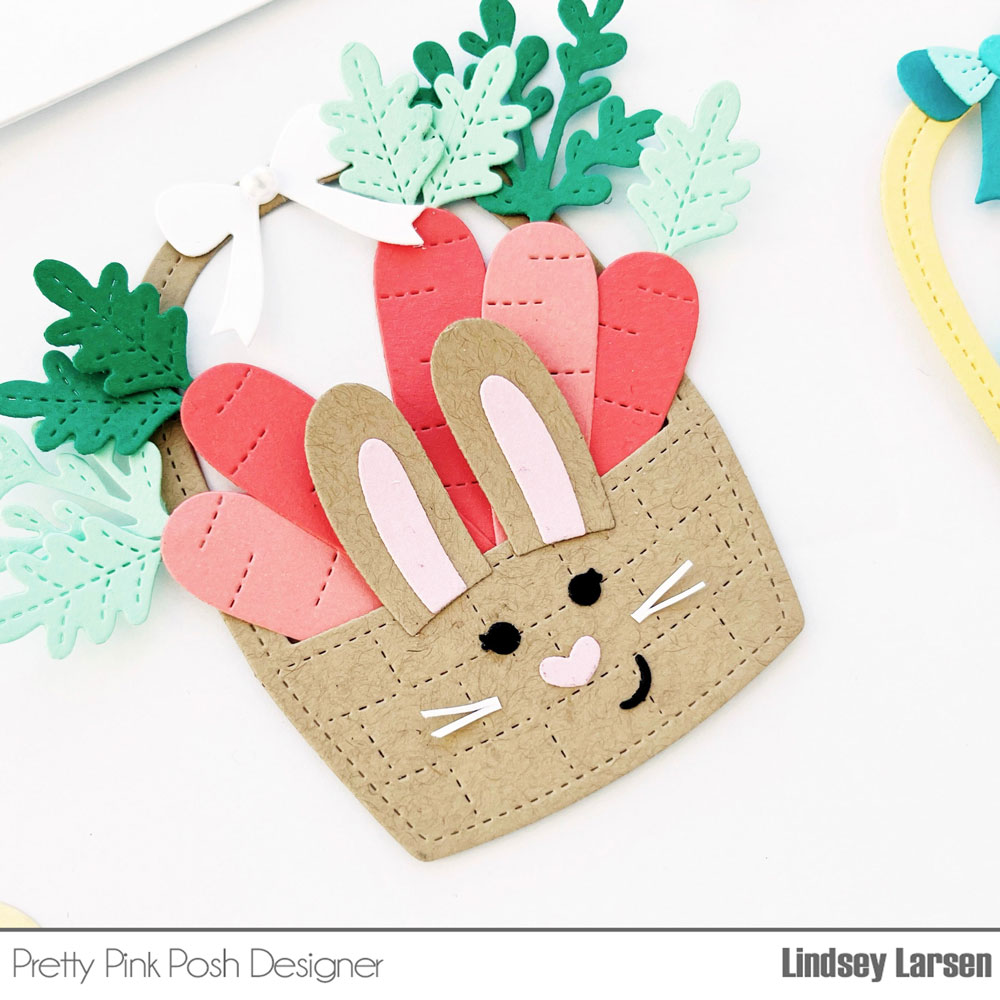
Next, I created this basket with the Easter Basket die from a wood textured cardstock. I have also created a couple die cuts from white cardstock with the MOM script die, and adhered them together with liquid adhesive to have a heavy chipboard looking sentiment. I have also created green grass with the Nature Essentials dies.

The following step was to create the background, so I made a blue-violet gradient ink blending with Shaded Lilac, Peacock Feathers and Broken China Distress Oxide Inks. I have also made a quick ink blending on the grass die-cut with the same Peacock Feathers Distress Oxide Ink.

When it was done, I stamped the “grateful for you” sentiment from the Simple Sentiments set with watermark ink to a piece of pink cardstock. Then I heat embossed it with white detailed embossing powder and cut it to the right size.

In the end I put my card together and the result is this cute and bright card with a touch of spring which is a perfect card for Mother’s Day. Thank you so much for stopping by, see you next time.

Hugs, Mona.

|

Mother’s Day Inspiration Week- Day 2

Hi friends! Tammy here! It’s Mother’s Day Theme Week over on the Pretty Pink Posh blog! This week we are celebrating Mom’s, or maybe someone who has been like a mom to you. Today I’m sharing a card and tag set using the Floral Corners stamp set, along with some other new items.

Pretty Pink Posh: Mother’s Day Inspiration Week- Day 2

To begin, I cut an A2 piece Bristol smooth cardstock and ink blended Tattered Rose and Worn Lipstick Distress Oxide inks over the Pretty Petals Stencil. I splattered some Worn Lipstick ink, thinned with water, and black acrylic paint onto my stenciled background to create some interest. Next, I die cut white cardstock three times using the Scallop Frames Dies, stacked together and attached to my stenciled background.

Pretty Pink Posh: Mother’s Day Inspiration Week- Day 2

Next, I stamped the images from Floral Corners, colored with Copic markers, and die cut with the Floral Corners Coordinating Dies. The butterfly comes from the Mom stamp set and was cut out using the coordinating dies. After arranging the colored images onto my card, I created a bold sentiment using the Mom/Mother Script Dies. I die cut Bristol smooth cardstock three times, stacked together, and ink blended the Mom sentiment with Shabby Shutters and Rustic Wilderness Distress Oxide inks to create an ombre effect. Next, using the Simple Strips Dies, I die cut black sentiment strips. I white heat embossed them with sentiments from the Mom stamp set and attached to my card. Lastly, I added some clear sequins from the Sparkling Clear Sequins Mix for a little sparkle and the perfect finishing touch!

Pretty Pink Posh: Mother’s Day Inspiration Week- Day 2

The tag was created by cutting a piece of Bristol cardstock using the Scallop Square Tag Dies. I taped off the edges with washi tape and ink blended Tattered Rose and Worn Lipstick Distress Oxide inks over the Pretty Petals Stencil. Next, I stamped the floral image from Floral Corners, colored with Copic markers, and die cut with the Floral Corners Coordinating Dies. The sentiment was created using the Mom/Mother Script Dies, and ink blended with green inks to create an ombre effect. Lastly, I cut black cardstock using the Simple Strips Dies, white heat embossed the sentiment from the Mom stamp set and attached to my tag. I finished off the tag by adding a few clear sequins from the Sparkling Clear Sequins Mix.

Pretty Pink Posh: Mother’s Day Inspiration Week- Day 2

Thanks so much for stopping by! I hope you were inspired to create something beautiful for the amazing women in your life! Have a wonderful day!

|

Mother’s Day Inspiration Week- Day 1

Hi, crafty friends! It’s Leica here today with a mini slimline Mother’s Day card. For this card, I’ve used the new Mom stamp set and coordinating dies

Pretty Pink Posh: Mother's Day Inspiration Week- Day 1

The size of my card is 3.25 x 6.25 inches. To begin, I started with a 3×6 panel that I inked in Worn Lipstick and Spun Sugar distress oxides. I then splattered black, white, and gold paint for added texture to the background. 

Pretty Pink Posh: Mother's Day Inspiration Week- Day 1

Next, I stamped the images on 110 lb Neenah cardstock and colored with Copic Markers – RV13/11/10/00, YG63/61, Y13/11. I cut and adhered the MOM letters and butterflies stamps using foam tape for dimension. I then heat embossed the Happy Mother’s Day sentiment onto a black strip of cardstock and adhered with liquid glue. Next, I adhered Sparkling Clear jewels here and there for added interest. Lastly, I adhered the panel onto my card.

Pretty Pink Posh: Mother's Day Inspiration Week- Day 1

I love when Pretty Pink Posh comes out with word stamps. So far, there is BABY, BOO, LOVE, JOY, and of course, the newest addition, MOM. I love them all! I heard through the grapevine that there will be a DAD stamp set coming too.

Pretty Pink Posh: Mother's Day Inspiration Week- Day 1

I hope you enjoyed today’s card, featuring Mom stamp set and that I have inspired you to use this new set.

Thank you so much for stopping by! Come back tomorrow for more Mother’s Day inspiration!

| |

Clean and Simple: Die Cut Window

Pretty Pink Posh- Clean and Simple: Die Cut Window

Hello, Gemma here. It’s time for a new installment of Clean and Simple. For my CAS card today, I’m using the new Floral Corners stamp set. By using a die cut window, it’s easy to create a corner for the beautiful floral image to sit upon.

Pretty Pink Posh- Clean and Simple: Die Cut Window

I stamped the Floral Corners image in grey ink, which gives a softer look to the image than regular black ink. I coloured the image with copic markers, using the following colours:

Pretty Pink Posh- Clean and Simple: Die Cut Window
  • Leaves: YG01, YG03, YG17, G46
  • Pink flowers: RV00, RV10, RV52, RV34, RV66
  • Yellow flowers: Y13, Y15, Y38, YR27
  • Blue flowers: B91, B52, B34

I die cut the image with the coordinating die, layering two more die cuts behind for dimension.

Pretty Pink Posh- Clean and Simple: Die Cut Window

To ground the floral corner on my card, I die cut a Stitched Diamond from a piece of white card. I allowed it to go off the edge of the panel for interest.

On my card base, I blended Spun Sugar and Kitsch Flamingo distress oxides over the Pretty Petals stencil. This gives a soft pattern visible through the diamond window when the panel is adhered to the card.

Pretty Pink Posh- Clean and Simple: Die Cut Window

I stamped a sentiment from Simple Sentiments over the stenciled area on the card, with some Pearl White jewels added around it for sparkle. I then adhered the Floral Corners image on the edge of the diamond window to finish.

Thank you for stopping by today!
| |

Tutorial: Creating A Die Cut Birdhouse

Hi friends, it’s Tammy.

My project features a custom birdhouse, a home just perfect for these sweet birds! To begin, I cut an A2 piece of white cardstock using the Pretty Petals Background Die, removed the interior pieces, and layered on top of an A2 piece of light pink cardstock.

Pretty Pink Posh- Tutorial: Creating A Die Cut Birdhouse

To begin, I stamped the images from Spring Robins and Mom, colored with Copic markers, and die cut with the Spring Robins Coordinating Dies and Mom Coordinating Dies.

First, I cut a piece of woodgrain paper using the Stitched Duo 3 Dies to create the base of the birdhouse. I then cut a white rectangle frame using the Scallop Frames Dies, which will be cut apart to create a scalloped roof and base for the birdhouse.

Pretty Pink Posh- Tutorial: Creating A Die Cut Birdhouse

I cut the frame in half, lengthwise, then placed it on the top of the tag (as shown in pic), trimming the length of the roof to look proportional. I then trimmed along the edges of the roof, cutting away the woodgrain paper. Using the leftover piece of the scalloped frame, I cut it to fit along the bottom of the birdhouse.

Pretty Pink Posh- Tutorial: Creating A Die Cut Birdhouse

Next, I created a window in the birdhouse using the circle die from the Valentine Circle Coordinating Dies, and the Simple Strips Dies were used to create the post for the birdhouse.

Pretty Pink Posh- Tutorial: Creating A Die Cut Birdhouse

I white heat embossed the sentiment onto dark brown cardstock, then adhered it to the back to complete the birdhouse.

Lastly, I trimmed down the Simple Strip and adhered to the card, attached the birdhouse using foam tape for dimension, and arranged the stamped images onto my card to finish! 

Pretty Pink Posh- Tutorial: Creating A Die Cut Birdhouse

Thanks for stopping by! I hope you were inspired by this tutorial!
|

Storybook Robins

Hi Friends! It is Dana here today and I am excited to be back to share a card that uses the new Spring Robins stamp set. This is such an adorable set, so fun to use and sure to bring a smile to the recipient’s face. 

I started my card by stamping my images from the Spring Robins Set in a Copic friendly black ink and coloring them with my Copic markers. Next, I used the coordinating dies to cut them out. 

For my card panel, I used the Storybook 5 Die. This is a must have die in my opinion and one that I reach for often. I ink blended a piece of cardstock with aqua ink and then attached it behind the opening in the panel to create my background. 

Next, I stamped my sentiment from the Spring Robins Set directly onto my panel. I then added my images with a little liquid glue and foam adhesive. Lastly, I added a few highlights with a white gel pen to finish my card.

Thanks for joining me today. I hope you enjoyed my card and you find a little time to be creative today too!

Enjoy your day, Dana

| |

Clean and Simple: Spring Corner Frame

Pretty Pink Posh- Clean and Simple: Spring Corner Frame

Hello, Gemma here with a new post for my Clean and Simple series.

My card today features the pretty Spring Corner Frame die. I love cover dies as they are so versatile. They work with lots of different colouring mediums and you can create beautiful CAS cards quickly and easily.

Pretty Pink Posh- Clean and Simple: Spring Corner Frame

I die cut the Spring Corner Frame die three times from white card. I had added some double sided adhesive sheet behind the white card pieces before die cutting, as this makes it really easy to adhere the layers together.

I adhered one layer of the die to an A2 panel of white card. You could adhere it directly to a white card base, but as I am colouring with copic markers, I didn’t want the colouring to show through to the inside of the card.

Pretty Pink Posh- Clean and Simple: Spring Corner Frame

Using copic markers, I added colour to the open areas of the die cut. It doesn’t matter if you colour on the die cut accidentally, as it’ll be covered up with more die cuts later. Just try not to colour outside of the die cut.
I used the following copic colours:

  • Flower petals: V000, BV00, BV02
  • Flower centres: Y11, Y13, Y15, YR23
  • Leaves: G40, G12, YG05 (lighter leaves), YG05, G07, G28 (darker leaves)
Pretty Pink Posh- Clean and Simple: Spring Corner Frame

Next, I adhered the second layer, which hides any messy colouring, giving a beautiful clean look. I added this panel to a white card base.

In the centre of the flowers, I added some Nuvo Crystal Glaze. Over the glaze, I sprinkled some glitter so the flower centres would have a sparkly look. I then left the panel to dry.

Pretty Pink Posh- Clean and Simple: Spring Corner Frame

Once dry, I adhered the final layer of the die cut. This is optional but I like the extra dimension it gives. To finish, I stamped a sentiment from the Birthday Friends stamp set and added some Pearl White jewels.

The Spring Corner Frame die is a beautiful cover die to have in your collection. I think it’s perfect for so many occasions. If you love to paper piece, you could use coloured card stock or even patterned paper for the flowers and leaves. So many possibilities!

Thanks for stopping by, I hope you were inspired!