
Easy Tricks for a Spooky Halloween Card
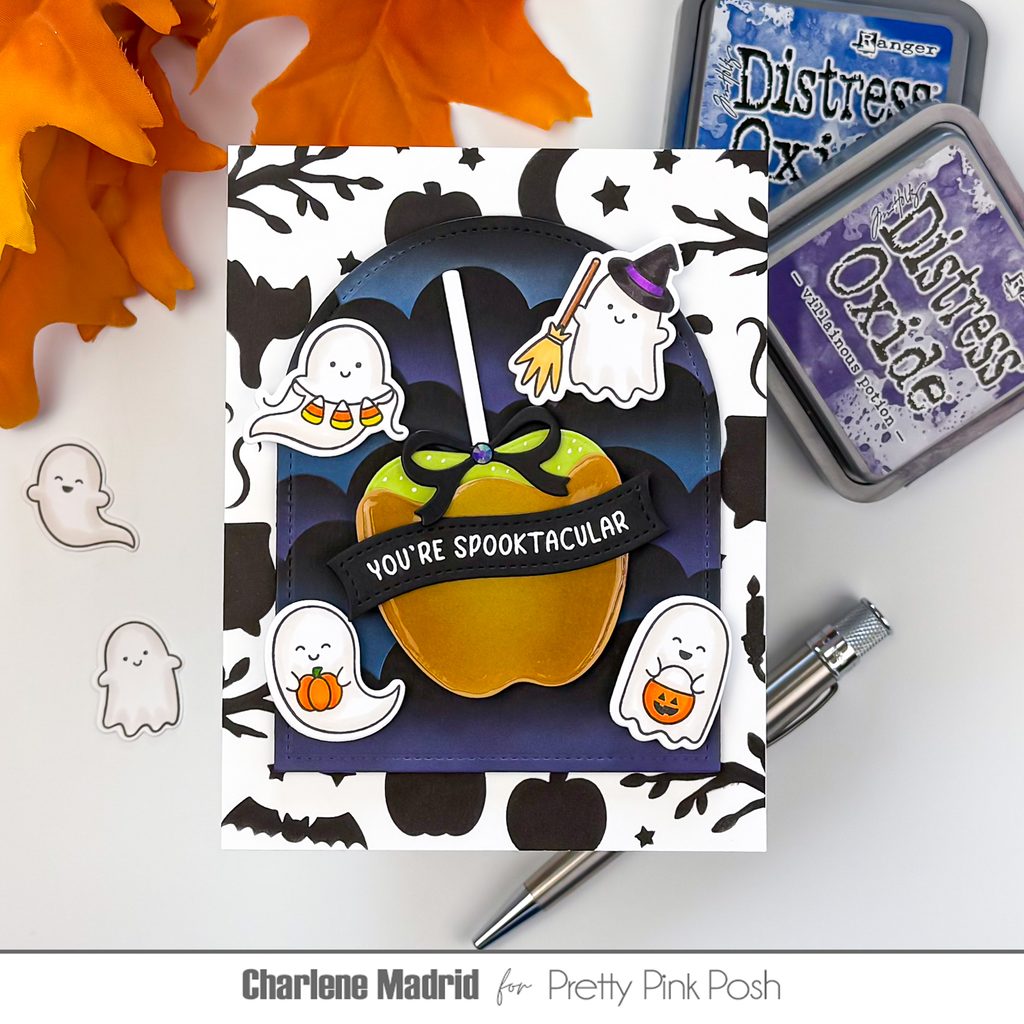
Hi friends, Charlene here! Today I’m sharing a playful Halloween card with a few easy tricks for adding extra dimension and detail. I’ll show you how white pigment ink can help create a glowing blue and purple sky, plus how a little ink blending and Glossy Accents can turn a simple die cut into a realistic caramel apple.
Watch the video above | Watch the video in HD on YouTube
Stitched Arches Dies
Clouds Stencil
Halloween Silhouettes Background Stencil
Halloween Caramel Apple Dies
Mini Ghosts Stamp Set
Mini Ghosts Coordinating Dies
Halloween Banner Greetings Stamp Set
Banner Greetings 4 Dies
I started with black cardstock and cut out an arch using the second from largest Stitched Arches die. To create the cloudy background, I blended white pigment ink over the Clouds Stencil, shifting and rotating the stencil as I worked my way down the panel.
I made sure to leave some of the black cardstock showing between the clouds. Once the pigment ink was dry, I blended blue and purple Distress Oxide inks over the white areas. The white pigment ink underneath helps the colors show beautifully against the black cardstock and creates a soft, hazy nighttime sky.
For the card background, I used the Halloween Silhouettes Background Stencil with black ink on white cardstock. I only needed to stencil around the outer portions of the panel since the center would eventually be covered by the arch and focal images.
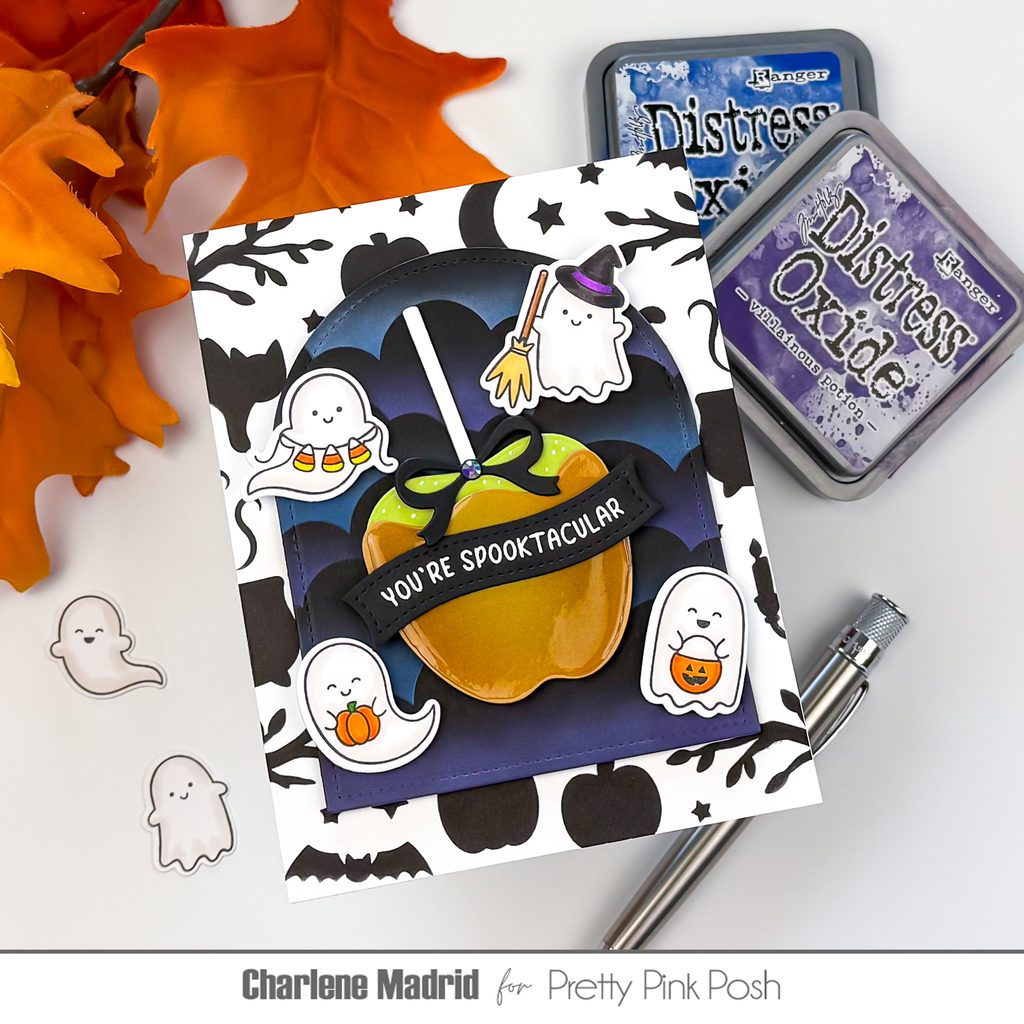
Next, I die cut the Halloween Caramel Apple dies from light green and golden brown cardstock. Before adding the shine, I blended light brown ink around the edges and bottom of the caramel layer, keeping the center lighter. This simple shading helps give the caramel some shape and warmth.
Then came the fun part! I covered the caramel with Glossy Accents, first outlining the edges and then slowly filling in the center. I let the piece dry overnight so the Glossy Accents had plenty of time to create a smooth, candy-coated finish.
One quick tip: Glossy Accents can cause cardstock to curl slightly as it dries. Once the piece is completely dry, placing it underneath a heavy book is an easy way to flatten it again without damaging the glossy surface.
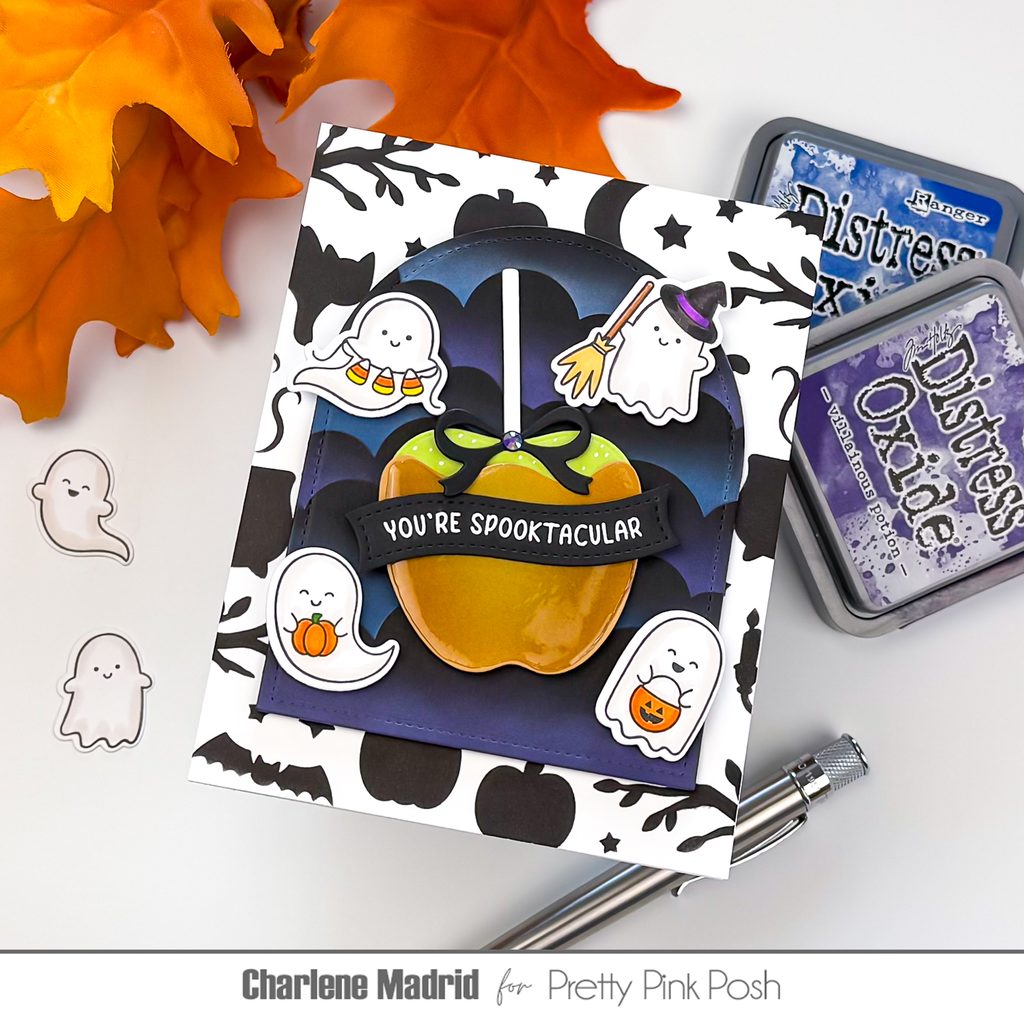
For the Mini Ghosts, I added soft warm gray shading around the edges and folds to give them a little more dimension while keeping them cute and playful. I also added simple coloring to the pumpkins, candy corn, broom, and witch hat. Since these images are small, just a little shading is enough to make them feel polished.
For the sentiment, I heat embossed “YOU’RE SPOOKTACULAR” from the Halloween Banner Greetings Stamp Set in white on black cardstock and cut it out using a Banner Greetings 4 die.
To assemble the card, I popped the arched sky up with foam tape and arranged four of the ghosts around the caramel apple. I added a black bow to the apple and used a white gel pen to add a few highlights to the green portion. Those tiny white details help give the apple an extra bit of shine and make it feel more realistic.
I finished the card by placing the sentiment across the apple and adding a small purple gem.
I love how this card stays cute and playful while all those little details make the finished design feel extra special. The glowing sky, shiny caramel, soft shading, and white gel pen highlights are all simple techniques you can use to add more dimension to your Halloween cards.
Thanks so much for stopping by today!
WOW!!! What a Faboolous card!! I love the dark inset arch w/ the menacing clouds. Your work there is exceptional. You have such talent, Charlene!!! the whole card concept is brilliant!
Lori S in PA