
August Intro: Sneak Peek Day 4
Hello and welcome to the last day of sneak peeks for the August 6th release! From treat buckets to playful ghosts, caramel apples, and more, these seasonal designs are perfect for all your upcoming Halloween projects!
Today we’ll be taking a look at the Stitched Windows 1, Pinking Ovals, Banner Greetings 4 die sets and the five new stamp sets: Boo Greetings, Halloween Banner Greetings, Halloween Silhouettes, Halloween Treat Buckets, and Mini Ghosts.
Watch the video above I Watch the video in HD on YouTube
Hello Crafty Friends! It is Hanh here with you today and I am thrilled to show you a little sneak peek of the upcoming August Release. This super fun release is filled with so many Fall and Halloween goodies. I had so much fun with this release and have three Halloween cards to share with you today showcasing the soon-to-be-released Halloween Treat Buckets Stamp & Dies, Mini Ghosts Stamp & Dies, Halloween Silhouettes Stamp & Dies, Boo Greetings Stamp & Dies, Halloween Banner Greetings, Banner Greetings 4 Dies, and Stitched Windows 1 Dies.
So let’s get started…
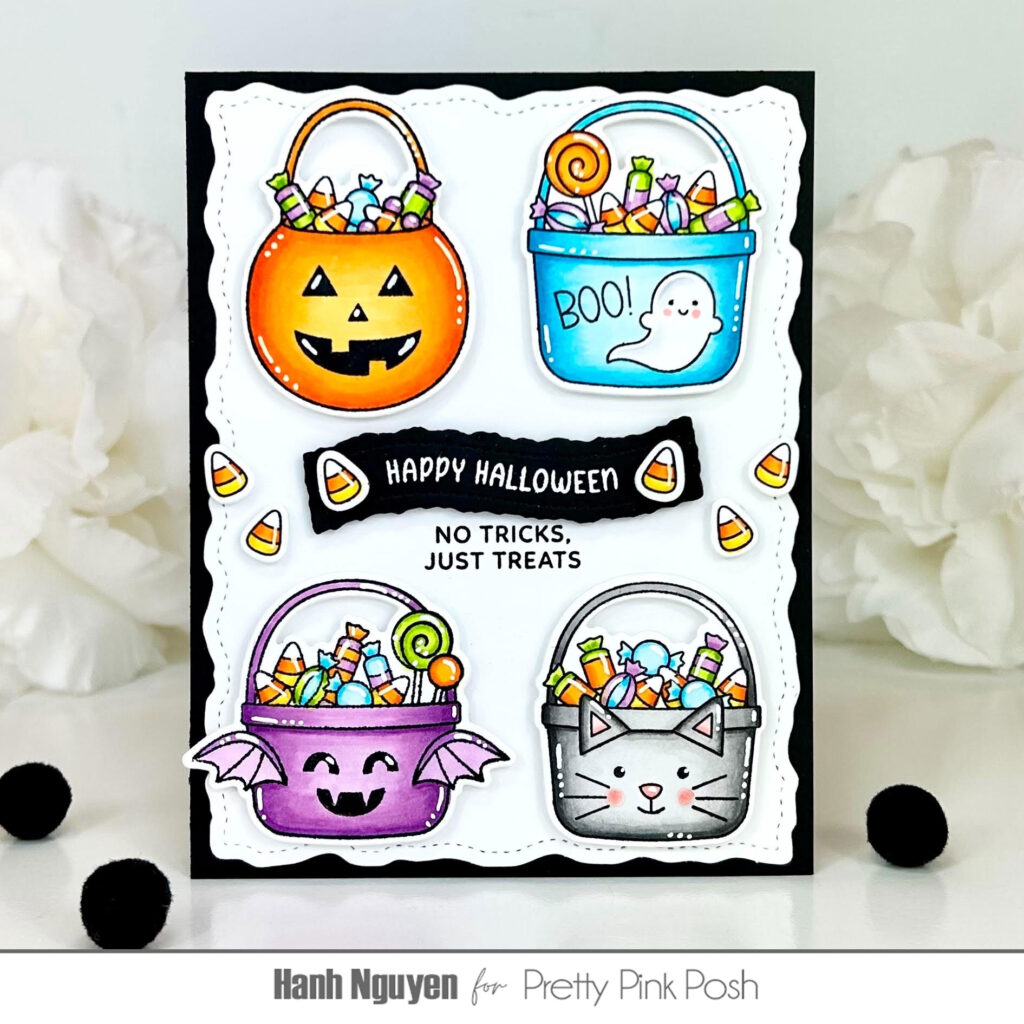
Happy Halloween! No Tricks, Just Treats! My first card features the super fun Halloween Treat Buckets Stamp & Dies, Halloween Banner Greetings, Banner Greetings 4 Dies.
I stamped the images from the Halloween Treat Buckets Stamp onto a piece of Neenah Solar White 110 lb cardstock with Memento Tuxedo Black ink and used the coordinating Halloween Treat Buckets Dies to diecut them out. I colored with Copic markers and highlighted with a white gel pen.
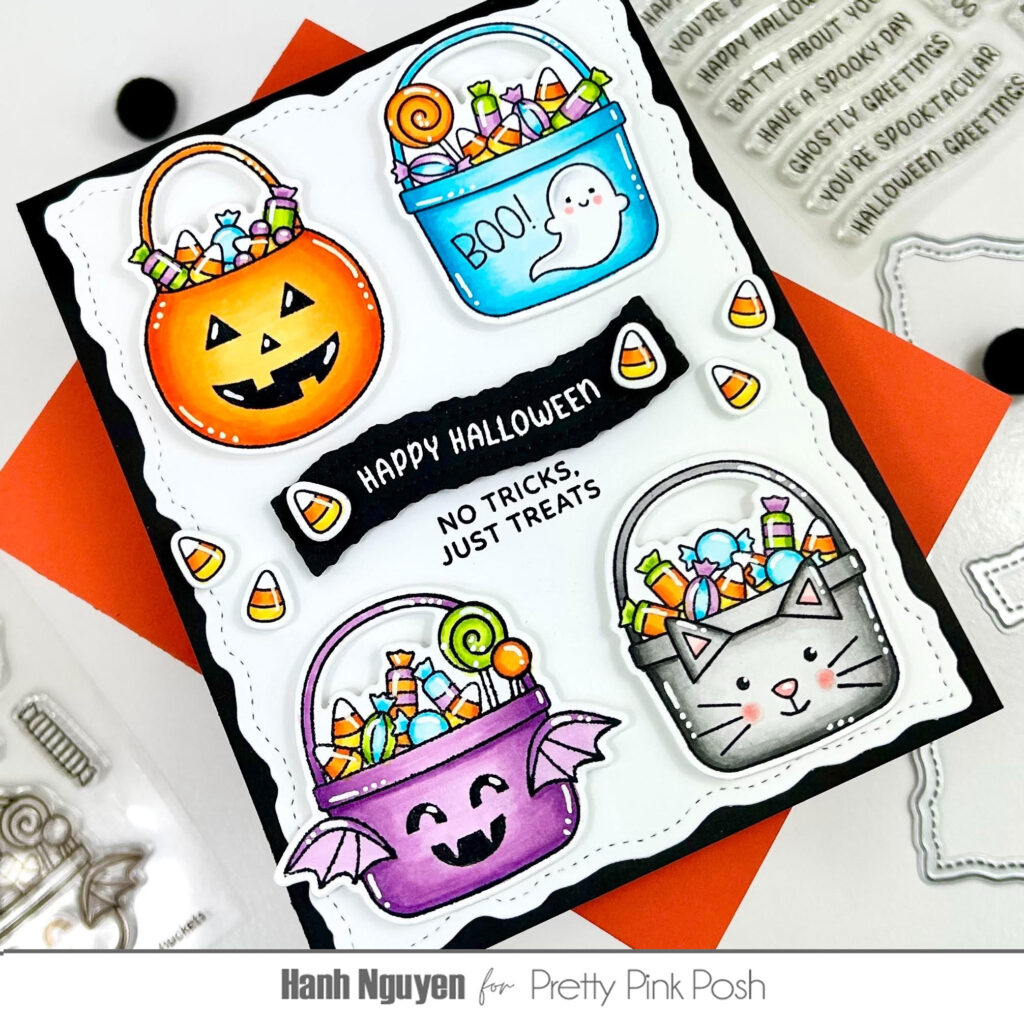
COPIC COLORS:
Pumpkin Bucket: Y35/17/38 YR04
Ghost Bucket: BG000/01/02/05, C00/0/1, R20
Bat Bucket: V01/12/15
Cat Bucket: T0/1/3/5/7, R20, R000/00/20
Candy corn: Y17/38 YR04, Y13/08
Orange candy: Y17/38 YR04
Green candy: YG01/03
Blue candy: BG000/01/02
Purple. Candy: V01/12
For the layout, I used the Stitched Torn Rectangle Dies to diecut a panel out of white cardstock. I matted with a piece of black cardstock.
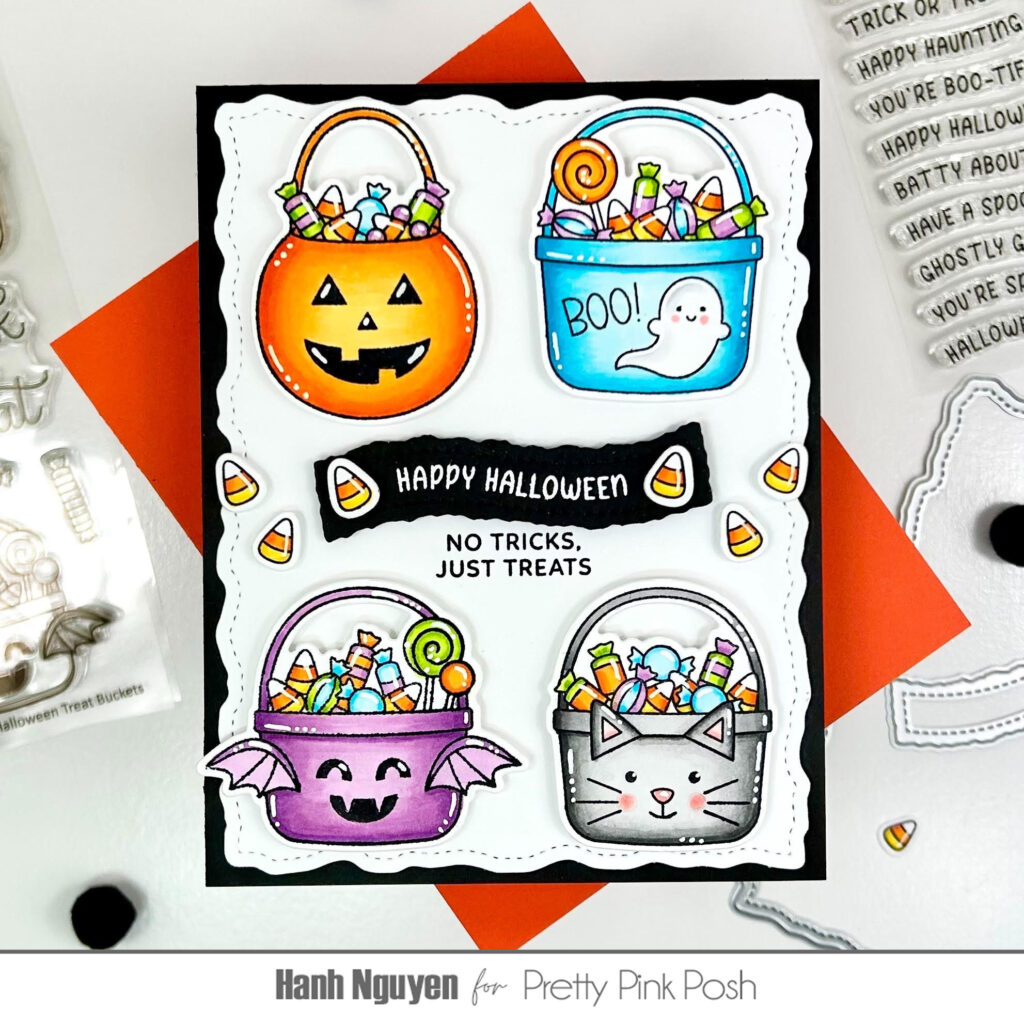
For the sentiment, I stamped the “Happy Halloween” from the Halloween Banner Greetings with Versamark Watermark ink onto a piece of black cardstock and white heat embossed before using the Banner Greetings 4 Dies to diecut it out. I stamped the “No Tricks, Just Treats” sentiment from the Halloween Treat Buckets Stamp with Memento Tuxedo Black ink directly onto the white panel.
I adhered the colored images and sentiment banner to the card front with foam tape for a bit of dimension. Finally, I adhered the panel to a white A2 cardbase (4.25” x 5.5”).
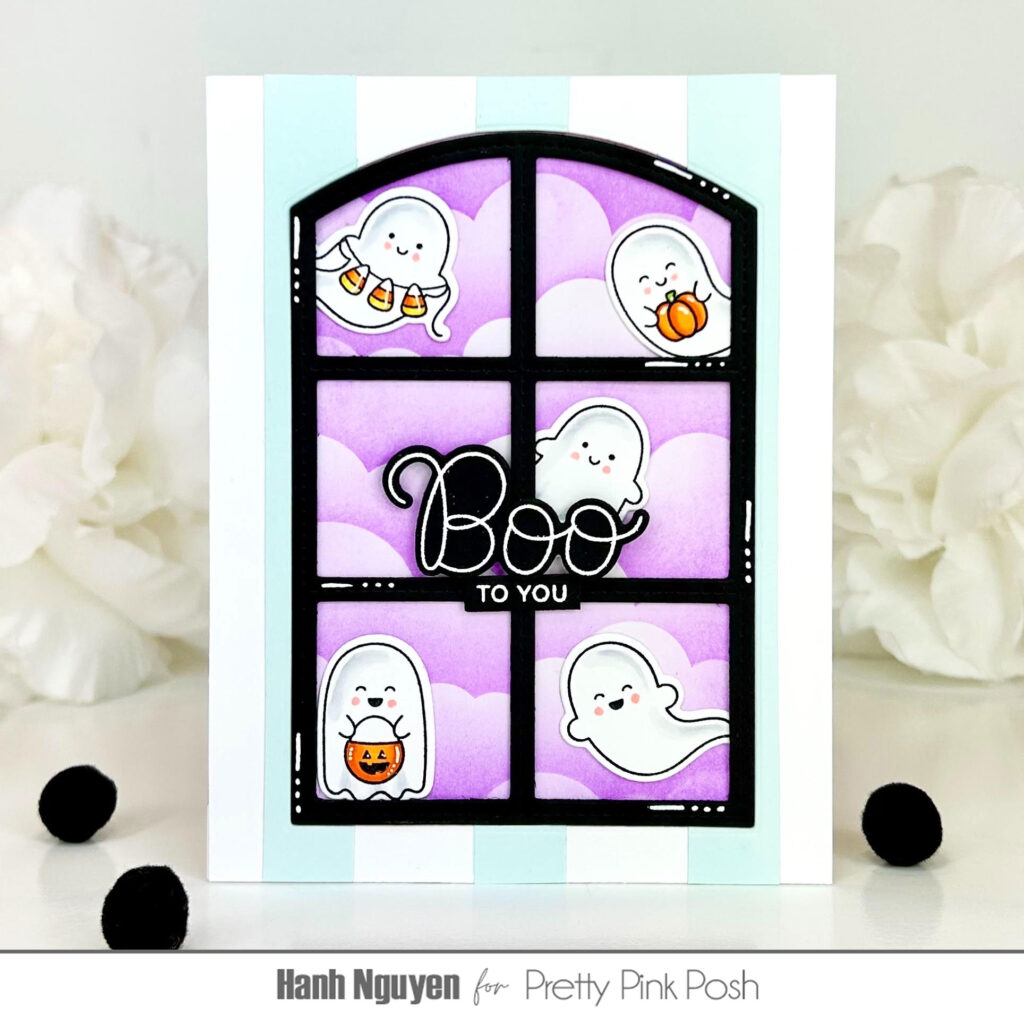
Boo to You! My second card features the cutest ghosts from the Mini Ghosts Stamp & Dies, Boo Greetings Stamp & Dies, Clouds Stencil, and Stitched Windows 1 Dies.
I stamped the images from the Mini Ghosts Stamp onto a piece of Neenah Solar White 110 lb cardstock with Memento Tuxedo Black ink and used the coordinating Mini Ghosts Dies to diecut them out. I colored with Copic markers and highlighted with a white gel pen.
COPIC COLORS:
Ghosts: C00/0/1, R20
Candy corn: Y17/38 YR04, Y13/08
Pumpkin: Y17/38 YR04
For the layout, I used the Clouds Stencil and some Wilted Violet Distress Oxide ink to ink blend a cloudy background onto a piece of Bristol Smooth cardstock.
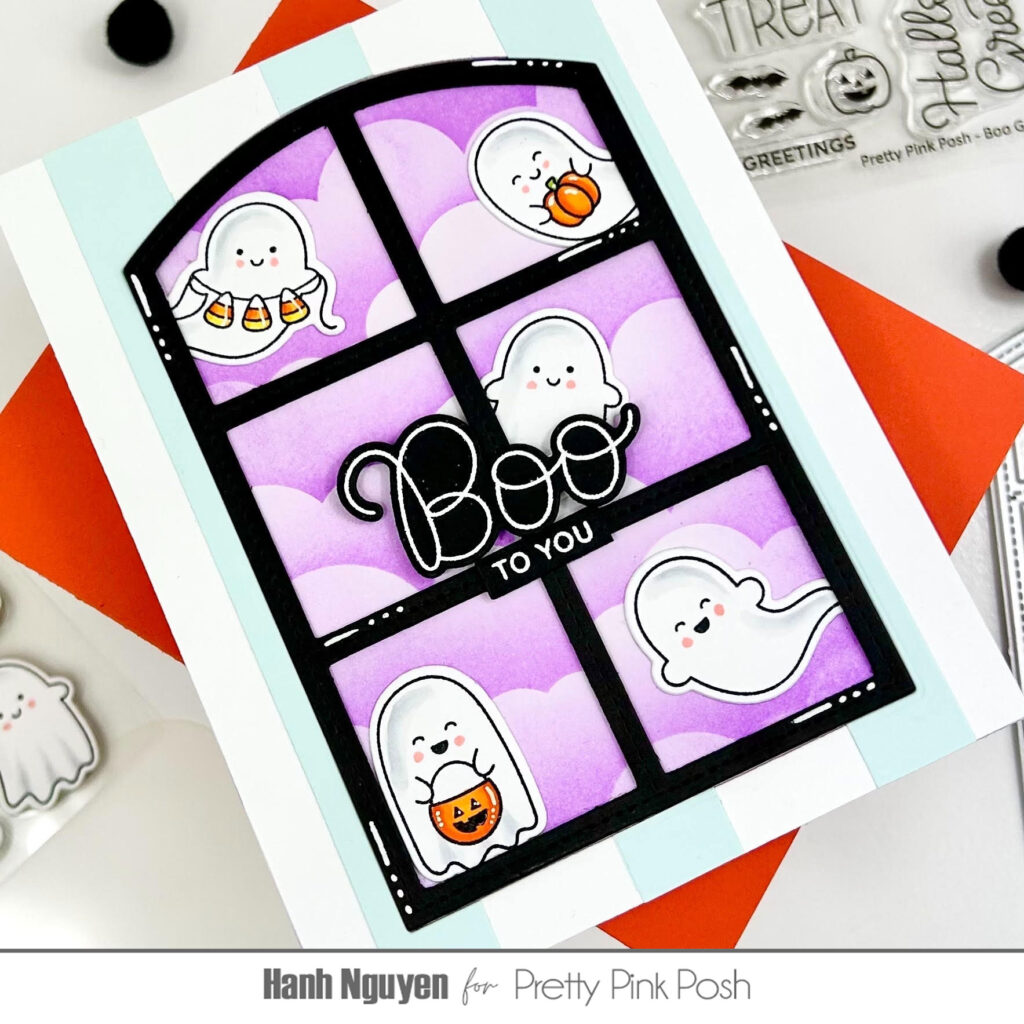
Next, I used the Simple Strips Dies to diecut three strips out of light blue cardstock. I adhered the strips to a piece of white cardstock to create the appearance of striped wallpaper. I used one of the Stitched Windows 1 Dies to diecut a window opening into my white and blue striped panel. I adhered the two panels to each other. I used the same window die to diecut two window frames out of black cardstock. I adhered the frames together with liquid glue. I used the black window frame to align my colored ghosts onto the cloudy background. I adhered the ghosts and the window frame to the panel with liquid glue.
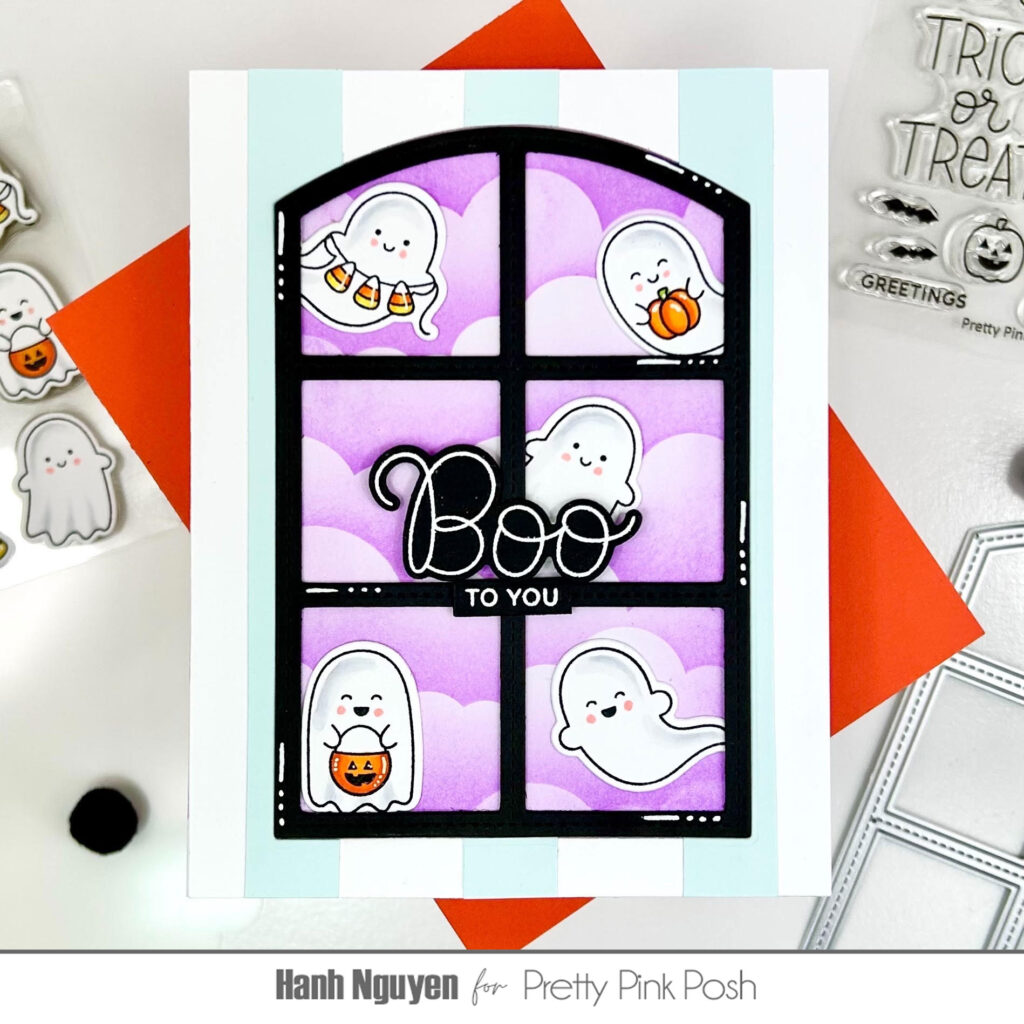
For the sentiment, I stamped the “Boo” and “to you” from the Boo Greetings Stamp with Versamark Watermark ink onto a piece of black cardstock and white heat embossed before using the Boo Greetings Dies and Sentiment Strip Dies to diecut them out.
I adhered the sentiments to the card front with liquid glue and foam tape for a bit of dimension. Finally, I adhered the panel to a white A2 cardbase (4.25” x 5.5”).
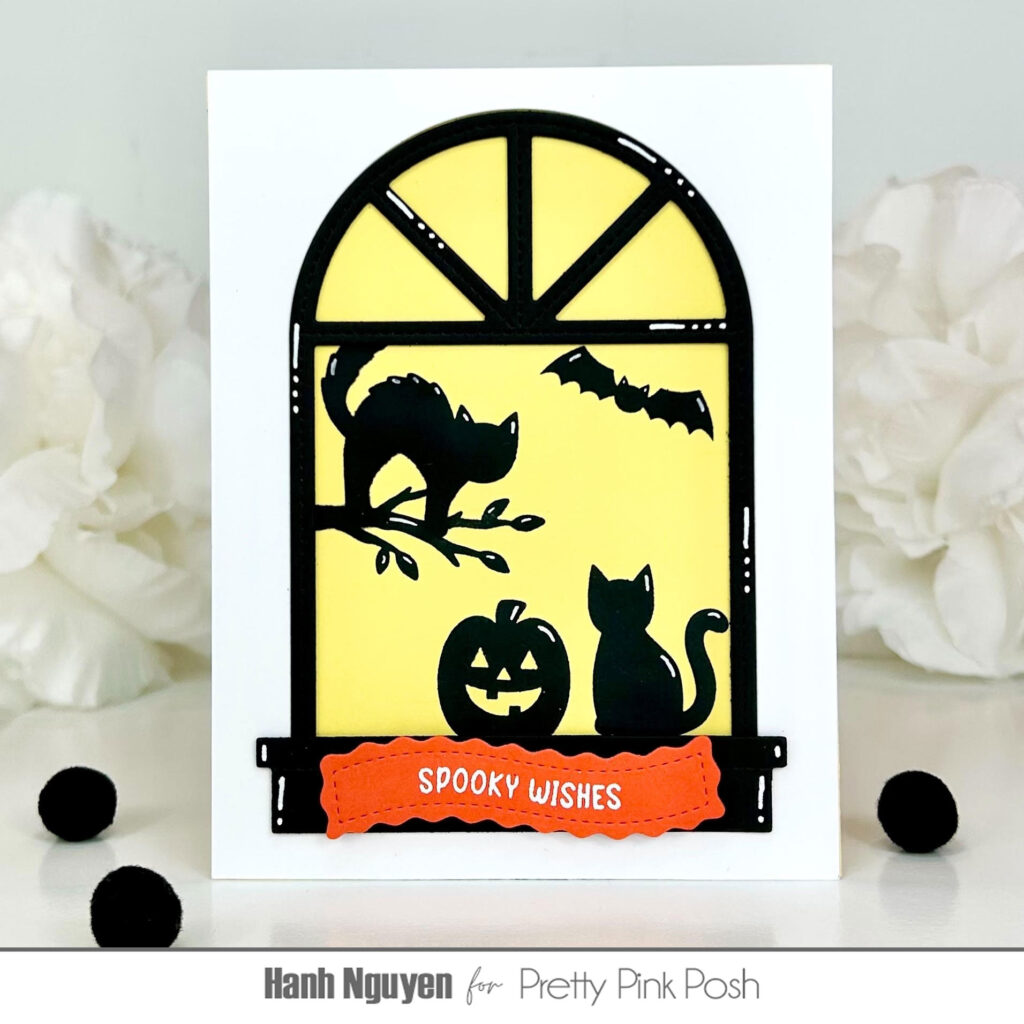
Spooky Wishes! My third card is a clean and simple silhouette card featuring the Halloween Silhouettes Stamp & Dies, Halloween Banner Greetings, Banner Greetings 4 Dies, and Stitched Windows 1 Dies.
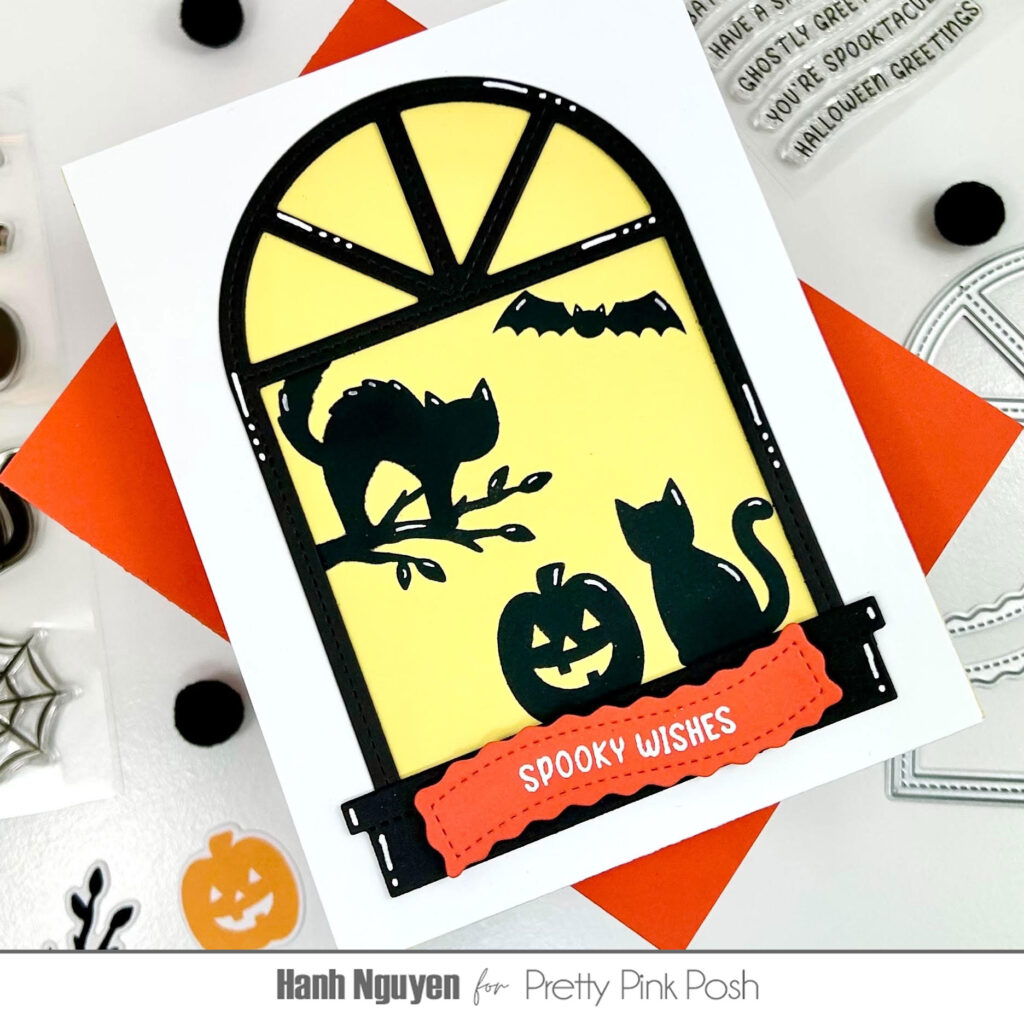
For the layout, I used one of the Stitched Windows 1 Dies to diecut a window opening into a piece of white cardstock. I used the same window die to diecut two window frames and a window sill out of black cardstock. I adhered the frames together with liquid glue. Next, I took a piece of light yellow cardstock. I used the white panel and black window frame to align my stamps from the Halloween Silhouettes stamp set. I stamped the images onto the yellow panel with Memento Tuxedo Black ink. I adhered the window frame and window sill to the panel with liquid glue. I added some highlights with a white gel pen.
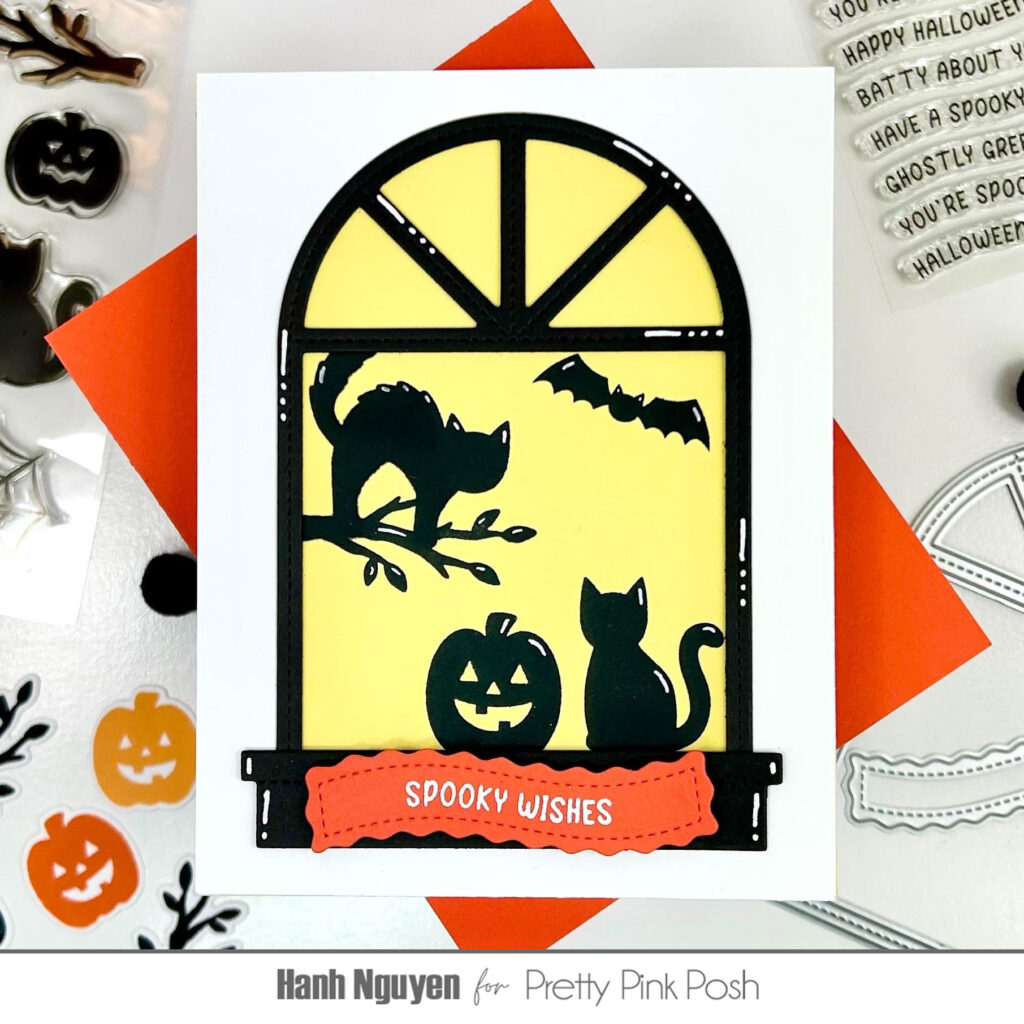
For the sentiment, I stamped the “Spooky Wishes” from the Halloween Banner Greetings with Versamark Watermark ink onto a piece of orange cardstock and white heat embossed before using the Banner Greetings 4 Dies to diecut it out.
I adhered the sentiment banner to the card front with foam tape for a bit of dimension. Finally, I adhered the panel to a white A2 cardbase (4.25” x 5.5”).
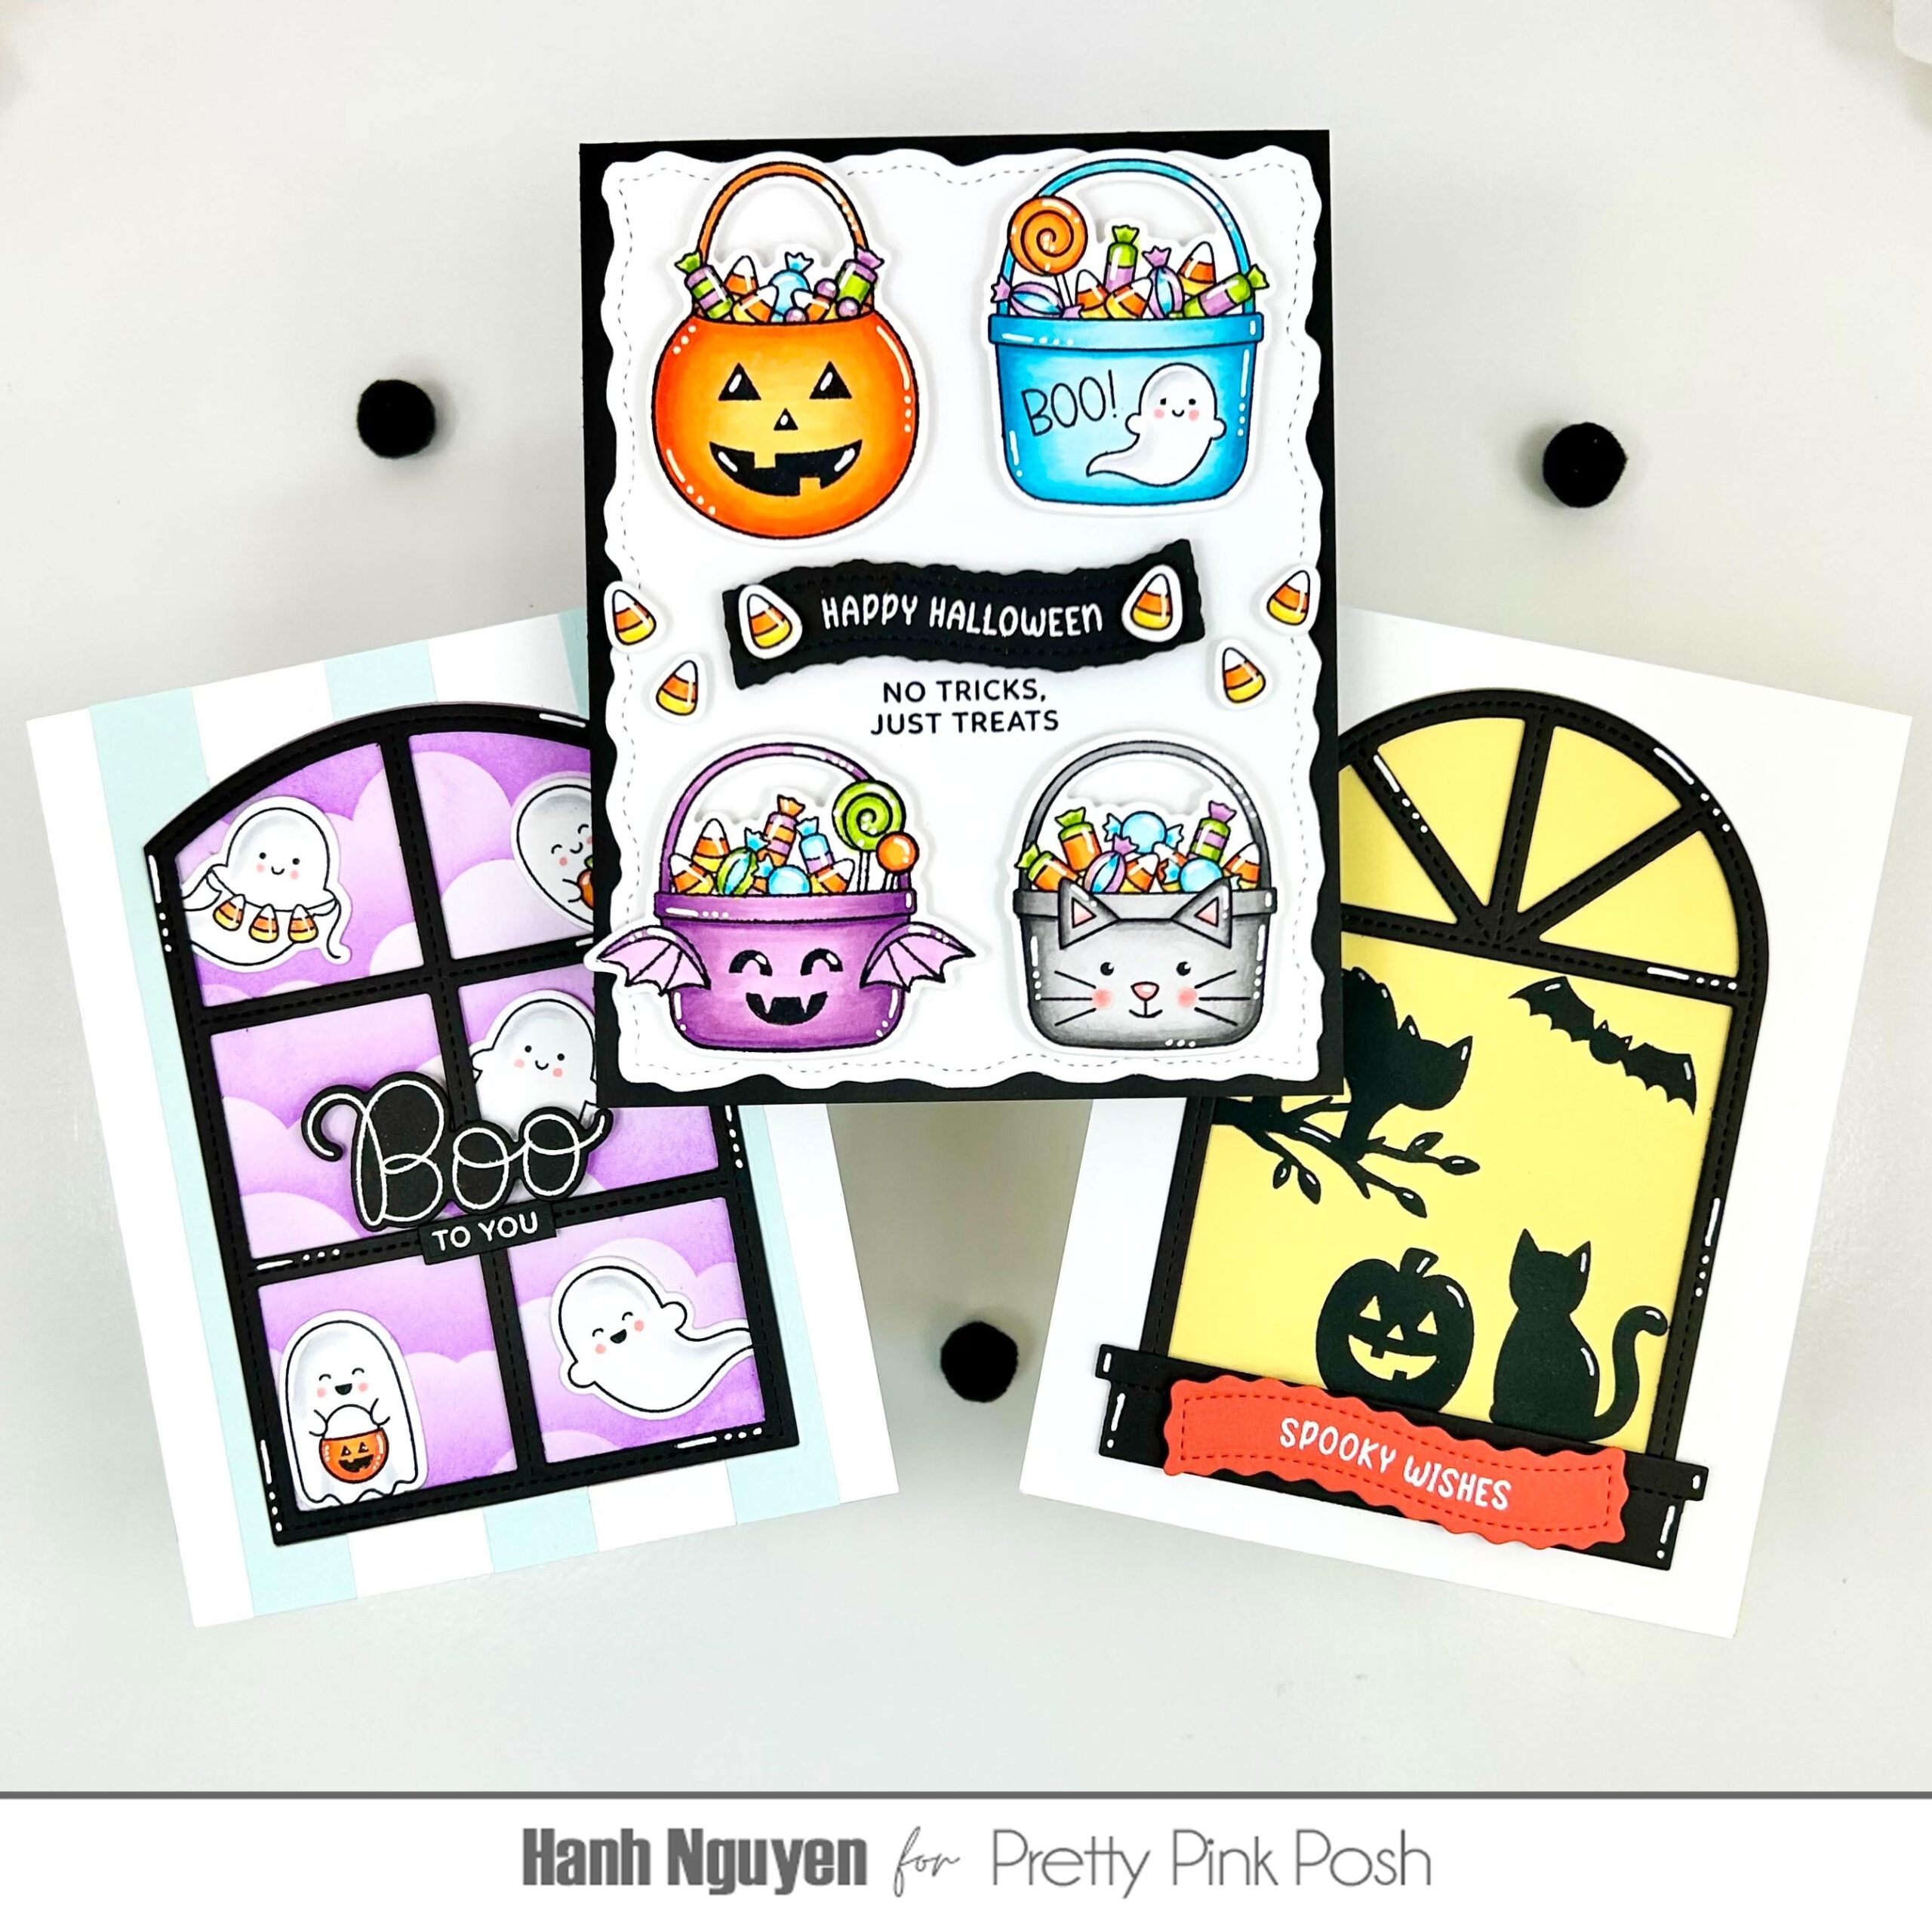
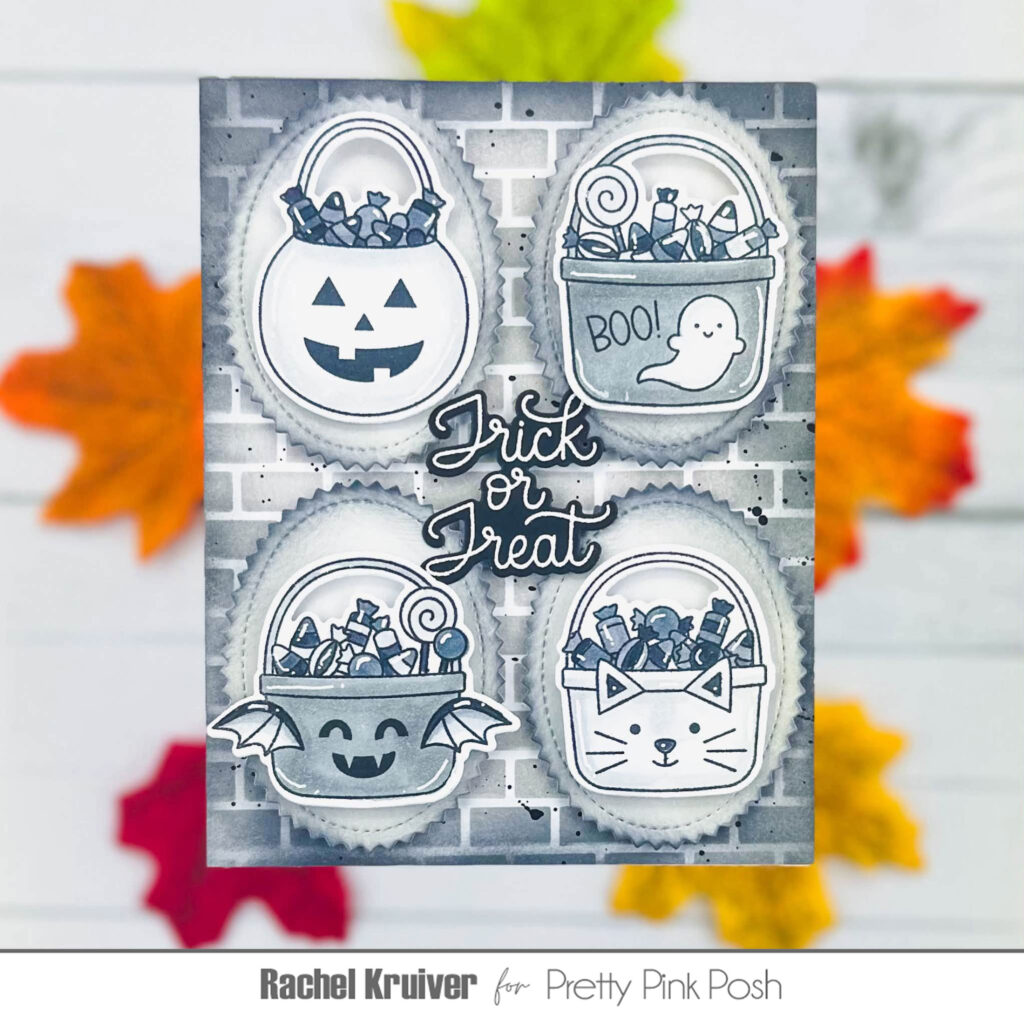
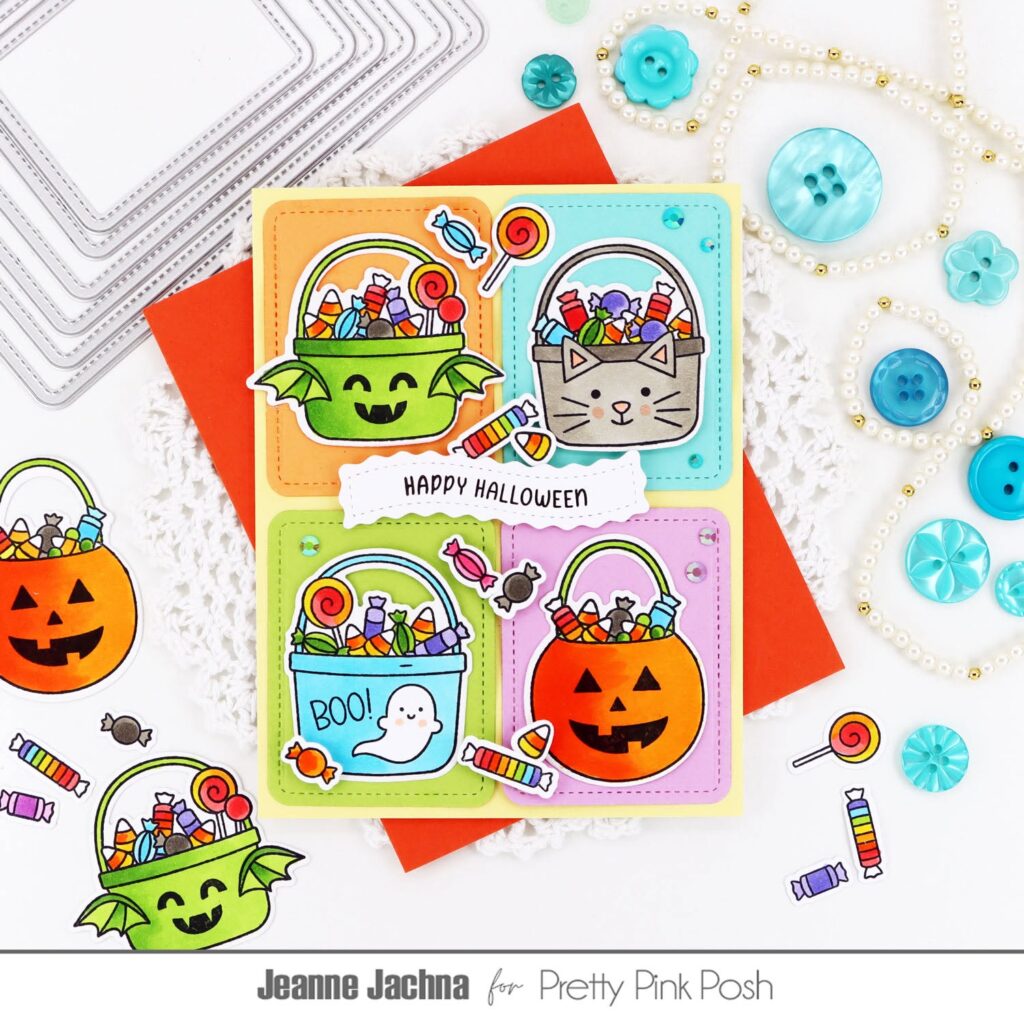
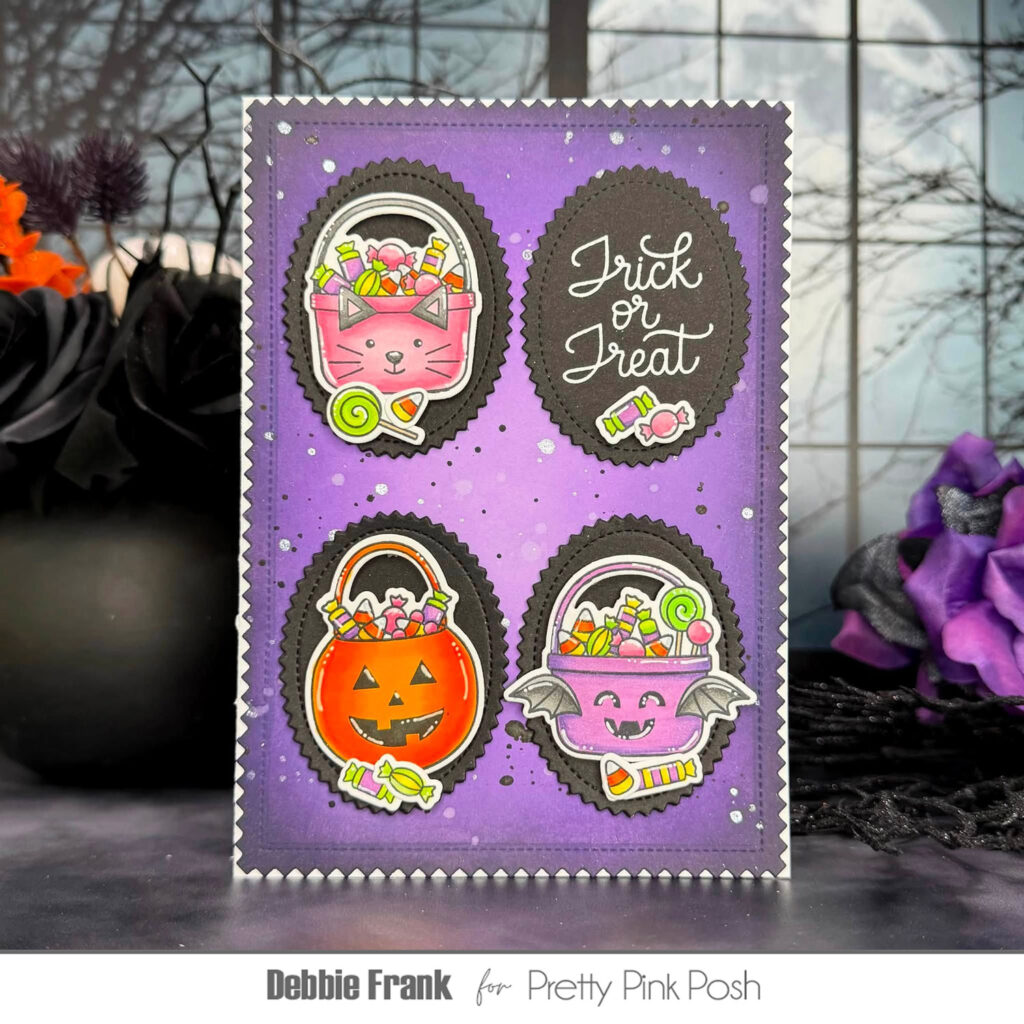
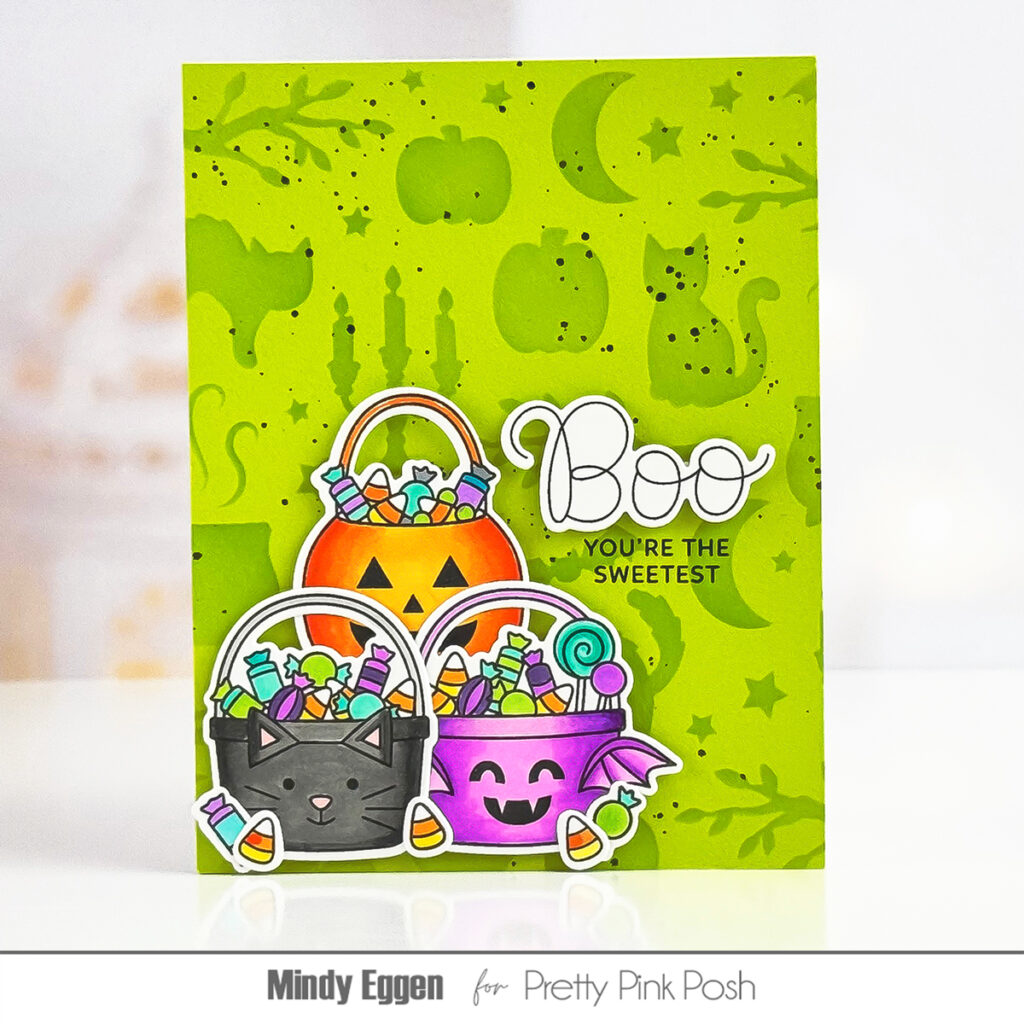
This was just a sneak peek of the all of the fun products in this August Release. Be sure to take a look below at some of the amazing inspiration from the design team with these products…
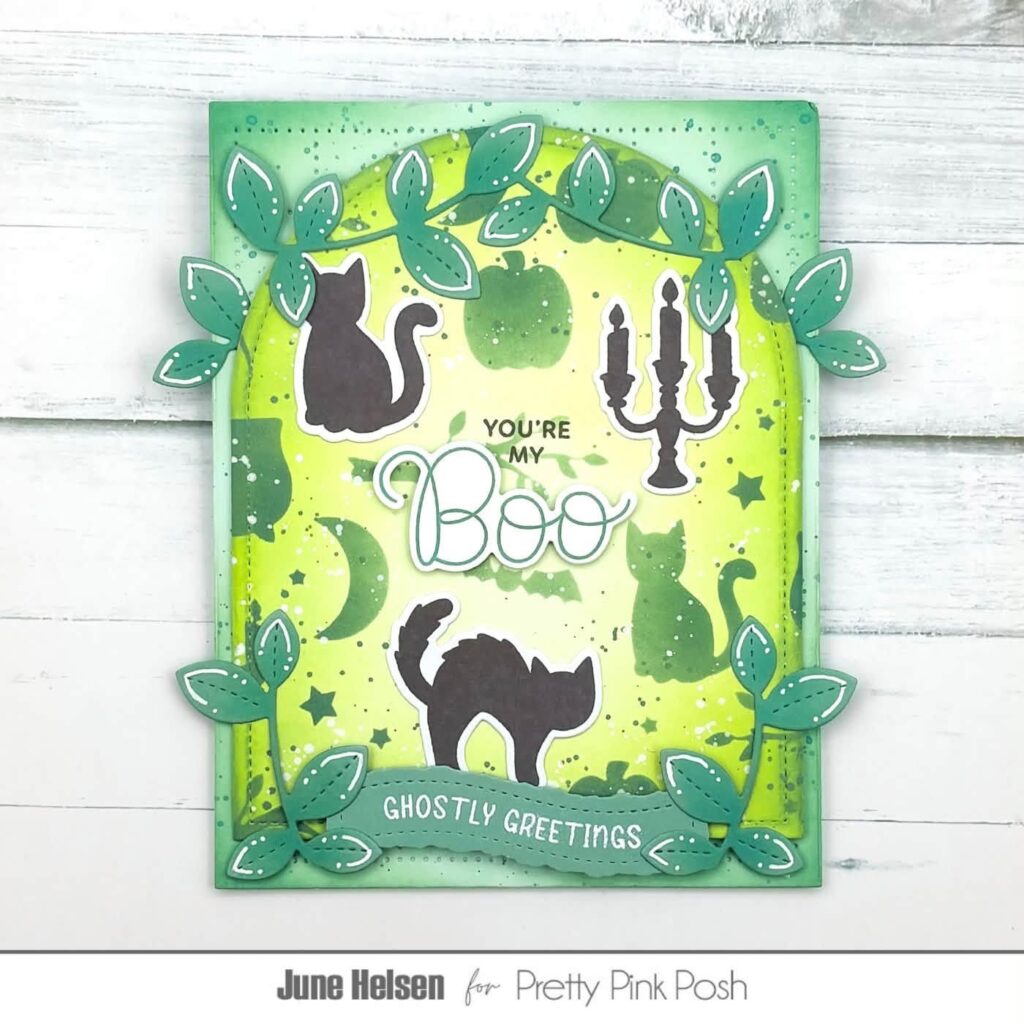
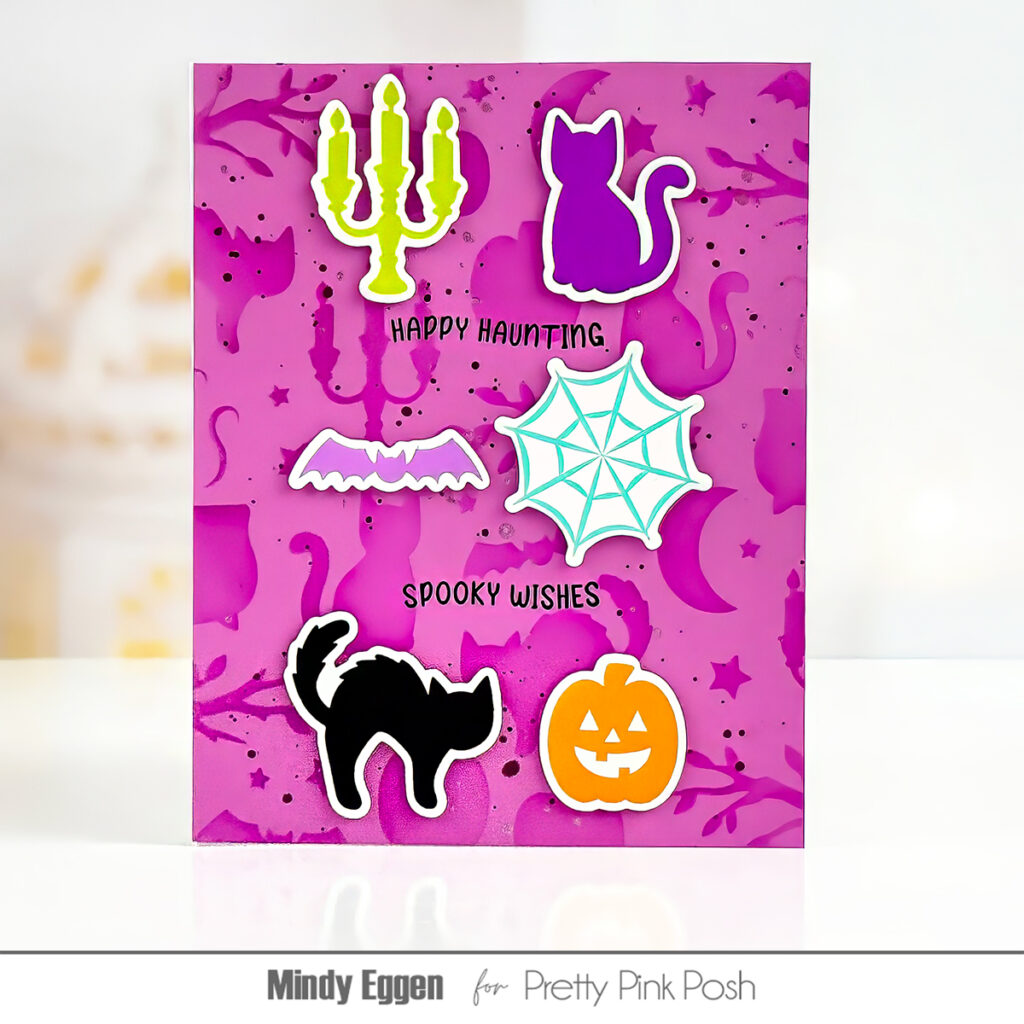
I hope you’ve been enjoying all the sneak peeks. Come back tomorrow to see the reveal of the August release!
The ghosts are soo cute!
The Halloween silhouettes!!!
Love the windows and the mini ghosts! The treat buckets are adorable! Lots of fun Halloween items!