
May Intro: Sneak Peek Day 2
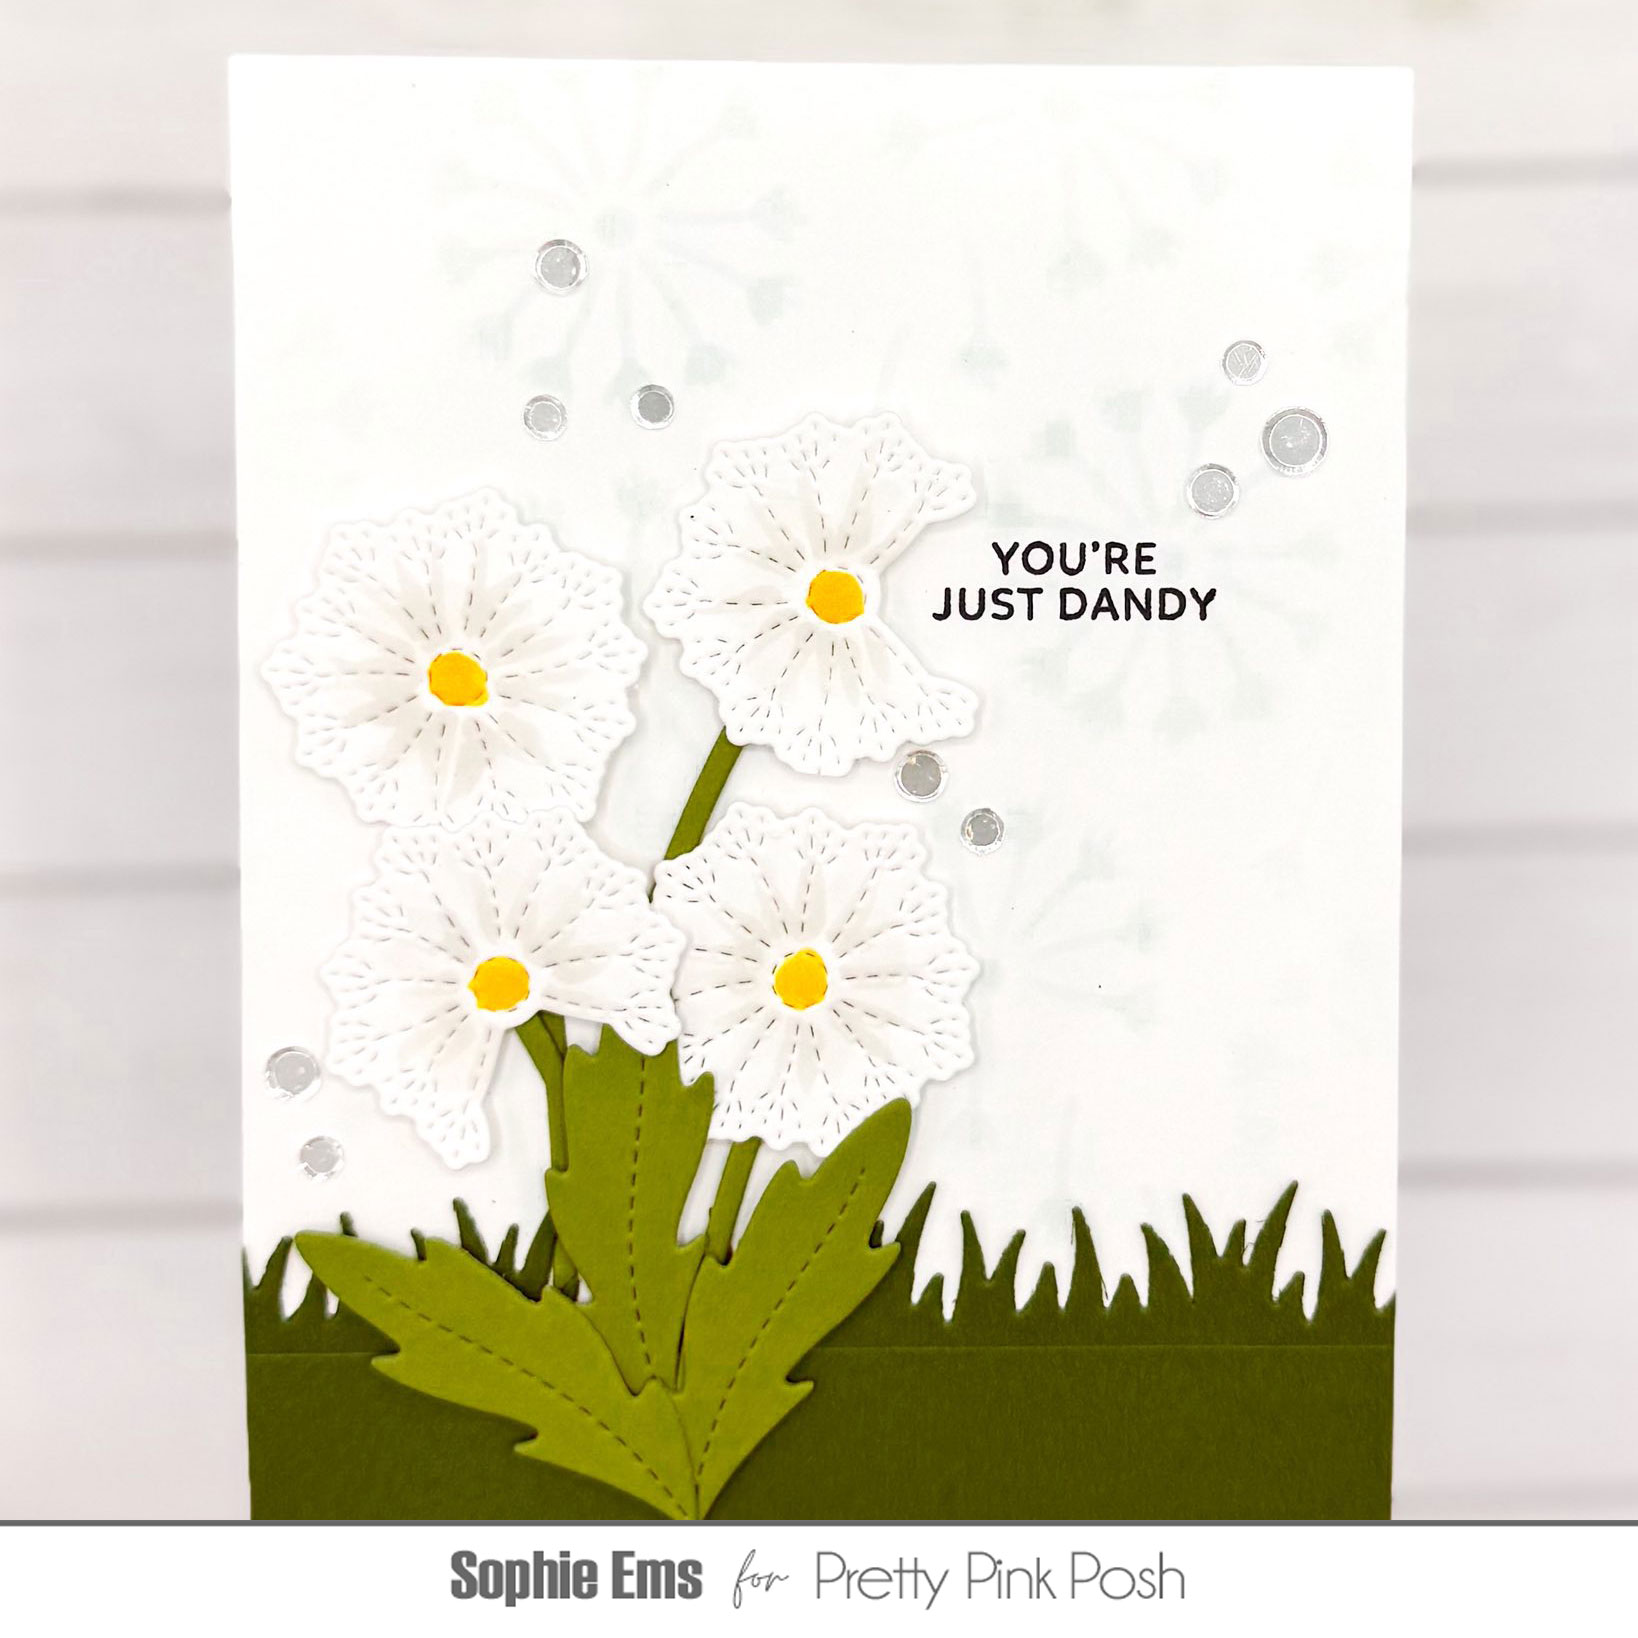
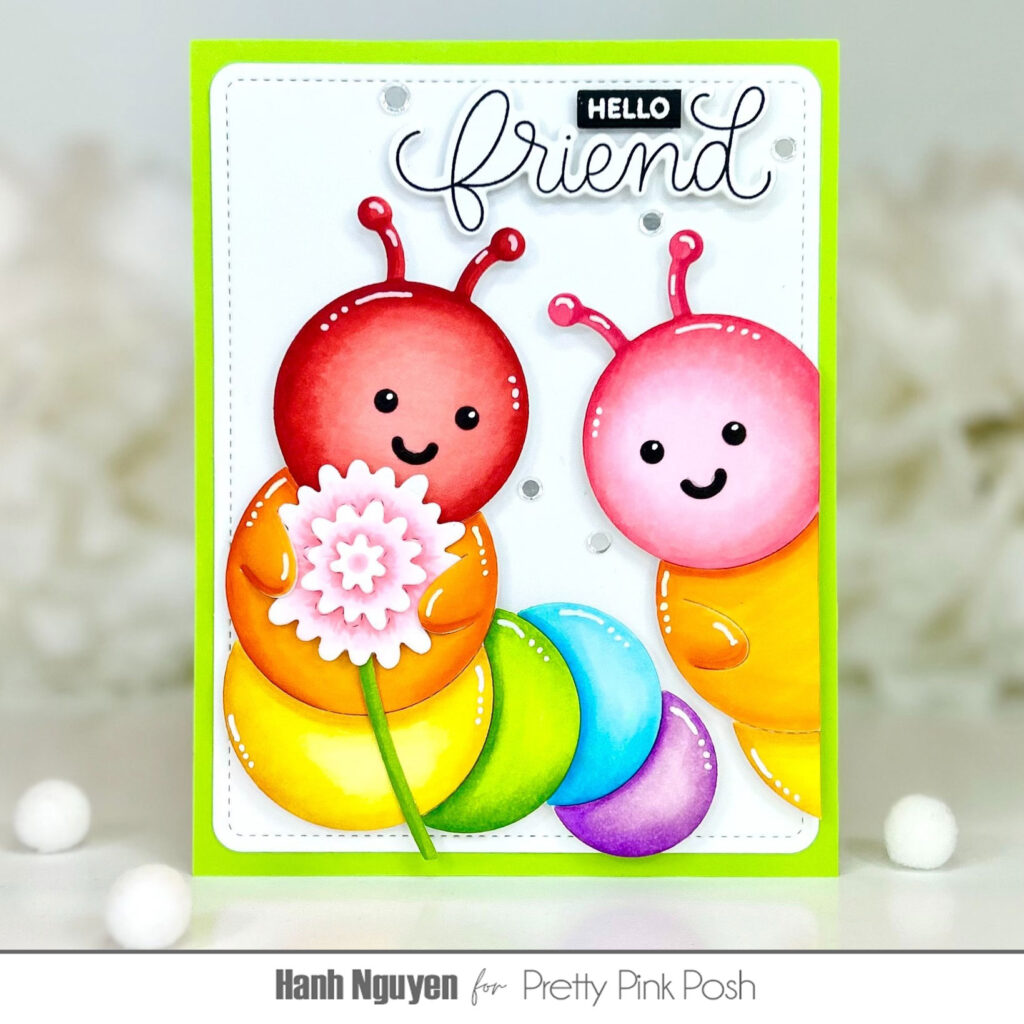
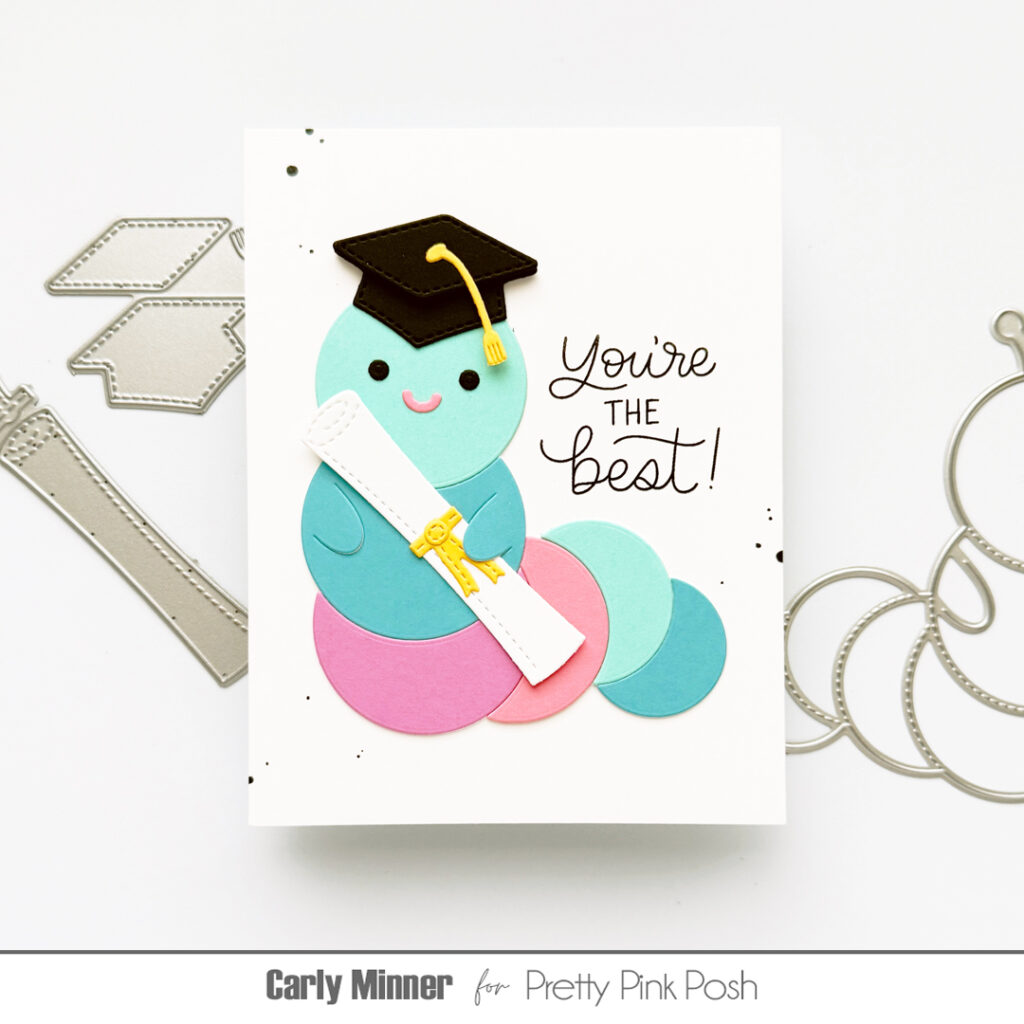
It’s Day 2 of sneak peeks for our May 14th release. Today we’ll be taking a look at the Snail Shaker, Caterpillar Holder, Stitched Dandelions, and Rounded Stitched Rectangles die sets.
In this release, there are five stamp sets, four coordinating dies, 12 standalone dies, five stencils, and four embellishments.
Watch the video above I Watch the video in HD on YouTube
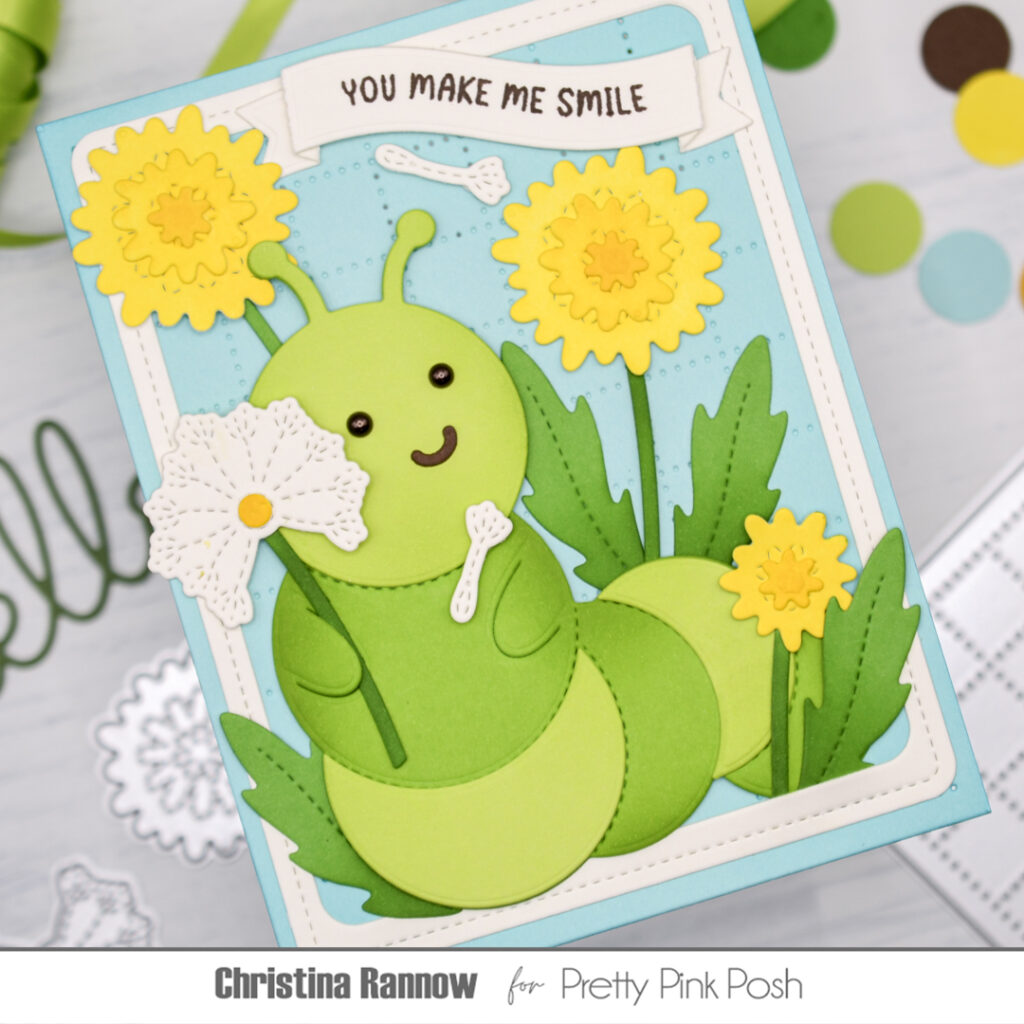
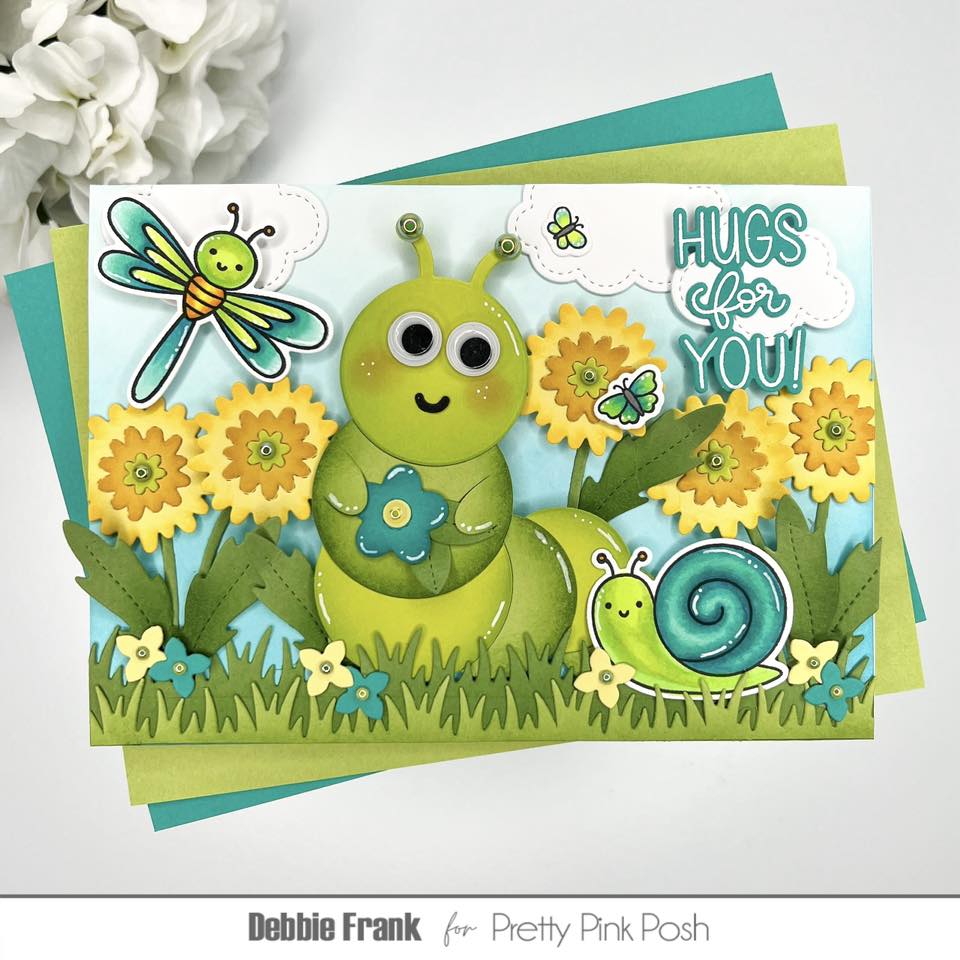
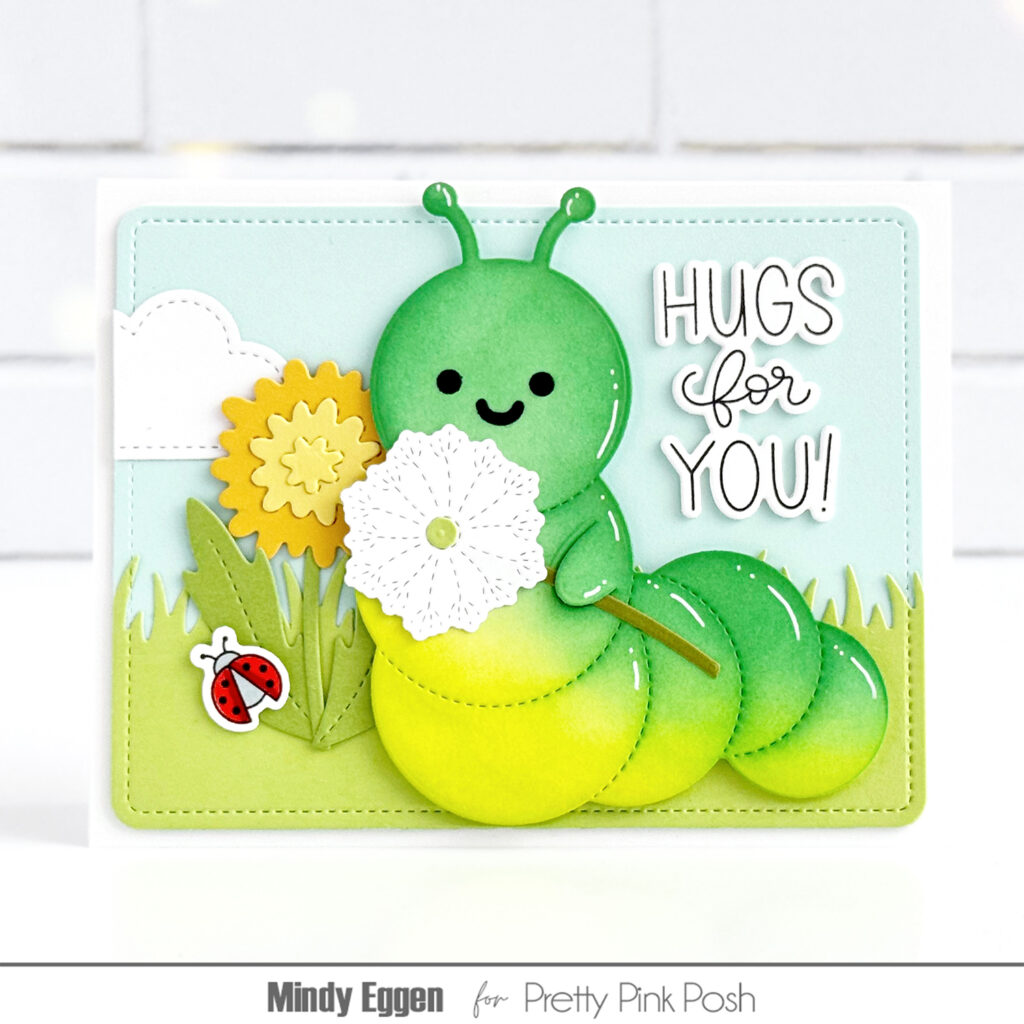
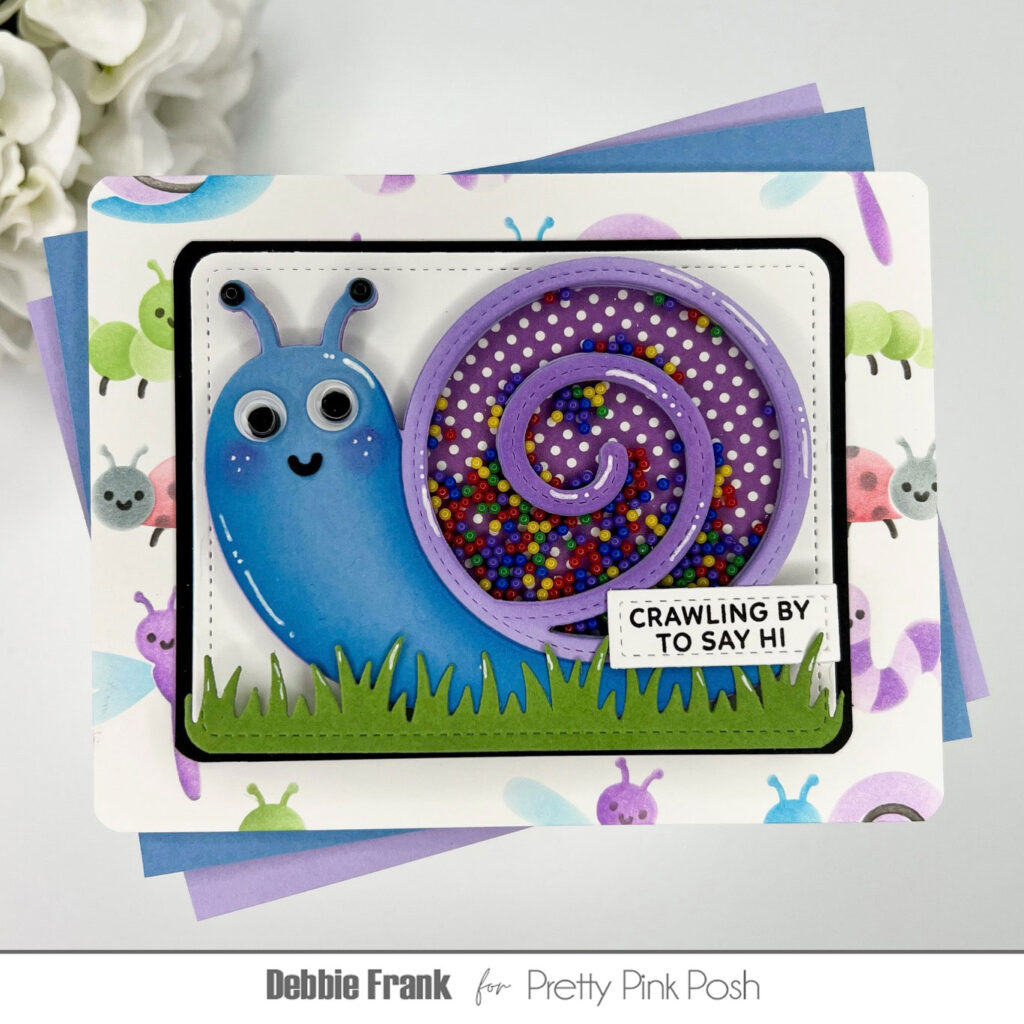
Hi friends, it’s Christina! This release is full of irresistible bugs, the sweetest bees, and some new must-have basics that you are going to love. To give you a glimpse of what’s in store, I have two cards to share with you today. My first card features the latest critter holder, the Caterpillar Holder. I paired this adorable guy with the new Stitched Dandelions and the Rounded Stitched Rectangles for a darling summertime scene. My second card features one of the new shaker dies, the Snail Shaker. I nestled this cutie into lush garden greenery that I created using the new Everyday Branches. Let’s take a look at how these irresistible bug scenes came together!
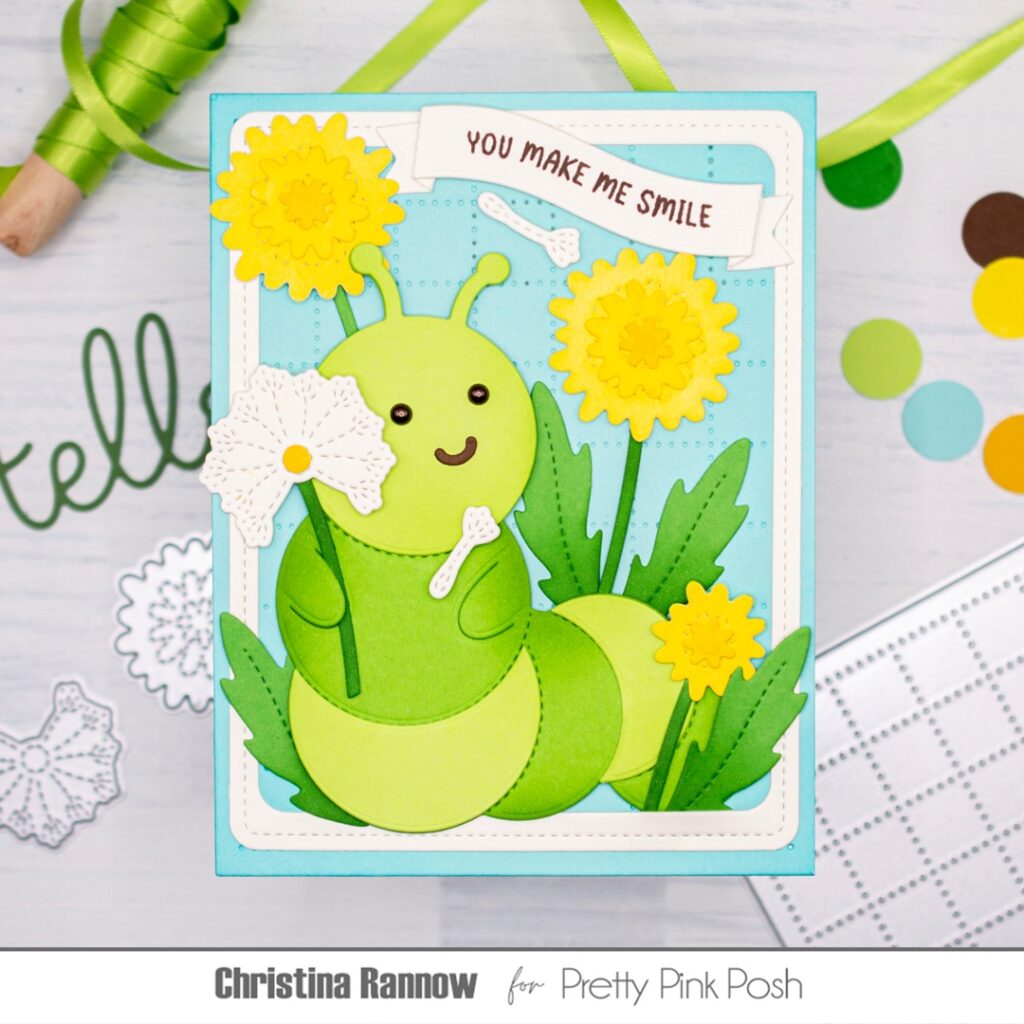
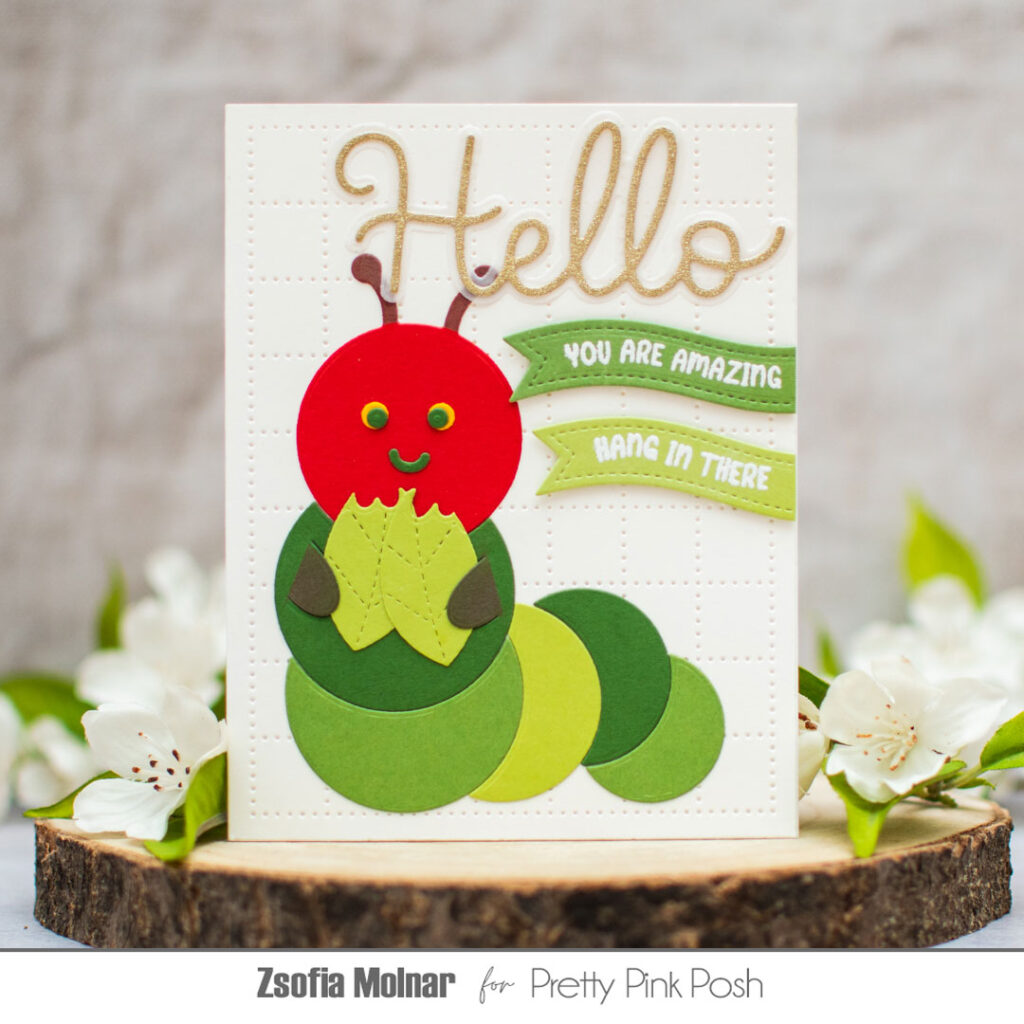
My first step for the Caterpillar Holder card was to die-cut all the components for the caterpillar and the dandelions from colored cardstock. Even the white cardstock is actually an ivory color. Then, before assembling the die-cuts, I added subtle shading to the pieces with coordinating ink colors. Instead of opting for the usual black facial features for this guy, I chose Espresso Pearls for the eyes and a chocolate brown cardstock for his smile.
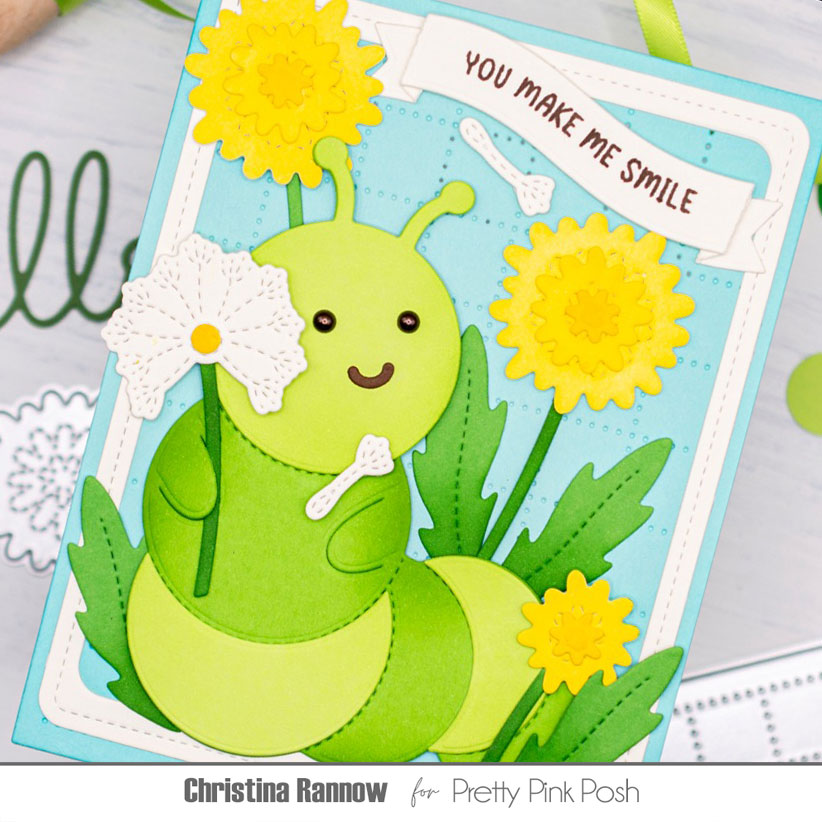
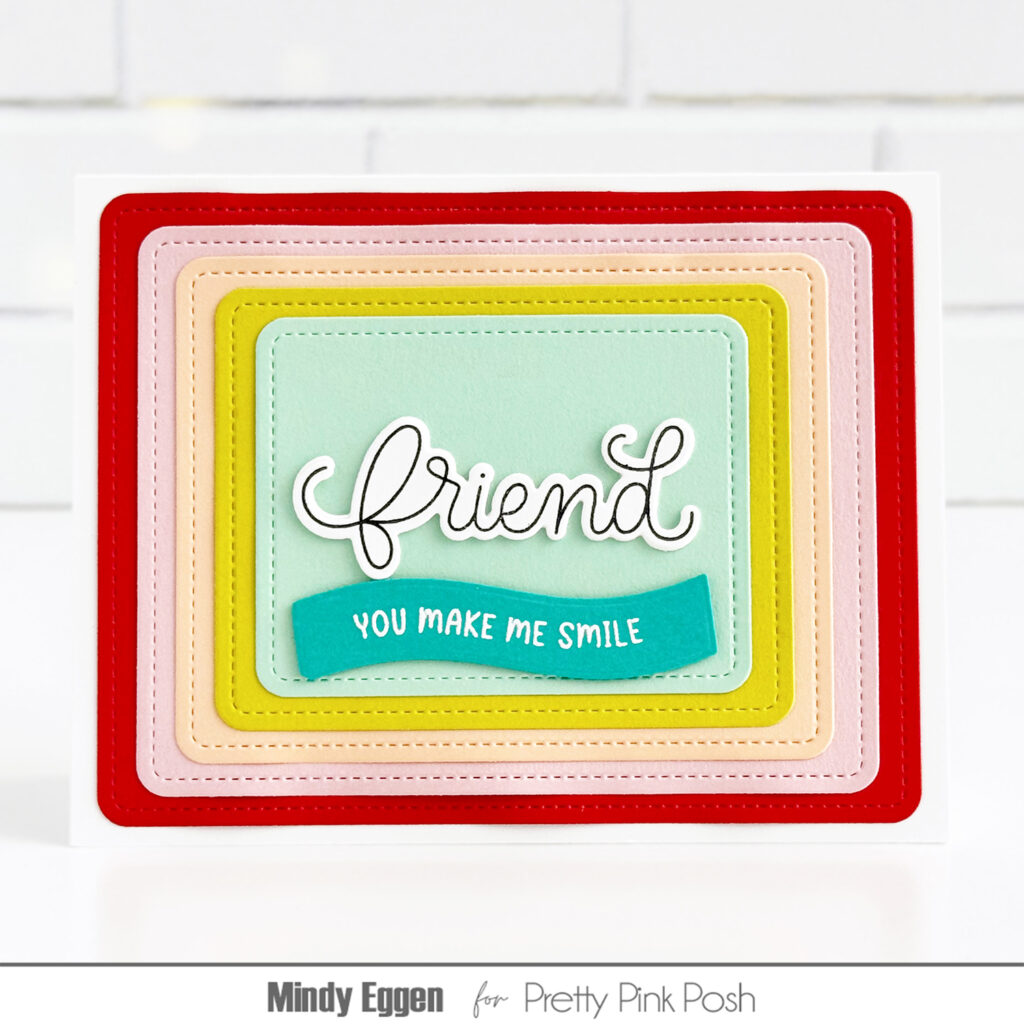
Next, I created the background for my scene. First, I die-cut the new Checkered Pierced Plate from a happy sky blue cardstock and then layered on an ivory Rounded Stitched Rectangle Frame. To create the frame, I die-cut the largest and the second-largest dies together and saved the smaller rounded rectangle for another project. My next step was to arrange my die-cuts on the background panel and secure them in place using liquid glue and thin foam squares. My final steps were to add a wavy banner stamped with a sweet sentiment from the new Everyday Banner Greetings stamp set and attach the card front to a top-fold card base.
Now for the Snail Shaker card! This card has a few more steps, but the results are worth it, I think! My first step was to create the lush background scene. I used one of the Snowy Hills dies to die-cut a white A2 cardstock panel, separating what will be the dirt and what will be the greenery. To color the dirt layer, I used Distress Inks and then spattered the layer with more ink and an Oxide spray for texture and interest.
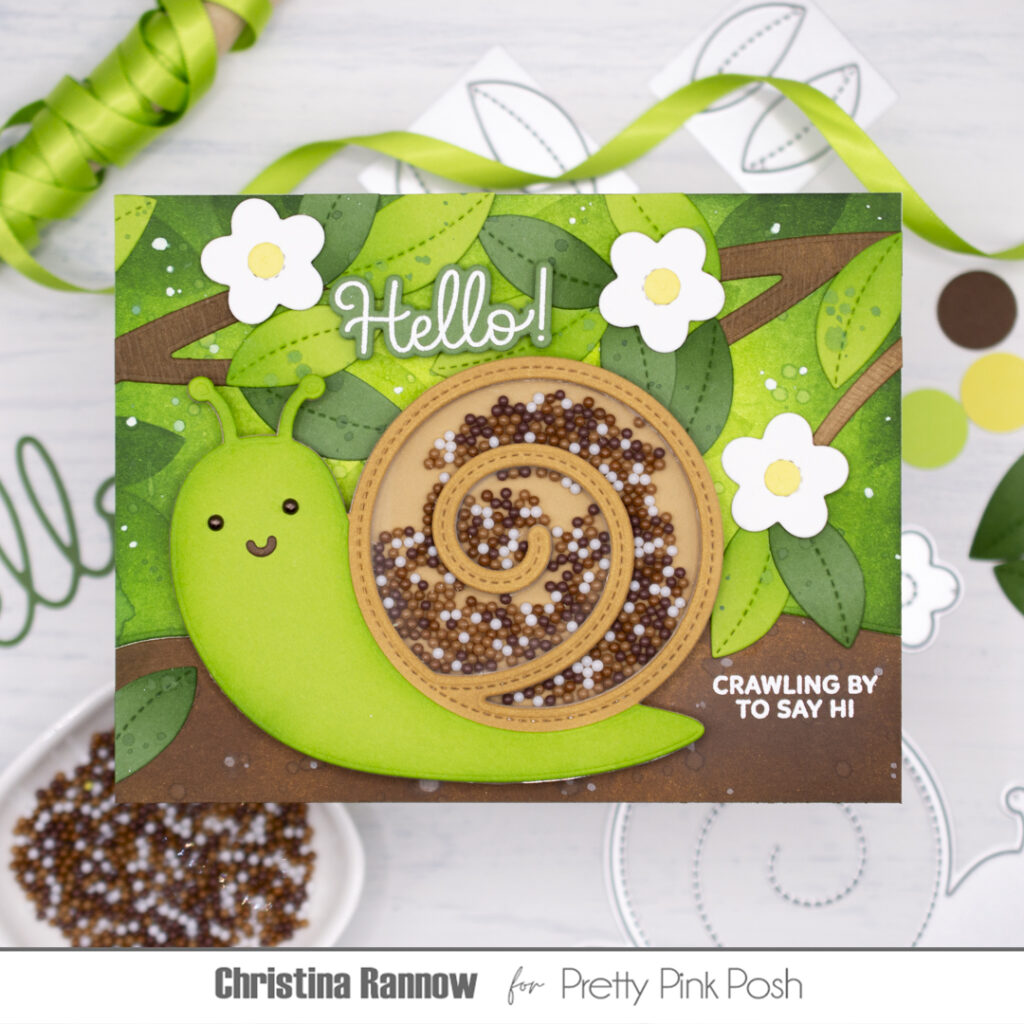
For the greenery, I also used Distress Inks and before spattering the panel with more ink and a white spatter medium, I stenciled on some leaves in a random pattern using a stencil I created. To create the leaf stencil, I used the negative space left after die-cutting the leaves from the Everyday Branches. You can die-cut them from acetate for a sturdier stencil, but I just used heavyweight cardstock. This is such an easy technique but has a big impact! To finish up the background, I attached the dirt and greenery panels to a card base.
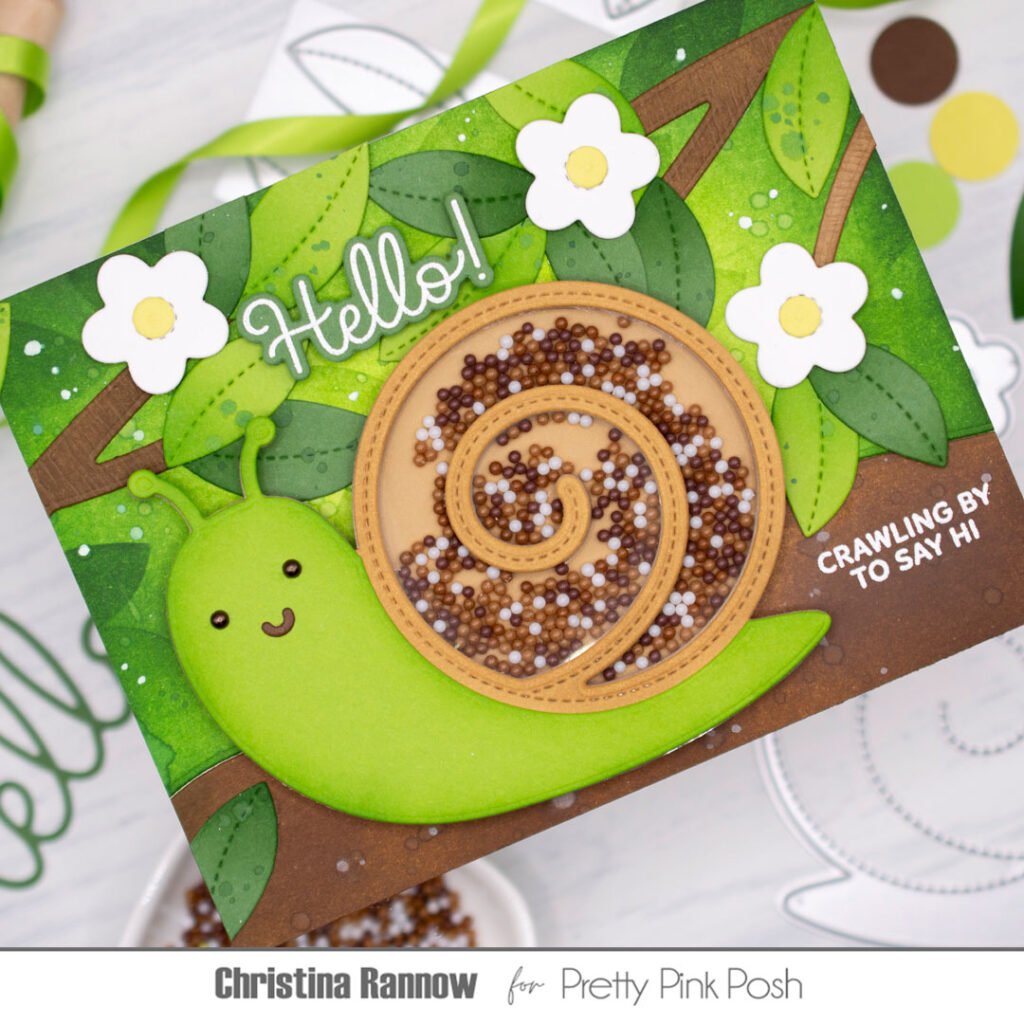
My next step was to construct the shaker. I die-cut the shaker frame piece seven times from fawn cardstock and layered them together, securing a piece of acetate between the top two layers for the window. I filled the shaker well with Chocolate Shaker Beads and then sealed the shaker with the backer piece. I finished the snail shaker by adding a rainforest green body piece, lightly inked around the edges, and Espresso Pearl eyes with a chocolate brown smile.
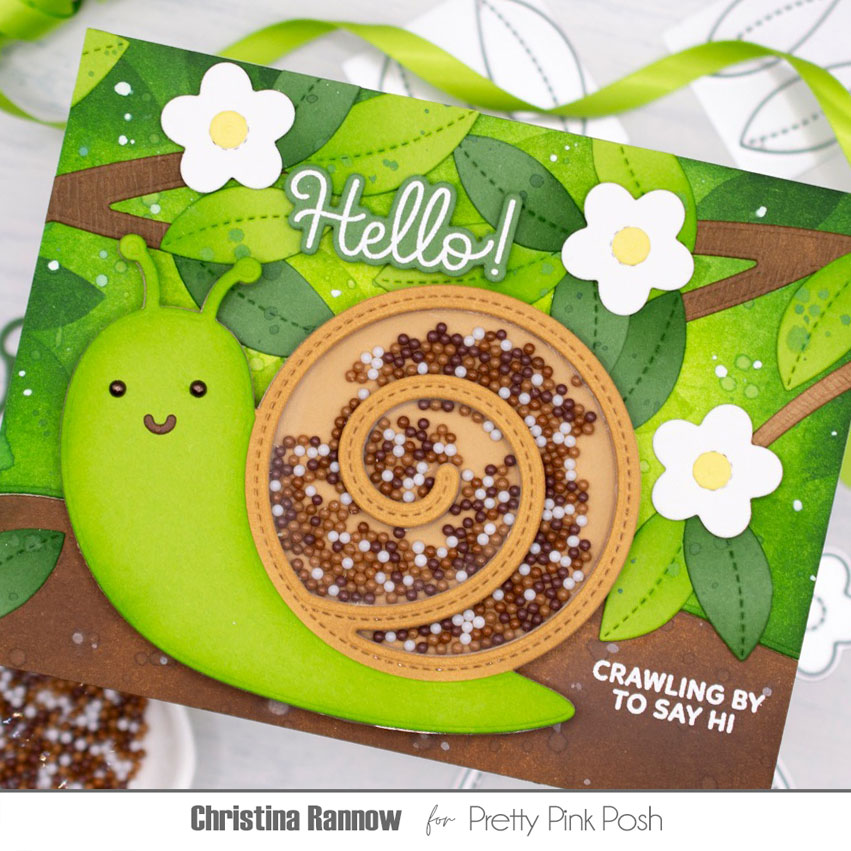
Before attaching the snail to my background, I finished the background scene with branches die-cut from woodgrain cardstock and leaves die-cut from two shades of green and spattered with ink. Then to break up all the green, I added a few white flowers. The last step was to add a greeting and a small sentiment, both from a new stamp set called Cute Bugs and both heat-embossed with white embossing powder.
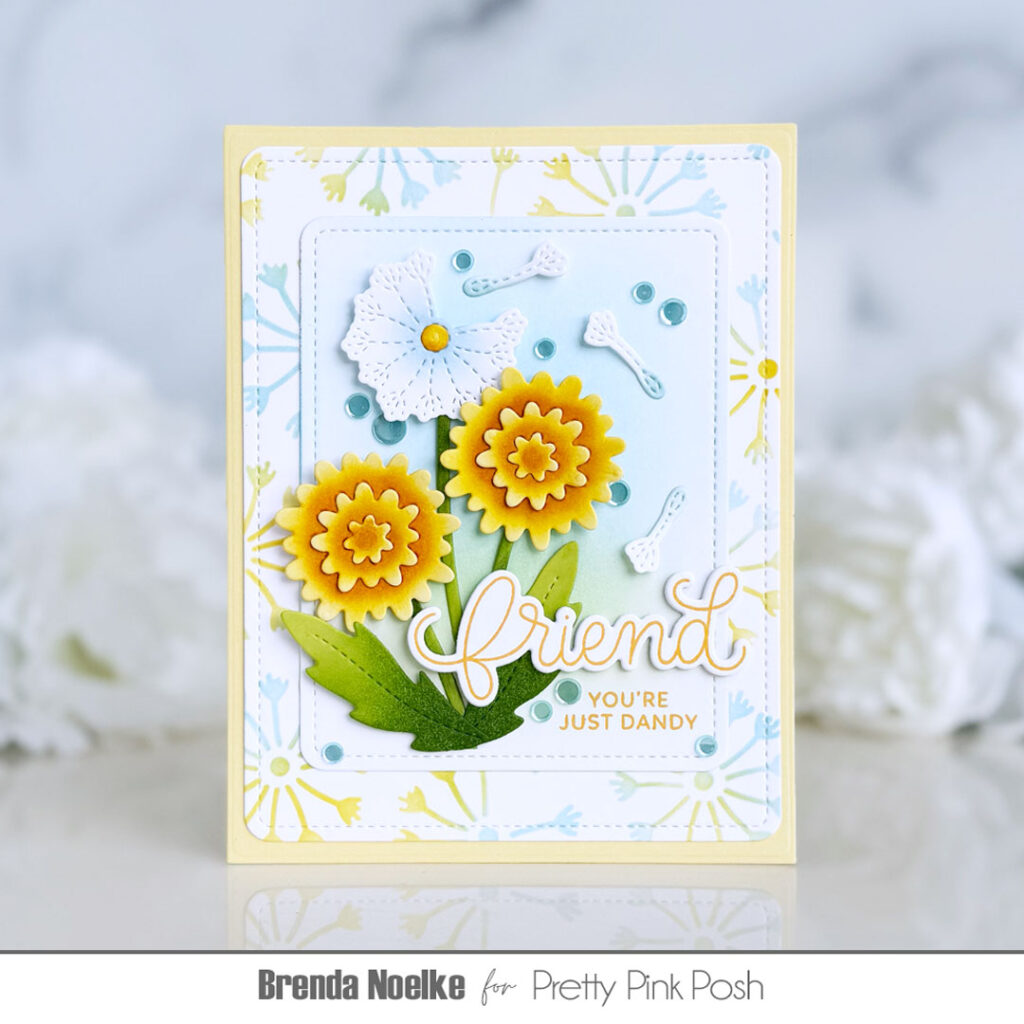
Keep scrolling to see more amazing inspiration from the design team!

Thank you so much for reading, and be sure to stop back tomorrow for Day 3 of sneak peeks. You won’t want to miss it!
I LOVE the shaker snail! how cute!