
Day 3: Easter Theme Week
Save 15% on all products in the Easter section
Hello, crafty friends! Brenda here with you today! Easter theme week is in full swing and I’m sharing a sweet shaker card featuring some of the goodies from the latest release!
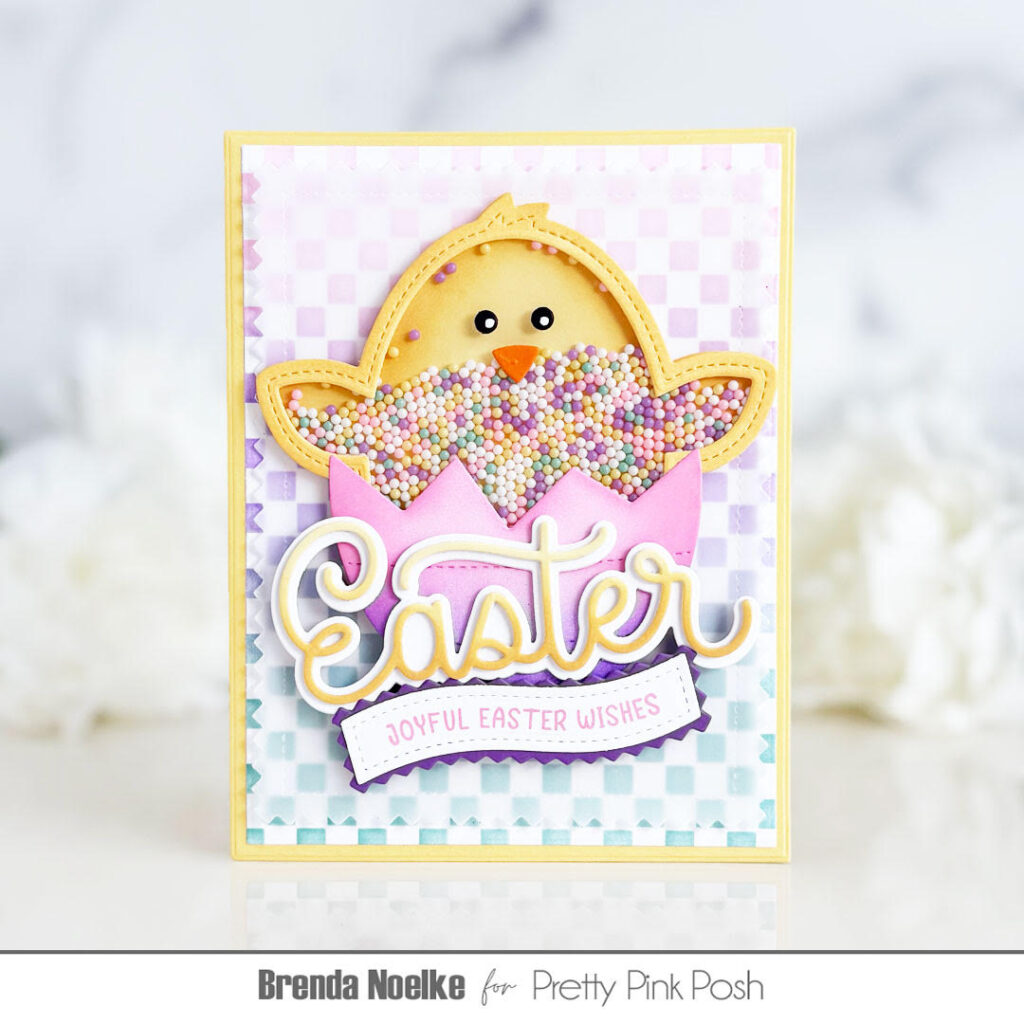
I began by creating my shaker using the Chick Shaker Die Set. The yellow cardstock backer and acetate were cut using the largest die in the set. I taped the inner and outer chick dies together, then die-cut the frame from yellow cardstock. The egg was cut from white cardstock and the eyes and beak were cut from black and orange cardstock.
I blended Scattered Straw Distress Ink onto the yellow die-cuts and Kitsch Flamingo and Wilted Violet Distress Inks were blended onto the egg. The acetate layer was adhered behind the frame die-cut with liquid glue. I added foam strips to the back of the acetate, added Pastel Dreams Shaker Beads, then adhered the backer die-cut to seal in the beads and complete the shaker. The egg die-cut was adhered to the bottom of the chick and the eyes and beak were adhered, all with liquid glue.
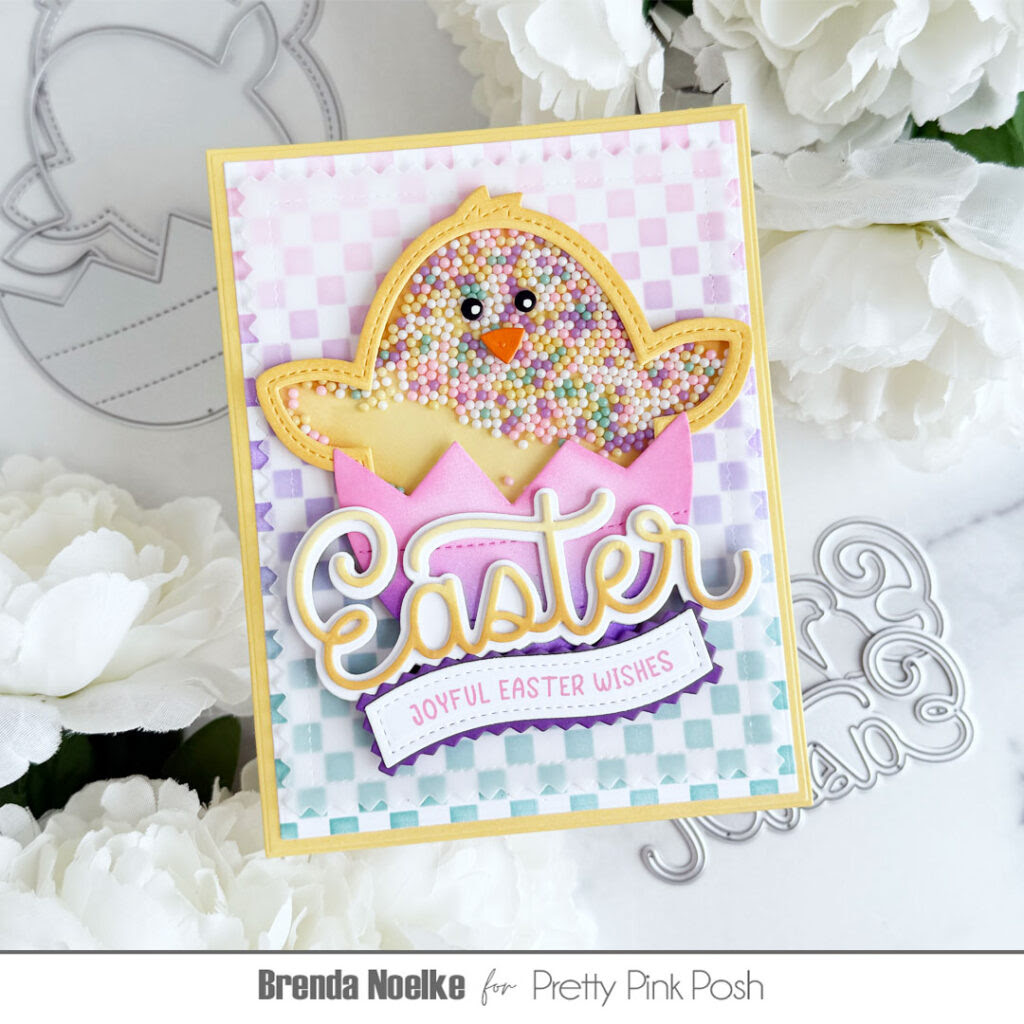
For the background, I blended Evergreen Bough, Wilted Violet and Kitsch Flamingo Distress Inks to a panel of white cardstock through the Mini Checker Stencil. It was die-cut with a rectangle die, then adhered to an A2 panel of yellow cardstock. The largest Pinking Rectangle Die was cut from vellum. The chick was adhered with liquid glue, then the vellum panel was adhered to the background, adding liquid glue only behind the chick.
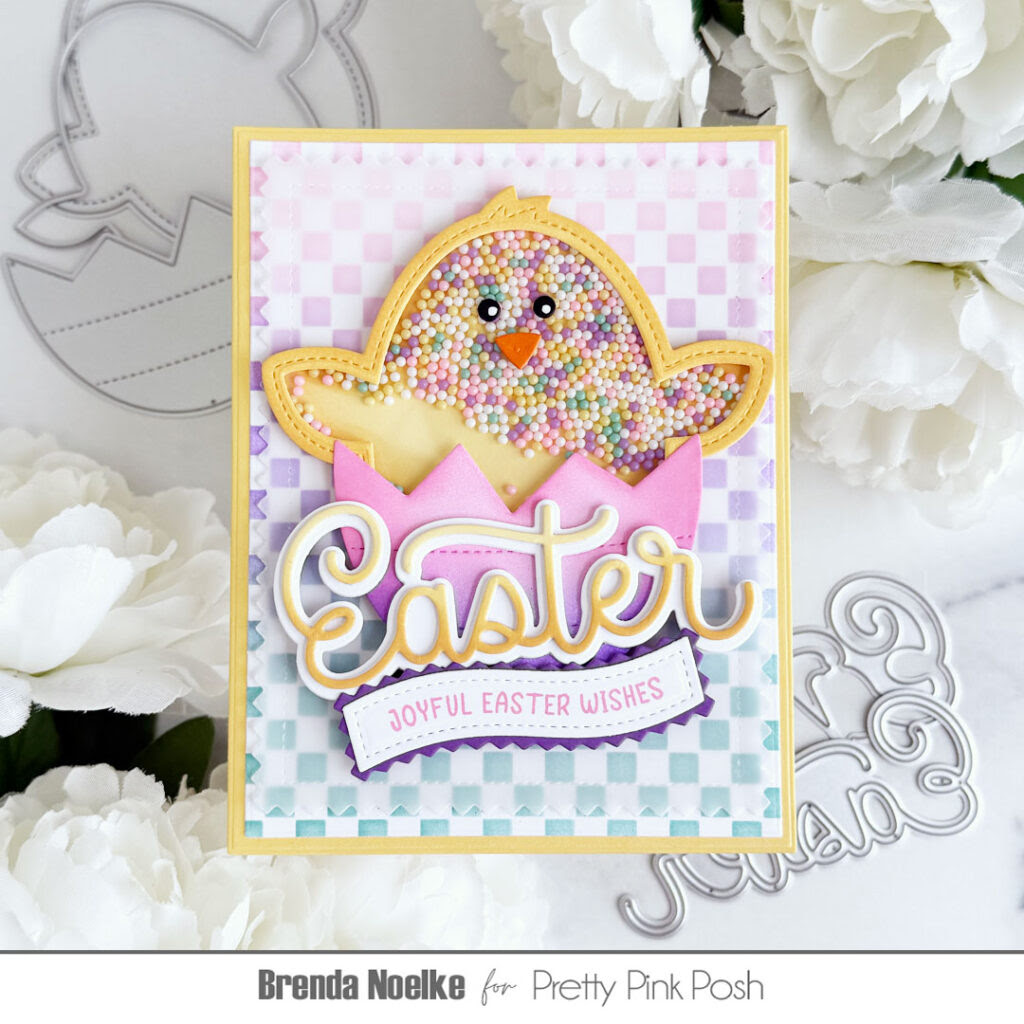
The sentiment was created with a combination of the Large Easter Shadow Die Set, Easter Banner Greetings Stamp Set, Banner Greetings 1 Dies and Banner Greetings 3 Die Set. The top layer of “Easter” was die-cut once from light yellow and twice from heavyweight white cardstock using the Large Easter Shadow Die Set. I blended Scattered Straw Distress Ink onto the bottom of the yellow die-cut. The shadow layer was cut three times from heavyweight white cardstock. The layers were all stacked and adhered together with liquid glue, then adhered across the bottom of the egg with a combination of liquid glue and foam squares.
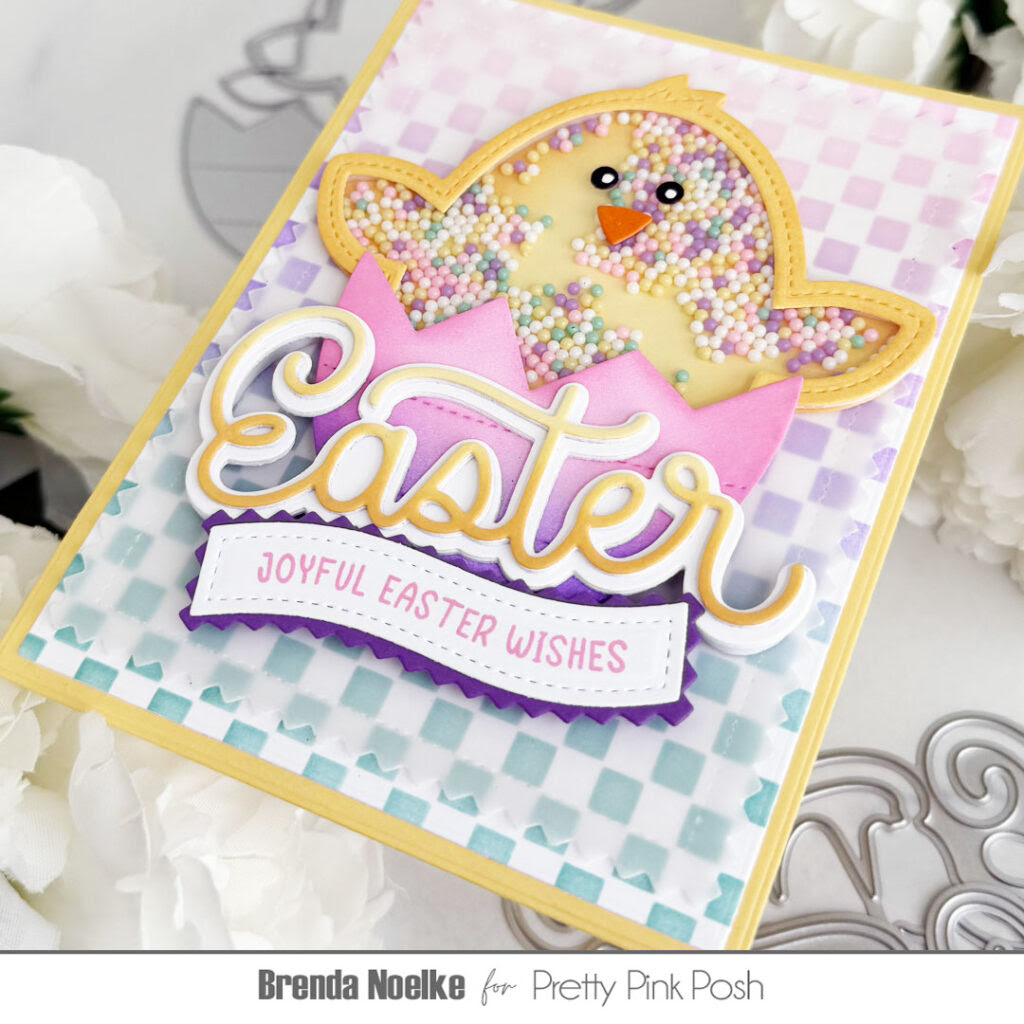
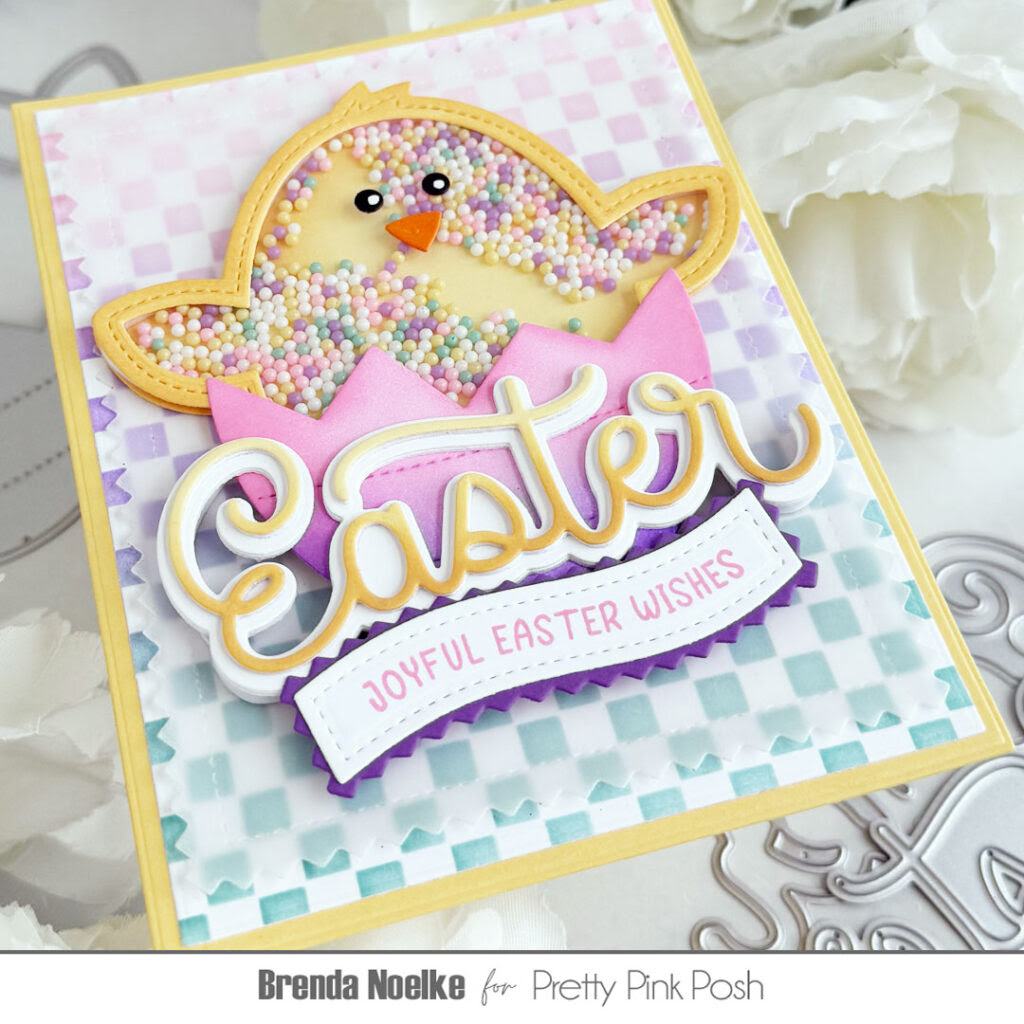
The rest of the sentiment, from the Easter Banner Greetings Stamp Set, was stamped onto white cardstock with Kitsch Flamingo Distress Oxide Ink, then cut out with a die from the Banner Greetings 1 Die Set. The pinking edge banner die from the Banner Greetings 3 Die Set was cut from purple cardstock and the stamped sentiment was layered on top. I LOVE that the banner matches the pinking edge of the vellum panel!! The banner was popped up with foam tape. I used a white gel pen to add highlights to the chick’s eye to finish off the card.
That does it for me today!! Stay tuned for more amazing Easter inspiration from the design team this week and don’t forget to take advantage of the sale on items in the Easter category!
Have a great day and thanks for stopping by!
OH, my GOSH, Brenda!! This is SO SO SO SO SO cute!!