
Summer Seashell Bucket
Hello crafty friends, Marine here, I’m super happy to be back on the blog with this extra cute and colorful summer shaker card showcasing items from the June 2025 Release. What an amazing release it is, with all the beautiful summer themed products! I’m really enjoying working with all those new goodies!
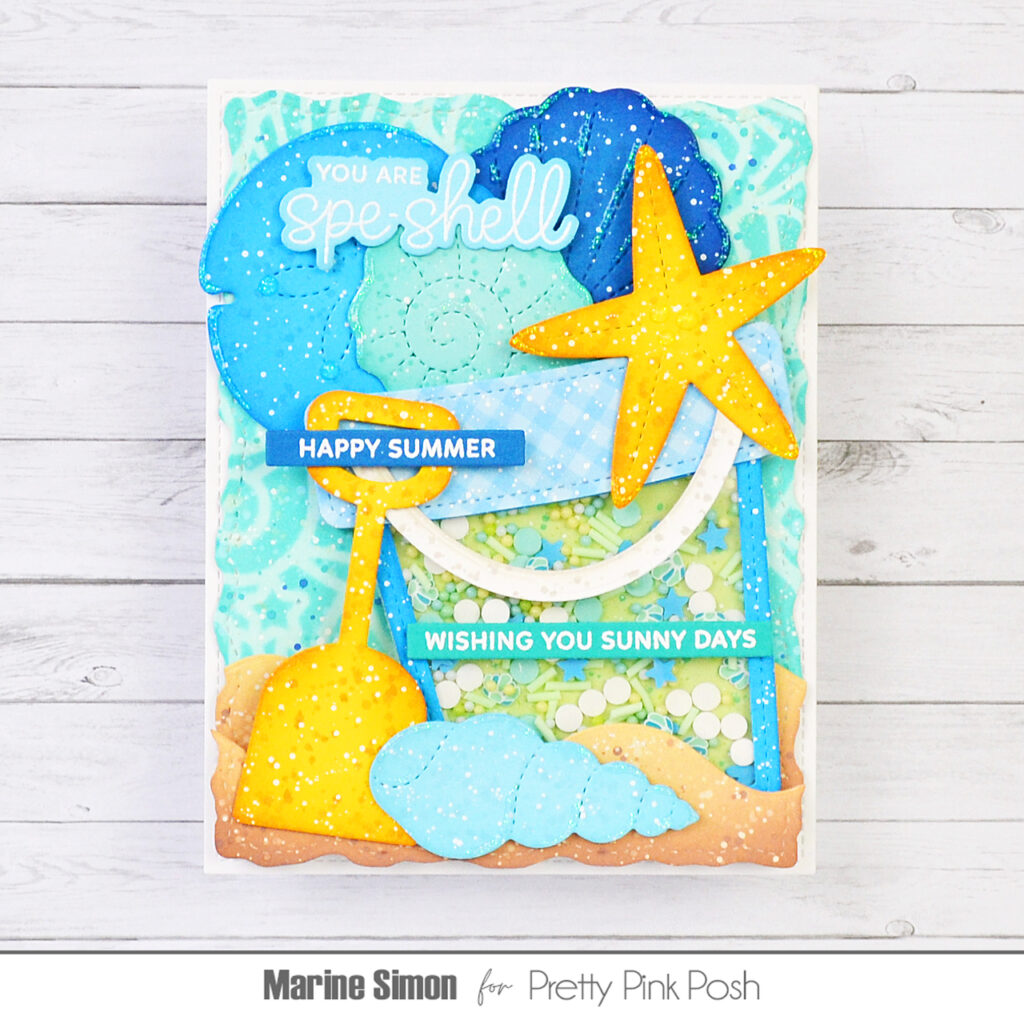
For today’s card, I started off by cutting a large Stitched Torn Rectangle panel out of Strathmore bristol smooth cardstock. I covered it with salvaged patina oxide ink, and then added seashells all over it using the Seashell Background stencil along with peacock feathers oxide ink. As always I added texture to my panel, starting with water splatters that I dried with a paper towel. I mixed some copic opaque white ink with water and added white splatters all over the panel, I did the same with peacock feathers and prize ribbon oxide inks, and also added sparkling droplets using liquid stardust. When my panel was totally dry, I attached it to a 5,5 x 4,25 inches white panel using 1mm foam tape, and then the whole thing to a white card base.
Next I cut two more Stitched Torn Rectangle panels out of Strathmore bristol smooth cardstock, and used Shoreline Border dies to cut a border out of each panel: a small one and a bigger one. I blended antique linen and vintage photo oxide inks on both panels, and added water splatters, white ink splatters and brown splatters to create a sandy texture.
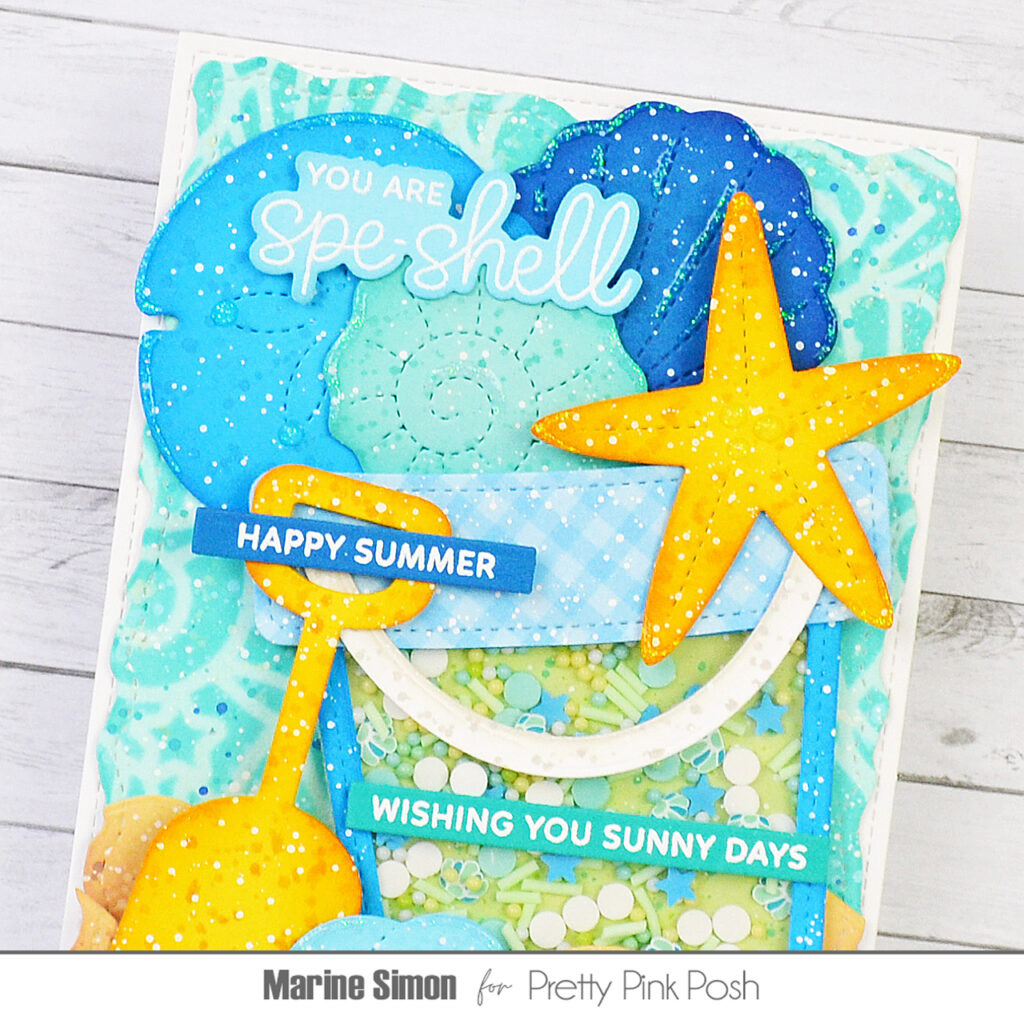
I cut five different Stitched Seashells and the shovel, which is part of the Sand Bucket Shaker die set, out of colored cardstock, applied matching distress inks to the edges of each element, mixed the same inks with water and added splatters to them, and did the same with copic opaque white ink. Set them all aside to dry, and built my Sand Bucket Shaker, following those steps:
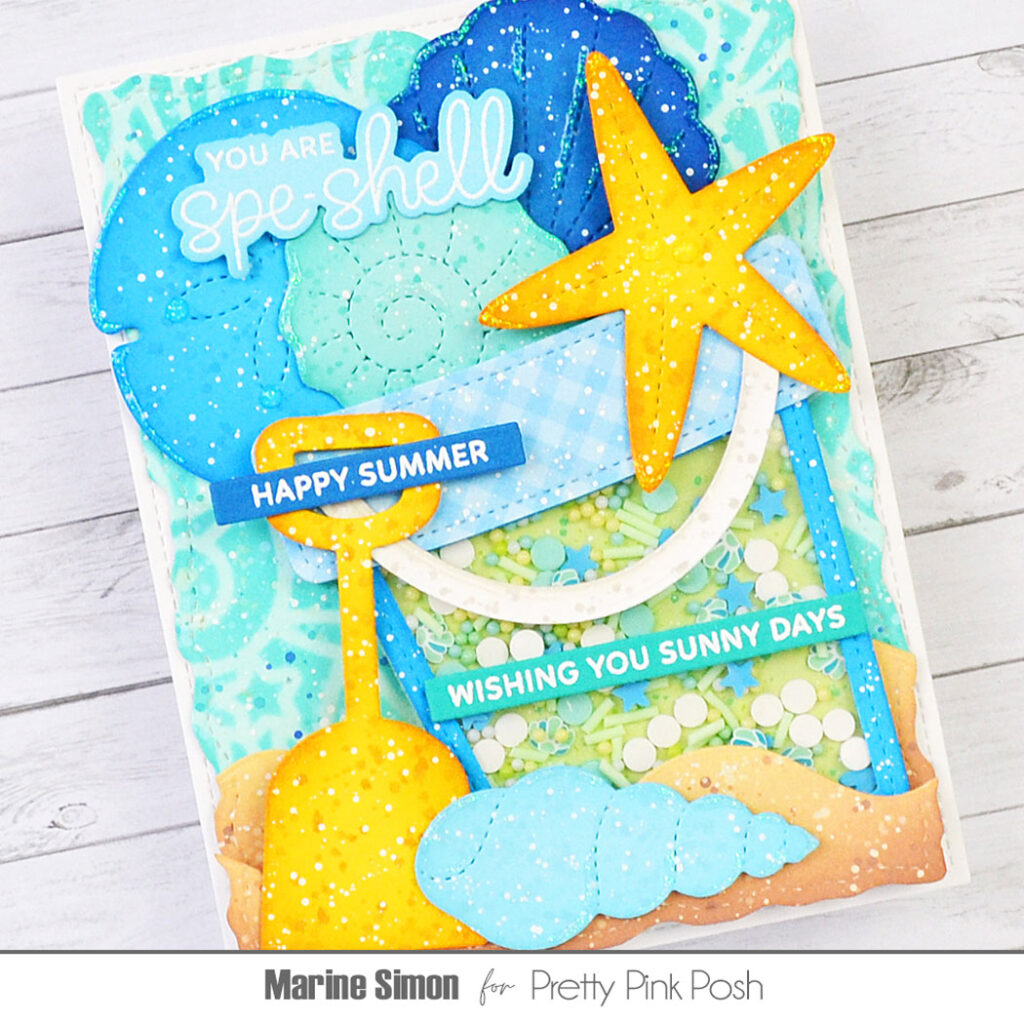
1. Cut a Sand Bucket Shaker frame out of blue cardstock using the main die and the die that cut the bottom part off (added texture, which is totally optional)
2. Cut a whole bucket out of acetate, and stuck the bucket frame on top using liquid glue
3. Flipped the bucket over, and added foam strips all along the edges of the bucket and on the upper section as well
4. Poured a bunch of Beach Town mix and Spring Breeze shaker beads inside the bucket
5. Cut a whole Sand Bucket Shaker out of a light green pattern paper (added texture)
6. Peeled the backing papers off the foam strips, and attached that green bucket to the foam strips to close the Sand Bucket Shaker
To decorate the front of the bucket, I cut a whole Sand Bucket Shaker out of a blue gingham pattern paper, trimmed the upper part off, added white splatters to it, and then attached it to the bucket using 1mm foam squares. I also cut the bucket handle out of white cardstock, added texture to it using pumice stone oxide ink and white ink, and once dry, stuck it to the bucket using foam squares again.
Next I assembled everything on my card, starting with the largest Shoreline Border that I attached using 1mm foam squares. I stuck my Sand Bucket Shaker, tilting it a little bit to the left, and tucked three Stitched Seashells inside of it. I attached the starfish outside of the bucket for more interest, added the small Shoreline Border to give the illusion that the bucket is tucked in the sand, and added the shovel and one more Stitched Seashells to decorate the bottom of my card.
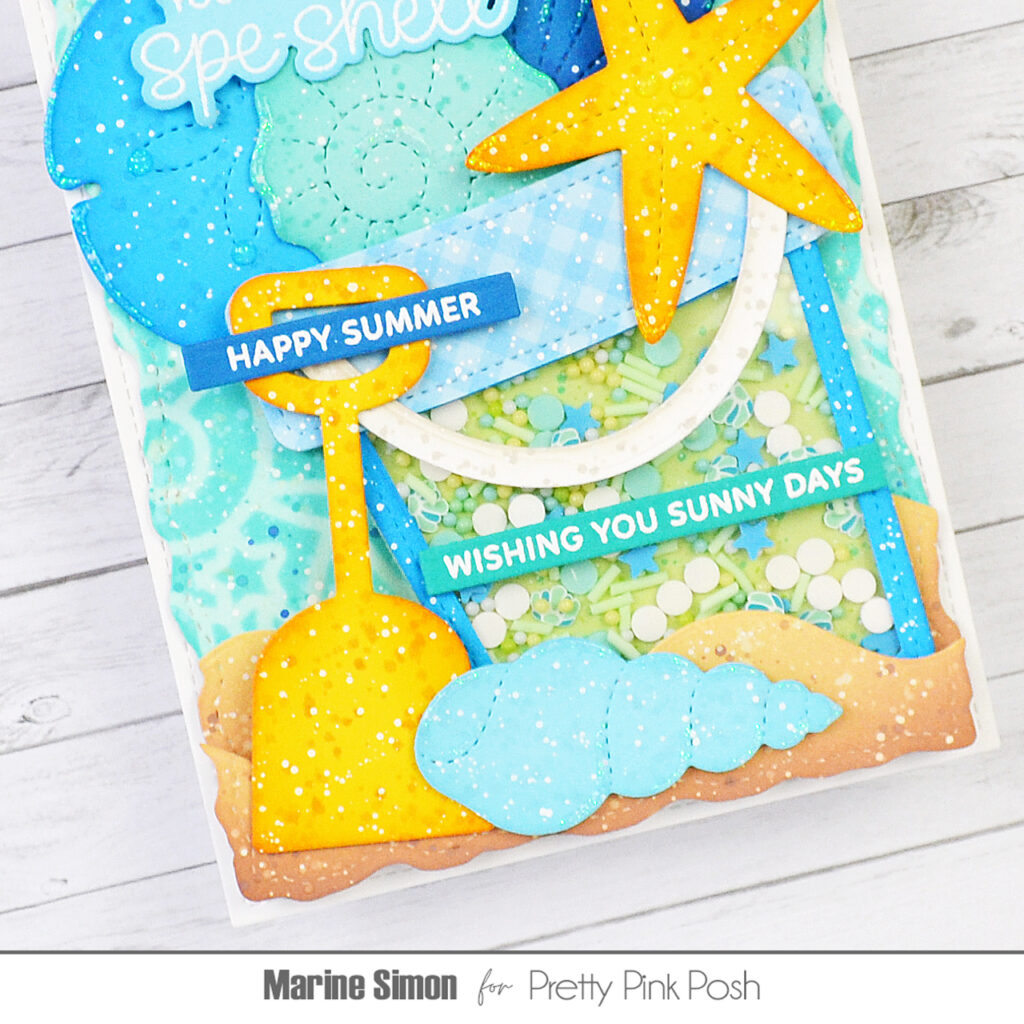
I went for three greetings, white heat embossing them all on colored cardstock: “You are spe-shell” is from Seashells and I cut it using the matching die, “Happy summer” and “Wishing you sunny days” are from Sentiment Strips: Summer and I trimmed them using Sentiment Strips dies. I attached each sentiment on my card using foam squares, and to finish it, I added sparkles to the Stitched Seashells using white blizzard nuvo drops.
And that’s it! Thank you so much for stopping by, and see you next time!
Such a sweet card 😍