
Sneak Peek: October 2024 Dies
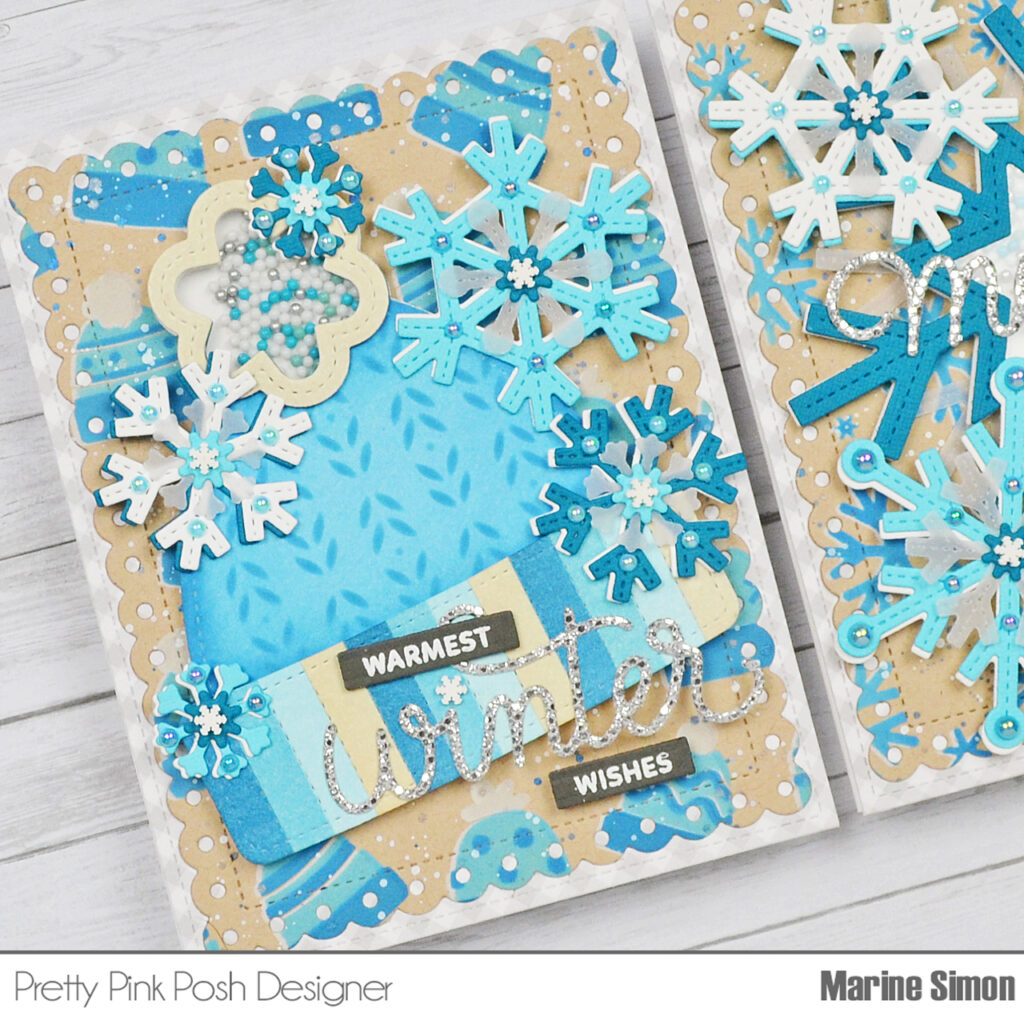
Hello crafty friends, Marine here! I’m so happy to be back on the blog with this duo of matching cards showcasing several die sets from the brand new release: Winter Hat Shaker, Snowflake Shaker and Stitched Snowflakes which is featured on both cards.
New release will be available October 16th
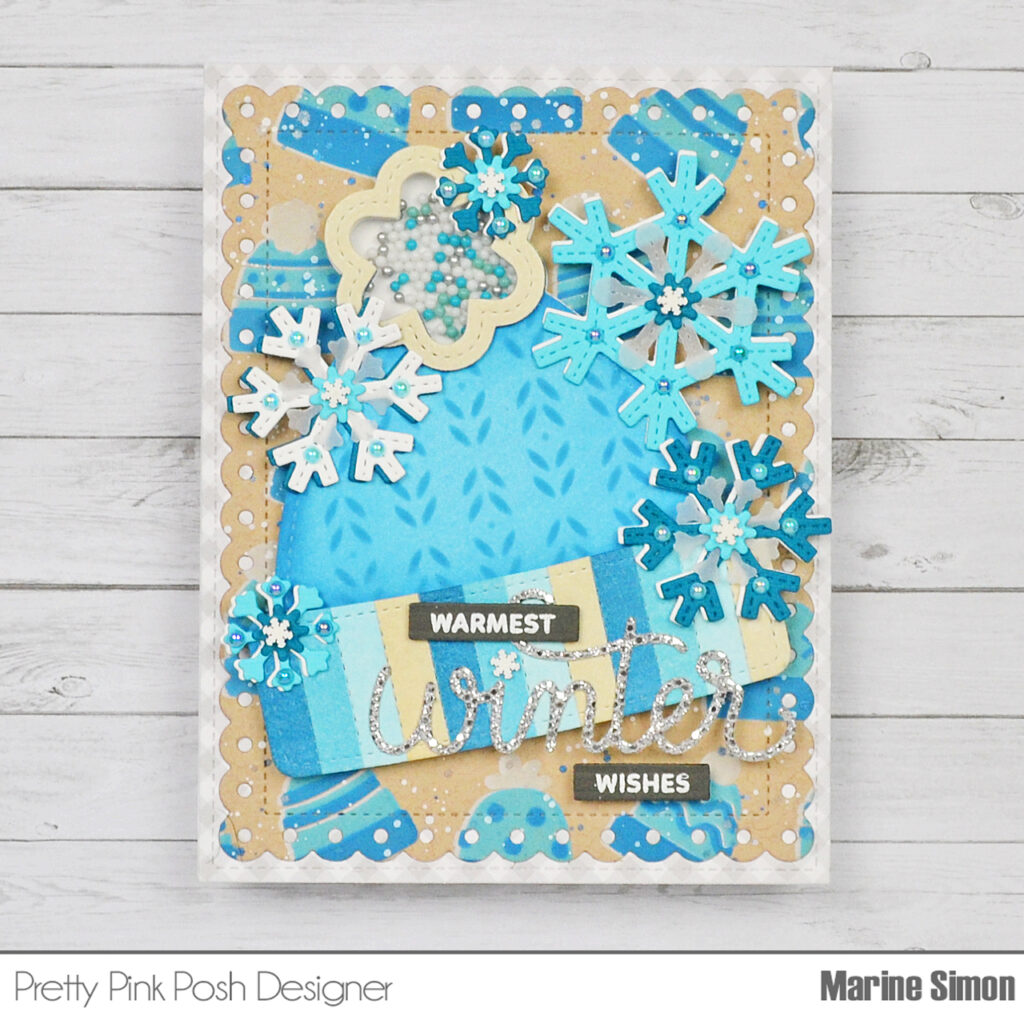
For the Winter Hat Shaker card, I started off by cutting a large Eyelet Rectangle panel out of kraft cardstock to create my background using the Layered Winter Hats stencils. I’ve mentioned it already in previous posts, but when I stencil on kraft cardstock, I like to create a white base first in order to make the colors I add after pop even more, so I created this white base using the Layered Winter Hats stencil A and stencil B along with white pigment ink. Next I used those two stencils again, one after the other, but shifted them a little bit to the right, and applied broken china, uncharted mariner and pumice stone oxide inks to create my blue winter hats background. I mixed some copic opaque white ink with water and used a small brush to add splatters all over my panel, and I did the same with uncharted mariner distress spritz and then with brushed pewter distress mica spray.
I set my panel aside to dry, and worked on the Stitched Snowflakes. I cut all the bits and pieces out of two different shades of blue cardstock, vellum and white cardstock. The smallest snowflakes and the tiny center pieces are from Big Christmas Cupcake, I layered and assembled my snowflakes using liquid glue, and added decorations to each of them: a polymer clay snowflake from Candy Cane Lane on the center of each Stitched Snowflake, as well as Blue Sky pearls and Pacific Blue pearls on the branches. I set my snowflakes aside, and started to work on the Winter Hat Shaker.
I cut a Winter Hat Shaker panel out of Strathmore bristol smooth cardstock using the main die, and cut the inside of the pompom using another die from the set. I colored the middle part of the hat using tumbled glass, broken china and uncharted mariner oxide inks, and used the Deco Leaves stencil along with uncharted mariner oxide ink again to add a knitted pattern to my hat. I cut the pompom part out of acetate, and attached it at the back of my hat using liquid glue. I added foam strips directly on the acetate, all along the curved edges of the pompom, and on the rest of the hat as well, I poured some Snow Days Beads inside the pompom, and cut a whole white Winter Hat Shaker panel that I stuck to the foam strips to totally close my shaker.
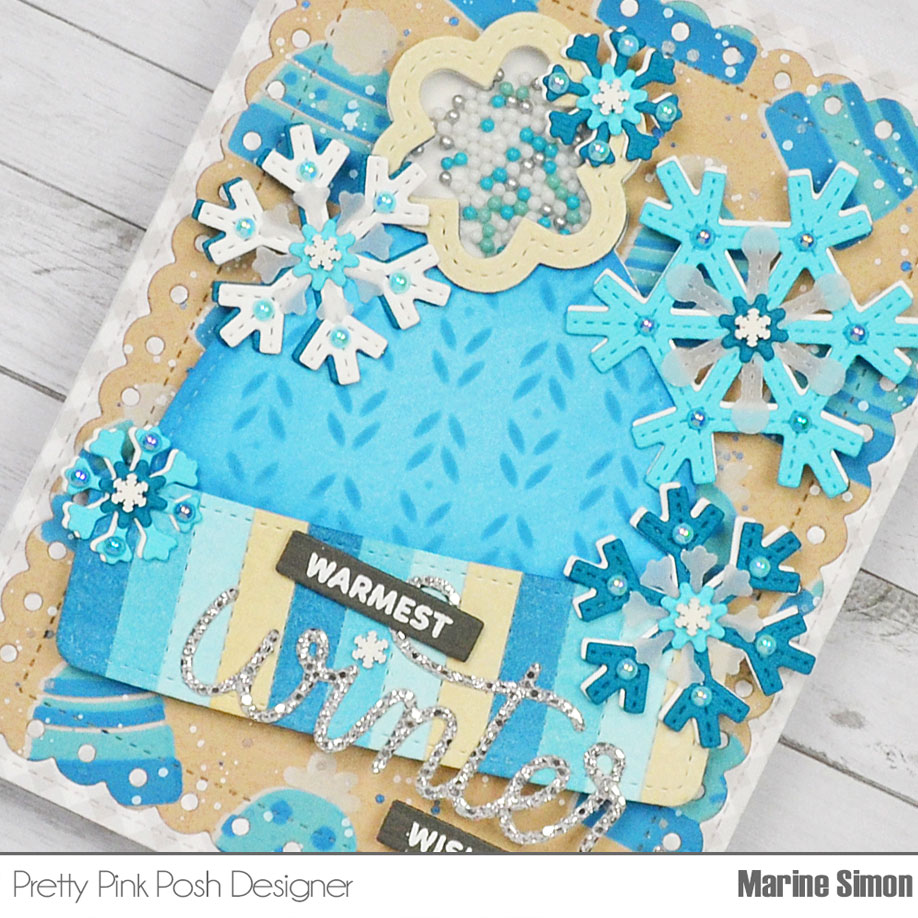
Next I flipped my Winter Hat Shaker over to add more details to the front. I cut another whole panel out of bristol cardstock, fussy cut the pompom, die cut the inside off, and colored it using pumice stone oxide ink. I also trimmed the bottom part of the hat, colored it using uncharted mariner, broken china, tumbled glass and pumice stone oxide inks in a fun stripe design, and attached those two elements to my hat using 1mm foam squares.
I stuck my Layered Winter Hats panel to a 5,5 x 4,25 inches light gray gingham panel, and then to a card base, using liquid glue, and I finally attached all the pieces, Winter Hat Shaker and Stitched Snowflakes, to my panel using 1mm and 2mm foam squares.
For my greeting, I started off by cutting a Winter Script out of silver glitter cardstock. I also white heat embossed “warmest” and “wishes” from Sentiment Strips: Christmas on dark gray cardstock, trimmed both words into slim banners using a Sentiment Strips die, and then attached those three elements on the lower part of my card.

For the Snowflake Shaker, I repeated the same process as before, and started off by cutting a large kraft Eyelet Rectangle that I inked up using the Cascading Snowflakes stencil. I first created a white base using white pigment ink, next I shifted the stencil a little bit to the right, applied broken china oxide ink all over the stencil, and then added some touches of uncharted mariner here and there to darken the snowflakes. I mixed some copic opaque white ink with water and used my small brush to add splatters to my panel, and then I did the same with uncharted mariner distress spritz and with brushed pewter distress mica spray.
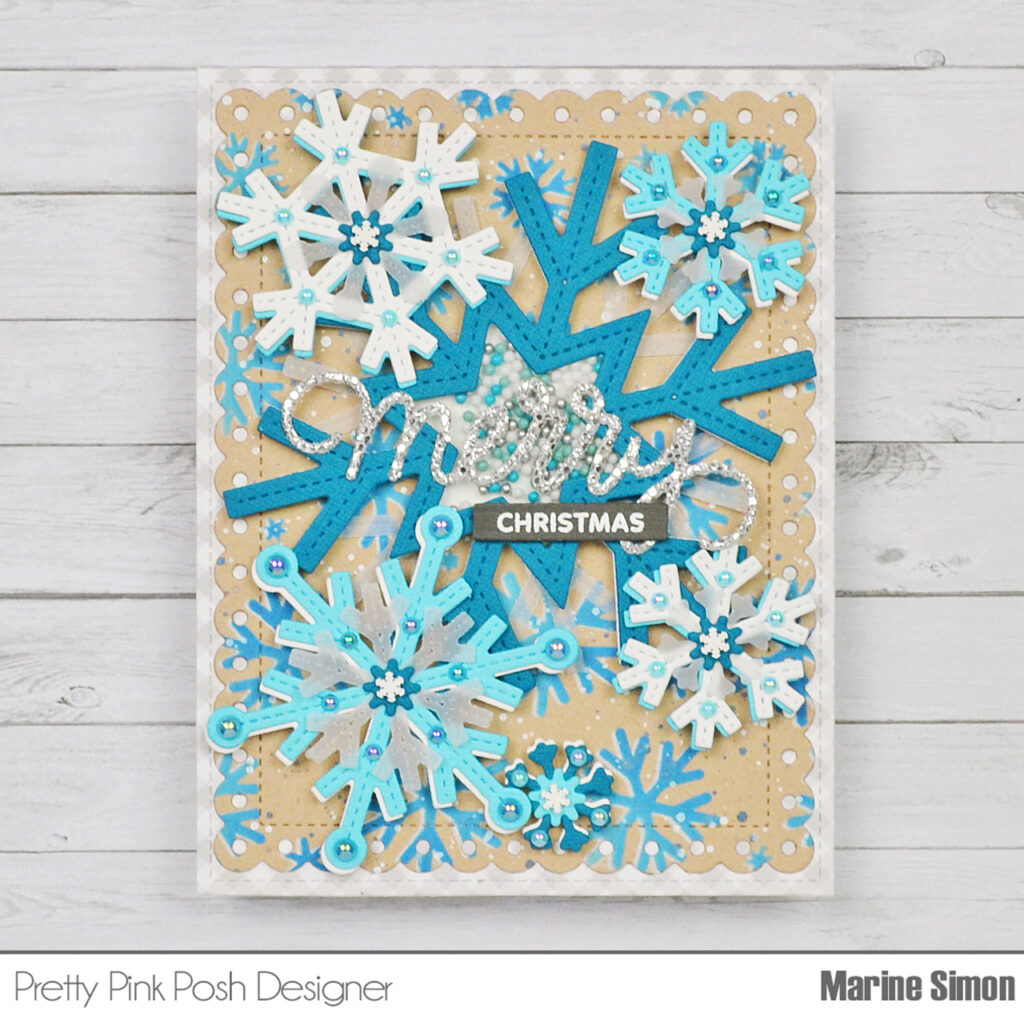
Next I cut multiple Stitched Snowflakes out of the same blue cardstock, white cardstock and vellum as before, and assembled them using liquid glue. The smallest snowflake and the center pieces are from Big Christmas Cupcake. I decorated them all using Candy Cane Lane snowflakes, Blue Sky pearls and Pacific Blue pearls, and moved on to the Snowflake Shaker.
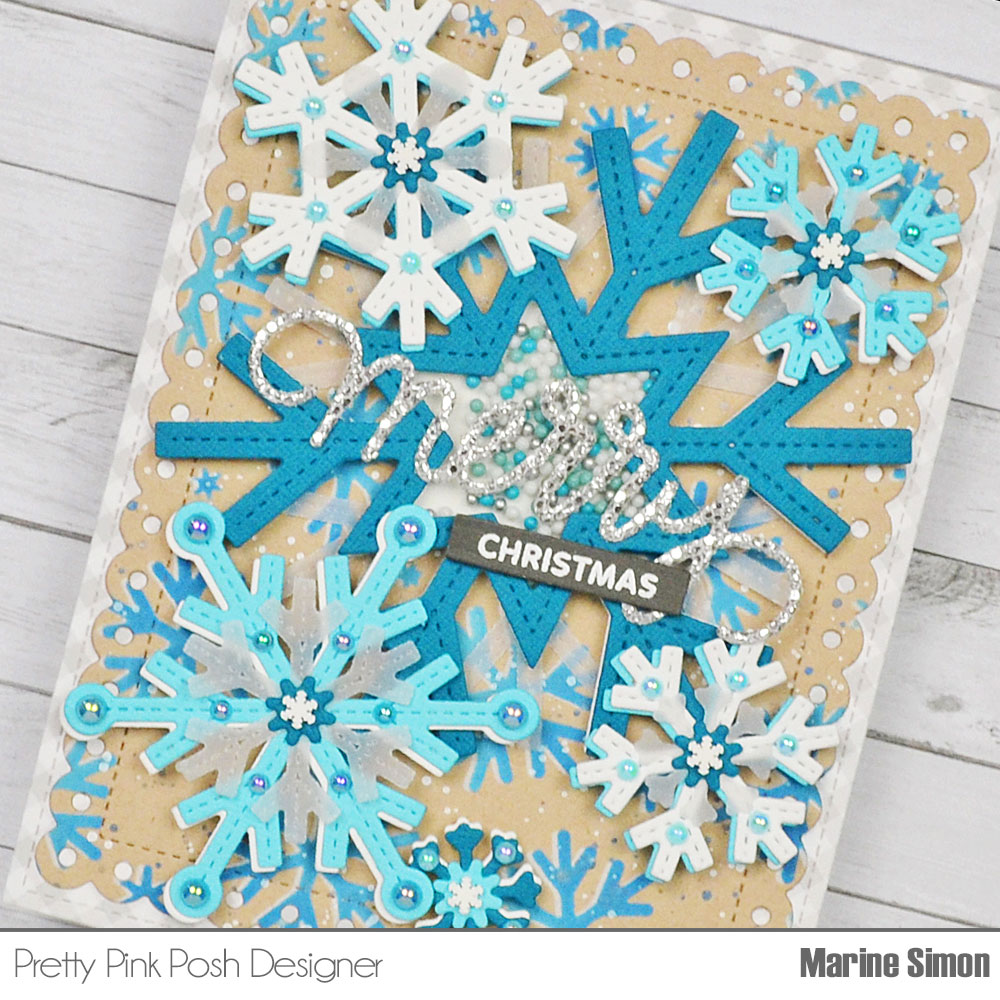
I started off by cutting the front panel out of blue cardstock, and cut the center off to create a window inside my snowflake. Next I cut a whole snowflake out of acetate, trimmed the branches to keep the starry center piece only, and stuck that acetate center piece at the back of my front panel using liquid glue. I added foam strips on the acetate, all along the starry shape edges and on the branches as well, poured some Snow Days beads on the acetate, and cut another whole snowflake out of white cardstock that I attached to the foam strips to close my Snowflake Shaker.
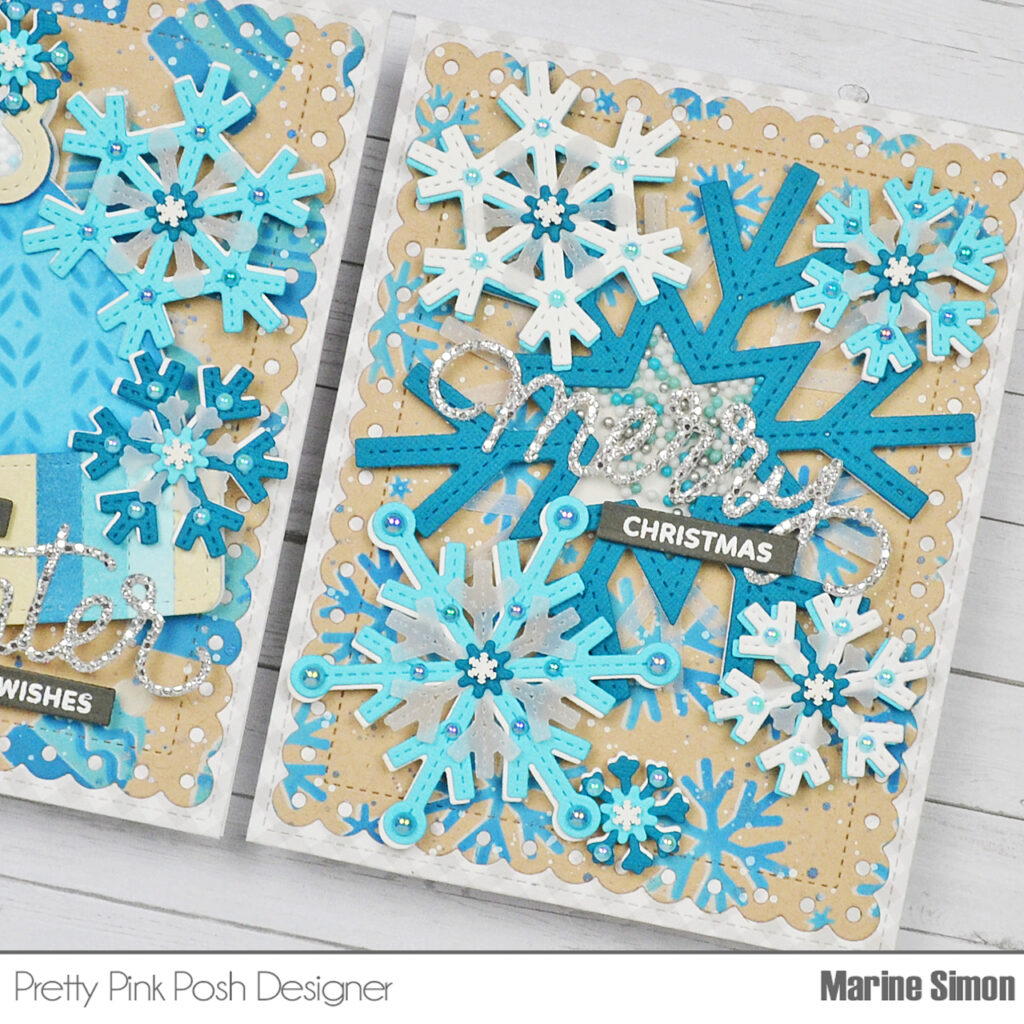
I attached my Cascading Snowflakes panel on a light gray gingham panel, and then to a card base. I stuck the Snowflake Shaker to my card using liquid glue, and attached all the Stitched Snowflakes around it using 1mm and 2mm foam squares. I cut a Merry Script out of silver glitter cardstock, attached it in the center of the Snowflake Shaker using liquid glue, white heat embossed “Christmas” from Sentiment Strips: Christmas, trimmed it into a slim banner using a Sentiment Strips die, and stuck it below “Merry” using 1mm foam squares.
And that’s it! These were so fun to make, and I hope you like them. Thanks so much for stopping by, see you next time!
Great cards, Marine! Love snowflakes of every sort and description.
love both of these cards! the combination of blue and Kraft is beautiful! the little shaker is so cute!!