Sneak Peek: Christmas Candles
Hello, Gemma here today and I’m excited to share a look at the new Christmas Candles stamp set from the October 13th release! This is a beautiful set with a fabulous choices of images. I’m sharing two different styles of card, to show how versatile this set is for your holiday projects.
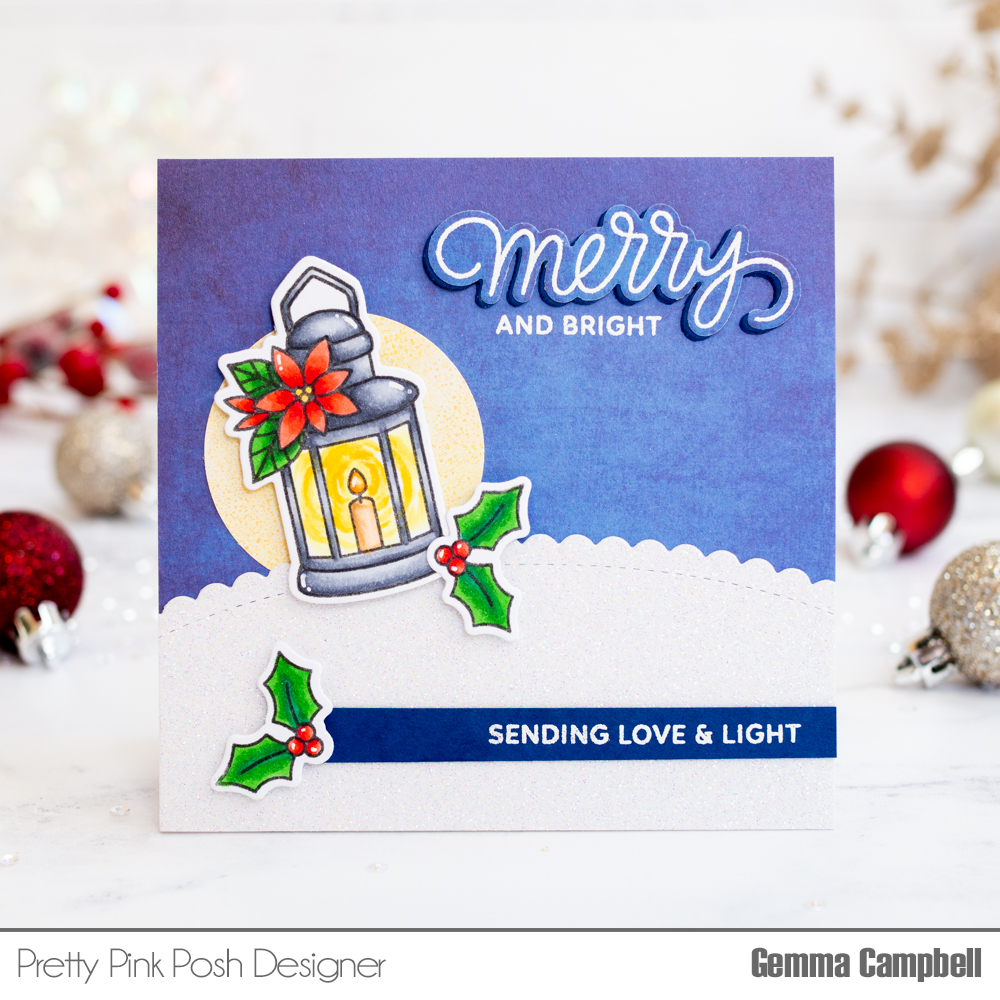
The candle and lantern images in this set look amazing against a dark background. I stamped out one of the lantern images and some holly from the Christmas Candles set and coloured them with copic markers. I’ll list the colours below. I then die cut the image with the coordinating die.
Copic Colours
Lantern C1, C3, C5
Candle: E51, E53, E55
Flame: YR14, YR15, YR16
Glow: Y00, Y11, Y13, Y15, Y17
Holly leaves: G14, G07, G28
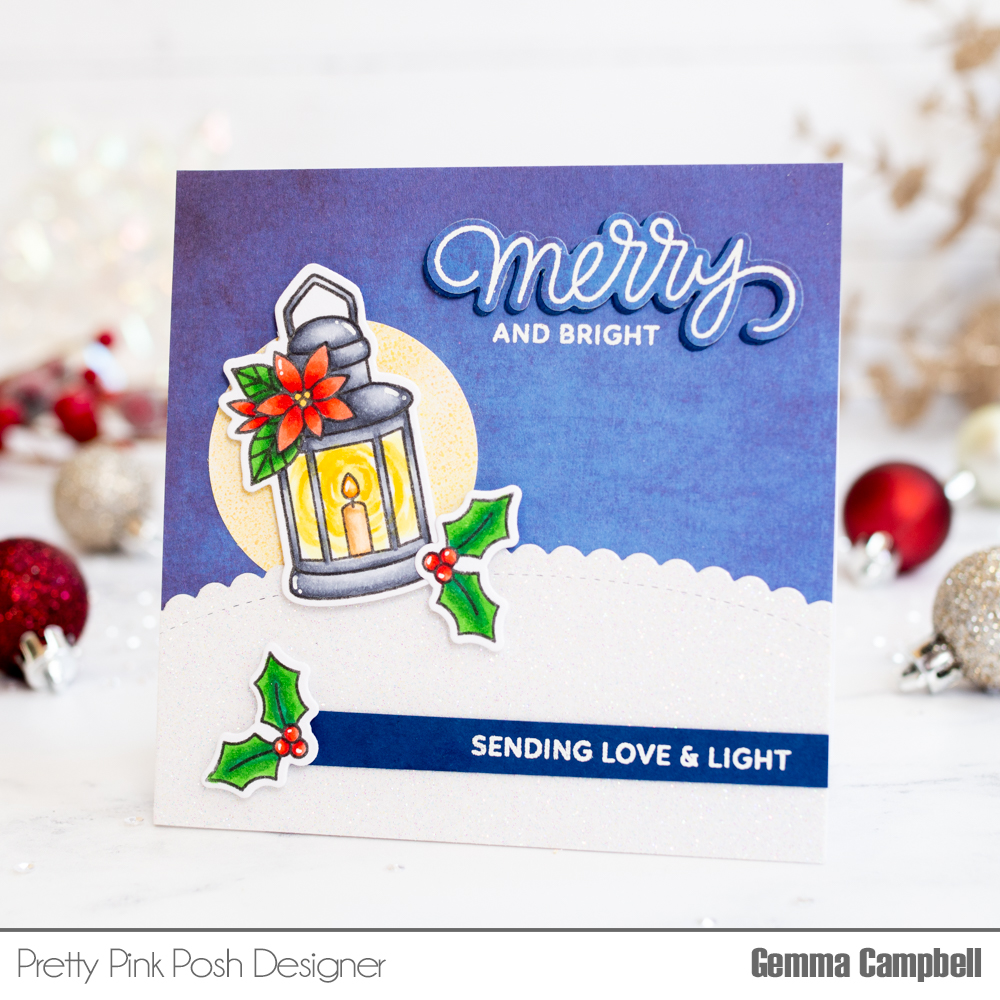
Next, I cut a panel of dark blue patterned paper to cover my 4.25 card base. For the glow from the lantern, I cut a small circle of handmade gel printed background, created using dried marigold and squeezed lemonade distress oxide inks. Tennis elbow means I’m not able to ink blend as much as I would like to right now, so this is a simple (and arm friendly) alternative to creating a background and glow. If you enjoy ink blending your backgrounds, that will look fabulous too.
To create a snowy place for the lantern to sit, I die cut a piece of white glitter card using a die from the previously released Scallop Borders 2 die set. I adhered this onto my card base, then added the lantern on top with foam tape.
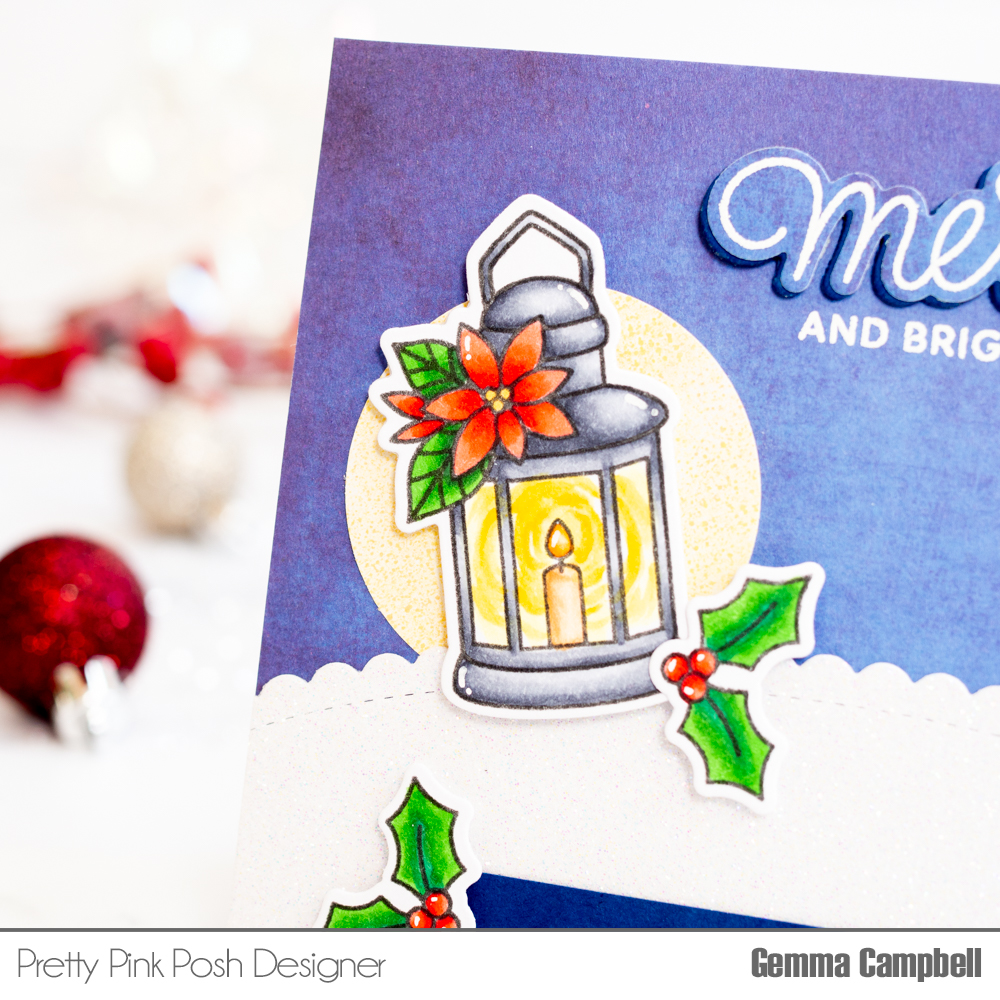
I love the scripty sentiments in the Pretty Pink Posh stamp sets, especially the coordinating dies for them, as it makes them so much more versatile. I embossed the Merry script word, from the Christmas Candles stamp set, with WOW Opaque Bright White embossing powder on the same patterned paper as the background. I then die cut the word out with the coordinating die. I added a couple of layers of navy die cuts offset behind the word, for dimension and a shadow effect.
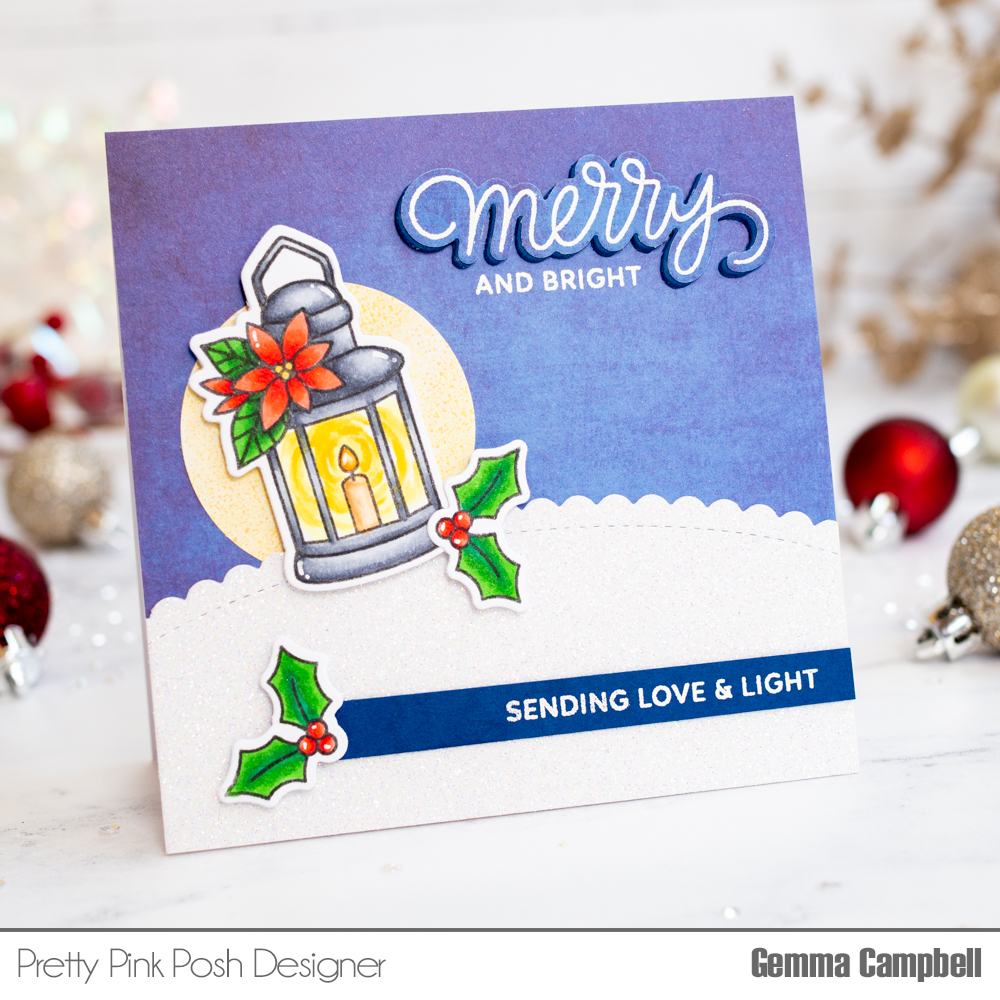
I embossed a second sentiment from the set on the background, then adhered the word die above. To fill some of the space in the bottom half of the card, I embossed another sentiment from the Christmas Candles stamp set on navy card, and adhered to the card with double sided tape. I then added the holly images to the card to finish.
For my second sneak peek using the Christmas Candles stamp set, I’ve gone for an elegant CAS design. This card would be great for mass producing, as it’s quick to create and looks beautiful.
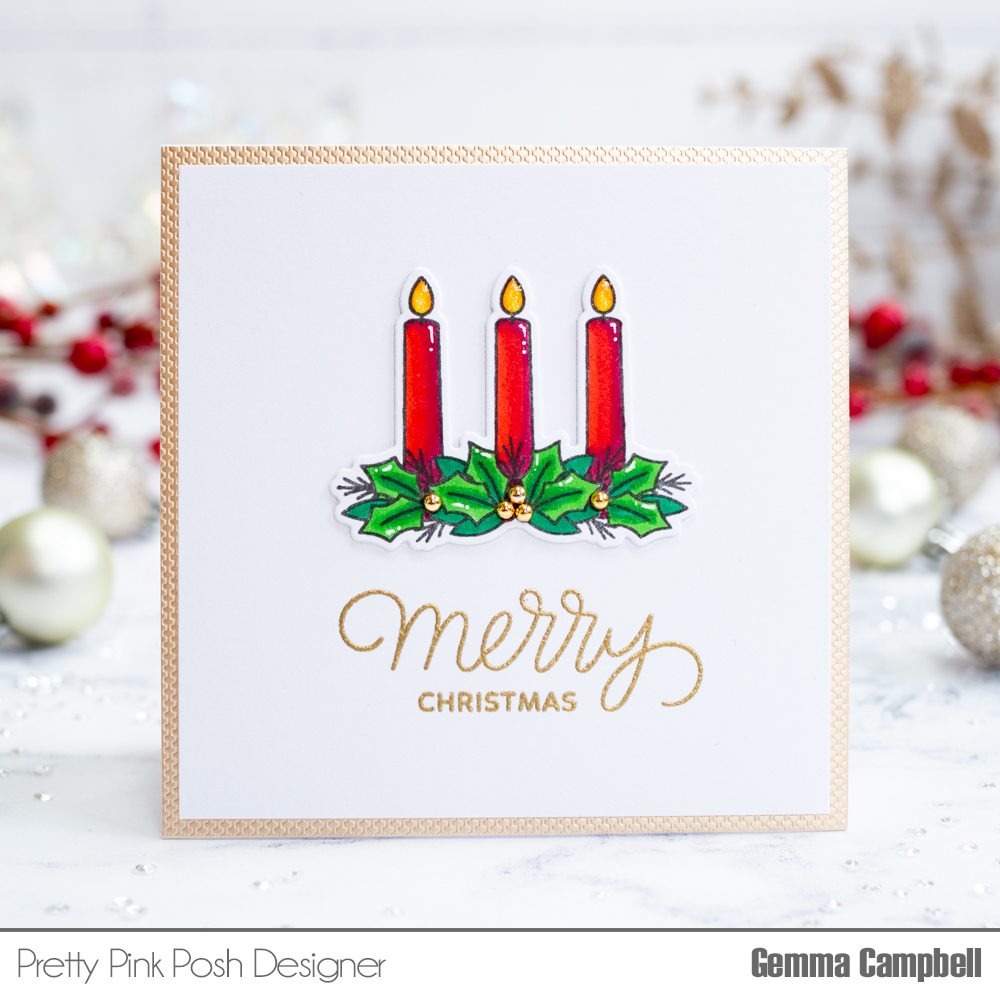
The candles image is coloured with copic markers and die cut with the coordinating dies. I added a second layer behind for dimension.
Copic Colours
Candle: R24, R27, R39
Flame: Y11, YR14
Holly leaves: G14, G07, G17
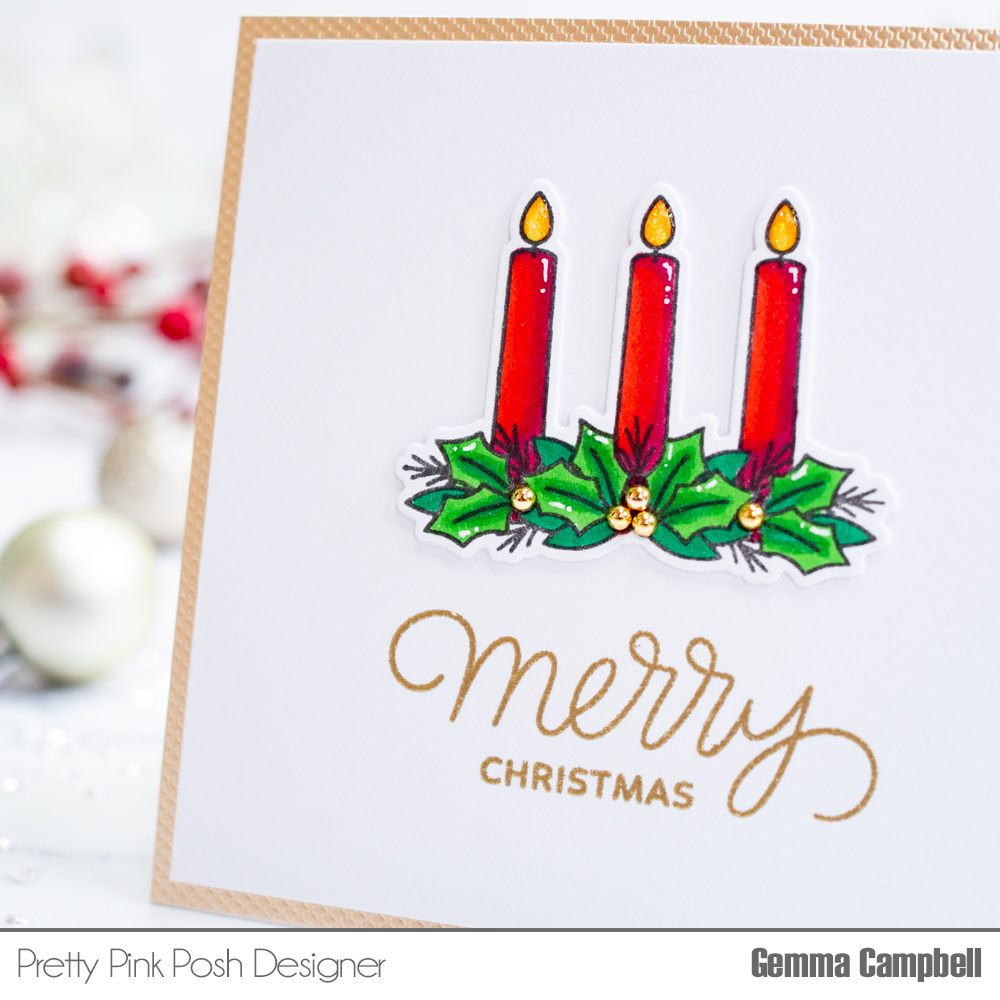
For the berries, I thought I’d use some of the beautiful new Metallic Gold pearls. These come in a mixed size pack, and I used the smallest size here. They are really beautiful embellishments.
I cut a 4 inch square panel of white card, and heat embossed sentiments from the Christmas Candles stamp set with WOW Metallic Gold Ruch Super Fine embossing powder.
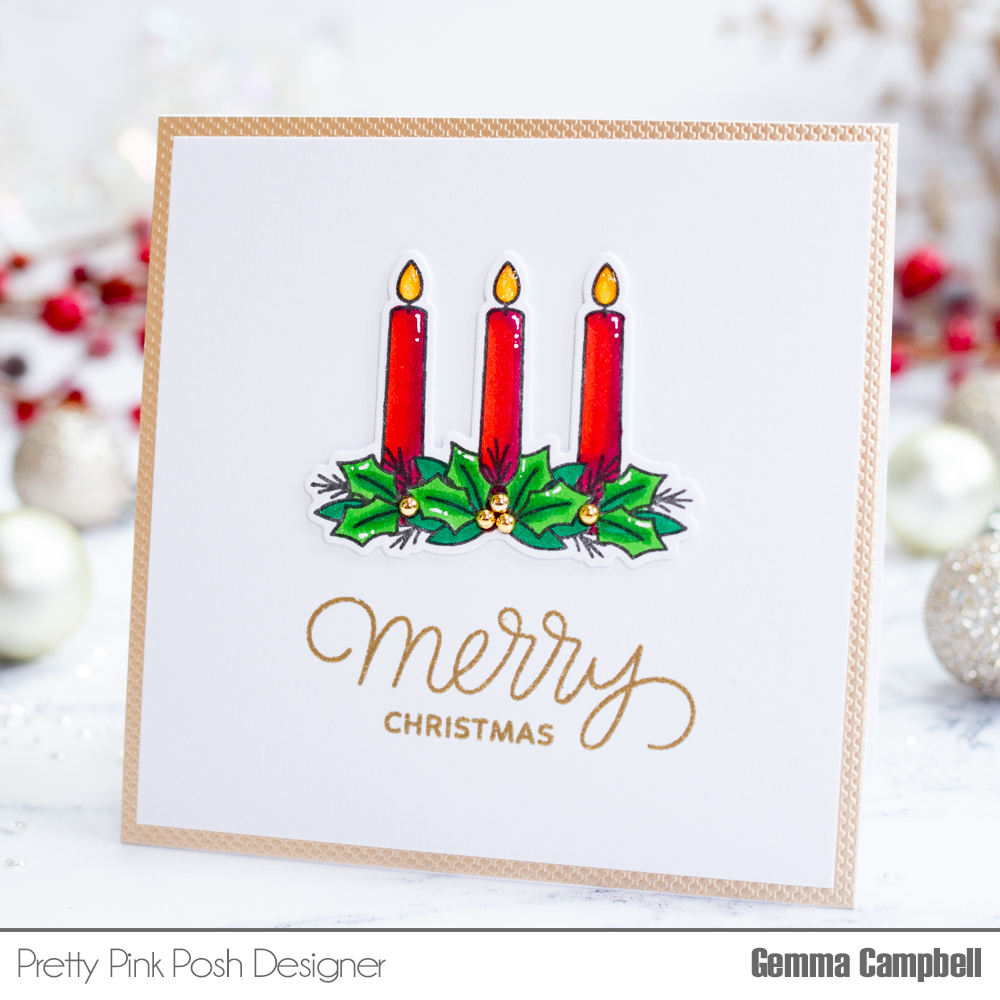
I cut a piece of gold card to fit my 4.25 card base, then adhered the white panel on top, followed by the candles. As a finishing touch, I used some Nuvo White Blizzard glitter drops on the candle flames.
Thank you for joining us for today’s sneak peek. We hope to see you again tomorrow!

Adorable stamp and very creative cards! Can’t wait to see the full set!
I just LOVE all of the candles. So traditional and wonderful