Sneak Peek: Poinsettias
Hi, everyone!
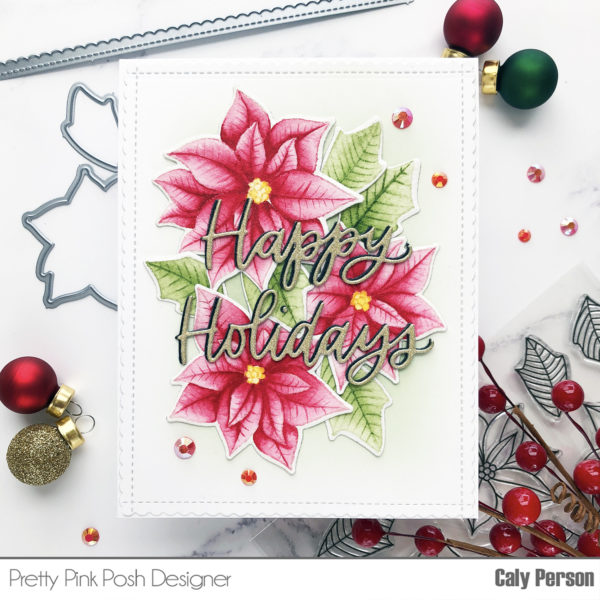
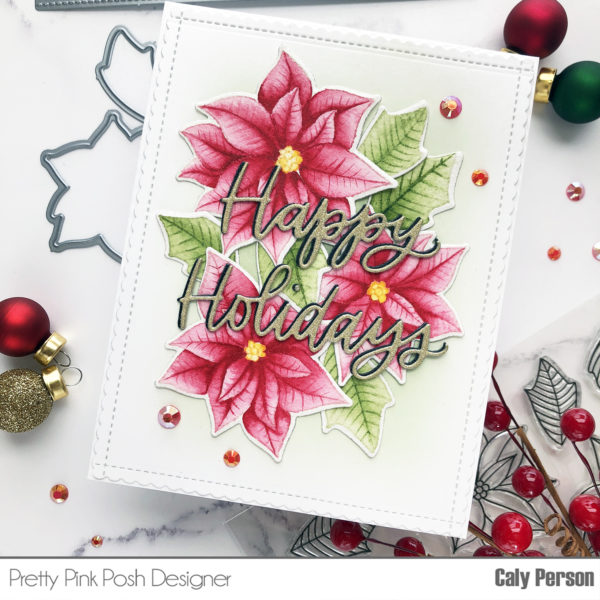
It’s Caly and I’m so glad you’ve joined me for today’s Pretty Pink Posh sneak peek! I’ve made a card using the new Poinsettias stamp set and I’m excited to share it! The stamp set is gorgeous and there are so many possibilities with it! In fact, I had played with 3 different layouts before I decided to go with this one. Let’s talk about how it was created!

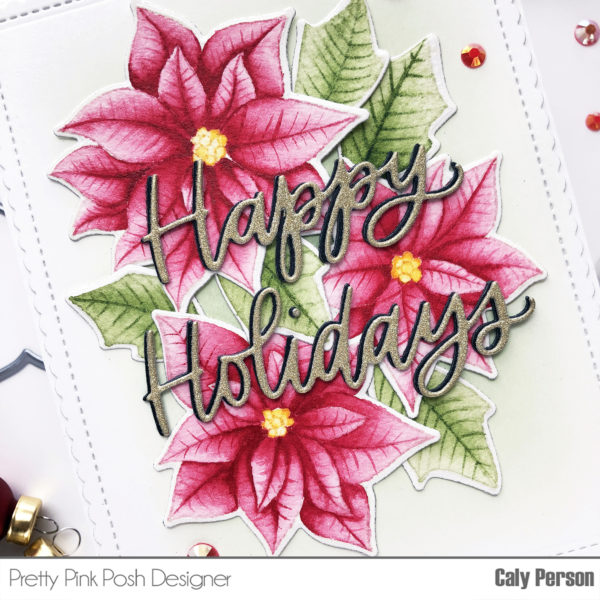
I started by stamping the images on Arches cold-pressed watercolor paper using Ink On 3 Fade-Out No-Line Coloring Detail Ink (phew! That’s a mouth-ful!). I used my MISTI tool because this ink is very light – the more times you stamp, the easier it is to see. There’s no way I could color with just one inked impression – so I inked it up at least 3 times. Then I used Daniel Smith watercolors in Quinacridone Red for the poinsettia, Gamboge for the poinsettias’ centers, and Sap Green for the leaves. The poinsettia images don’t have floral veins on them, so I painted them on to give them some extra interest and dimension. After coloring and allowing the images to dry, I die-cut the images using the Poinsettia coordinating dies and set them aside to work on the card front.

In order to create the frame, I used a die from the Scallop Borders die set and had to cut all 4 sides of an A2-sized card panel. I had to line them up just right to ensure I still got a rounded corner in all 4 corners but it worked out great! Then for some extra color, I lightly ink-blended some Bundled Sage Distress Oxide ink in the center of the panel, fading it out to the edges.

I placed the images where I wanted them, adhering them down with some double-sided tape. For the sentiment, I die-cut the Happy Holidays Script die 3 times in black and once in gold glitter cardstock. I glued the black sentiments together, then glued the gold glitter sentiment on top, off-setting it slightly so the black can be a drop shadow for the gold glitter cardstock because I was afraid it wouldn’t stand out enough over the watercolored images. I glued the sentiment words right over the poinsettia images and finished my card off using some red jewels from the Holiday Jewel Mix. I feel like I could’ve done so much more to embellish this card – glossy accents or jewels over the poinsettias’ centers, shimmer over the petals, white gel highlights – but I refrained and I’m glad I did because I think it’s great just the way it is. I really hope you enjoyed this card! I can’t wait to color it using Copic markers!
Be sure to stop by tomorrow for another sneak peek of our November 5th release!

Beautiful poinsettias, colour range s so realistic, stunning Xmas card Carly.
So pretty!! :)
Beautiful 😍😍😍 can’t wait to place my order!!
These poinsettias are gorgeous! What a beautiful card. :)
Wow Caly! This is so stunning. Your watercolouring is just perfect. And I love the way you detailed those flowers. Simply gorgeous!
WOW, these look incredible. I love the no line coloring!
Beautiful card. Love the colors and images.
Wow beautiful card!
I can’t wait for you to use copics so that I can copy you!!
Absolutely stunning! These poinsettias are sized perfectly! Can’t wait to see the rest of the release and get my hands on some !!!!
This is so detailed. Love the leaves where you see the veins. Beautifully done.
Beautiful colouring on these lovely florals.
absolutely beautiful!
Gorgeous card, Caly! The watercoloring is beautiful and I like that you added the veins to the flowers. The glittery sentiment was a nice touch of sparkle.
The scalloped edges look great on this card. And the coloring of the flower and leaves is amazing.