
Merry Decorative Tree
Hi friends, Christina here! I’m so excited to finally be sharing this very merry holiday card with you. Using the new Decorative Tree and one of the newer Stitched Windows 2 dies, I created a festive window scene where you can peek inside to see the tree is trimmed and the halls are decked! Keep reading to see a list of products I used, and then I’ll walk you through how this card came together!
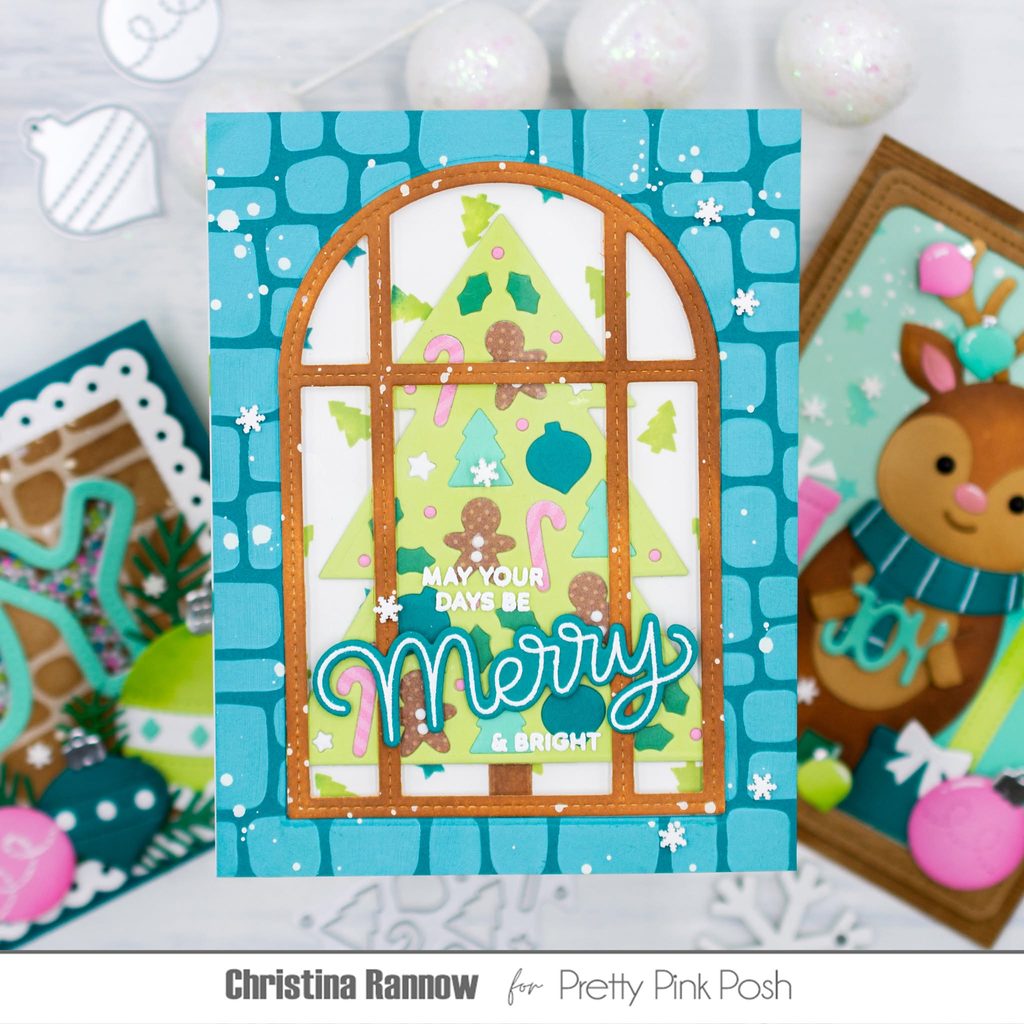
Decorative Tree Die
Stitched Window 2 Dies
Merry Greetings Stamp Set
Merry Greetings Coordinating Dies
Cobblestone Stencil
Layerd Holiday Sprinkle Mix Stencils
Winter Wonderland Clay Confetti
I used two stenciled panels for this card, one for the background to the Decorative Tree and one for the panel with the Stitched Window. For the background panel, I started with a 4.25 x 5.5 inch piece of white cardstock and stenciled just one layer of the Layerd Holiday Sprinkle Mix stencils with pistachio green and blue spruce ink colors. For the window panel, I started with a 4.25 x 5.5 inch piece of blue spruce cardstock and stenciled the Cobblestone pattern on it using Distress Oxide ink. Lastly, I splattered the panel with a white splatter medium for a snowy look.
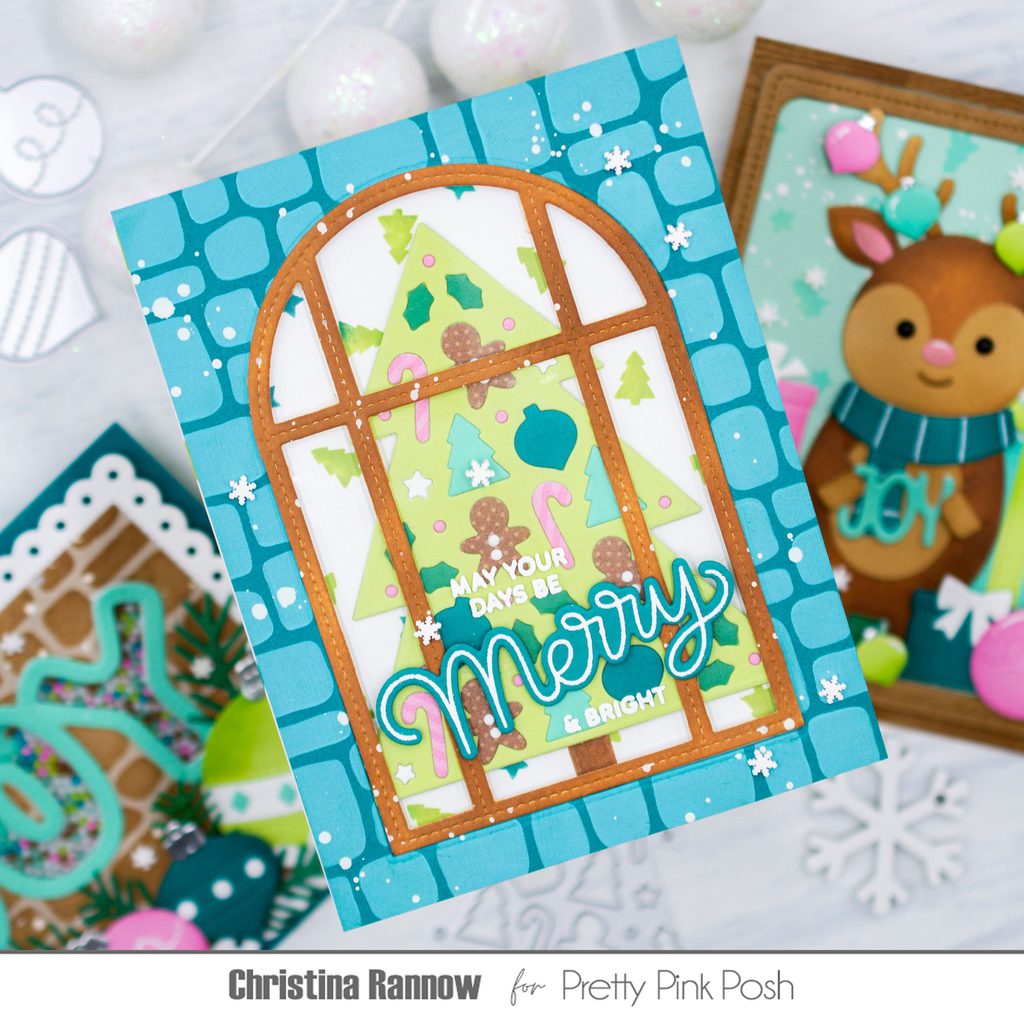
I die-cut the tree base with the cutouts and the tree outline from pistachio green cardstock and layered them together. Then I inlaid all the different holiday shapes. To do this, I die-cut the tree multiple times from a variety of cardstock colors and two patterned papers. As a finishing detail, I added tiny white buttons to the gingerbread men.
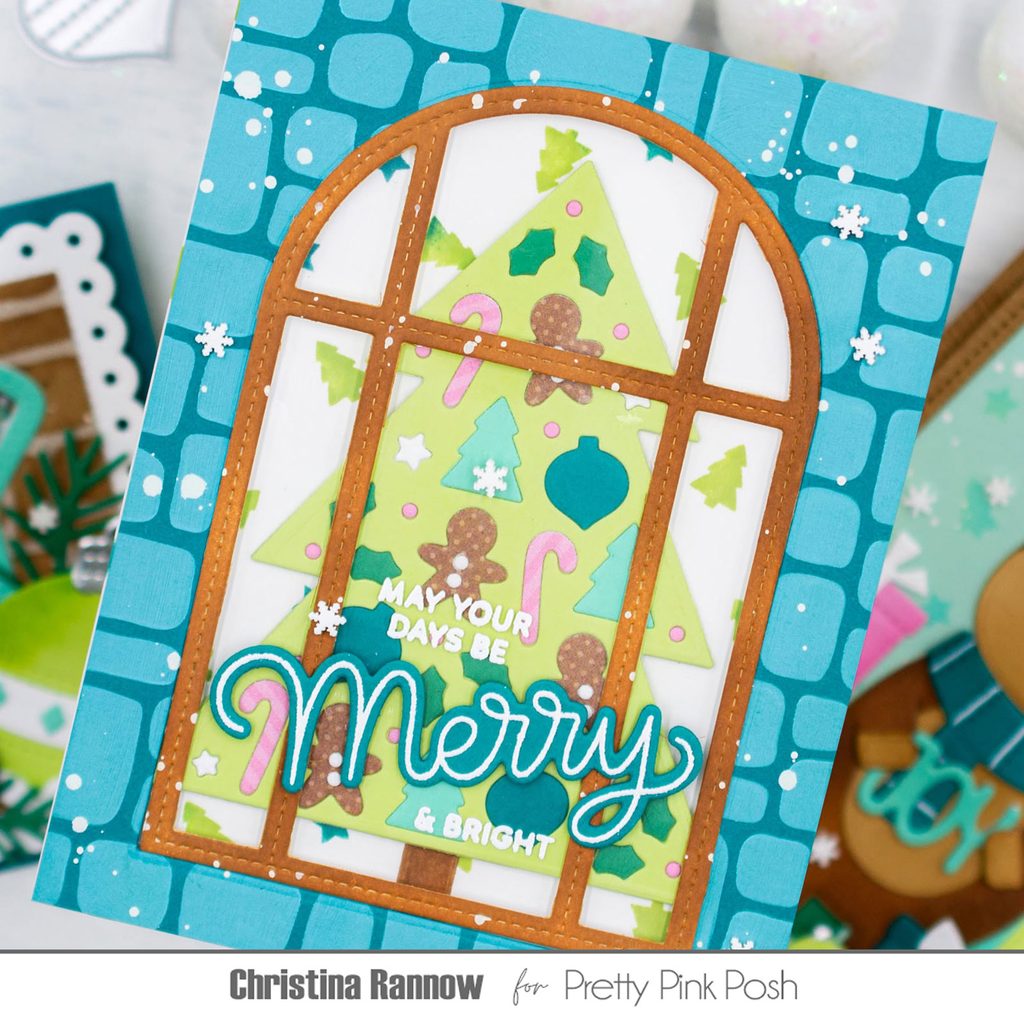
I die-cut the window from the cobblestone panel to get the arched-shaped opening and set all the window pieces aside for another project. Then I attached a piece of heat-resistant acetate on the back of this panel to cover the opening. This gave me a place to attach a Stitched Window frame that I die-cut from white cardstock and then inked with light brown ink. Before securing the Stitched Window frame to the acetate with liquid adhesive, I positioned my sentiment and then heat-embossed part of it on the acetate with white embossing powder. For the rest of my sentiment, I heat-embossed it with white embossing powder on blue spruce cardstock and die-cut with the coordinating die.
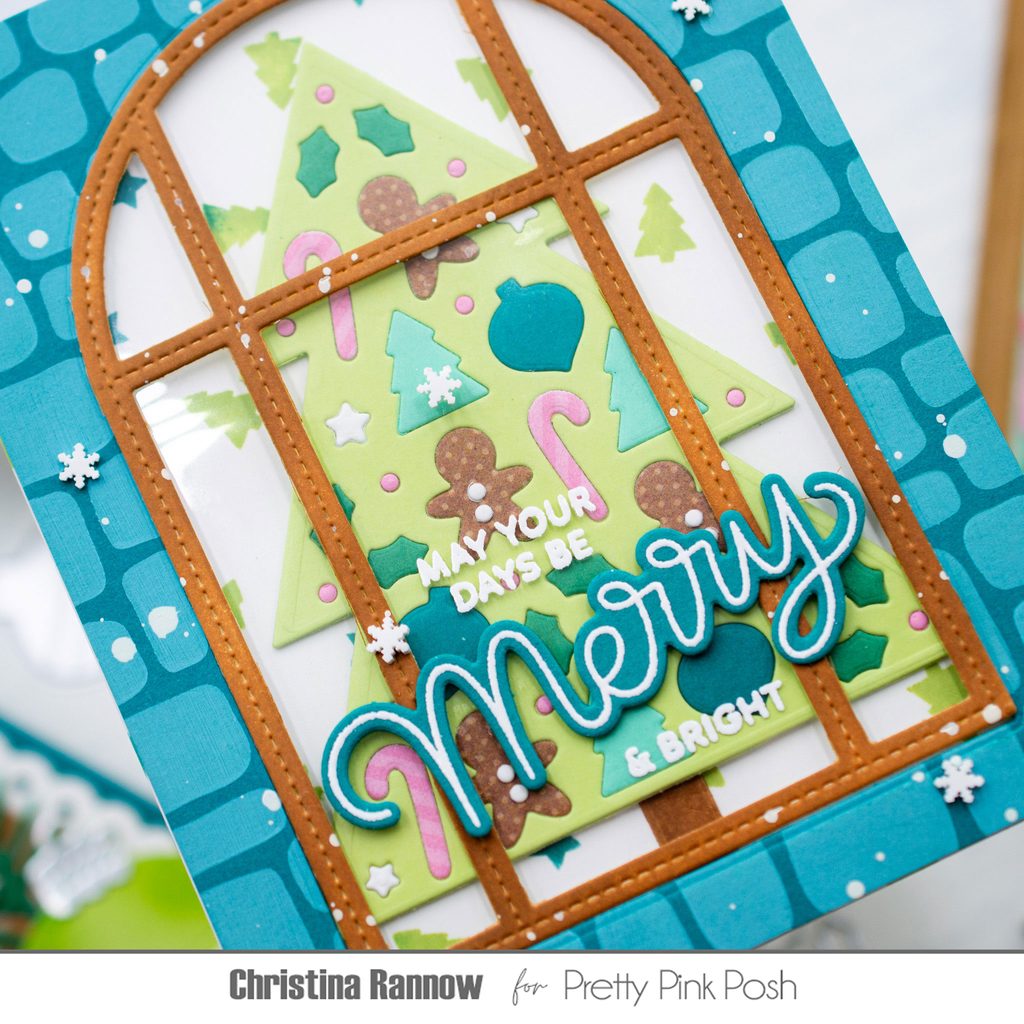
First I attached the Decorative Tree to the background panel, positioning it so it would be centered in the window. I used a sentiment strip die to create a small tree trunk and added that too. Then, using foam tape, I attached the window panel to the background panel. You could easily make this a shaker card at this step, but I decided the tree was pretty enough all on its own. Next, I added the rest of the sentiment and finished with a scattering of white clay snowflakes. And my card was ready for a card base.
Thank you so much for reading about this festive holiday card I created using the new Decorative Tree Die. See you again soon!