
Halloween Theme Week: Day 6
Save 15% on all products in the Halloween section
Hi crafty people! It’s Rachel here today with two Halloween shaker cards that combines new and older products.
To start of I die cut two pieces of white paper into 5 ½ x 4 ¼ inch. I place the Watercolor Oval mask stencil about ¾ over my basic piece and used 3 ink colors on the inside of it to create a nice blend.
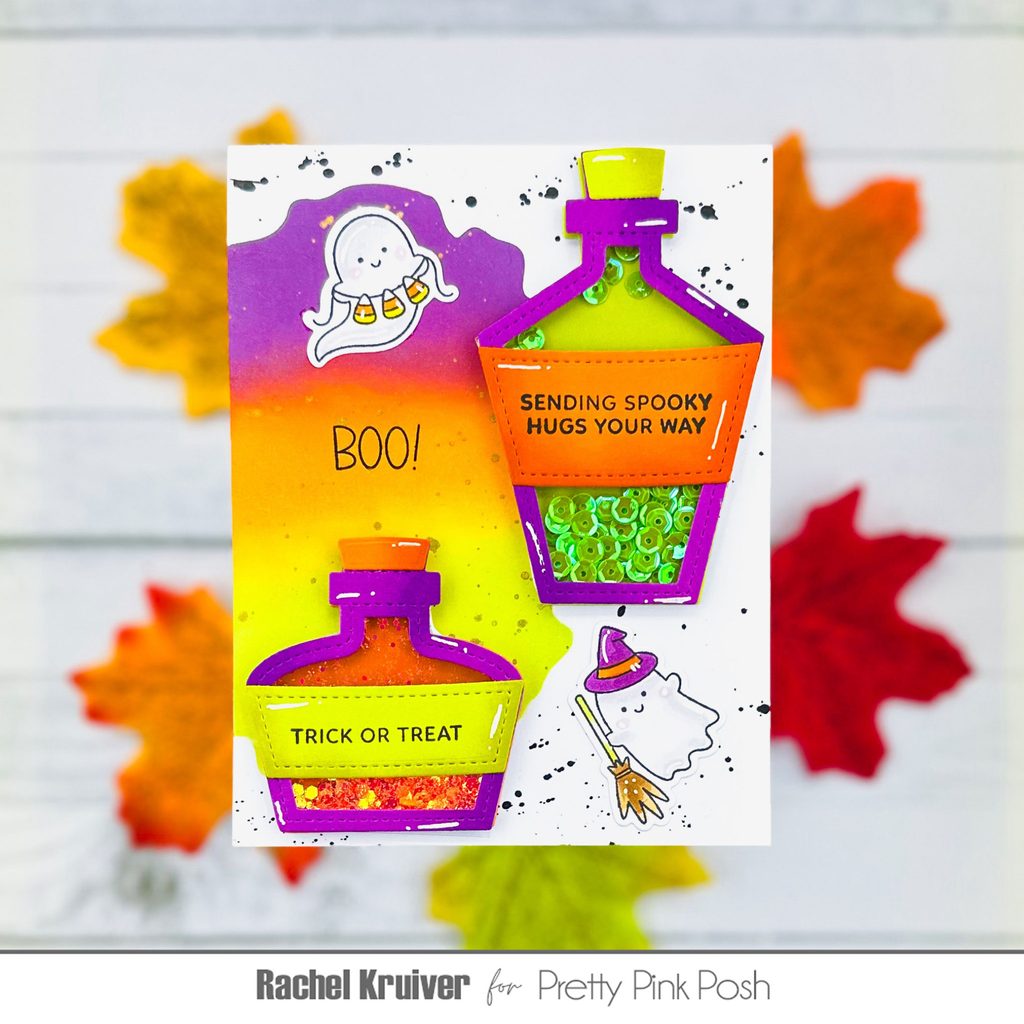
For one card base I placed the stencil more to the left, and on the other card I placed it more to the right. I also went for pastel colors on one card, and more traditional colors on my other card.I really like how different cards can look by only changing the colors.
I also used gold and black splatters on my card based. The Watercolor Oval mask stencil comes with a masking stencil, so this was very easy to achieve.
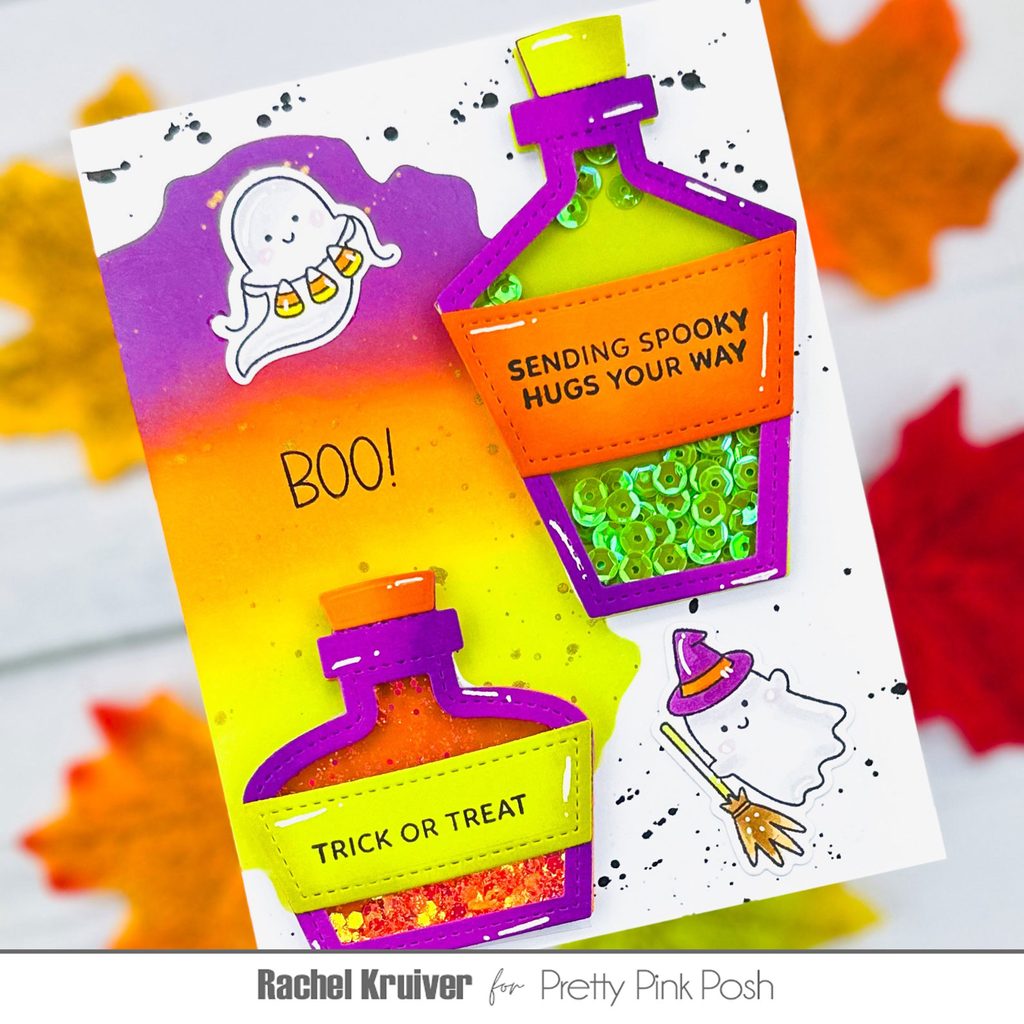
While these were drying, I stamped out images from the Mini Ghosts stamp set with alcohol marker friendly black ink. I used alcohol markers to color them in, of course matching my two different color palettes. When I was finished, I added white highlights to my images, and ran them through my die cut machine using the Mini Ghosts coordinating dies.
Then it was time to use the Potion Bottle Shaker dies. I grabbed some pastel and more traditional Halloween colored card stock. And die cut two of the three potion bottles that come in this set, along with the details. I added some shading to them with ink. Behind the frame I placed double sided tape and adhered my acetate to the back of the frames. I grabbed my scissors and cut along the frame to get rid of the access.
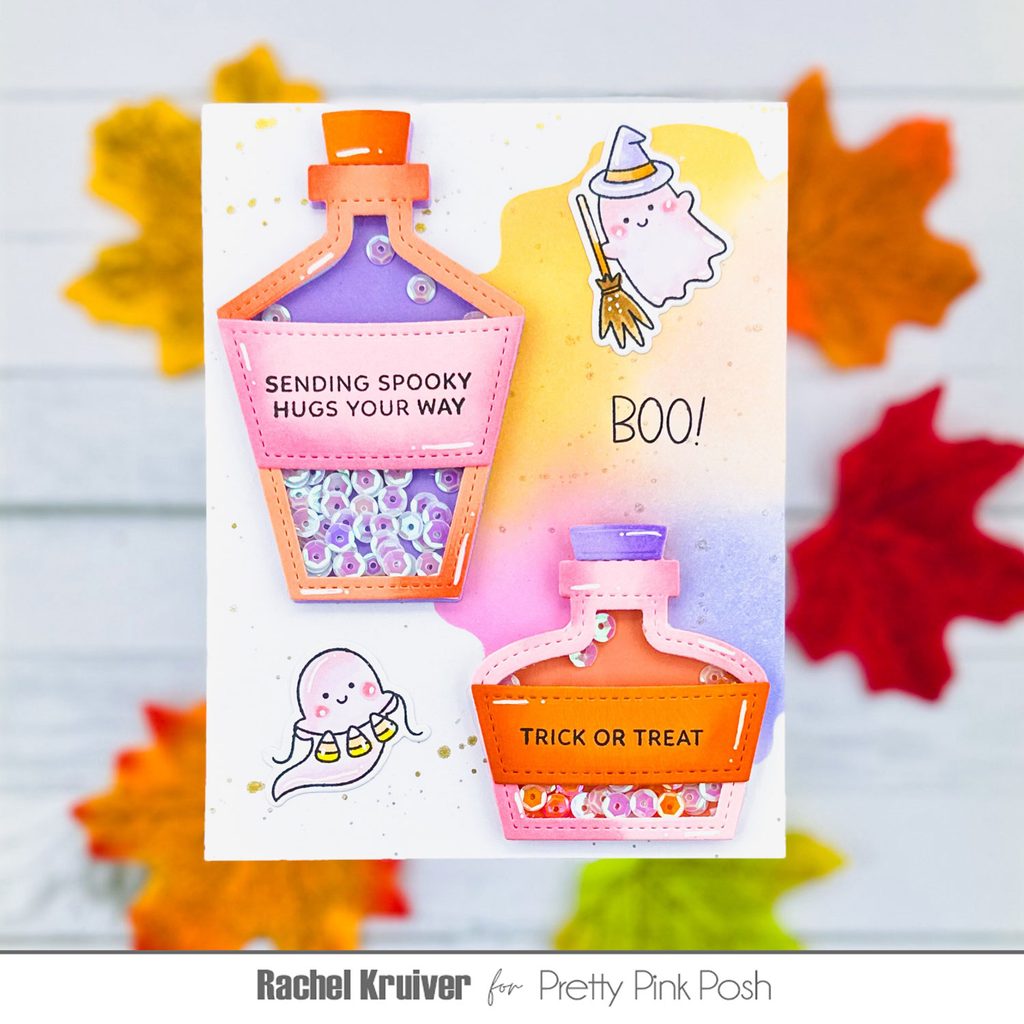
On the base pieces of my potion bottle, I used 2mm foam strips along the edges. And made sure that there were no gabs in between. So my sequins could not fall out. Filled them with sequins and attached my frame. I used the Sentiments Strips: Halloween stamp set to make sentiments on the labels. Adhere them and the details of the potion bottles.
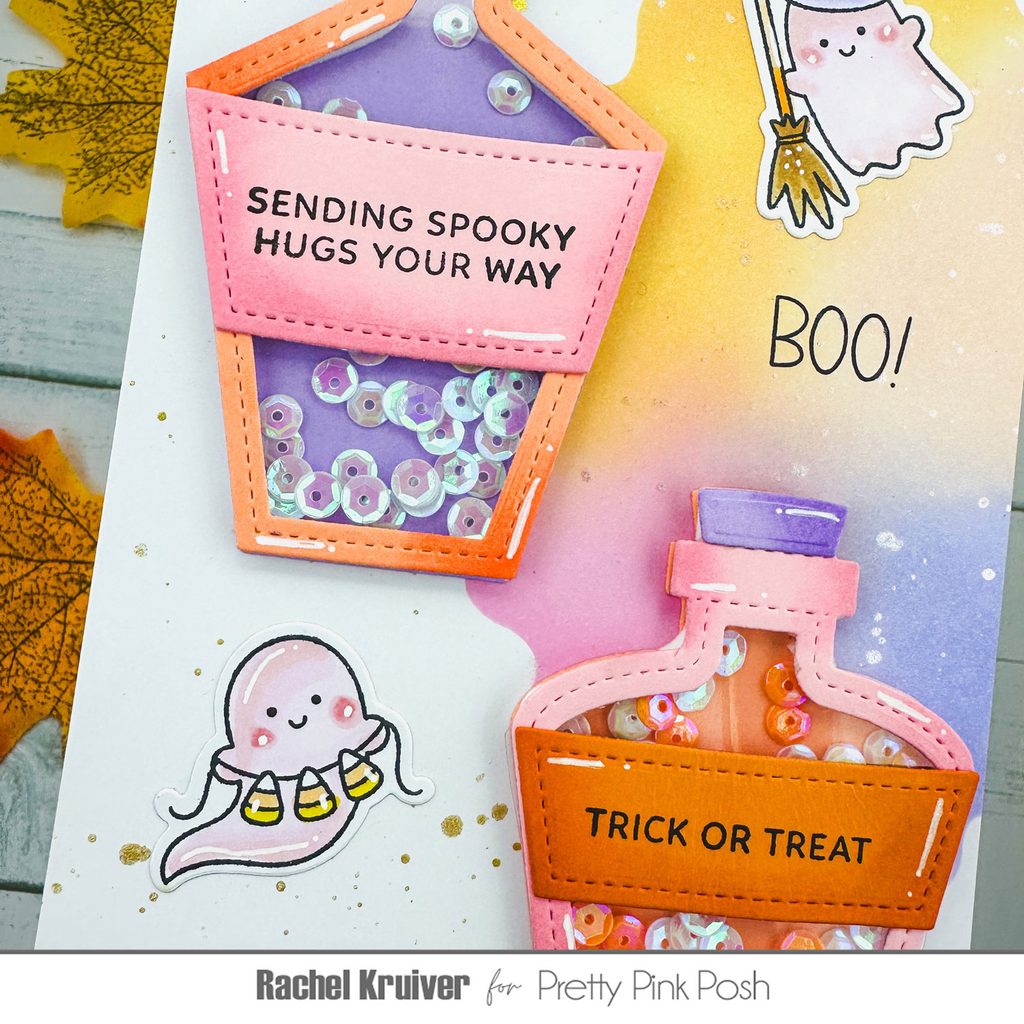
I laid everything out on my dried card bases. I did this while the card base was in my stamping tool, so I could place the word BOO in exactly the right place. Then it was time, to grab my liquid glue and adhere everything onto my base.
Thank you for taking the time to read my blog post. I hope you like these Halloween shaker cards and got inspired to mix and match your products and use different colors, for the same card.
Don’t forget to follow me on Instagram @cards.byrachel for more crafting inspiration.
Happy crafting.
Rachel
Watercolor, potion bottles and ghosts!! Love it!!