
Silhouette Frames + Labor Day Sale
We are having a sale in honor of Labor Day. Save 20% on all in-stock stamps, dies and stencils! Add the items to your cart and the discount automatically applies to qualifying items!
Please note that sales prompt a huge influx of orders, so processing takes longer than usual. We package each item by hand and appreciate your patience and understanding.
Hi friends! Christina here to share a Halloween card using the new and unique Halloween Silhouettes stamp set. The stamp set comes with a variety of silhouette options and can be used in so many different ways. I imagined old spooky framed pictures when I created this card, stamping the images inside the smaller Pinking Ovals. But you could also use these stamps to create your own patterned paper, a technique that I love and have already done using this set. The creative possibilities are endless! Let’s take a closer look at how this card came together, starting with the supplies I used.
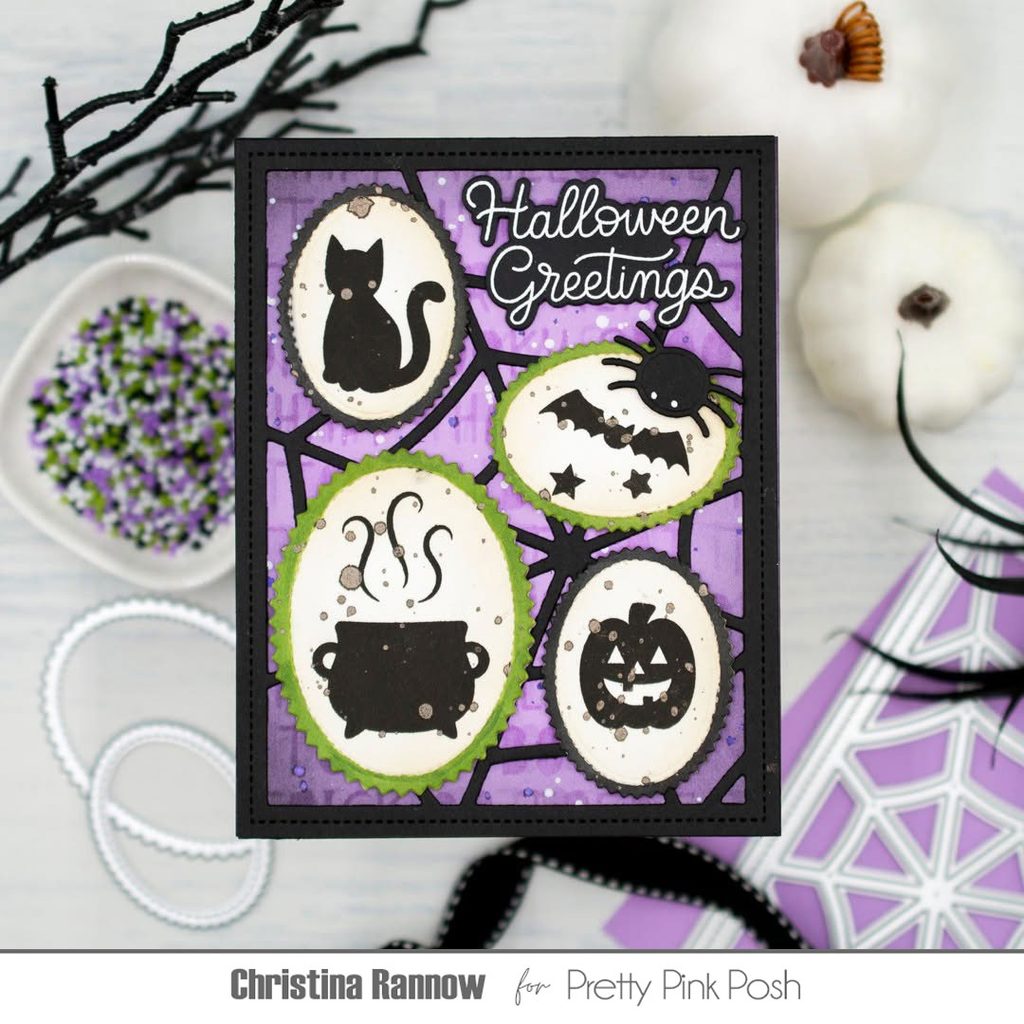
Halloween Silhouettes Stamp Set
Pinking Ovals Dies
Boo Greetings Stamp Set
Boo Greetings Coordinating Dies
Spider Web Cover Plate
Halloween Words Stencil
My first step was to stamp the silhouette images onto white cardstock with black ink, leaving enough space to die-cut them with the Pinking Ovals. After die-cutting the images, I used either a YG17 or N9 Copic marker to color in the edges of the ovals, instantly creating little frames. Next, I distressed the frames by first inking them with Gathered Twigs Distress Ink and then spattering them with Fallen Acorn Mica Stain for a little shimmer.
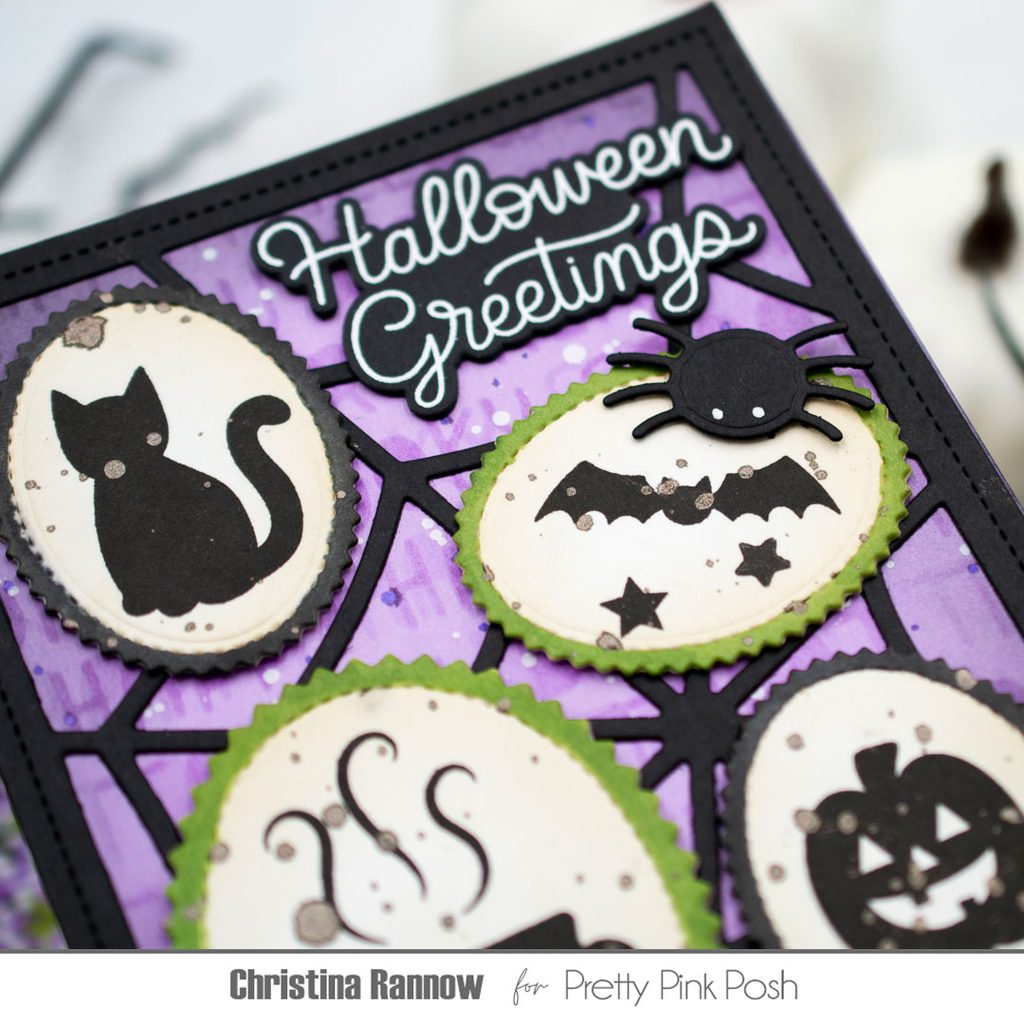
With the silhouette frames completed, I moved on to creating the background panel. I started with a lavender A2 cardstock panel and stenciled it using the Halloween Words stencil and a darker purple ink color. Then I blended Black Soot around the edges of the panel to desaturate some of the brightness and create a spookier vibe. Finally, I spattered the panel with white spatter medium and Hocus Pocus Mica stain for some fun distressing. The last step for the background panel was to die-cut the Spider Web Cover Plate from black cardstock and layer it onto the stenciled and distressed panel.
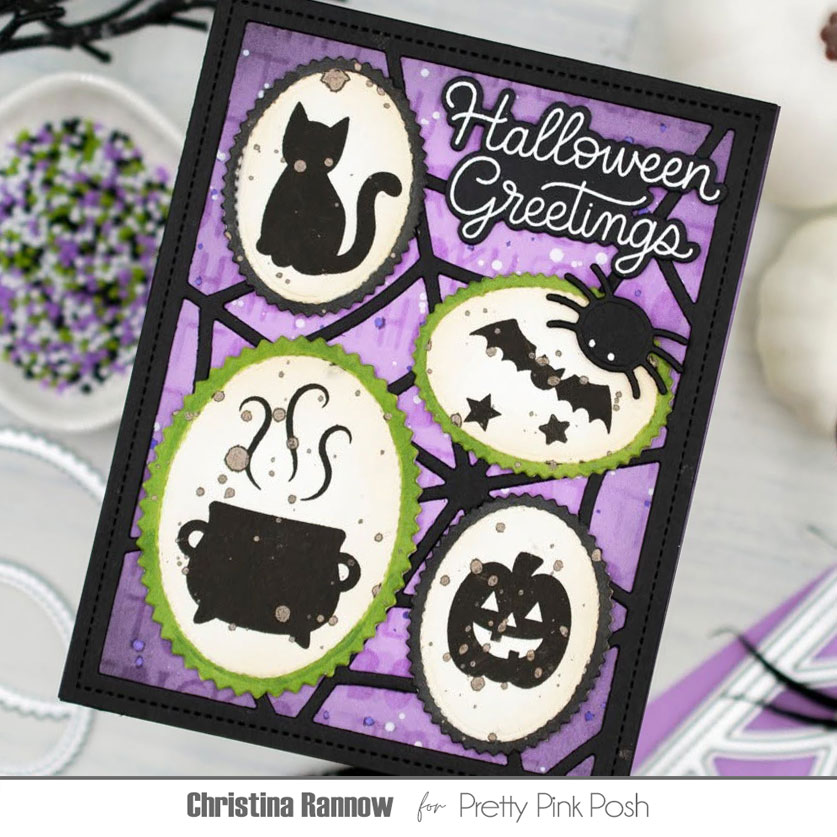
Next, I attached the background panel to a top-fold card base and then arranged and secured the stamped silhouette frames on the panel, choosing to use four of the images that I stamped. I finished things up by adding a creepy crawly spider and a white heat-embossed sentiment that I die-cut using the coordinating die.
Thank you for reading about my Halloween card featuring the unique and versatile Halloween Silhouettes Stamp set. See you again soon!
I save up all year for PPP Labor day sale! It’s right after my birthday so of course I splurge!! Absolutely love this card Christina!! The layers of details with the background and the web die! So cool!