
Fall Mouse Shadow Box
Hi crafty people! It’s Rachel here today with a fall-themed shadow box card using the new Mouse Holder die. I always get so excited when there is a new cute addition to the holder dies. This cute mouse is no different. One of my favorite ways to use the holder dies is by using them in a shadow box card.
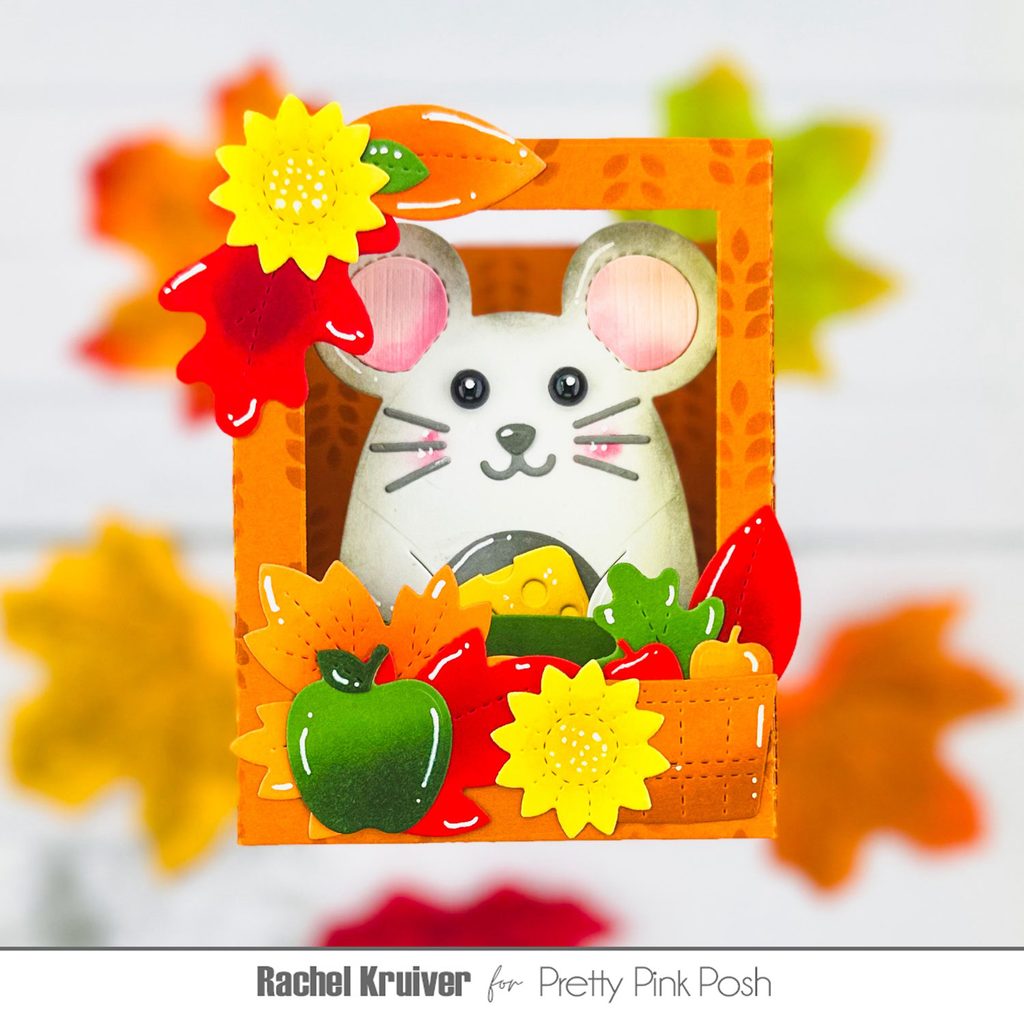
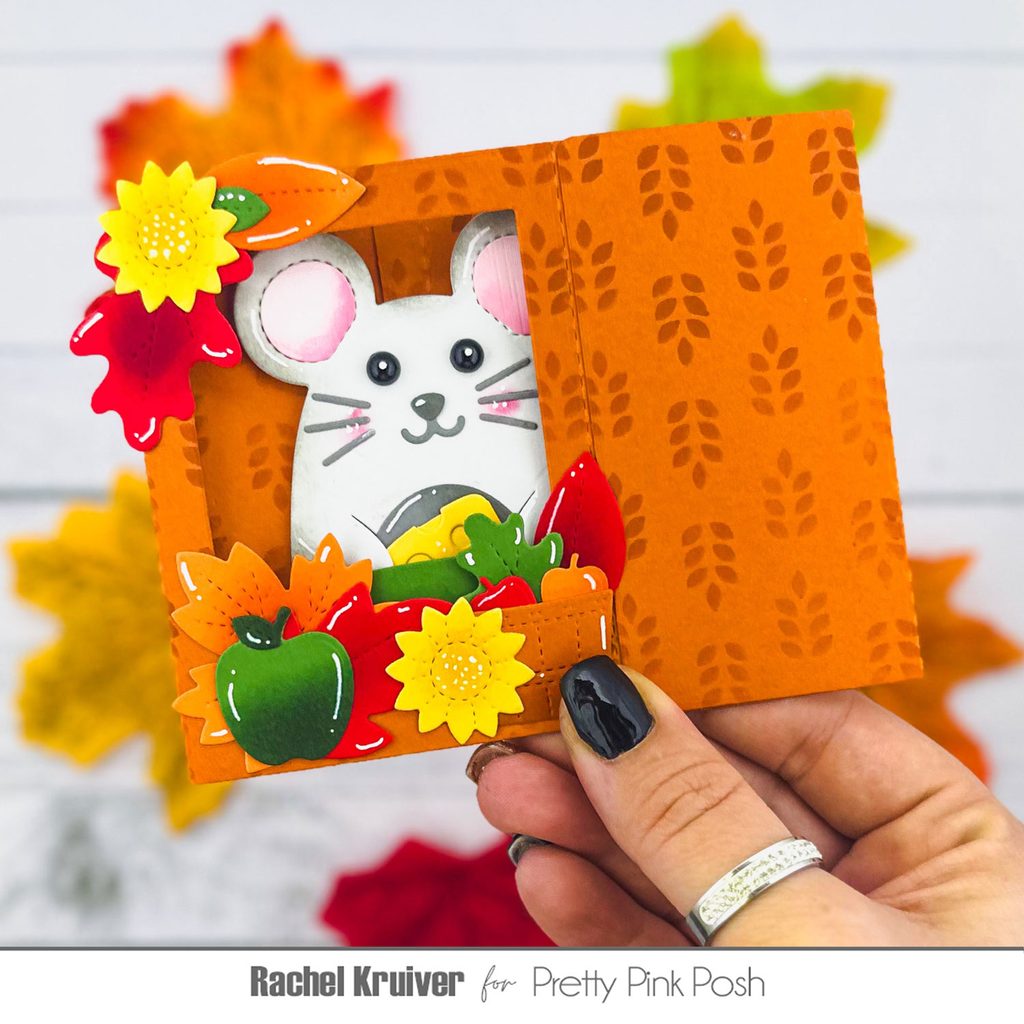
So that is exactly what I did; I started by cutting the Shadow Box die two times in a dark orange. Out of one of them, I also used the window die included in the shadow box die set to create the opening. The scalloped die I used to put on the back of my card.
I used the new Wheat Pattern stencil and a darker orange ink on top of my shadow box; I stenciled both sides on both of my panels. For the inside, I used a dark green so it would look like my mouse was standing on the grass. Then I assembled the shadow box, using liquid glue and double-sided tape for some extra sturdiness. I like to start with assembling so I can lay my other die cuts on top to see if I like the layout.
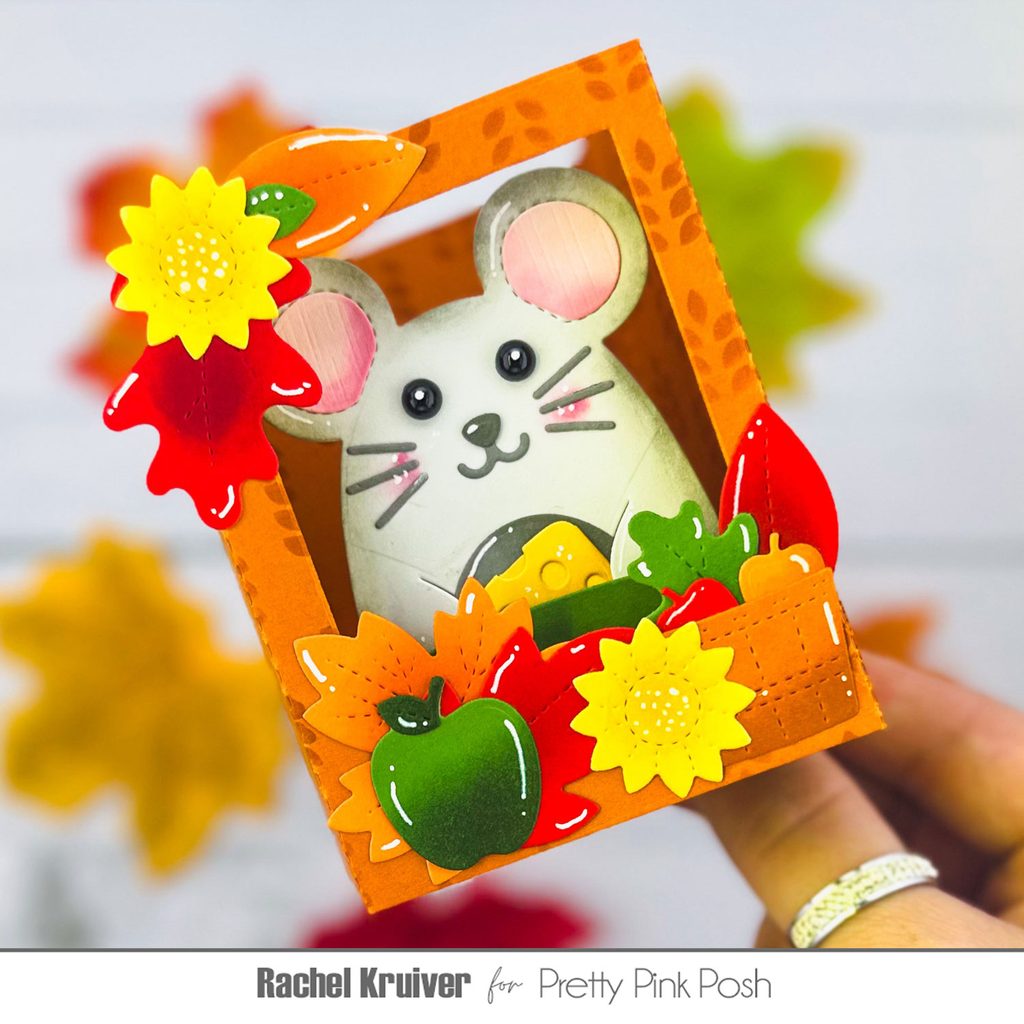
Now it was time to die-cut our cut mouse out of gray and light pink for his ears. I added shading by using darker colors of ink. For the eyes, instead of using the die set, I used the Onyx Pearls.
To give the mouse something to hold and add decorations to my card. I grabbed the new Fall Holder Additions die. I used green, yellow, orange, and red for all my elements, so it would work well with the dark orange shadow box I made. As always, I shaded all my elements using darker ink.
Then I started laying out everything on my shadow box, and once I had found my preferred layout, it was time to grab my liquid glue and adhere everything to my card. For some finishing touches, I used a white gel pen to add some highlights.
Thank you for taking the time to read my blog post. I hope you liked this fall shadow box card and got inspired to use it yourself with all the holder dies critters.
Don’t forget to follow me on Instagram @cards.byrachel for more crafting inspiration.
Happy crafting.
Rachel
Very cute!
That cute mouse makes me smile! What a fun shadow box card!