
Peeking Ghost
Ghostly Greetings! It’s Christina and today I’m sharing a Halloween card showcasing some of the new products from the latest release. I created a spooky-cute scene using the new Stitched Windows 1 dies and two new stencils, Clouds and Spooky Trees. I completed the scene by adding the still-so-adorable Ghost Holder and his accessories, plus a couple of creepy crawlies. Take a peek at the supplies I used, and then we’ll get started!
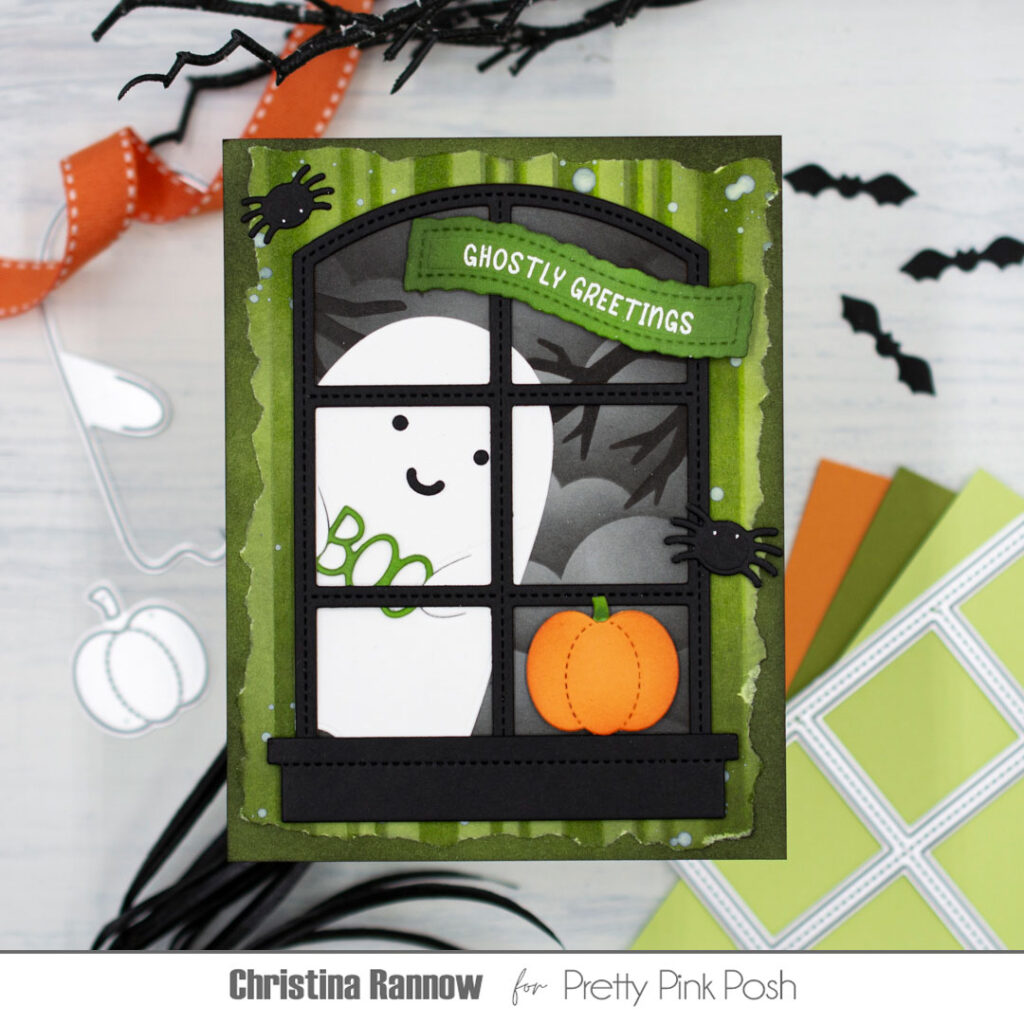
Stitched Windows 1 Dies
Halloween Wreath Builder
Banner Greetings 4 Dies
Halloween Banner Greetings
Ghost Holder Dies
Clouds Stencil
Spooky Trees Stencil
Candy Cane Stripes Stencil
My first step was to create the scene outside the window. I started with a gray A2 cardstock panel and stenciled the clouds with black ink, layering them down the length of the panel. Then I used the Spooky Trees stencil and more black ink to add a couple of creepy tree limbs reaching into the scene.
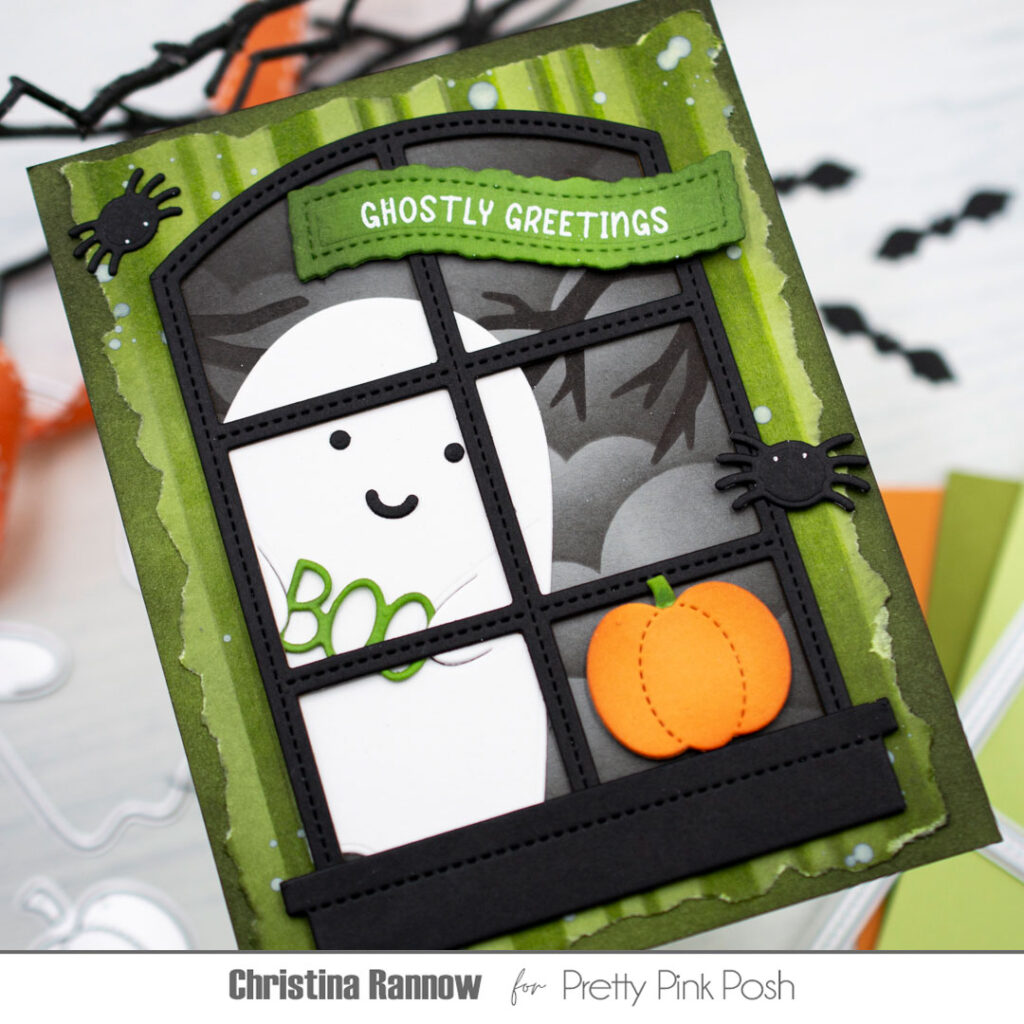
Next, I die-cut and assembled the other elements for the window scene. I die-cut the window from black cardstock and used it as a template to trim down the cloudy scene I had just stenciled. Before securing these two elements together with glue, I popped in the Ghost Holder and trimmed him down to fit inside the window too. I finished the Ghost Holder by adding his sweet face and gave him the “Boo” to hold. Then, to finish the window scene, I added the window ledge and the pumpkin.
Now I needed a background panel to attach the window to. I decided to create a torn and aged wallpaper by stenciling green Candy Cane Stripes onto a lighter green cardstock and then tearing the edges. To help guide the tearing, I used a scoring tool to lightly score where I wanted the panel to tear. Then, to finish the panel, I inked the edges with a darker green ink and spattered it with white splatter medium for extra distressing. Finally, I layered this onto a dark green A2 cardstock panel before attaching the completed background to a top-fold card base.
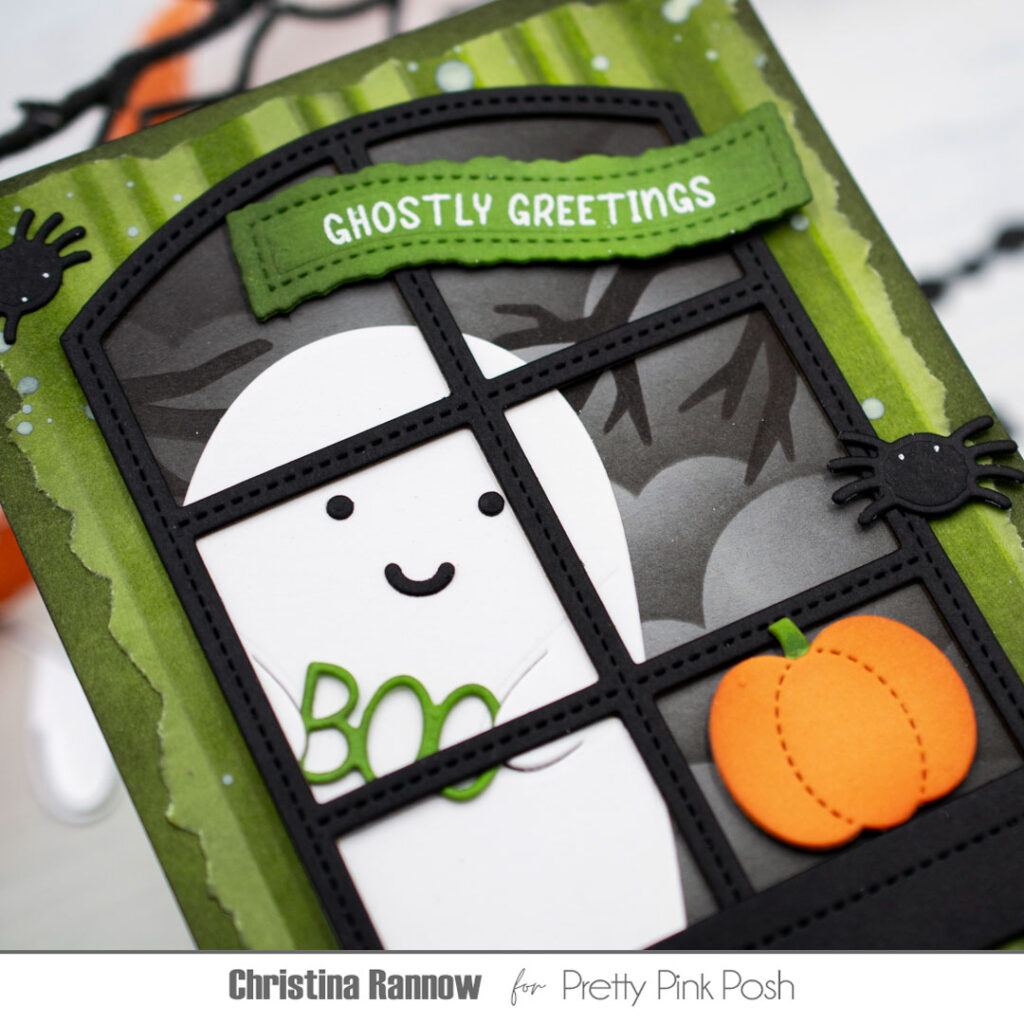
The last steps were to arrange and secure the window scene to the background and add a sentiment. I centered the window scene on the background and added a couple of creepy crawly spiders crawling on the wall. And lastly, I added a banner with a white heat-embossed sentiment.
Thank you so much for reading about my Halloween window scene card showcasing new products from the latest Halloween release. See you again soon!
He’s politely spooking!
Fun card! Love the peeking ghost and the window!
It’s adorable! Love the background 😍