
Light Up Window Card
Hello Crafty Friends! Catherine here, and today I’m sharing a fun Halloween card featuring a spooky light-up window scene created with products from the latest Pretty Pink Posh release! I used the Mini Ghosts, Stitched Windows 1, Boo Greetings, Halloween Caramel Apple, and Halloween Silhouettes to create this interactive design. The Stitched Windows 1 die set includes two beautiful window designs that are perfect for creating seasonal scenes all year long.
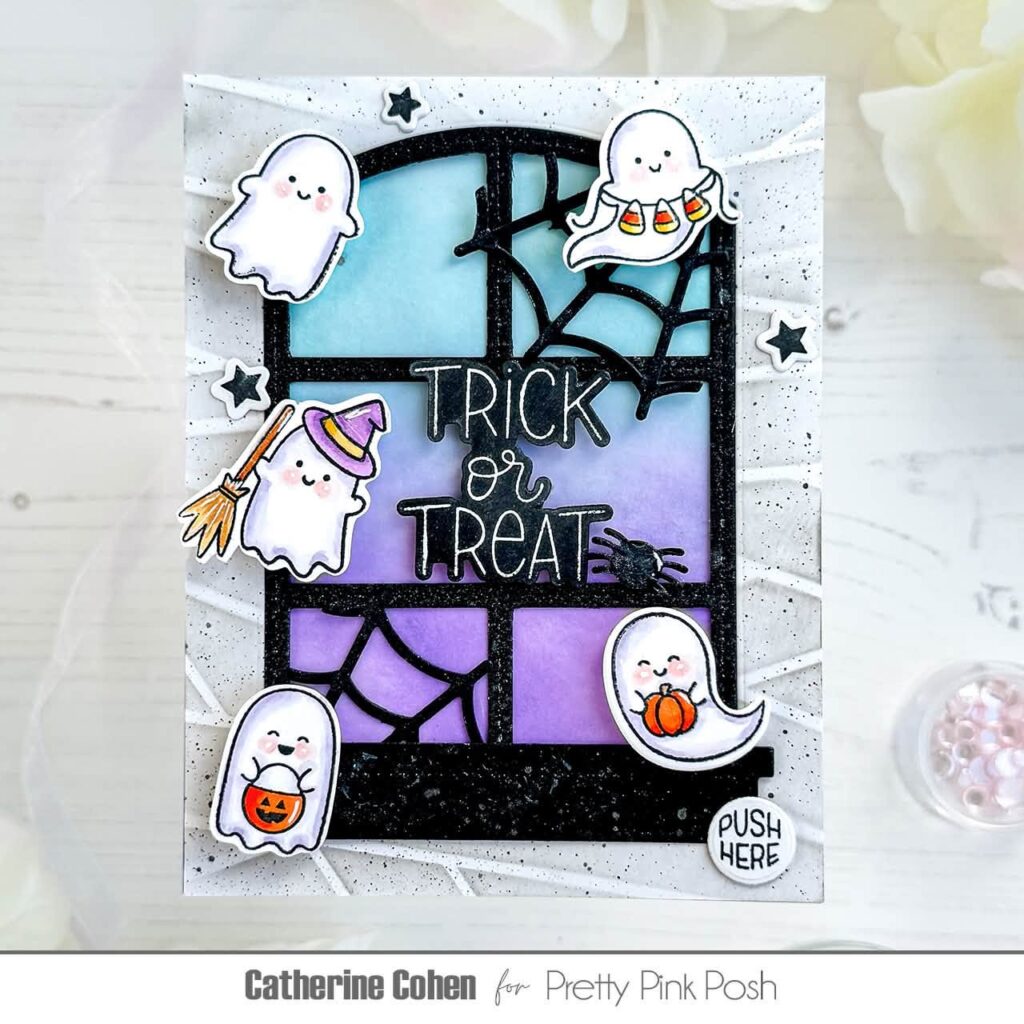
To begin, I created the nighttime sky by ink blending Wilted Violet and Peacock Feathers Distress Oxide Inks onto an A2 panel of white cardstock. For the wall behind the window, I used the Mummy Wrap Stencil with Hickory Smoke Distress Oxide Ink to add subtle texture, then splattered black watercolor over the panel for a spooky, distressed look. Once everything was dry, I die cut the window opening using one of the dies from the Stitched Windows set.
Next, I die cut the window frame from black cardstock and sprayed it with Sheer Shimmer Sparkle Spray for a subtle shimmer before setting it aside to dry.
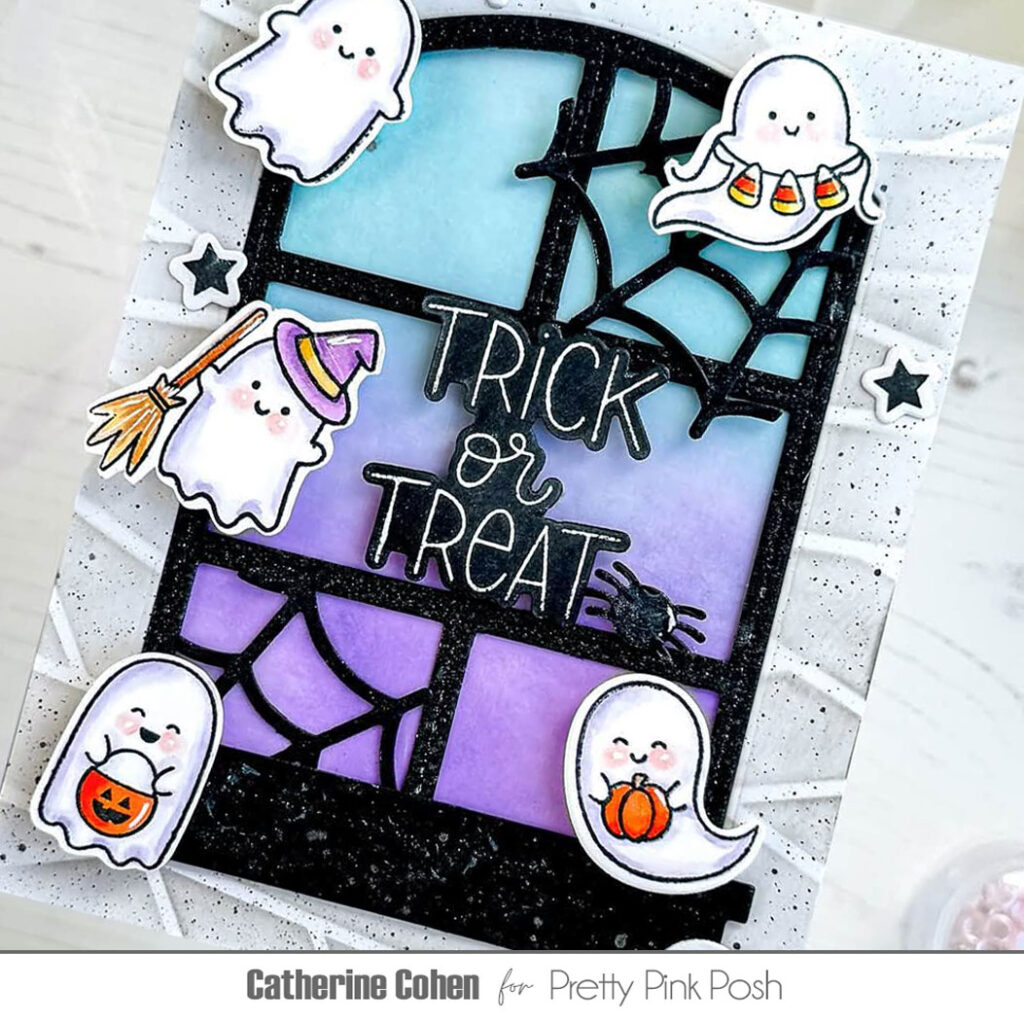
To create the light-up effect, I temporarily placed the window frame over the ink-blended background and lightly marked where I wanted each light to shine using a pencil. With a paper piercer, I poked small holes through those marked areas. I then positioned the completed panel over a second A2 panel of white cardstock and transferred the light placement marks onto the back panel.
Using Pear Blossom Press E-Z Lights, I adhered the battery pack to the lower right corner of the back panel and secured each light over the marked openings with tape, making sure they lined up perfectly behind the window scene.
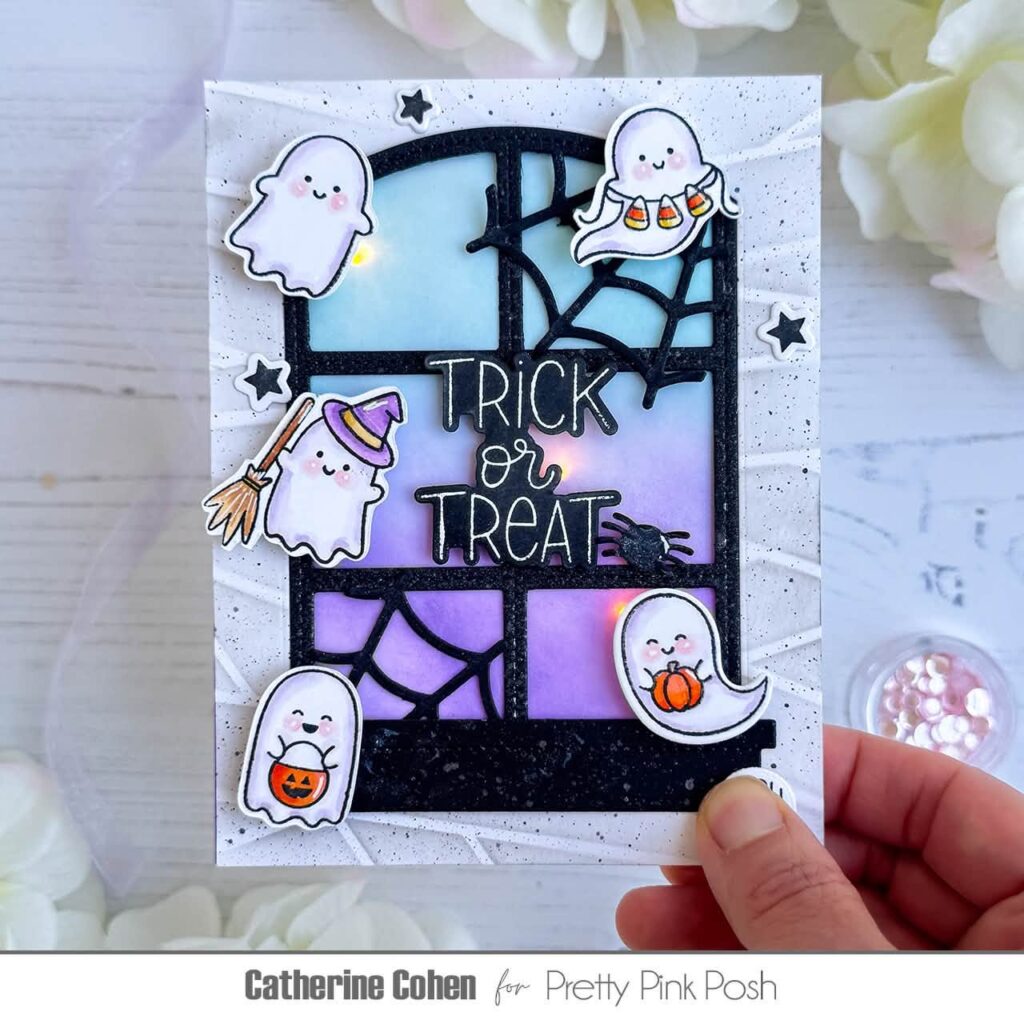
To assemble the card, I added foam tape around all four sides of the light panel to create enough space for the lights and battery pack. I adhered the black window frame to the stenciled panel, added a layer of A2 vellum behind the window to softly diffuse the lights, and then attached the completed window panel to the light-up base.
For the scene, I stamped and die cut the adorable ghosts from the Mini Ghosts stamp set and colored them with Copic markers (colors listed below). I tucked the ghosts behind the window openings, then added a few spider webs and a tiny spider from the Halloween Caramel Apple die set for extra spooky detail.
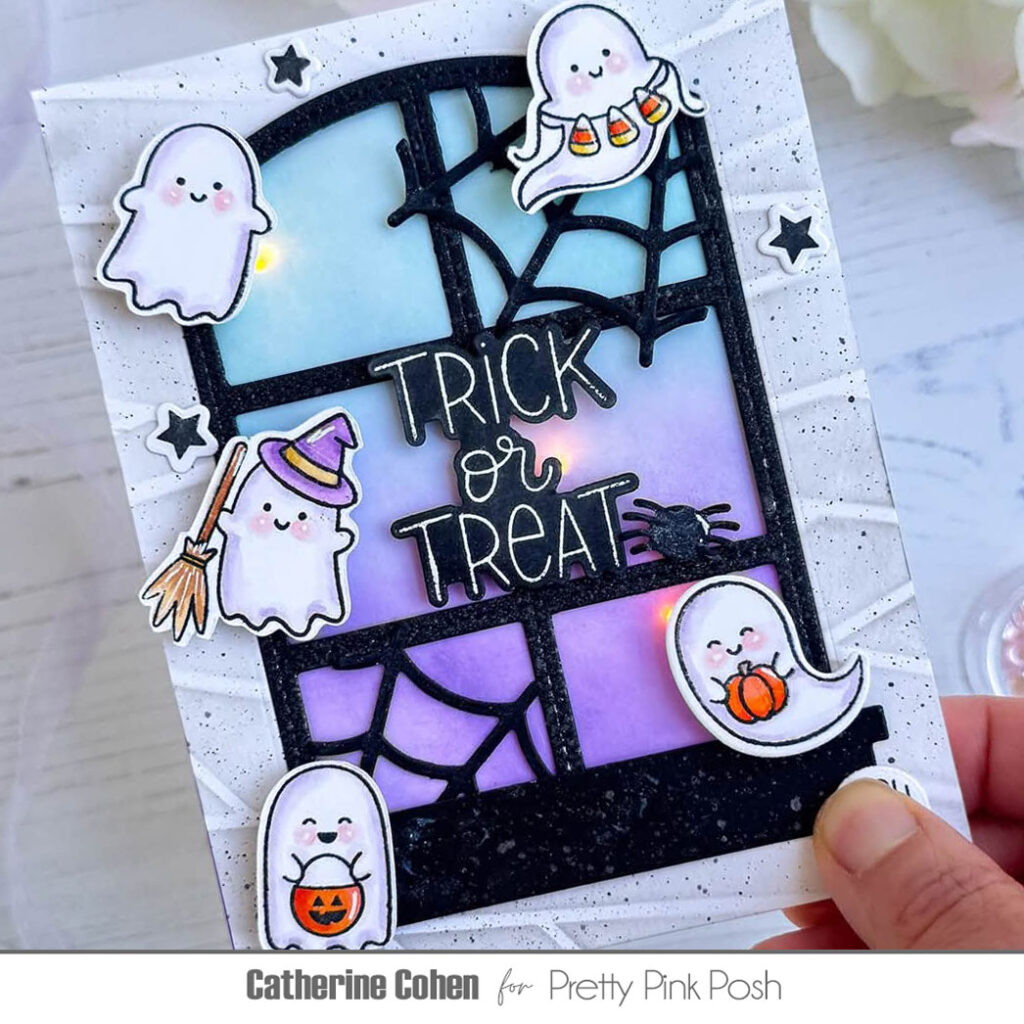
To finish the card, I heat embossed a sentiment from the Boo Greetings stamp set in white on black cardstock and embellished the background with a few stars from the Halloween Silhouettes set. The glowing lights behind the vellum create the perfect eerie Halloween atmosphere and really bring the little ghost scene to life!
Thanks so much for stopping by today! I hope this project inspires you to create your own light-up Halloween cards with the new Pretty Pink Posh release. Happy crafting!
Crafti-Cat does it again! Another fab card! Love the colors used in the background as well as the cute placement of Halloween icons.
Lori S in PA
Adorable card! Extra fun with the addition of the lights! Love the background colors and the adorable ghosts!