
Creating Vinyl Records from Dies!
Hello everyone, it’s June! Today I’m back with a very special project where I completely changed the way I think about the dies I own. I used the Sweet Note dies and turned them into little vinyl sleeves, but still keeping the note card element. Let’s get started!
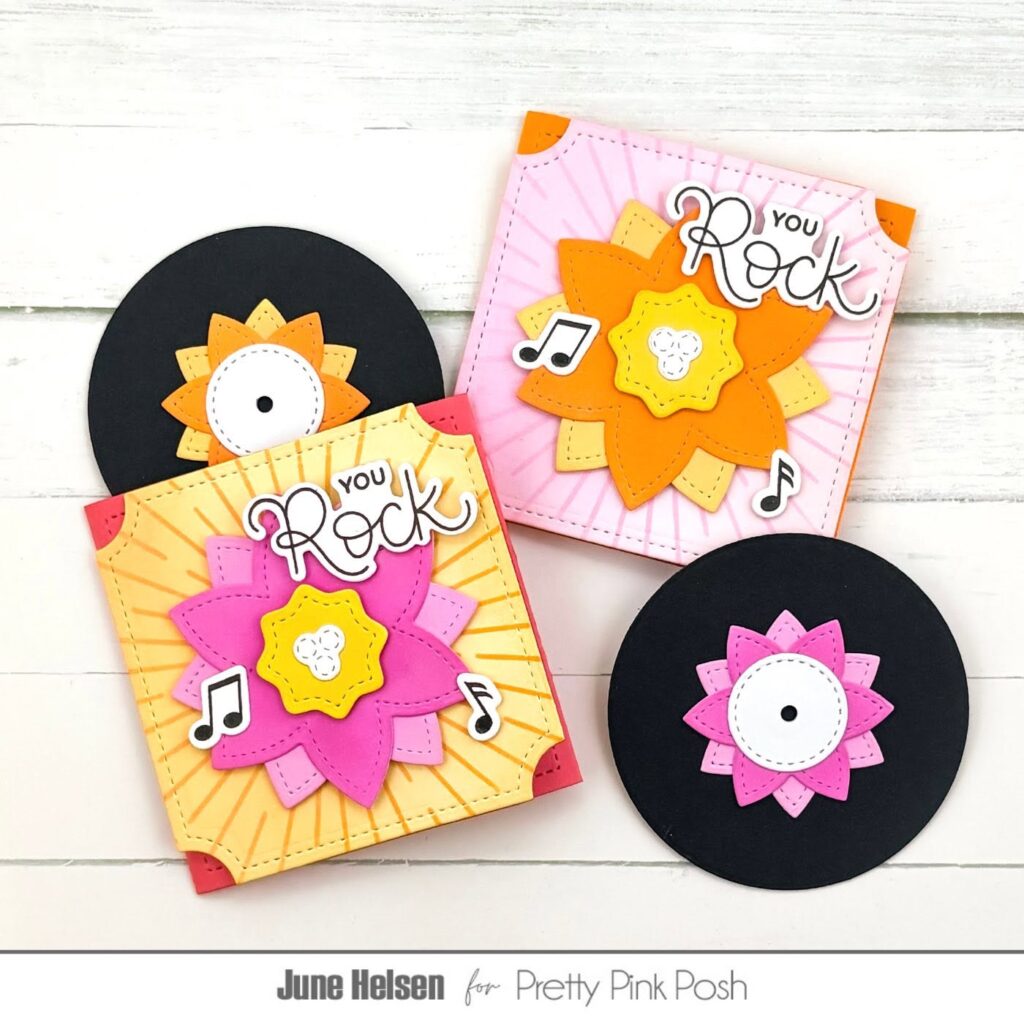
The idea goes like this: the sleeve opens and there’s a removable vinyl inside, revealing a sentiment stating there’s a note somewhere to be found, and when the recipient turns around their vinyl, they’ll see a handwritten note on the back. Like I said, I changed the purpose of my dies completely to make this design, and I challenge you to look at your die collection the same way. You might just come across a fantastic idea for a next project!!
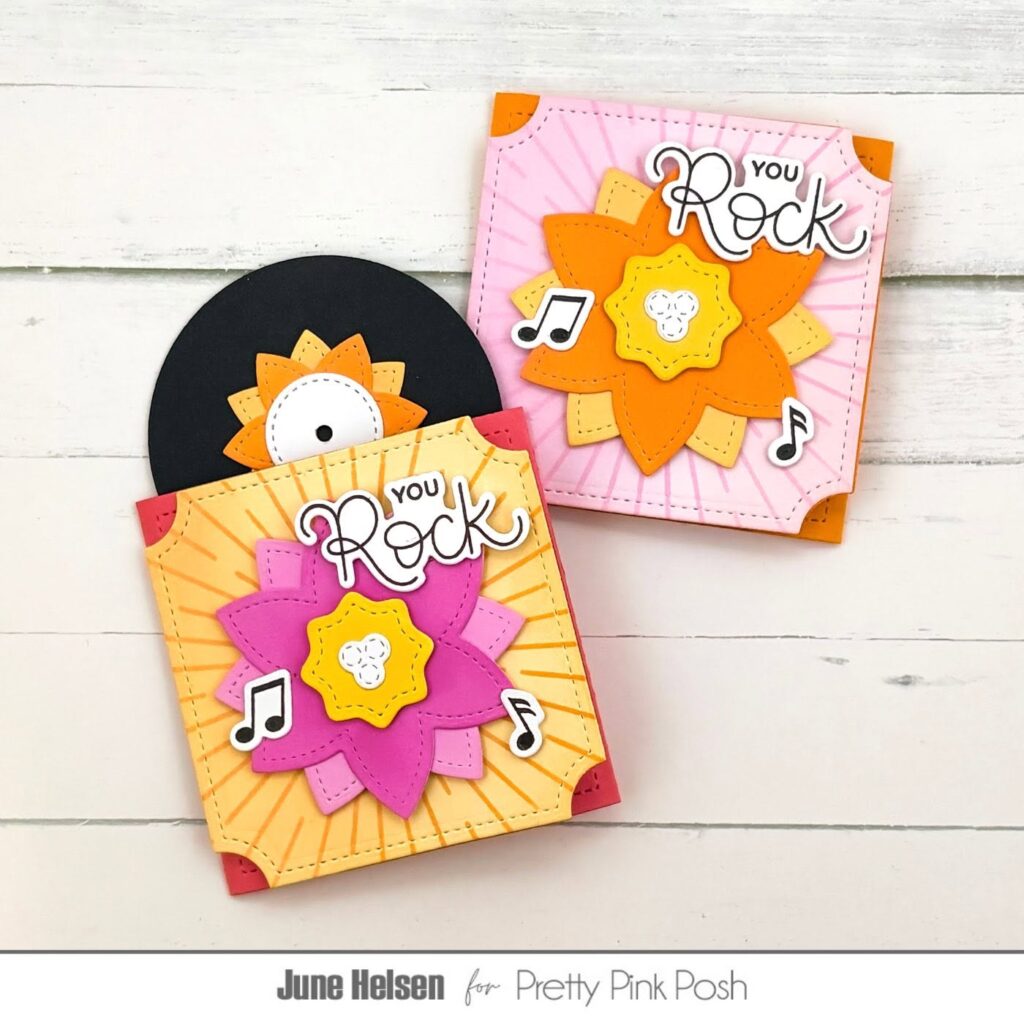
I started by cutting the Sweet Note die from orange and hot pink cardstock. I wanted it to be a matching set that switches around the colors. I wanted a square panel to go in the front of the note, and decided on using the Notched Squares that were the perfect size, but also revealed the base color of my sleeves in the corners, making for a nice detail. I used the Line Bursts stencil to make both an orange and a pink background. A little alteration I made to the Sweet Note die is that I glued the square panel to the front, so I have to tuck away the flap on the inside instead. Just make sure to not glue down the notch that holds the flap! Using the square on the front meant that I had it sticking out a bit, making it visible on the inside, so I covered it using one of the Doily Borders as a decorative trim.
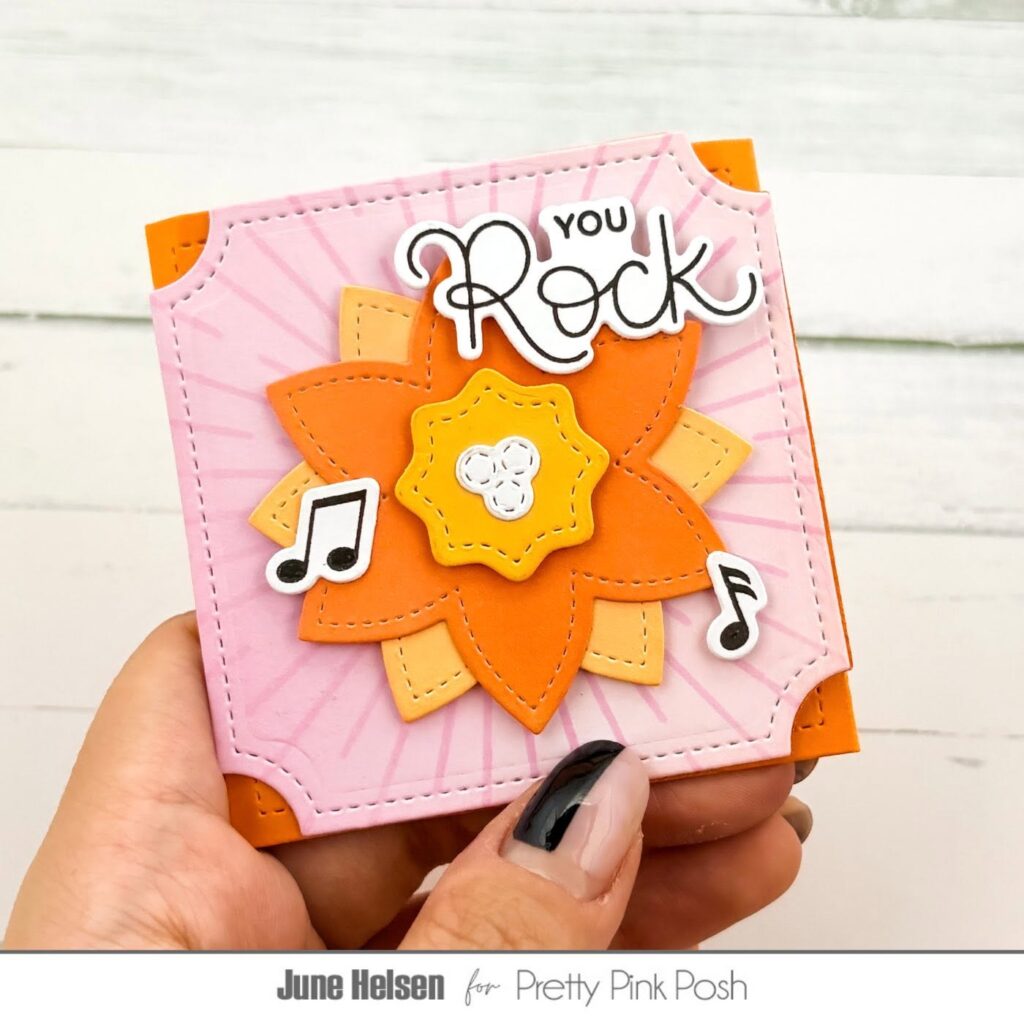
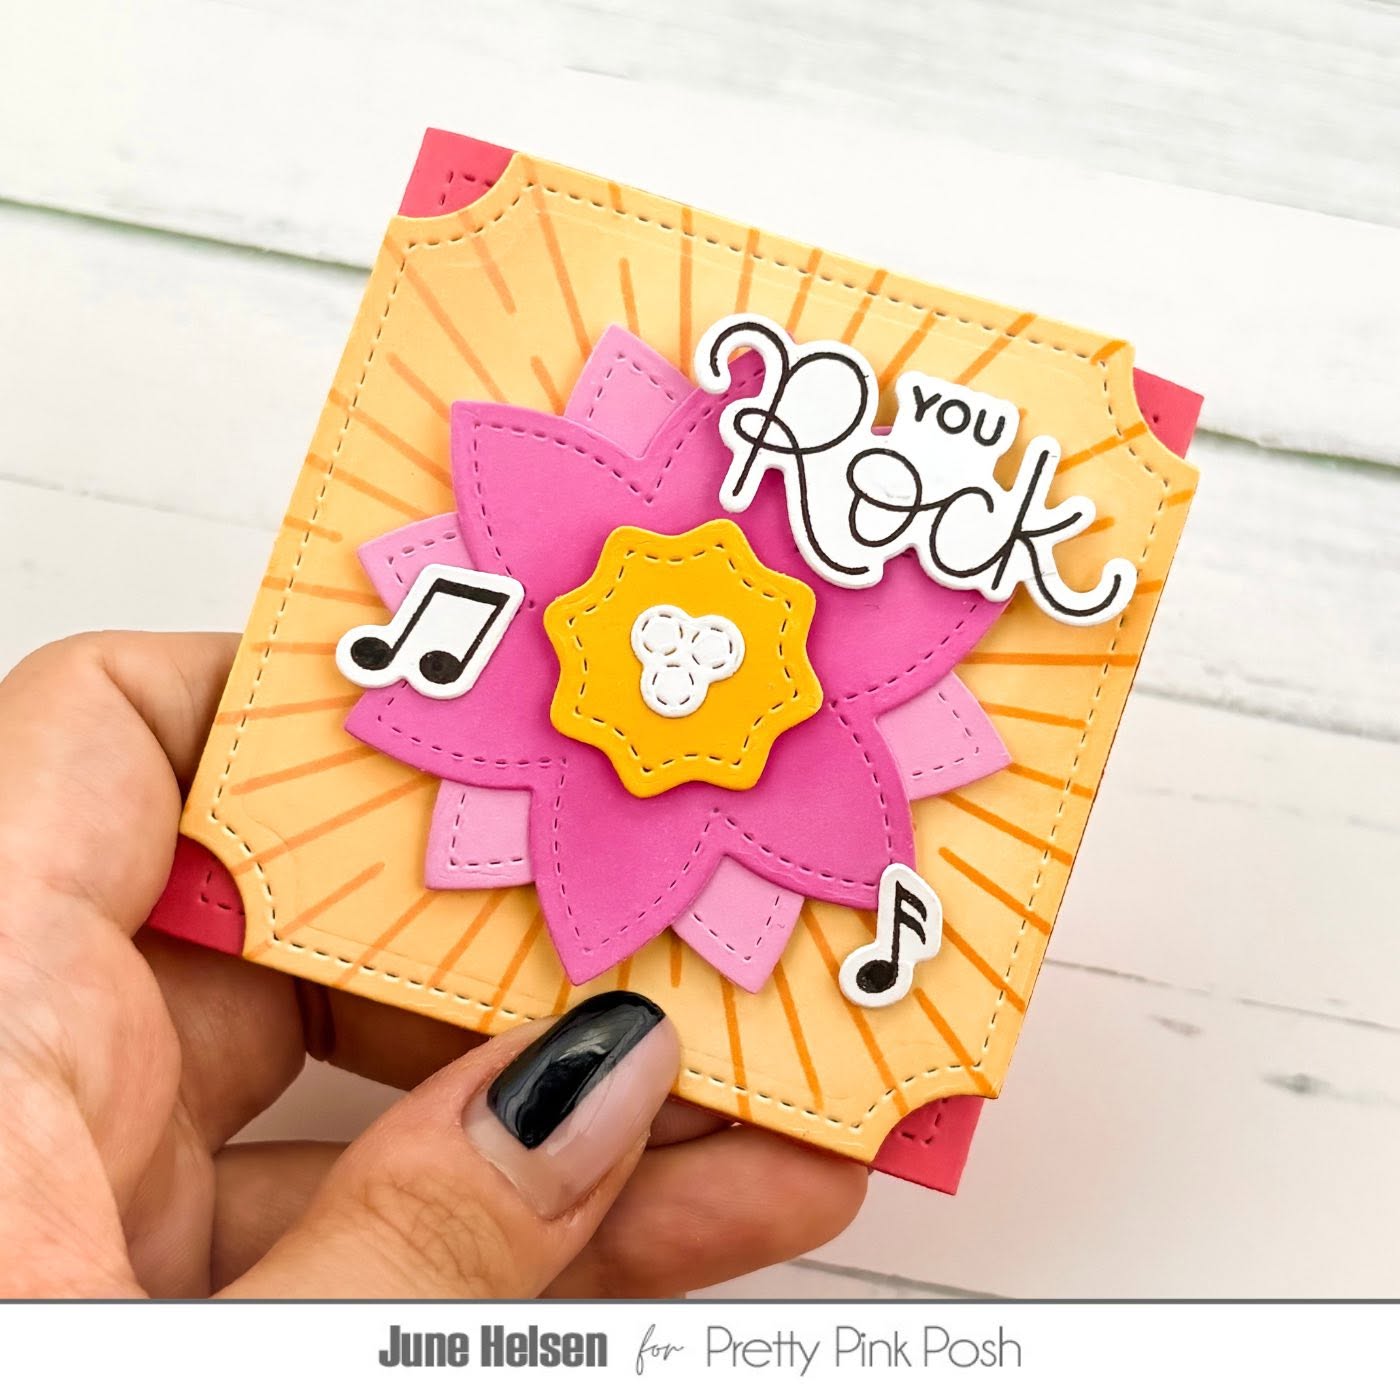
To decorate the front, I used the flower part of the Daffodil Shaker twice, once in a bright and once in a pastel shade, and added the centers. Of course I had to use the Just a Note stamp set throughout my project, both for the music AND the note theme. It’s a perfect match!
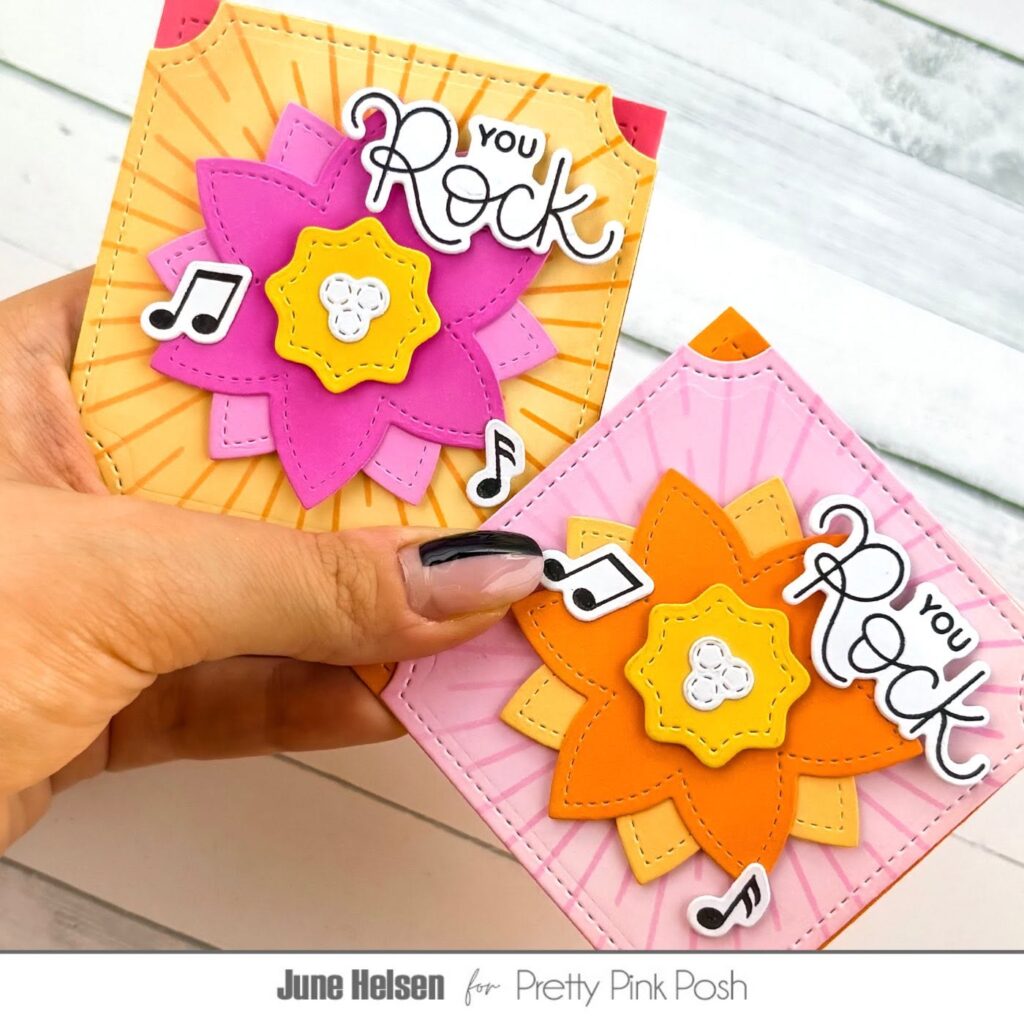
Now for the vinyl, the negative space from the Holiday Wreath Builder makes a perfectly sized vinyl. I used the wheels from the Big Dump Truck for the inside ring, but also cut some of the smaller daffodils from the Spring Floral die set and used them in the same way as the ones on the front. I used a small sized hole punch as I was layering these pieces, but didn’t punch through the base of the vinyl so I could have a solid note card. On the back, I glued down one of the Eyelet Circles so I could have a blank space to write on.
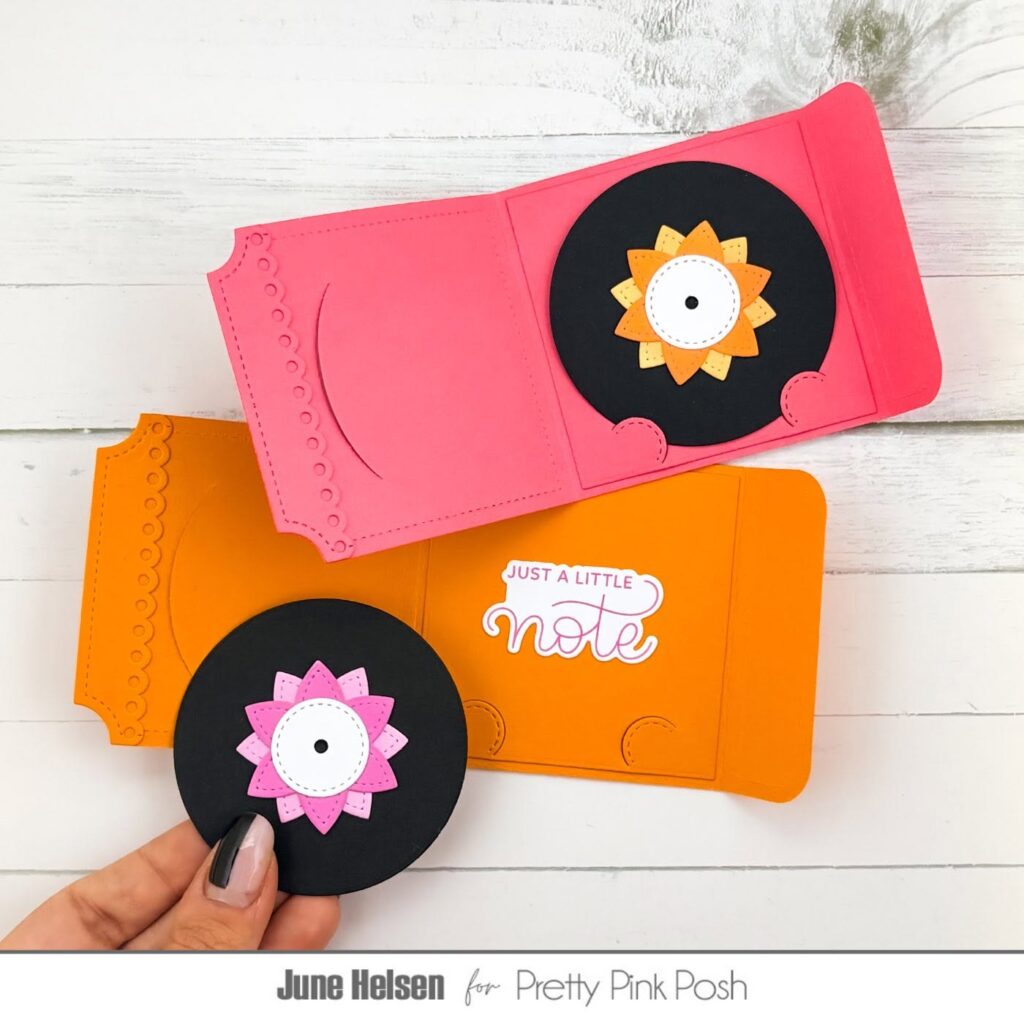
Now for the fun part: the interactive element! I cut an extra square panel to go on the inside of the sleeve and used the gift card notches from the Interactive Cake die set to hold the vinyl in place. But how did I do that? Well, I just positioned 2 of the notches on the bottom of the square and partially die cut it. The spacing works perfectly to hold the vinyl in place! I added the ‘just a little note’ sentiment from Just a Note in the middle, keeping it hidden until the vinyl gets taken out.
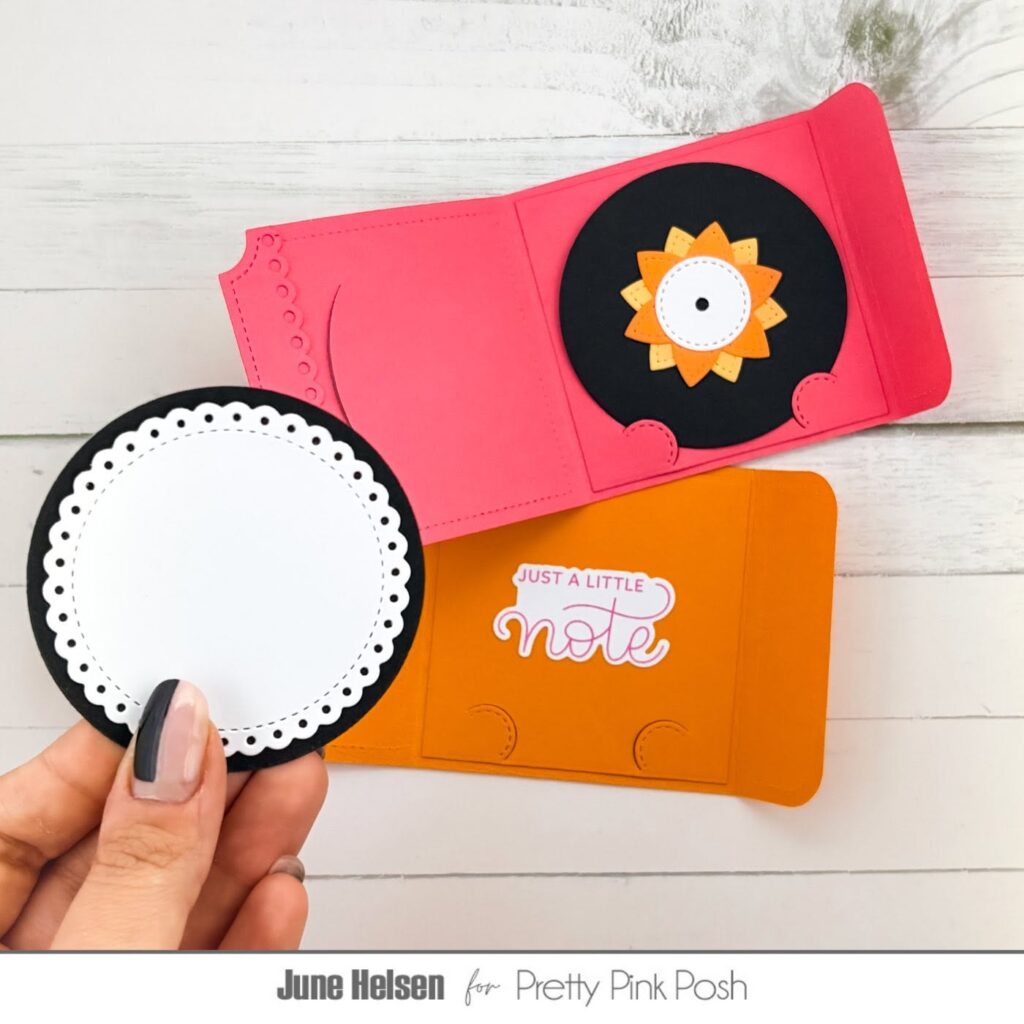
And that’s the full project! My brain doesn’t always allow it, but when I feel creative enough I love thinking out of the box like this. Not only does it stretch your current die collection, but it also might justify the purchase of a die set you really really want, knowing you can get more use out of it if you use the parts in another way than intended. And as crafters, we do love a good way to justify purchases, right?
I hope this post inspired you in some way, and I hope to see you again soon. Bye!
June always knows how to think outside the box!!