
Welcome Little One
Hello crafty friends, Marine here, I’m so happy to be back with this lovely baby themed card I’ve made to celebrate the birth of the sweet Kaia. The idea here was to create a half paneling wall with a wooden board on top to put baby items and decorations on, and maybe have enough space for a cute stuffed teddy bear to sneak a peek and keep a close eye on Kaia while she sleeps. And I’m usually a fan of bright and bold colors, but here I went for a soft and lovely color palette using papers from the Our Baby Girl 6×6 paper pack by Echo Park.
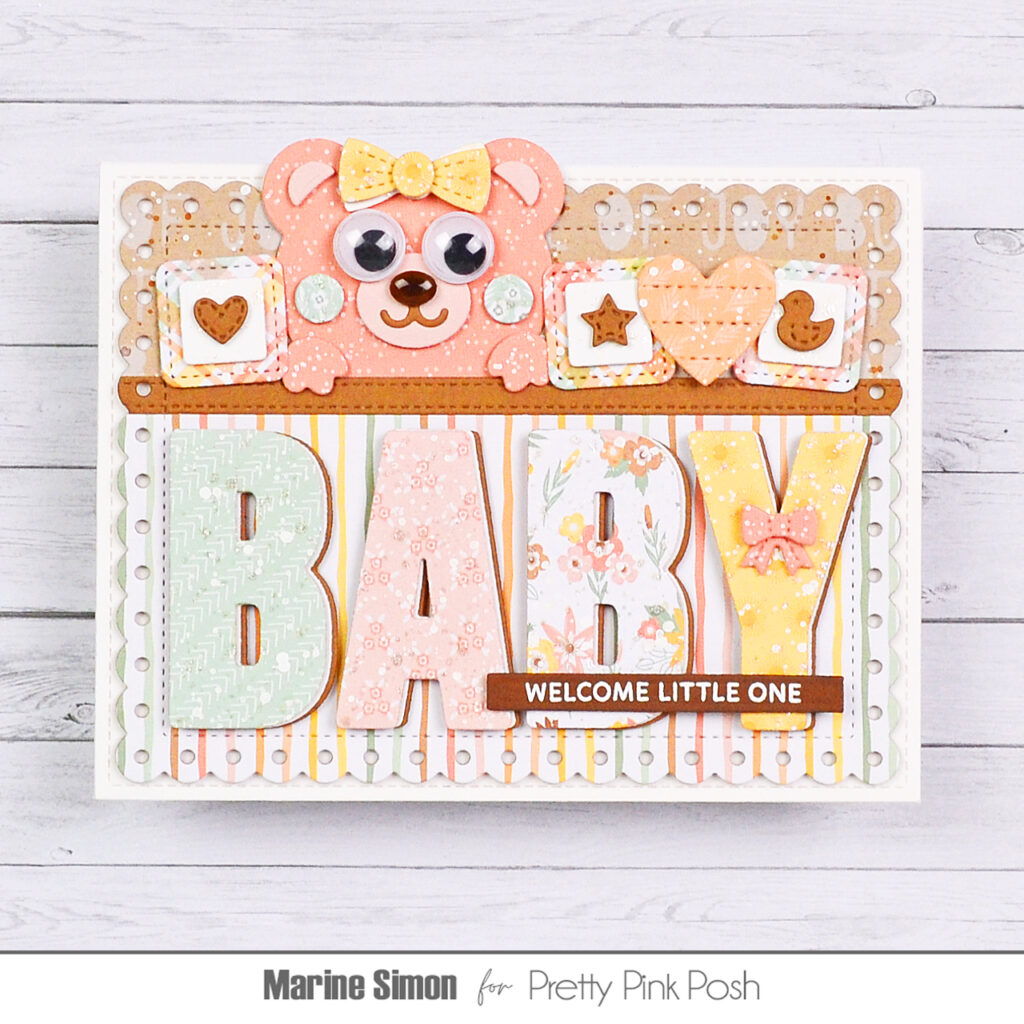
I started off by cutting the letters to make the word “baby” using the matching dies from the Baby stamp set. I cut those letters three times: out of pattern papers, out of white cardstock and out of dark kraft cardstock. I set the white and dark kraft letters aside, mixed copic opaque white ink with water, added white splatters to the pattern paper letters, and then did the same with liquid stardust for sparkles. When my four pattern paper letters were dry, I attached the white letters to the kraft letters using liquid glue, shifting them a little bit to get a brown border on the edges of the white letters. Next I attached the pattern paper letters to the white letters using 1mm foam, and again, shifting the letters a bit to get a white border on the edges of the pattern paper letters.
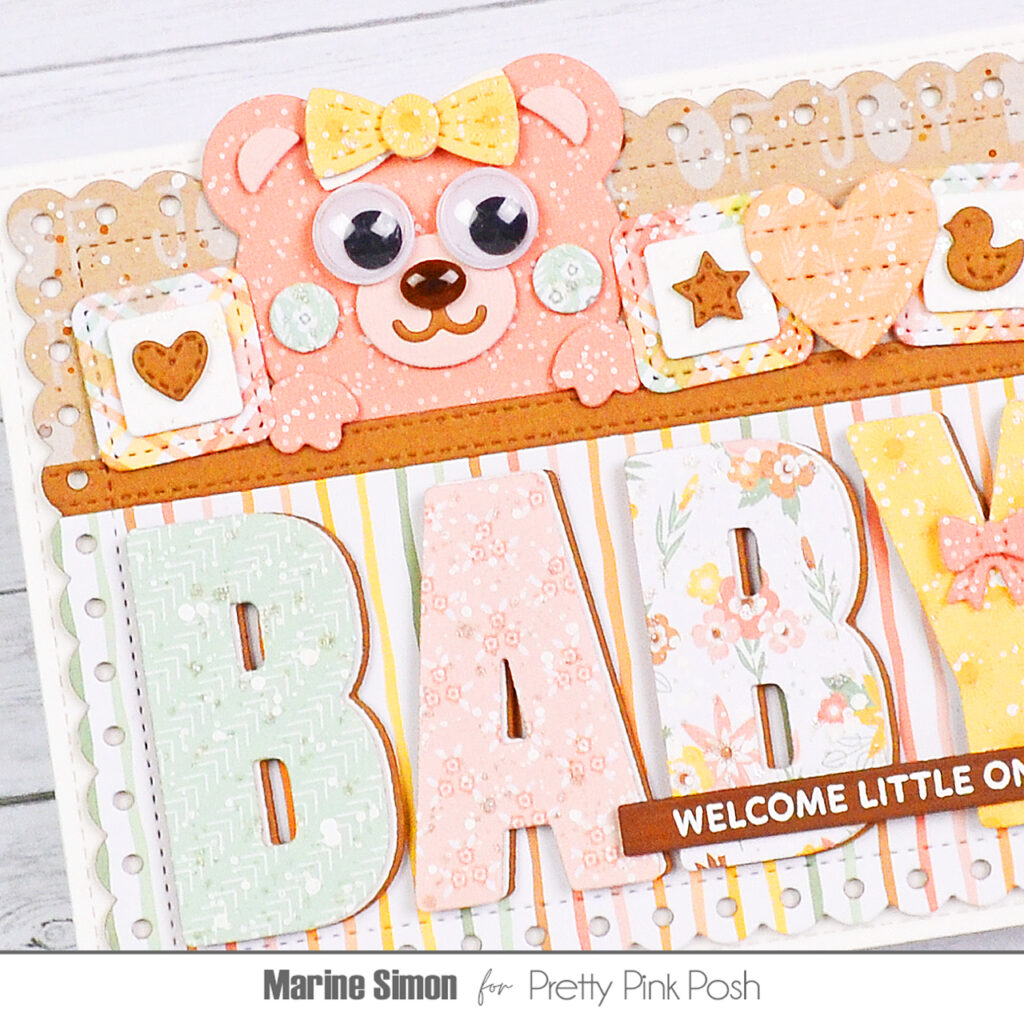
Next I cut the baby decorations and teddy bear pieces using the same paper pack from Echo Park for some items and white cardstock for others. I added white splatters to the bear’s head and paws, to the stitched heart, bow and cubes as well, and added liquid stardust splatters to the white squares on the cubes, to the bear’s cheeks and to the yellow bow. Here is a short detailed list of the die sets I used: • Bear Holder – bear’s head, snout, nose and ears, stitched heart • Easter Mug Additions – bear’s paws, cheeks and bow • Baby Mug Additions – small bow, cubes, small heart, star and duck.
I assembled all those pieces to create the cutest teddy bear and baby items, gave the bear a pair of googly eyes, and then moved on to the background. I cut three large Eyelet Rectangle panels: out of light kraft cardstock, out of dark kraft cardstock and out of a stripe pattern paper. I placed the “baby” letters on the stripe panel to see how tall it needed to be and then trimmed that panel. Next I used the second smallest Stitched Strips die to cut a slim strip out of the dark kraft panel. And then I used the Baby Words stencil along with white pigment ink to add more interest to the upper section on the light kraft panel. I mixed copic opaque white ink with water, added white splatters to the panel and then did the same with vintage photo distress ink for a bit of contrast and to match with the brown items on the card.
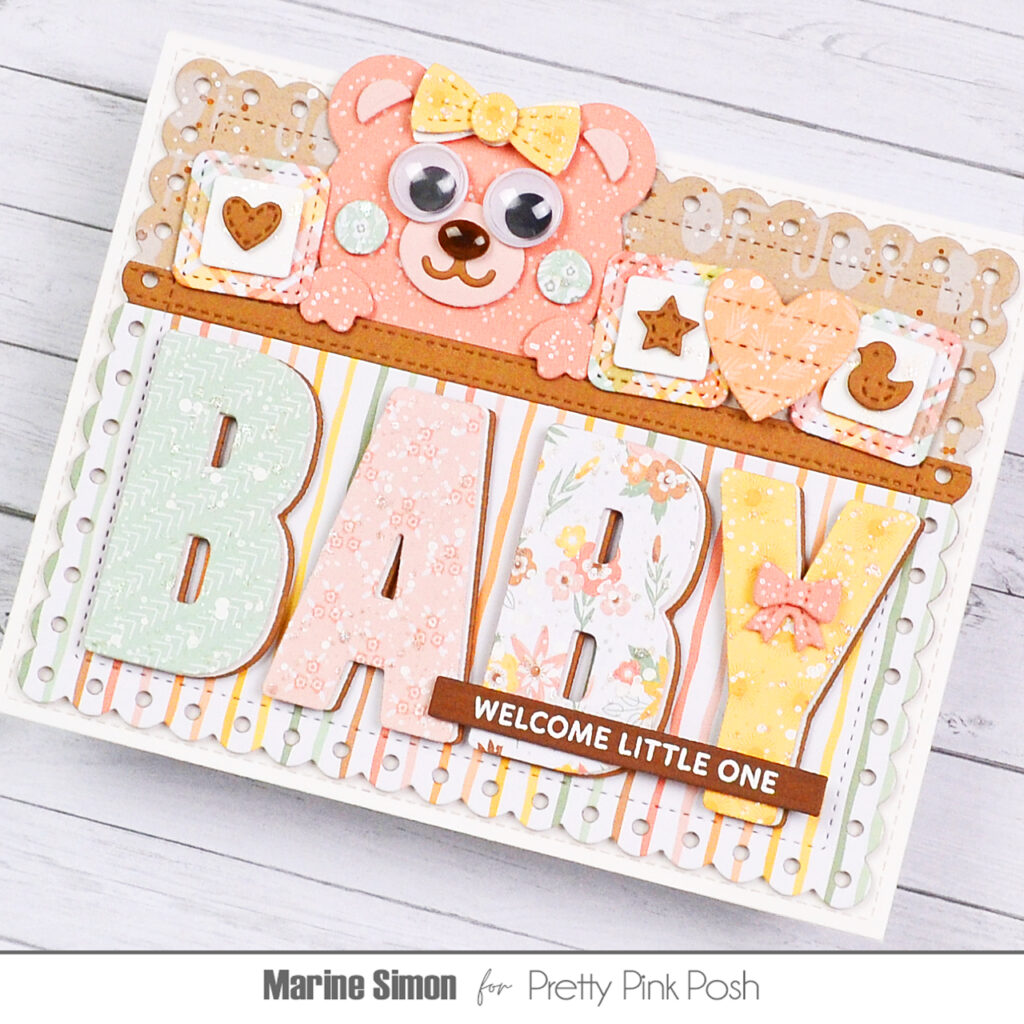
Next I attached everything, starting with the vertical stripe panel and the slim dark kraft strip above it using liquid glue. On the wooden board I first put the teddy bear, her paws and the cubes using 1mm foam squares and then the stitched heart using 2mm foam squares. I stuck my “baby” letters below the board using 1mm foam squares again, and then worked on my greeting. I white heat embossed “Welcome little one” from the Sentiment Strips: Occasions stamp set on dark brown cardstock, cut it into a slim banner using a Sentiment Strips die, and then attached that banner to my card using foam squares. Finally I attached my Eyelet Rectangle panel to a 5,5 x 4,25 inches white panel and then to a matching card base, I stuck the small bow to the “Y” for more cuteness, and applied glossy accents to the bear’s nose for one more touch of shine.
And that’s it! I hope that this baby themed card has inspired you. Again, welcome to the world sweet and lovely Kaia!
Beautiful card with all the pieces you used! Like the colors and how you put the bear popping out.