
Happy Halloween!
Happy Halloween! It is Zsofi here today with an easy, almost one layer Halloween card using layering stencils. I am a huge fan of these, because they are very versatile and open doors for many techniques. Let me guide you through the process of how I made this card.
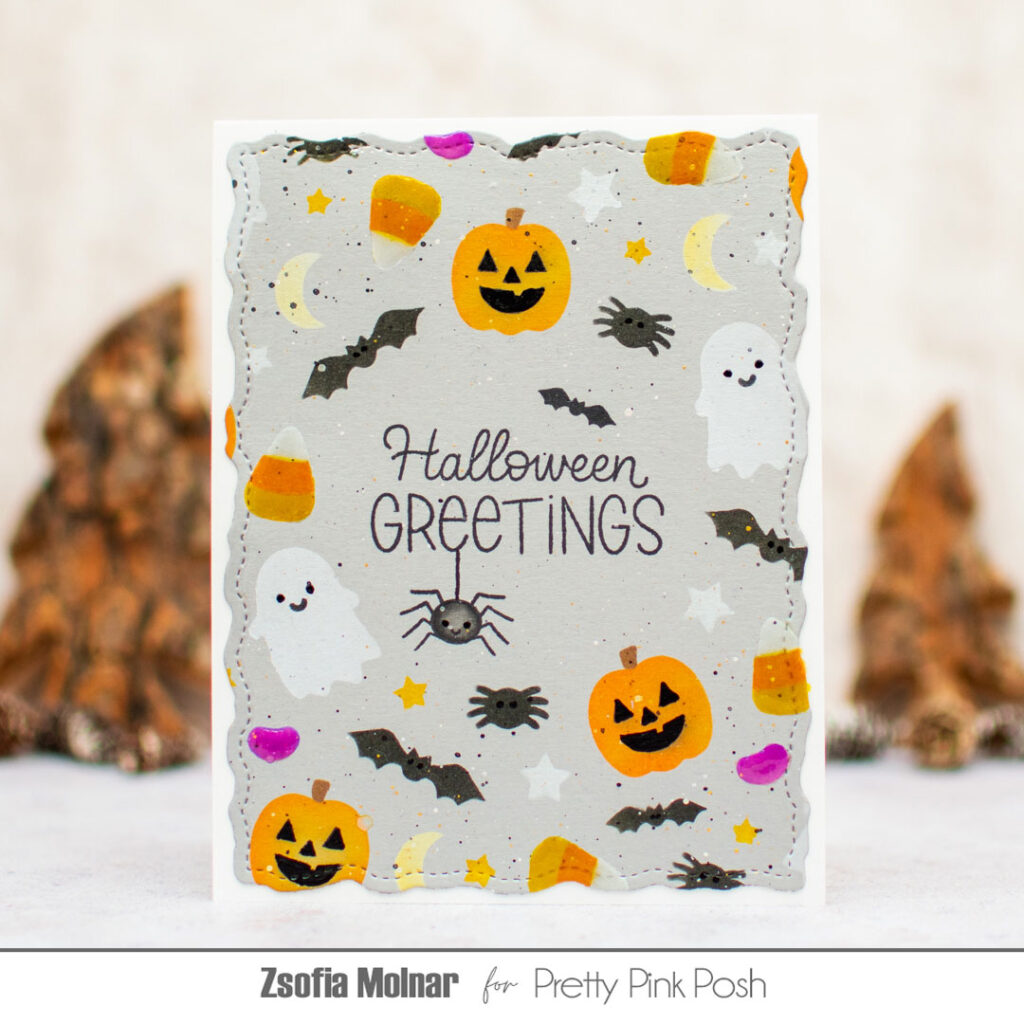
First I chose a piece of light grey cardstock and a sticky mat. It helps tremendously with keeping stencils in place. I placed the first layer of the Layered Halloween Wreath stencil over it and used a couple of Distress Oxides and white pigment ink with a small blending brush to add colour. After removing the stencil, I heat set the ink with a heat gun, then I repeated the process with the next two layers. The small brush allows you to add different colours to each critter, it makes these stencils even more versatile!
When it was all done, I used the largest Stitched Torn Rectangle die to cut the panel down. All I needed was a sentiment in the middle of the wreath: the Halloween Greetings with their handwritten style were a perfect choice. To make it more playful I added a small spider and a bat from the stamp set, and quickly coloured them with my Copic markers.
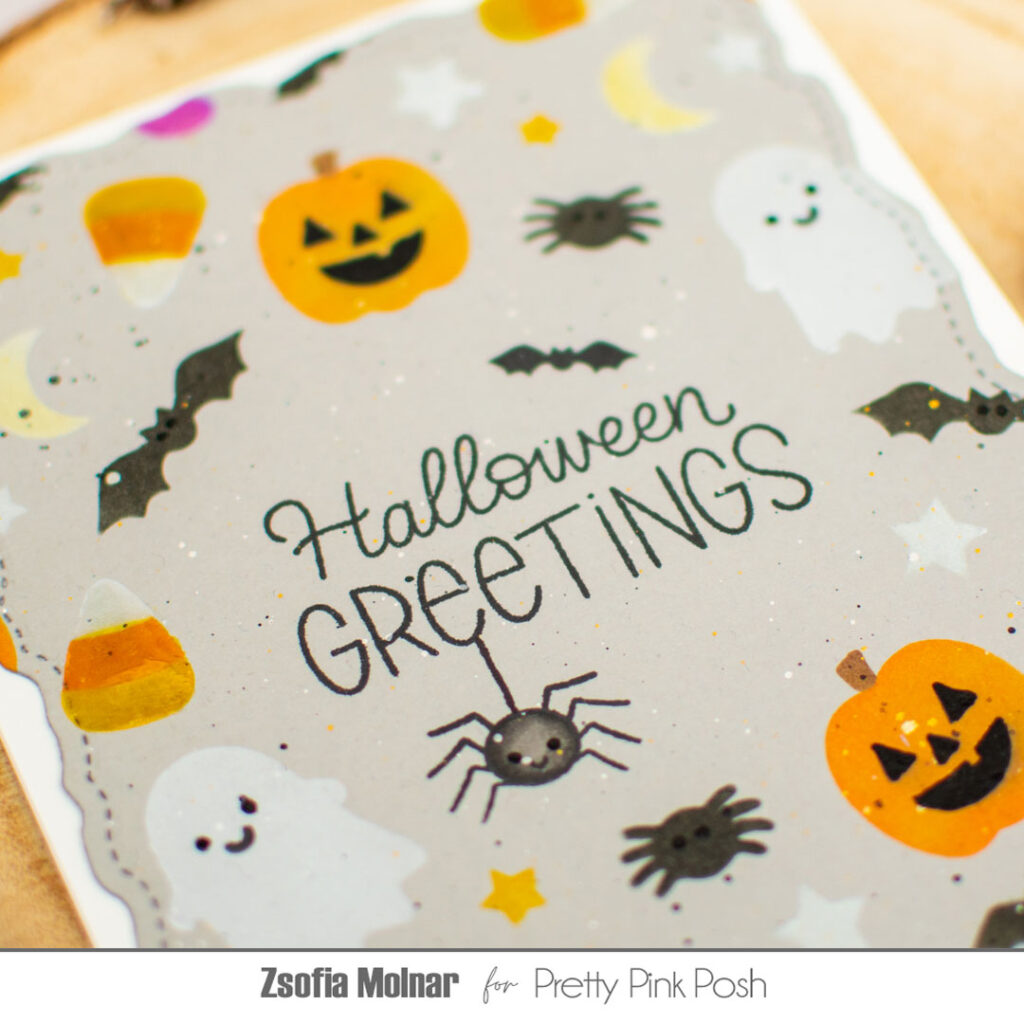
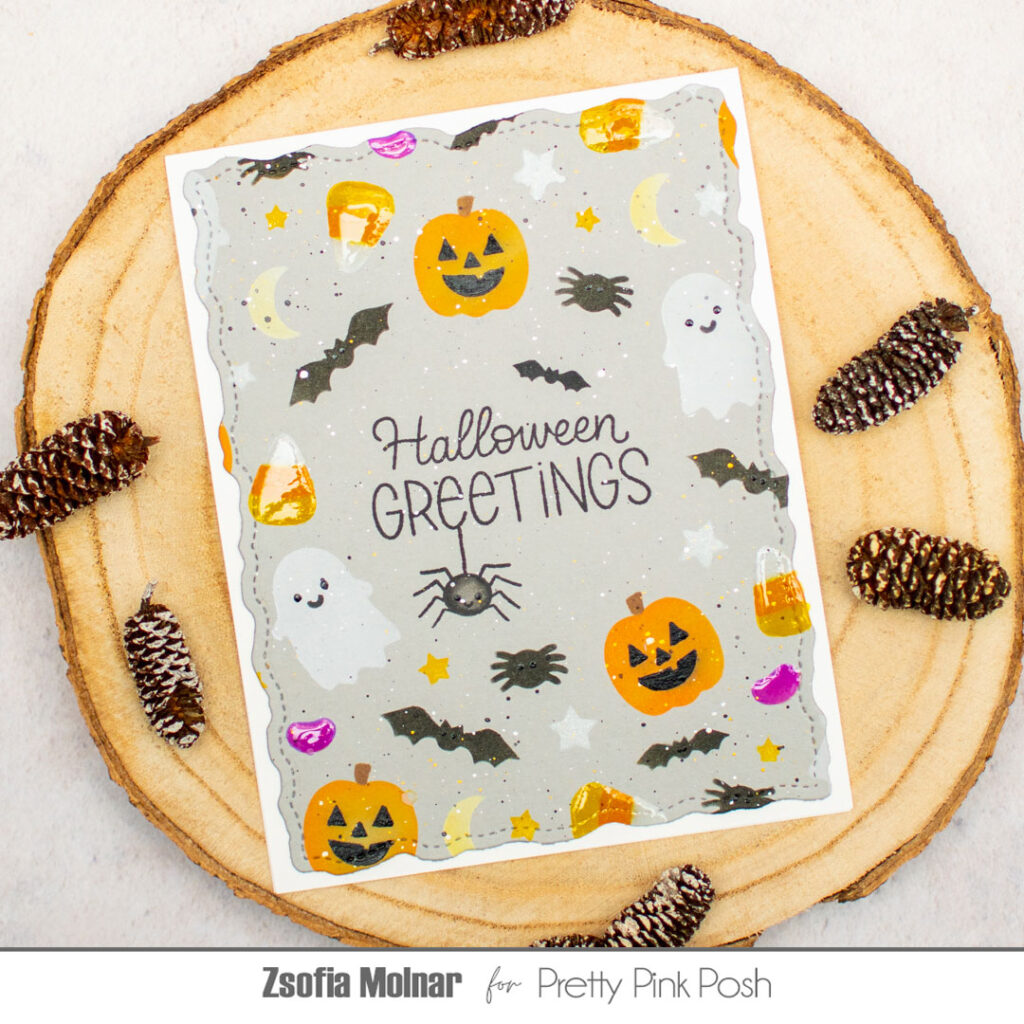
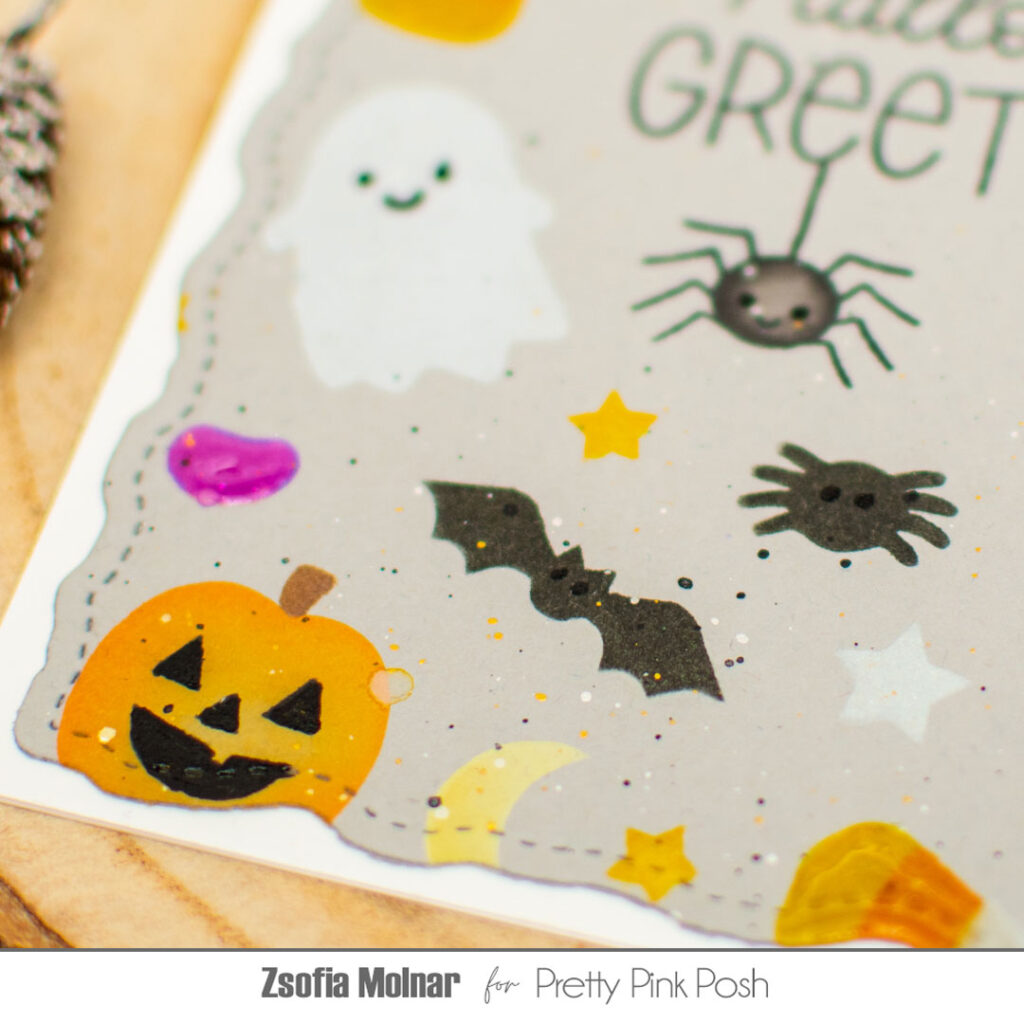
It was time for the finishing touches: I added white, gold and metallic black watercolour splatters all over the panel. Then I used a clear simmer pen on the candy corns and jelly beans and covered them with a thin layer of glossy accents. And lastly, I used a black glaze pen on the jack-o-lanterns and added eyes to all spiders and bats to make the design even cuter.
I love that with these little tricks, we can elevate our simplest card designs too!
I hope you liked this card idea and got inspired using your layering stencils with an extra twist. I cannot wait to see your beautiful creations, make sure to share them in our Facebook group! Have fun tonight and don’t forget, no tricks, just treats!
CUTE card!!!