
Halloween Theme Week: Day 1
**All items in the Halloween section are 15% off during theme week**
Hello, friends! Brenda back with you on the Pretty Pink Posh blog today! I absolutely love the PPP fringe die collection!! Such a simple but effective way to add unique detail and dimension to a handmade card! My card today features the Fringe Pumpkin Die Set!
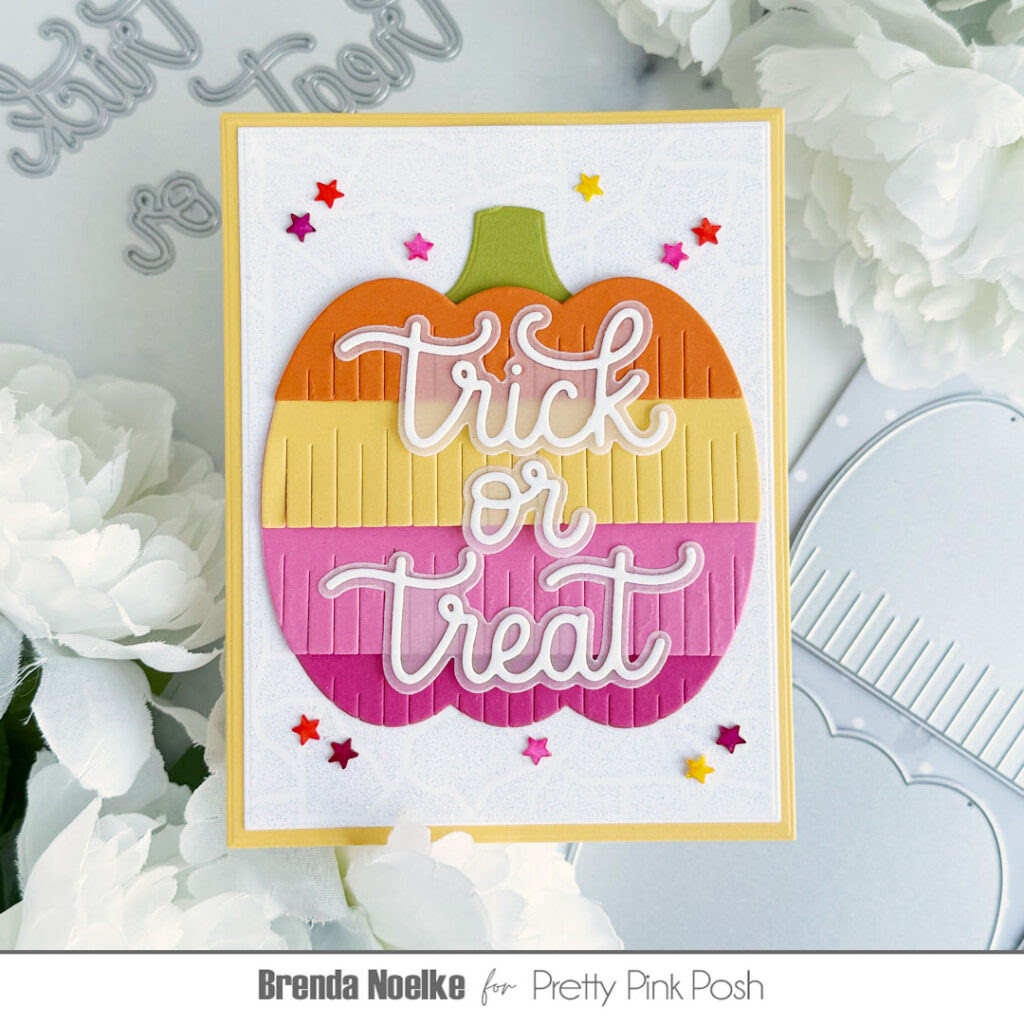
I began by die-cutting the Fringe Pumpkin Die Set from green, orange, yellow, pink and dark pink cardstock. I used liquid glue to adhere the layers together, adding glue only to the top of each die-cut layer to allow movement in the fringe.
For the background, I spread iridescent glitter paste through the Crackle Background Stencil with a palette knife. Once it was completely dry, it was die-cut with a rectangle die and adhered to an A2 panel of yellow cardstock. The pumpkin was adhered to the center of the background with liquid glue.
The top layer of the Trick or Treat Shadow Dies was die-cut from white cardstock and the shadow layer from vellum. They were layered and adhered together with liquid glue, then added to the pumpkin, adding adhesive only to the top half of each word. This allows the layers of fringe to still “pop up” on the card. I chose white stars from the Halloween Friends Clay Confetti Mix and colored them with Copic markers in colors that matched the fringe cardstock layers on the pumpkin, then adhered them onto the background with liquid glue.
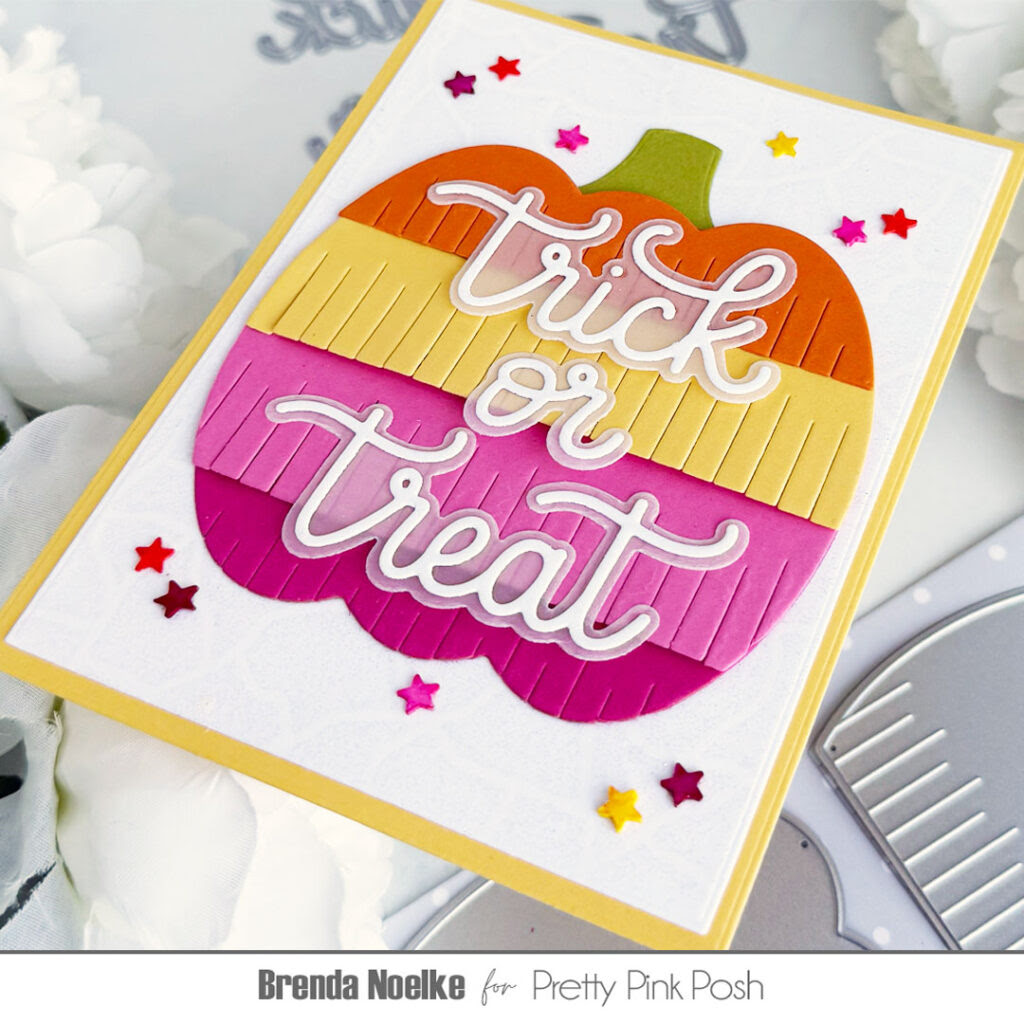
I love how this turned out…especially the non-traditional color combination for Halloween!!
Thank you so much for stopping by today! I appreciate your time!