
Spring Floral Bucket
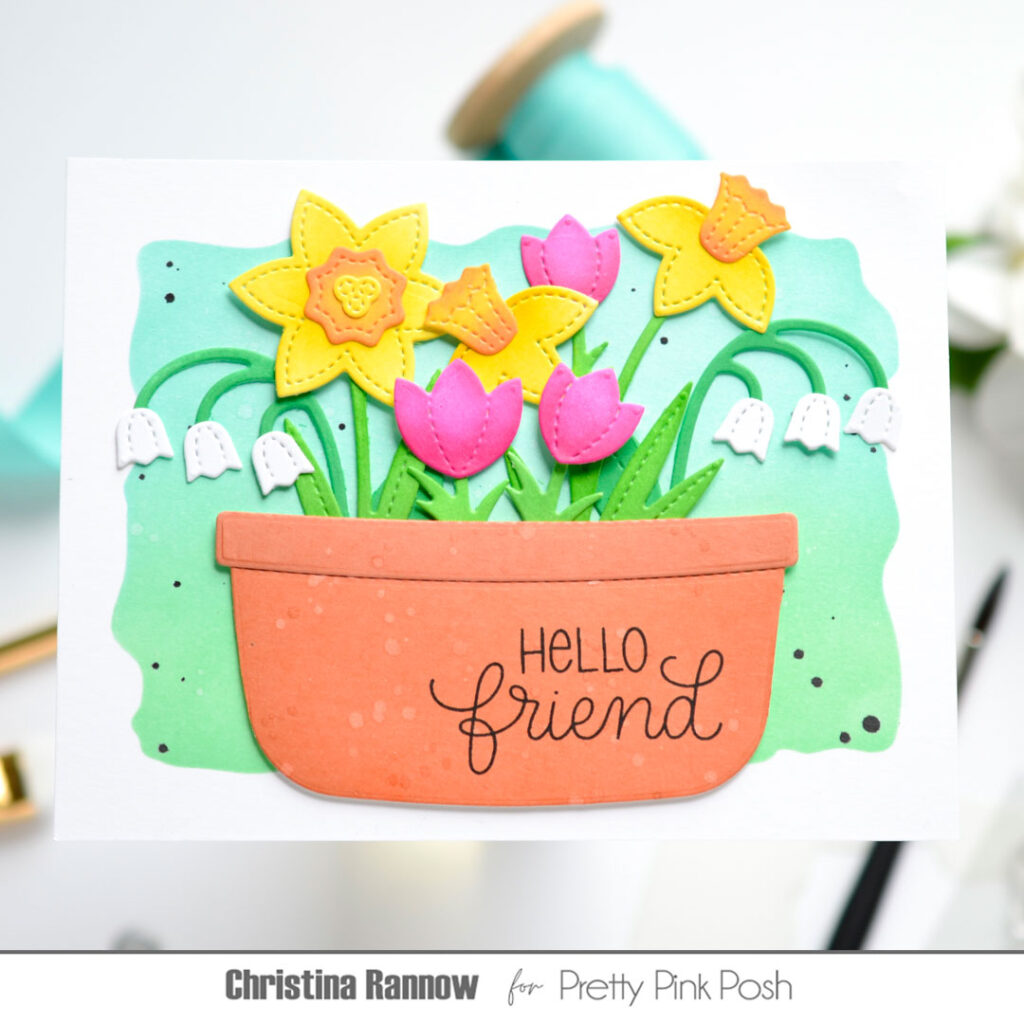
Hello! Christina here, and today I’m sharing a beautiful floral card design featuring the new Spring Florals set from the May release. I pulled in a couple of previously released goodies to complete my design, like the Candy Bucket that I did some creative die cutting with to make a clay pot. And because lately I’ve been loving the look of inked die cuts, that’s what I did for this floral card. Keep reading to find a supply list and all the details about how I used the supplies to make this floral card. Let’s get started!
Spring Floral Dies
Friend Greetings Stamp Set
Candy Bucket Dies
Watercolor Rectangle Stencil
I started by creating the stenciled background panel. I used the Watercolor Rectangle stencil and blended Spring and Tidepool Pawsitively Saturated Inks for a soft and dreamy backdrop. I left the stencil in place and then first splattered some water across the panel before also lightly splattering Spellbinders Onyx Silk.
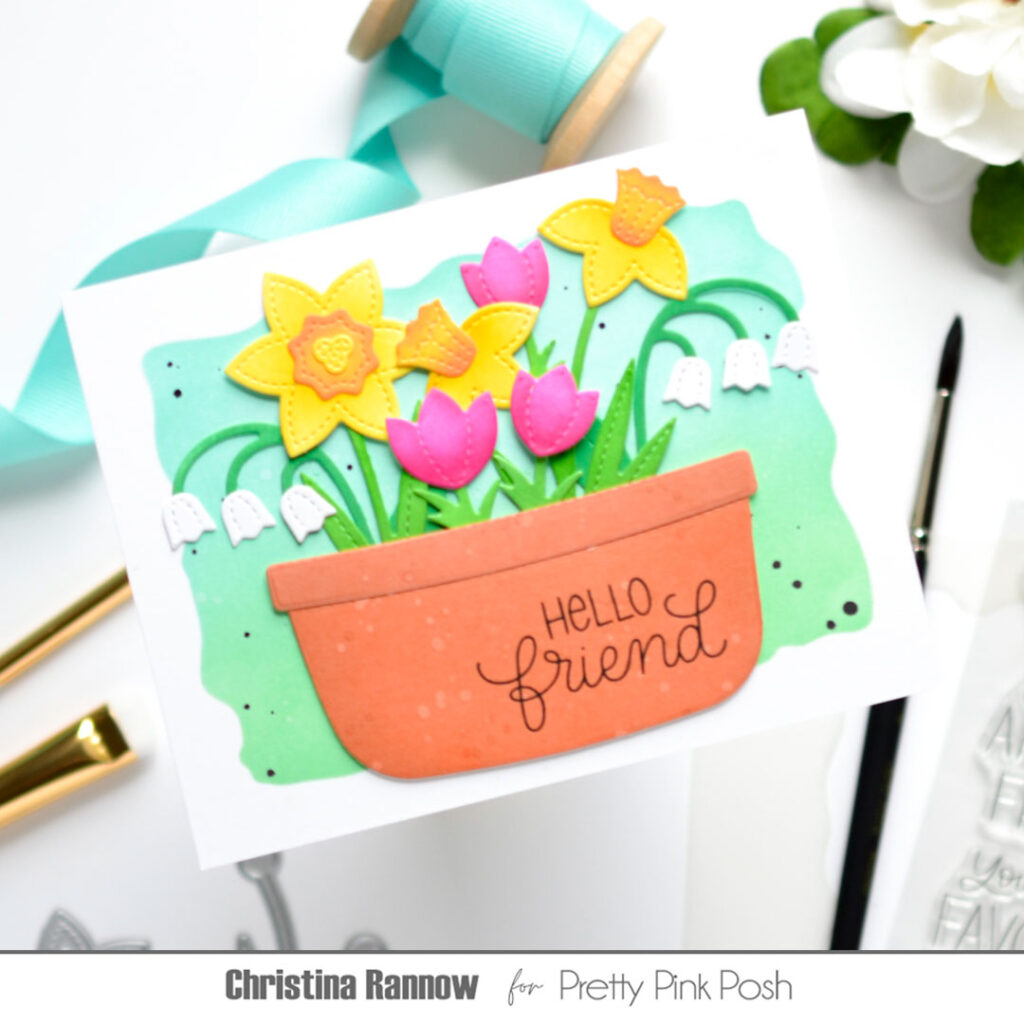
With the background panel finished, I got to work die cutting all the elements for my card from white cardstock. First I die cut the candy bucket and then shifted the die up a little on the die cut, keeping the sides aligned, and then die cut it again. This shortened the bucket, making it look more like a pot, and because the orientation of the card is landscape, it also gave me more room to tuck in flowers. Then I moved on to die cutting all of the flowers and greenery.
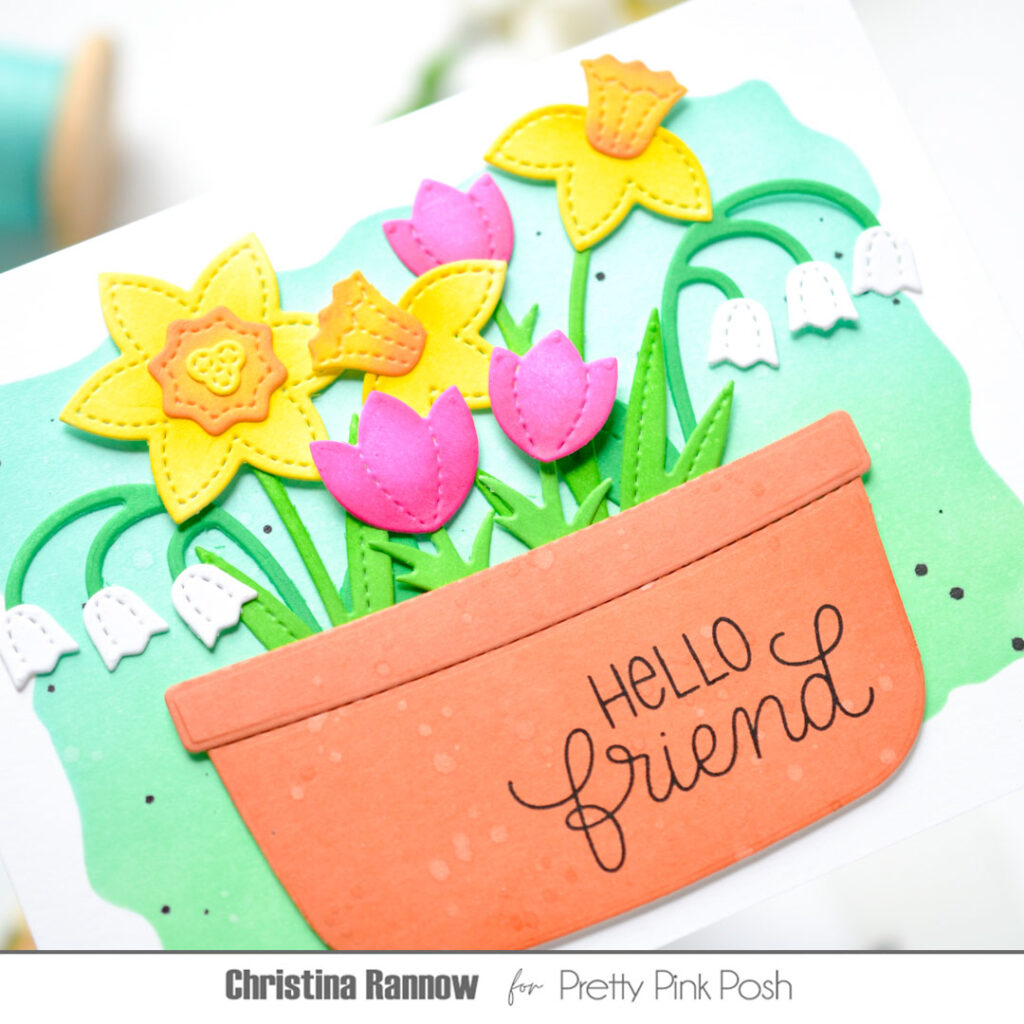
With the die cutting finished, my next step was to ink the die cuts using more Pawsitively Saturated Inks. For the pot, I used Clay and Nutmeg and then splattered it with water for some texture. I used Zest, Honey, and Sherbet for the daffodils and Peony and Rose for the tulips. I decided to leave the lily of the valley white, and for the greenery, I used Lucky and Fairway.
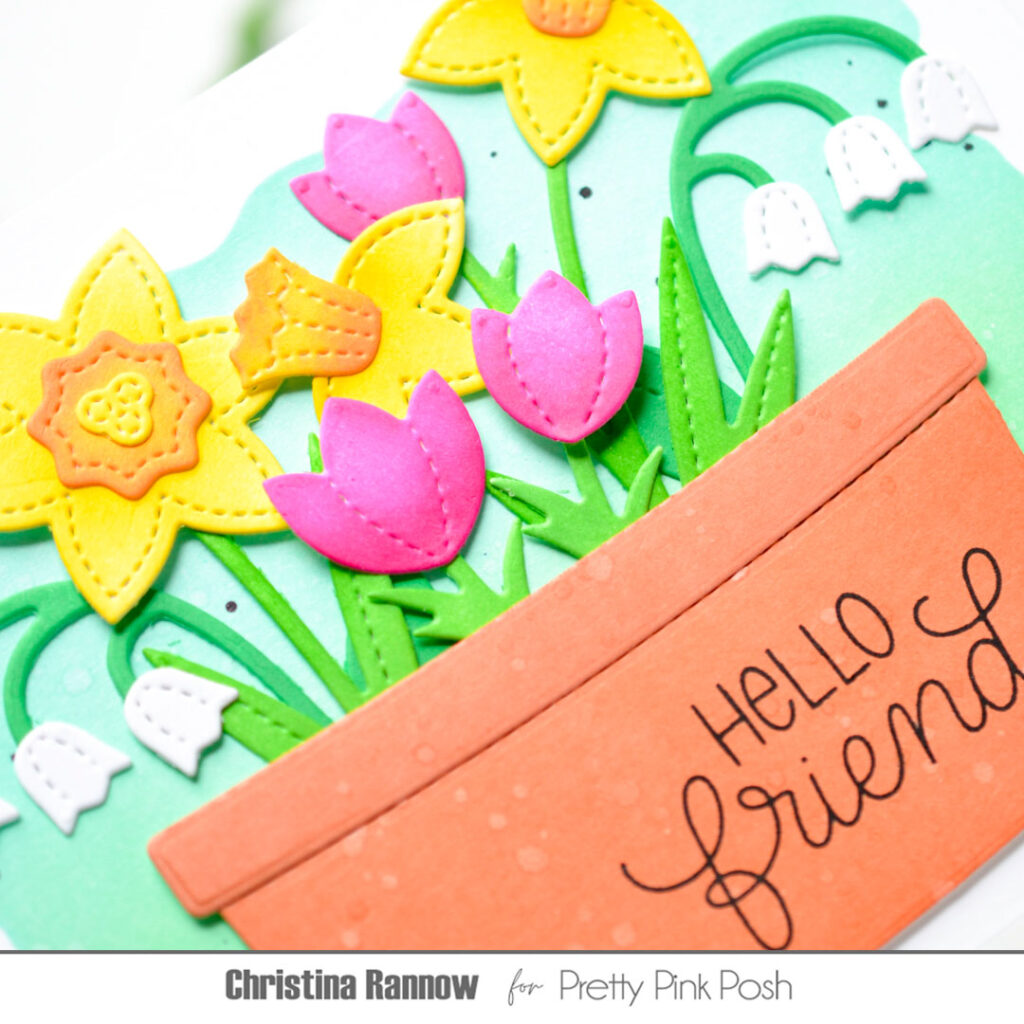
Finally, I assembled the die cuts, and before attaching them to my background panel, I stamped a greeting on the pot with black ink. Then I attached the pot to my background panel with foam squares, leaving space to tuck in all the flowers. Some flowers were secured with glue and others with foam squares to create dimension. The last step was to attach the panel to an A2 card base.
Thanks so much for reading about my floral card design featuring the new Spring Florals die set from the latest release. See you again soon!
How creativity 😍😍