
Floral Teacup
Hi crafty friends! It’s Michelle Woerner and I am super excited to be guest designing with Pretty Pink Posh this month! Today I’m sharing a fun floral teacup card using the new Teacup Shaker, Spring Floral and Floral Wreath Builder die sets and sentiment from the Hummingbird Floral stamp set.
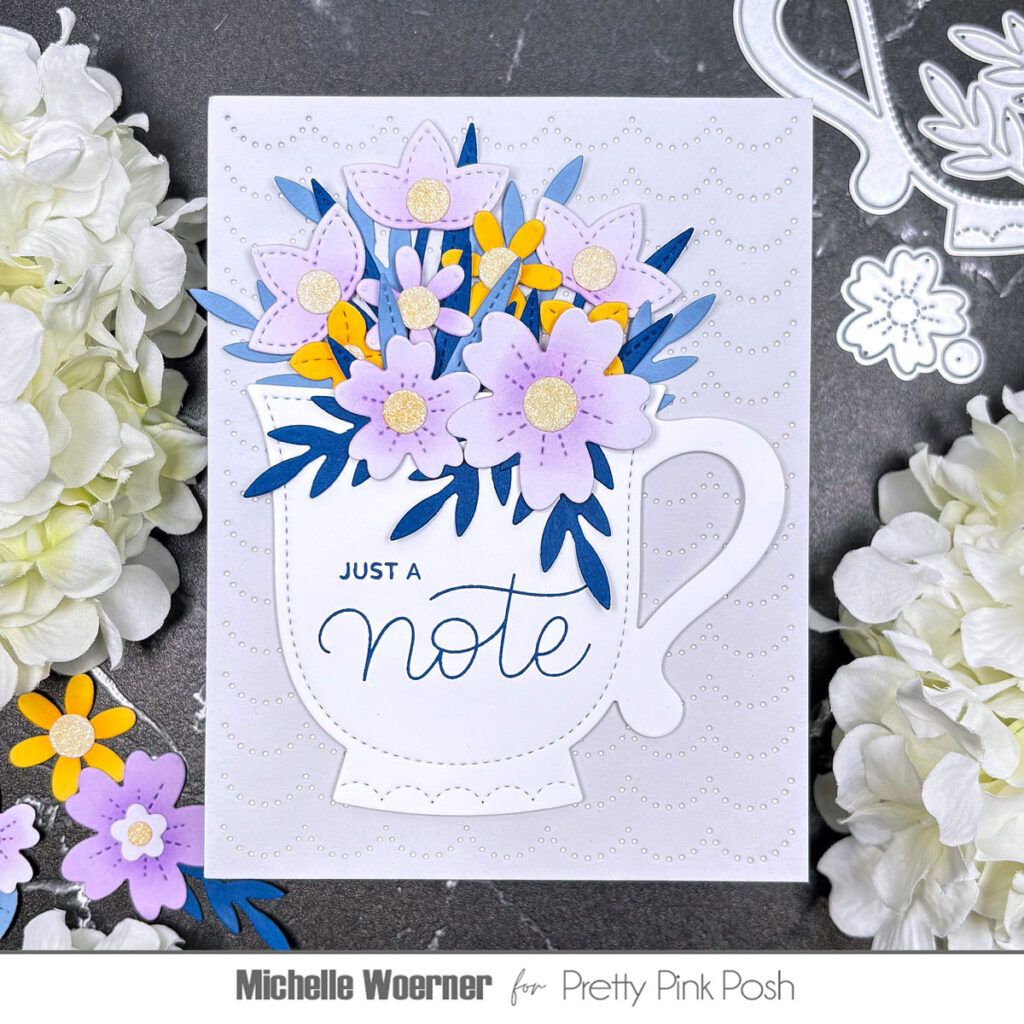
Before I start my floral cards, I always choose my color palette and die cut all the flowers, stems and leaves in the die set with all my colors. I love having lots of color options when I start assembling my blooms. Next, I lightly inked the flowers from the centers outward to create some depth. I wanted some sparkle, so I die cut the flower centers from glitter cardstock and inked them with yellow ink. This adds sparkle to the card without adding bulky gems, making it easier to mail.
I die cut my teacup with white cardstock and stamped the sentiment using navy blue ink. I wanted the teacup and florals to really pop, so I die cut the background with light gray cardstock using the Scallops Pierced Plate and adhered it to a white card base. I love how the white from the card base shows through the pierced scallops giving it a soft look. Next, I adhered the teacup using foam squares. Then came the fun part, I arranged the flowers and foliage coming out of and around the teacup until I had an arrangement I loved.
Designer Tip: To create some depth with a flower arrangement, try adhering some flowers and foliage directly onto the panel and others with 1mm and 2mm foam squares. This is a simple trick that can really give a lot of extra dimension.
Thanks for stopping by and be sure to check back tomorrow for some more inspiration from the team!
Very pretty!!
Love the glitter centers! Gorgeous flowers!
Such a fun card! Loved it 😍