
Stencil Theme Week: Day 7
See the previous days: Day 1 / Day 2 / Day 3 / Day 4 / Day 5 / Day 6
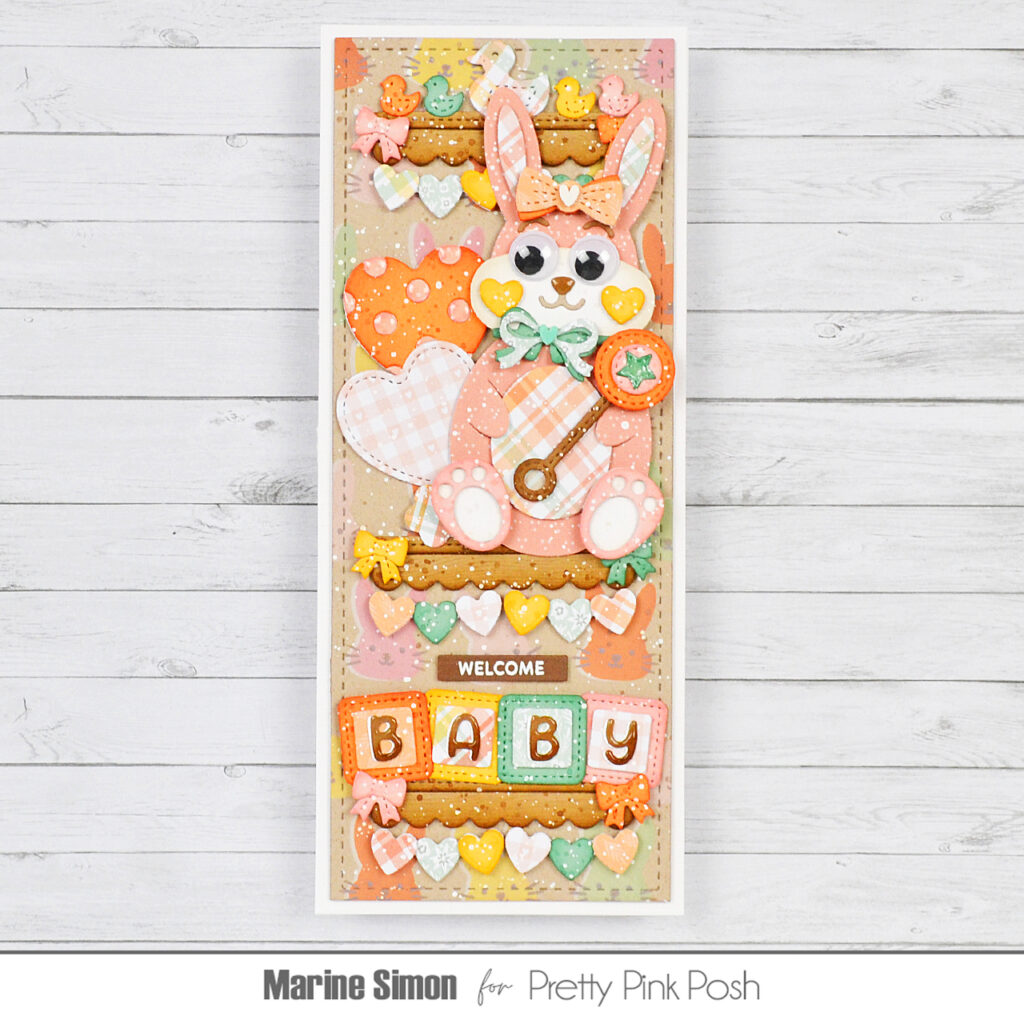
Hello crafty friends, Marine here, I’m closing the stencil week with this lovely slimline baby card I created with a whole bunch of dies from various sets. Mixing and matching items from different years/seasons is definitely what I like the most, and to make the background behind my three shelves I went for a bunny theme and used the Layered Bunny Faces stencils to create a colorful and playful wallpaper.
Save 15% on all products in the stencil section.
And speaking of which, I started off by making the background and first cut a slimline panel out of kraft cardstock using the largest Slimline Peekaboo Windows die. When I stencil on kraft cardstock, most of the time I like to create a white base first, so this is what I did using the Layered Bunny Faces stencil #1 along with white pigment ink. I then used that same stencil again but shifted it a little bit to the right, and created colorful bunny faces using oxide inks: rusty hinge, fossilized amber, bundled sage, saltwater taffy and tattered rose. And by shifting the stencil, it created a white border around the bunny faces, and I’ve always loved this effect.
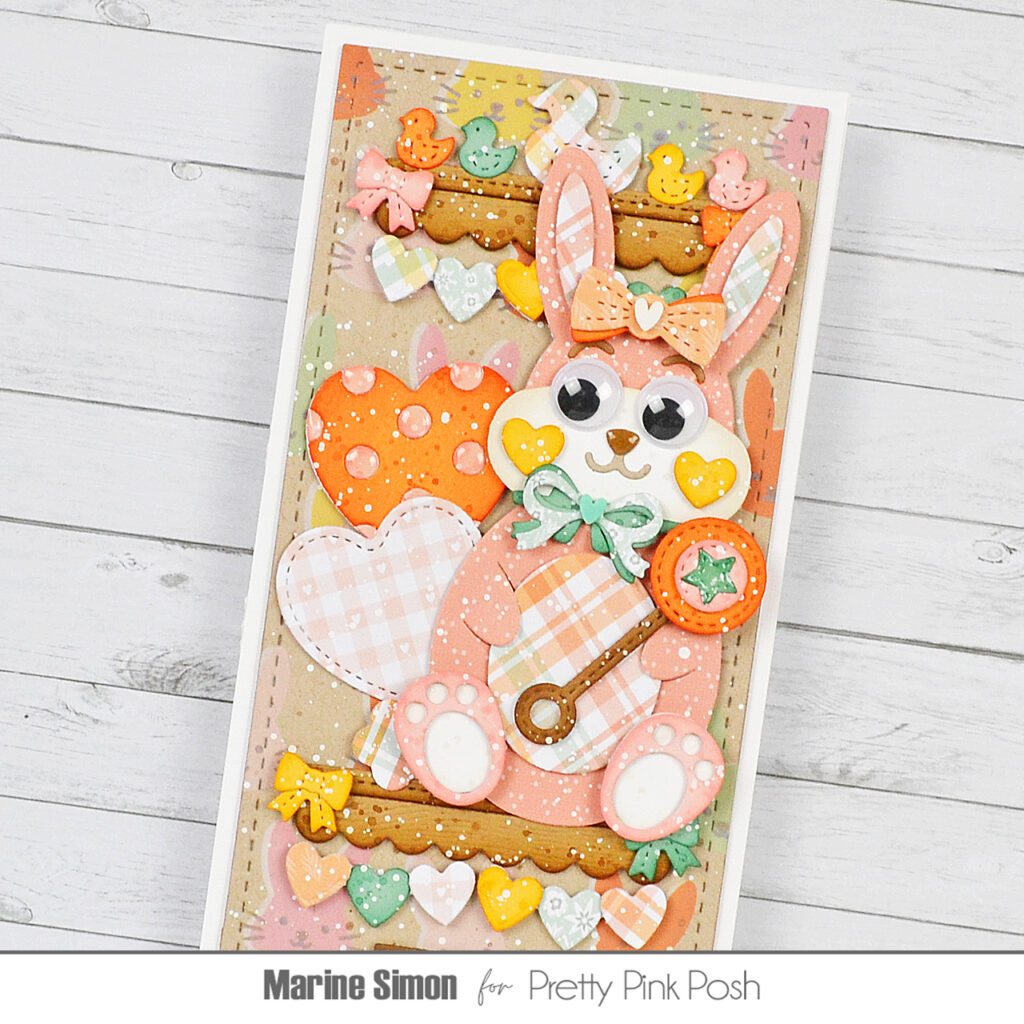
Next I used stencils #2 and #3 along with frayed burlap oxide ink to add eyes, noses and whiskers to the bunny faces. I mixed a bit of copic opaque white ink with water and used a slim brush to add splatters all over the panel, and did the same with vintage photo distress spritz.
While my Layered Bunny Faces panel was drying, I cut all the bits and pieces out of colored cardstock, woodgrain cardstock and pattern papers. On the colored cardstock and woodgrain cardstock pieces, I added matching distress ink splatters to those elements, as well as ink on the edges, to make them less flat, and then white ink splatters. And on the pattern paper pieces, I only added white ink splatters.
As always, here is a detailed list of the die sets I used on this card: • Bunny Holder – bunny • Big Easter Cupcake – bunny paws, heart cheeks, bunny tail • Easter Mug Additions – eyebrows, bow (on the bunny’s head) • Valentine Holder Additions – collar, bow (on the collar), heart banners • Baby Mug Additions – cubes, rattle, letters, small circle (on the rattle), tiny ducks, tiny star, tiny bows • Party Balloons – large hearts • Decorative Birdhouses – shelves • Onesie Shaker – large duck.
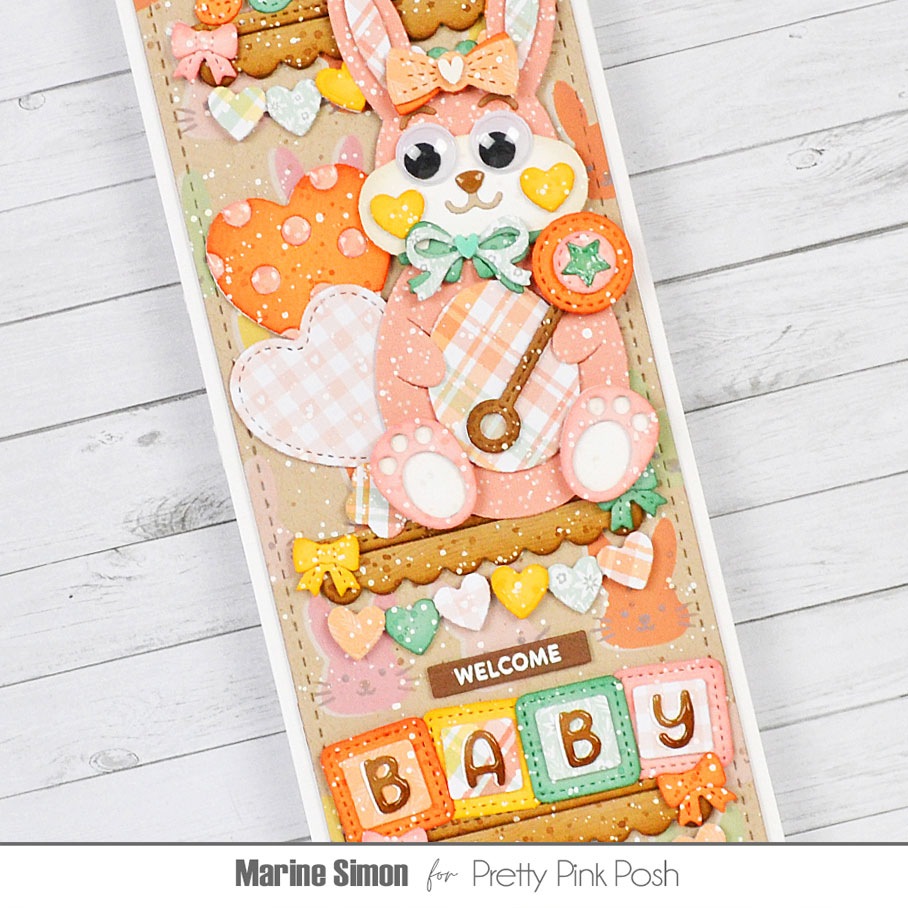
I assembled the bunny, the rattle, the heart banners and the cubes using foam squares and liquid glue, and then attached everything to my panel using 1mm and 2mm foam squares. I purposely left some space above the cubes to add “Welcome”. It is from Baby Animals, I white heat embossed it on dark brown cardstock, cut it into a slim banner using a Sentiment Strips die, and attached it to my panel using 1mm foam squares.
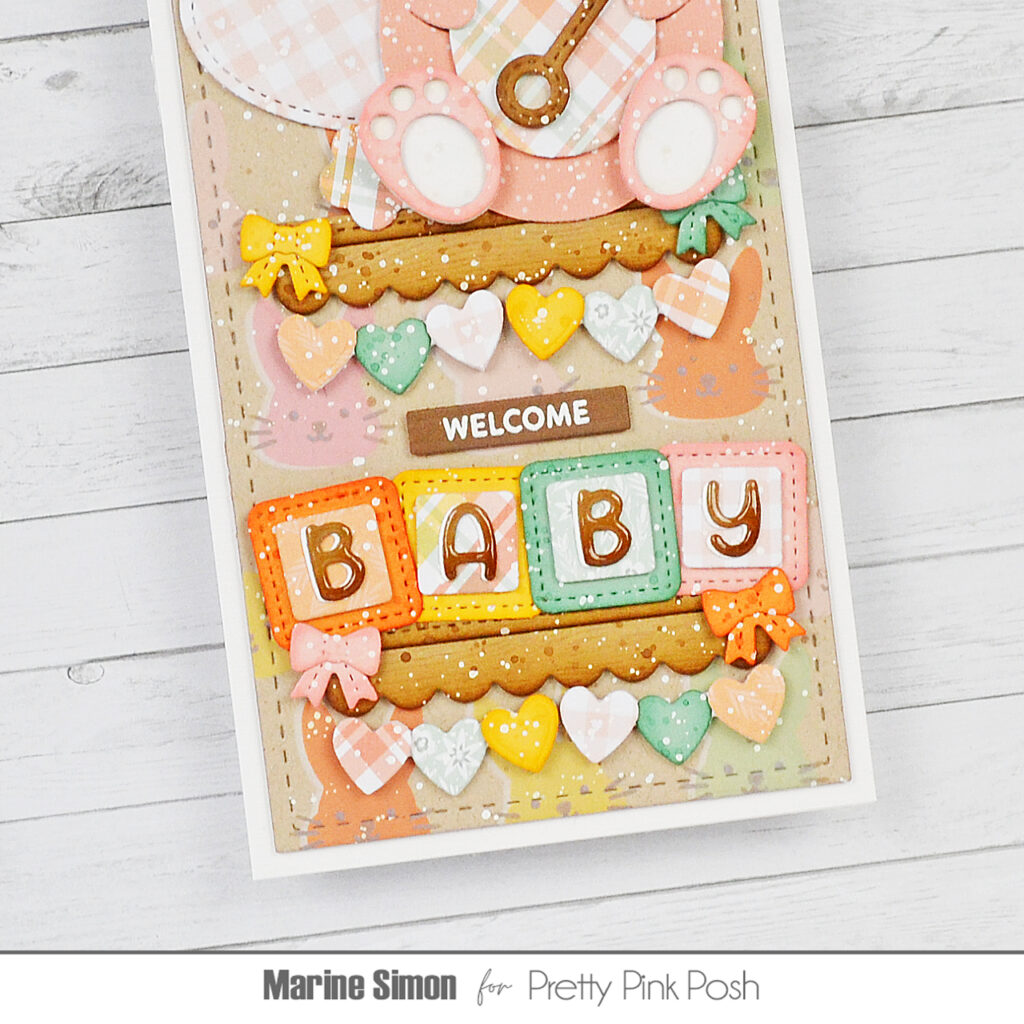
To finish my card, I gave the bunny a pair of large wiggle eyes to make him/her extra cute, applied glossy accents to the nose, to the “Baby” letters on the cubes and to the star on the rattle. I cut an 8,5 x 3,5 inches textured white panel, attached it to a slimline card base using liquid glue, and then my panel on top using 1mm foam tape.
And that’s it! I hope that this card has inspired you to maybe create your own baby cards using the super cute Holder and Baby collections. Thanks so much for stopping by, and see you next time!
This is wonderful! The bunny is adorable.
Such a fun card! Love all the details 😍 this stencil week was so fun as I love using stencils on my cards 😍