
Springtime Tulip
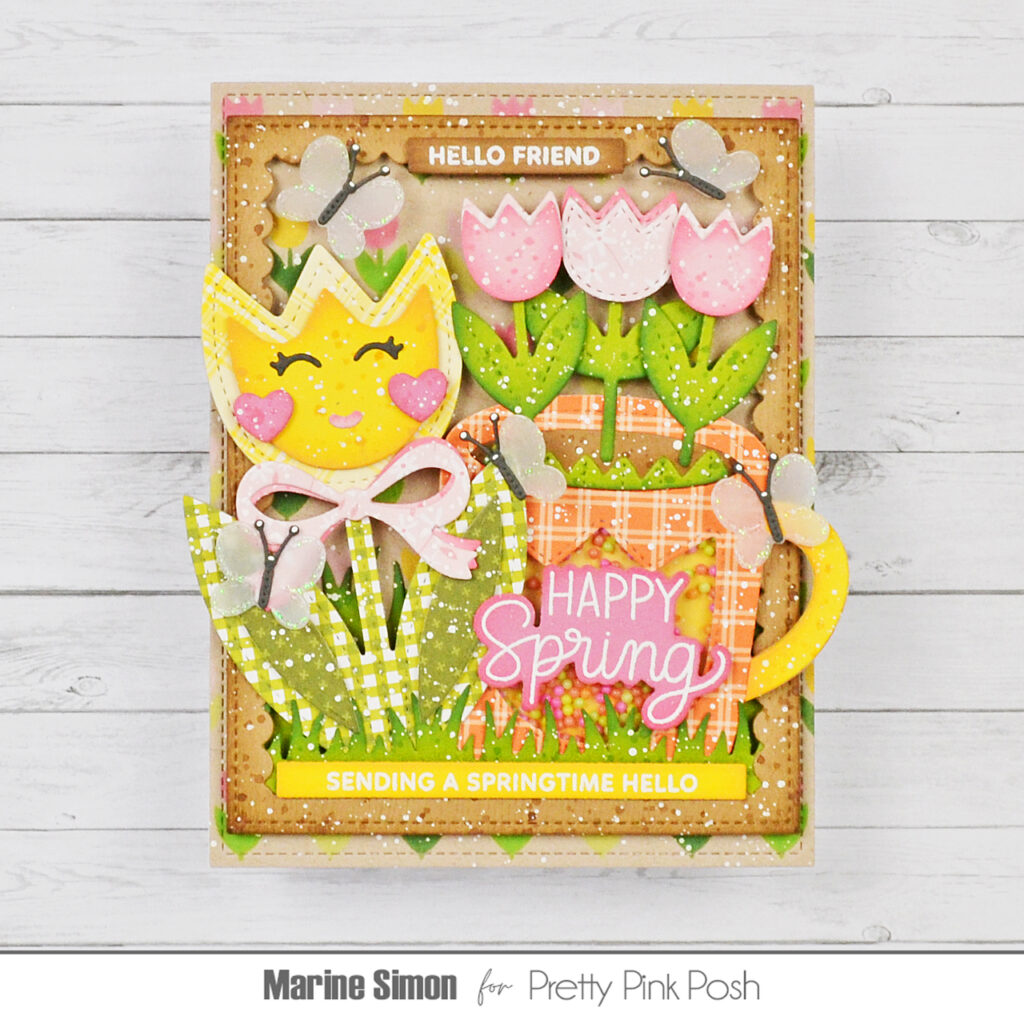
Hello crafty friends, Marine here, I’m very happy to be back on the blog with this lovely Spring themed shaker card showcasing products from the March Release, as well as a few more from previous years. When I saw the Tulip Shaker, I immediately pictured a tulip themed card with a shaker mug. I love how cute and pretty it turned out, and I hope that it will inspire you to mix your “old” products with new ones to create amazing projects.
I started off by working on the background components. I cut a 5,5 x 4,25 inches panel out of kraft cardstock and used the Springtime Borders stencils to create a tulip background. There are also carrots and daisies on those stencils, so I simply masked those sections off with washi tape, and created rows of pink and yellow tulips all over the panel using oxide inks: for the pink tulips I used spun sugar and worn lipstick, for the yellow tulips I used fossilized amber, and for the greenery I used mowed lawn and rustic wilderness. I mixed copic opaque white ink with water and used a slim brush to add splatters on my panel, and set it aside to dry.
I cut a large Scallop Frame out of brown woodgrain cardstock, added a little bit of vintage photo distress ink to the edges, mixed some of that same ink with water and added splatters to the frame, did the same with white ink, and set the frame aside with my panel to dry. Next I cut a 4 inches wide piece of green cardstock and cut two Grass Borders out of it: the first one about 1 inch tall, and the second one about 2 inches tall. I added a little bit of rustic wilderness distress ink to the sprigs and splatters as well, and again, set them aside to dry.
Once all the elements above were dry, I assembled them. I attached the slim Grass Border at the very bottom of the back of the Scallop Frame using liquid glue, stuck the tall Grass Border behind the first one using 2mm foam squares, added 2mm foam strips at the back of the Scallop Frame on the four sides, and centered the frame on my Springtime Borders panel.
Next I worked on the shaker mug, and built it just like the shaker tags I often create. Here are the different steps:1. Cut a Winter Mug out of orange plaid pattern paper, and used the tulip window die from Spring Mug Additions to cut an opening in my mug2. Cut a Winter Mug out of acetate, and attached it at the back of the orange mug using liquid glue3. Still at the back of the mug, added 2mm foam strips all around the tulip window and on the rest of the mug as well4. Poured a bunch of Sugar Pop shaker beads inside the tulip window5. Cut another Winter Mug out of yellow pattern paper, and stuck it to the foam strips to totally close the shaker mug6. Cut one more Winter Mug out of yellow cardstock, added a little bit of fossilized amber distress ink to the edges and splatters, trimmed the handle and stuck it to the orange mug using liquid glue.
I cut all the bits and pieces, tulips, bows, etc. out of pattern papers and cardstock, added matching distress ink to the edges of the cardstock pieces, matching splatters and white splatters as well, and once everything was dry, I assembled the different elements using 1mm foam squares and liquid glue.
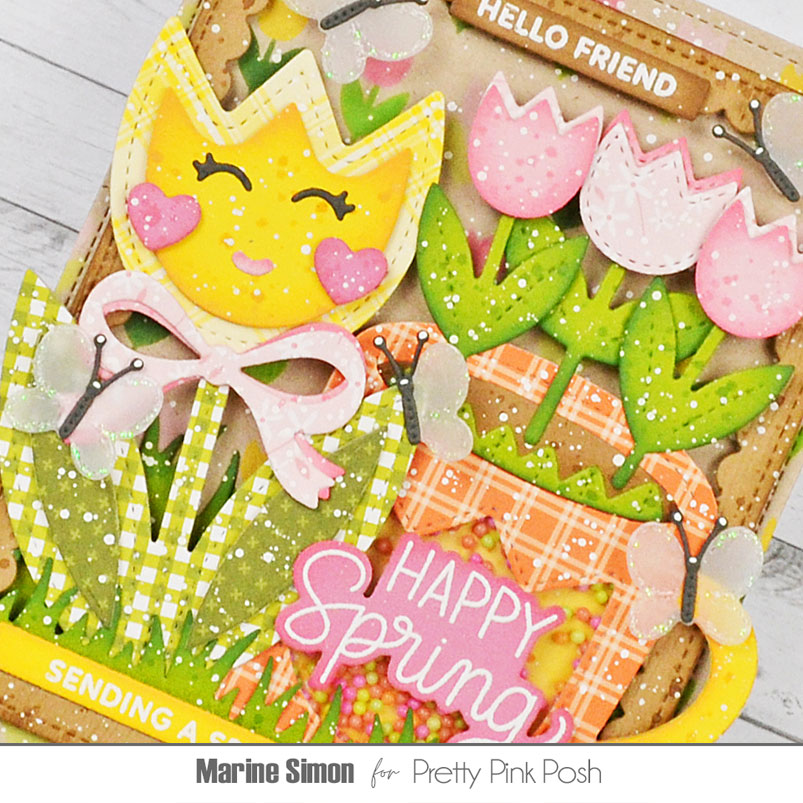
Here is a detailed list of the dies I used to create the large tulip: • Tulip Shaker – large tulip • Big Easter Cupcake – heart cheeks, smile • Easter Mug Additions – eyes • Easter Bucket Additions – bow. And here is a detailed list of the ones I used to decorate the shaker mug: • Spring Mug Additions – soil • Big Easter Cupcake – tulip (in the middle) • Easter Bucket Additions – tulips (on the sides). I also cut and assembled five butterflies out of vellum and dark gray cardstock using dies from Spring Mug Additions.
I attached everything to my Springtime Borders panel, starting with the Winter Mug and the Tulip Shaker that I tucked between the Grass Borders and stuck using foam squares. I planted three tulips in the mug, gave the tulip a cute face and a bow, and added fluttering butterflies here and there. Next I stamped three different greetings on colored cardstock: “Hello friend” from Mouse Friends on brown cardstock, “Happy Spring” from Easter Greetings on pink cardstock, and “Sending a springtime hello” from Sentiment Strips: Easter on yellow cardstock. I cut them using the matching dies and Sentiment Strips dies, added a little bit of matching distress ink to the edges, and then attached them to the card using foam squares. Finally I added details to the butterflies bodies using a white gel pen, and applied white blizzard nuvo drops to the edges of their wings for a nice sparkling touch.
And that’s it! I hope that you like this happy and cheerful Spring shaker card! Thanks so much for stopping by, and see you next time.
OMG if this isn’t the cutest card 😍😍