
March Release Now Available + Product Video
The March 2025 Release is now available in the Pretty Pink Posh Shop and select retailers that carry our products. If you missed our post yesterday, we revealed all of the products in picture form, but if you would like to see them in a video, Mindy has that for you today!
Watch the video above I Watch the video in HD on YouTube
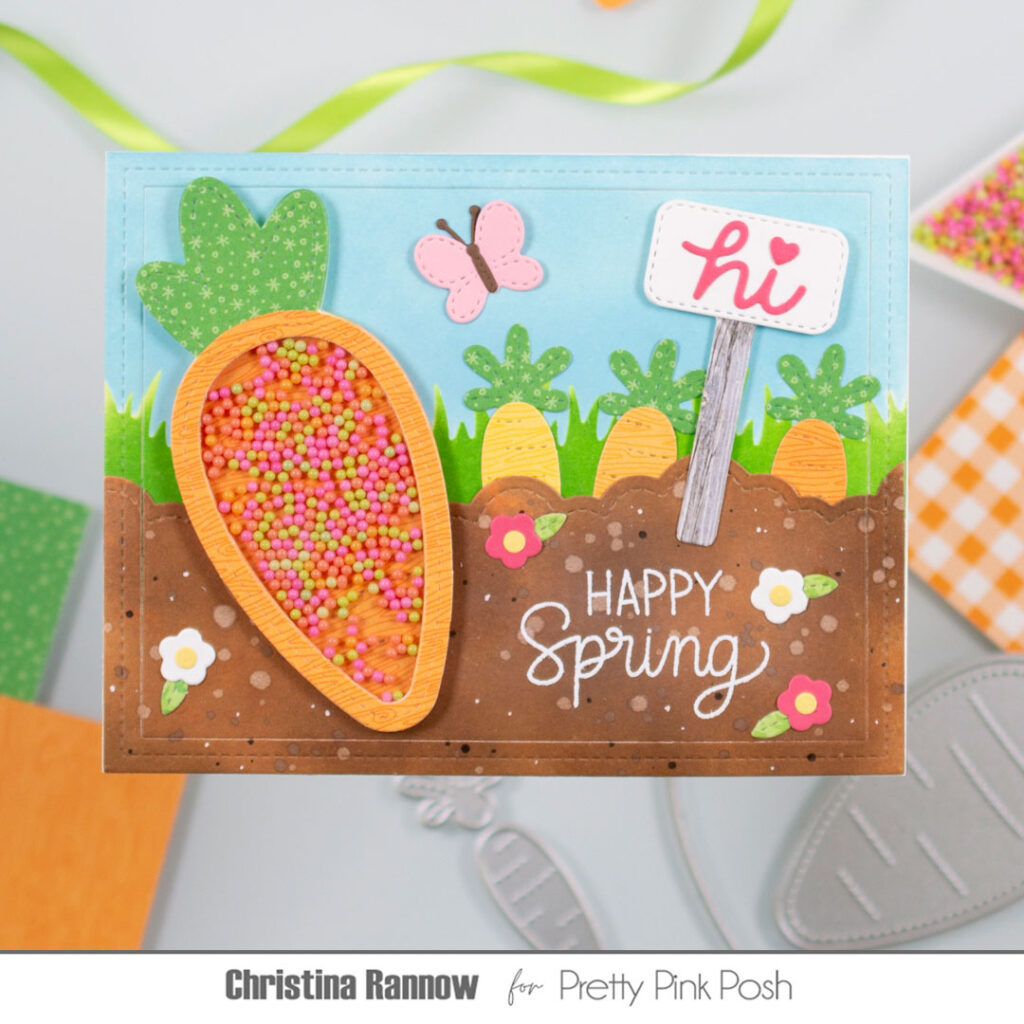
Hi friends! Christina here to share this adorable spring garden scene featuring the new Carrot Shaker from the latest PPP Easter release. I used some previously released dies to round out the scene, and I snuck in the new Grass Border die, but I used it as a stencil! Keep reading to find a supply list and the instructions for creating this garden scene with a fun carrot shaker addition! Let’s get started!
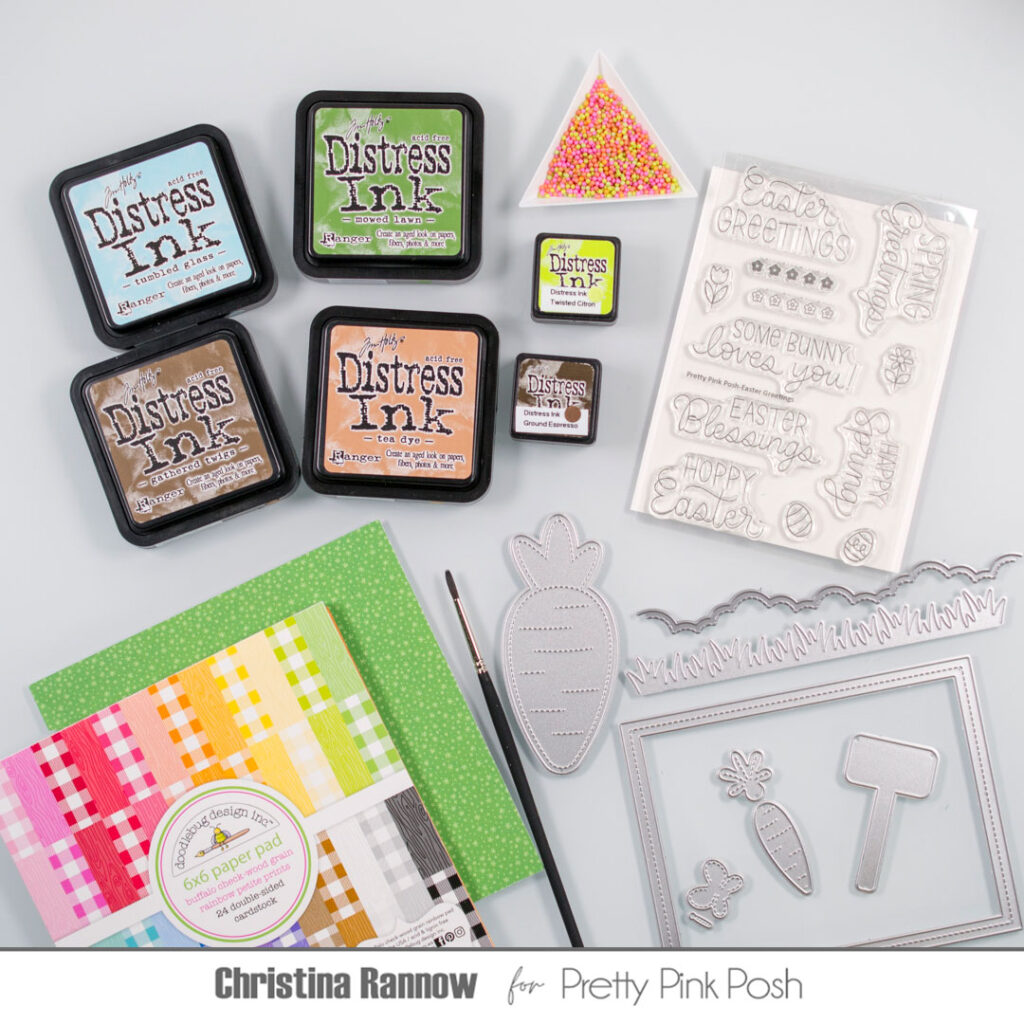
Carrot Shaker Dies – stenciled grass
Grass Border Die
Sugar Pop Shaker Beads
Easter Greetings Stamp Set
Fancy Cake Dies – stitched border
Spring Mug Additions Dies – butterfly
Big Easter Cupcake Dies – small carrots, flowers, sign
Fall Basket Dies – small leaf
LF Puffy Cloud Border – dirt layer
Doodlebug Patterned Papers
Mowed Lawn & Twisted Citron – grass
Tea Dye, Gathered Twigs, and Ground Espresso – dirt
Tumbled Glass – sky
My first step was to create the background garden scene. I started by die cutting the grass border from scrap cardstock and using it to stencil grass on a white 4 ½ x 5 ½ inch cardstock panel. Then I used the same grass border “stencil” as a mask to ink the sky. I didn’t bother inking the bottom of the panel because it would be covered with the dirt layer. To make the dirt layer, I die cut a cloud border from another 4 ¼ x 5 ½ inch white cardstock panel and inked it with the Distress inks. I spattered the dirt panel with water and with Ground Espresso Distress Ink for lots of texture.

I let the dirt panel completely dry before stamping and heat embossing a sentiment in white in the lower right-hand corner. Then I die cut both background panels with the stitched frame and attached the dirt panel to the grass and sky panel, leaving the top open so I could tuck some carrots into the dirt!
My next step was to die cut all the elements for the garden scene. I used patterned paper for the small carrots and tucked them into the dirt. I die cut the flowers, the butterfly, and the sign and attached those to the scene after assembling them.
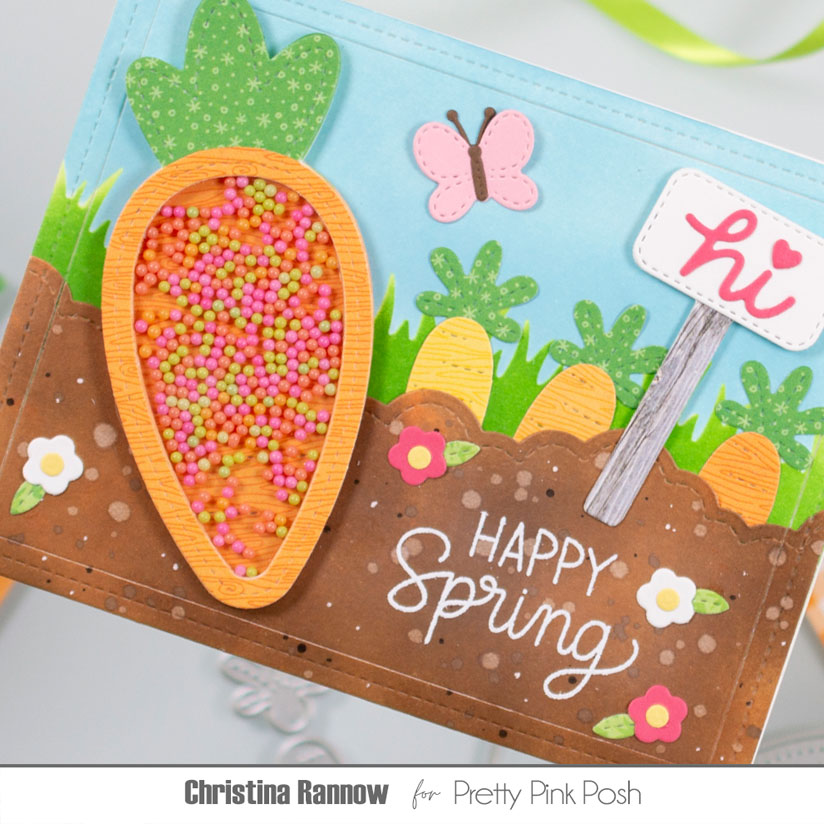
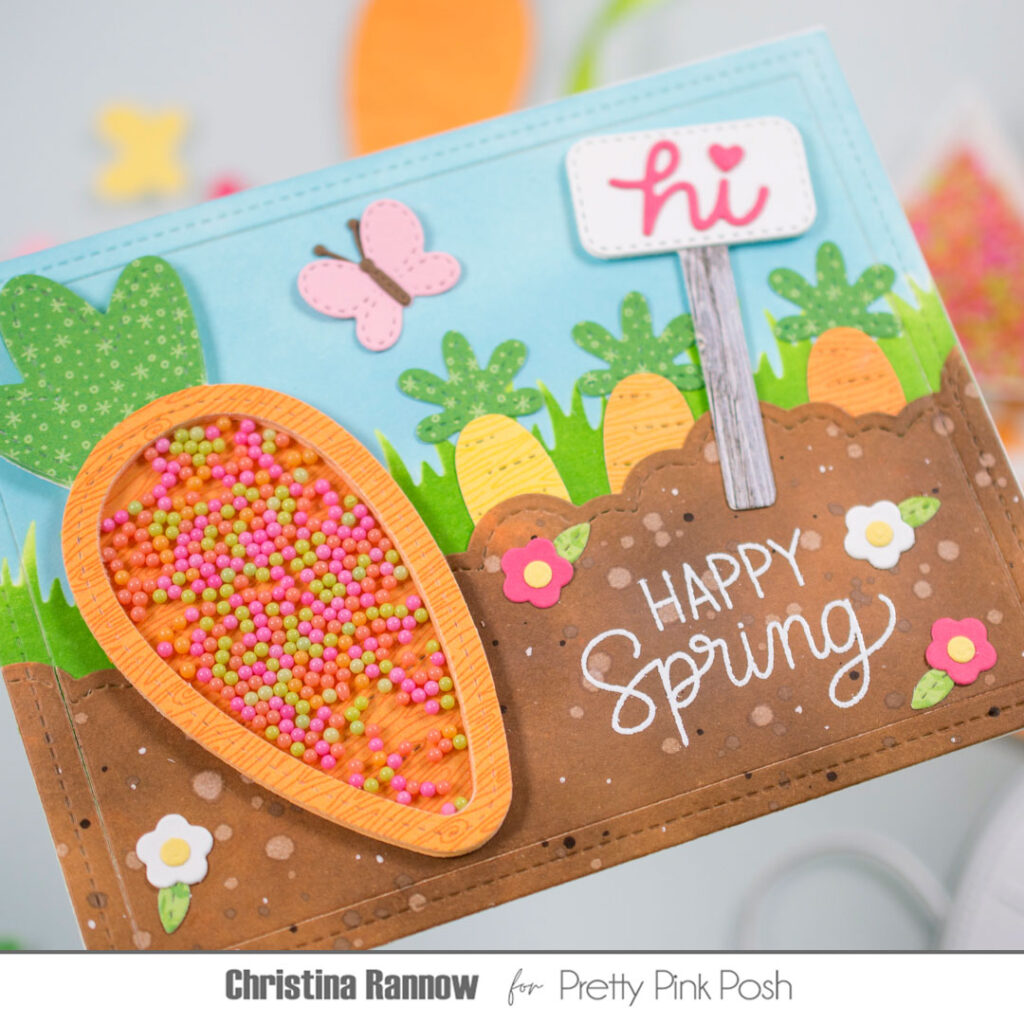
My final step was to construct the carrot shaker. I kept things simple and assembled the shaker separately and then attached it to my scene. I started by die cutting six carrot frames and stacking them together to create the walls of the shaker. Then I attached a full size carrot die cut from orange patterned paper to be the base of the shaker and added the shaker beads. Lastly, I die cut another carrot frame from orange patterned paper and attached a piece of acetate to the reverse side before securing it to the top of the shaker. To complete this garden scene, I added a green carrot top die cut from patterned paper and then attached the completed shaker to the scene.
And that completes this fun springtime garden scene! Thanks so much for reading about my latest PPP card design. See you soon!
The carrot shaker is SOOOOO CUTE!
Oh my what a fun card 🤩 love the step by step instructions!
Watched the intro video last night and already placed my order 🫢
Such fun! The carrot shaker is adorable!
WOW! This is so beautiful!! LOVE everything you did to make this gorgeous carrot shaker card!!