Winter Blues Shaker
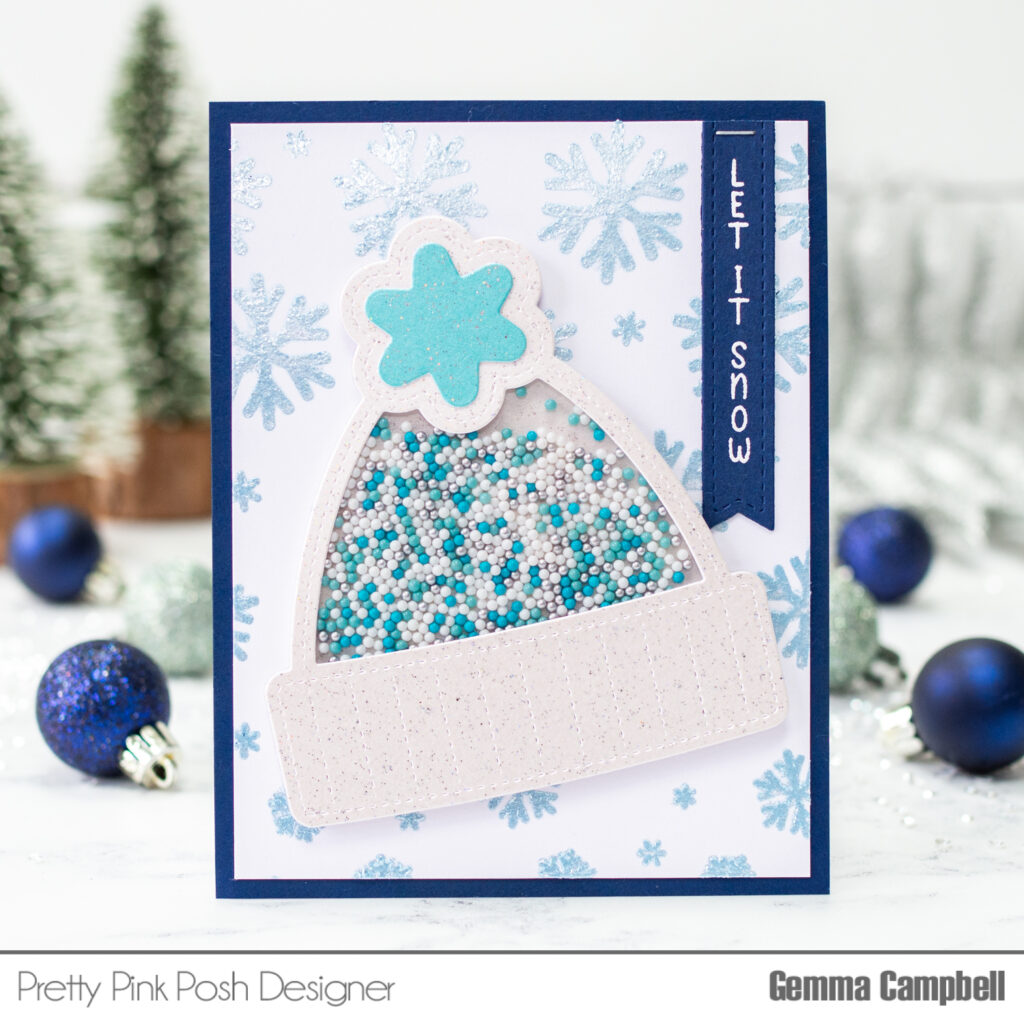
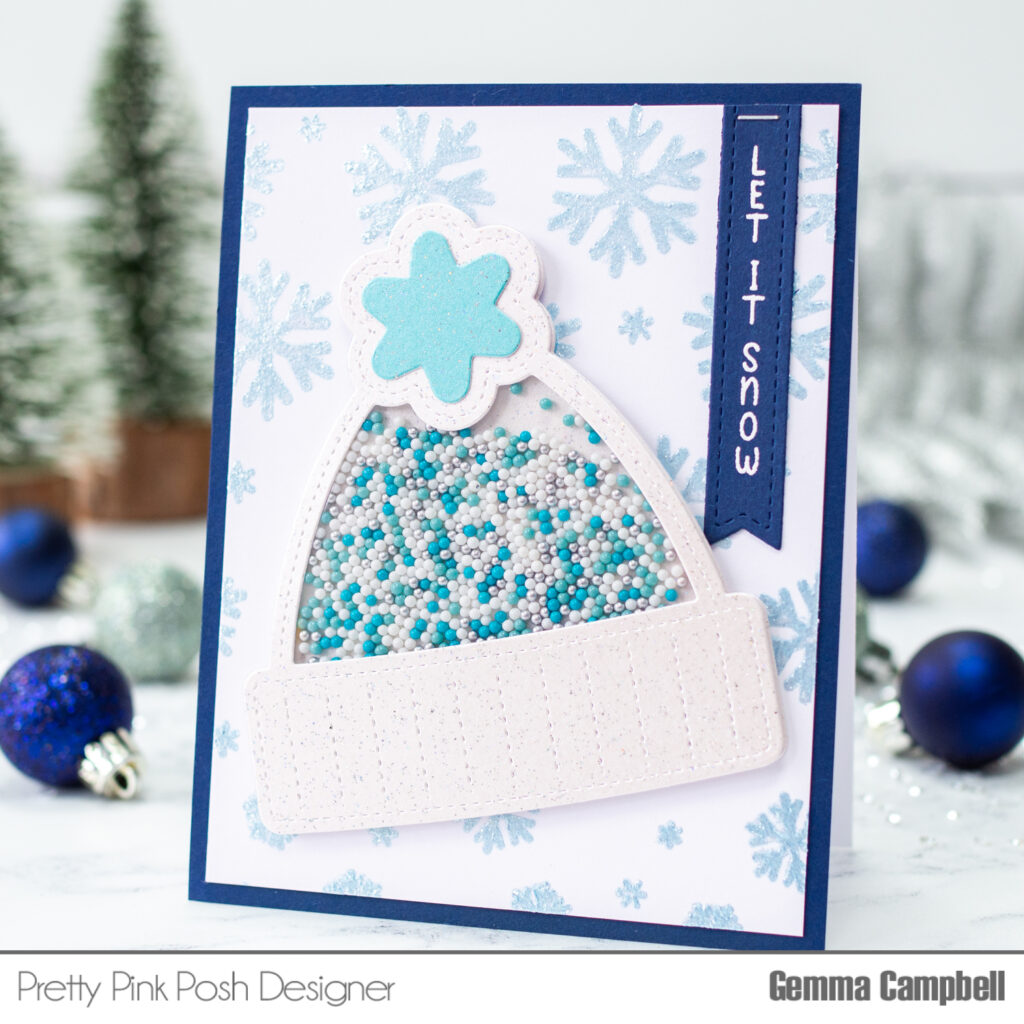
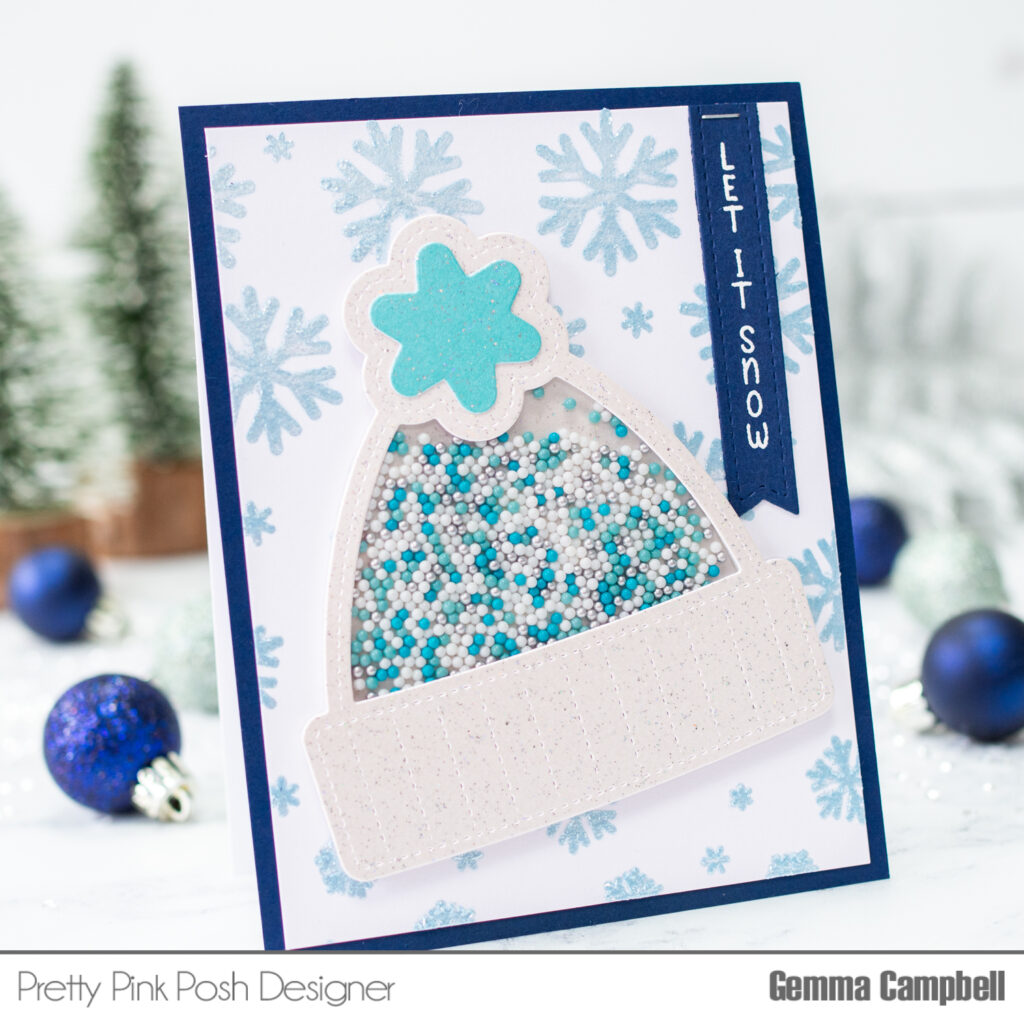
Hello, Gemma here today to share a Christmas card featuring the Winter Hat Shaker and Cascading Snowflakes Stencil.

I began with the background. I placed the Cascading Snowflakes Stencil over a white card panel, then spread some Nuvo Frostbite Glacier paste over the top. I put my stenciled panel aside as it takes around an hour for the paste to dry.
*Remember to clean your stencils right away after using any kind of paste.

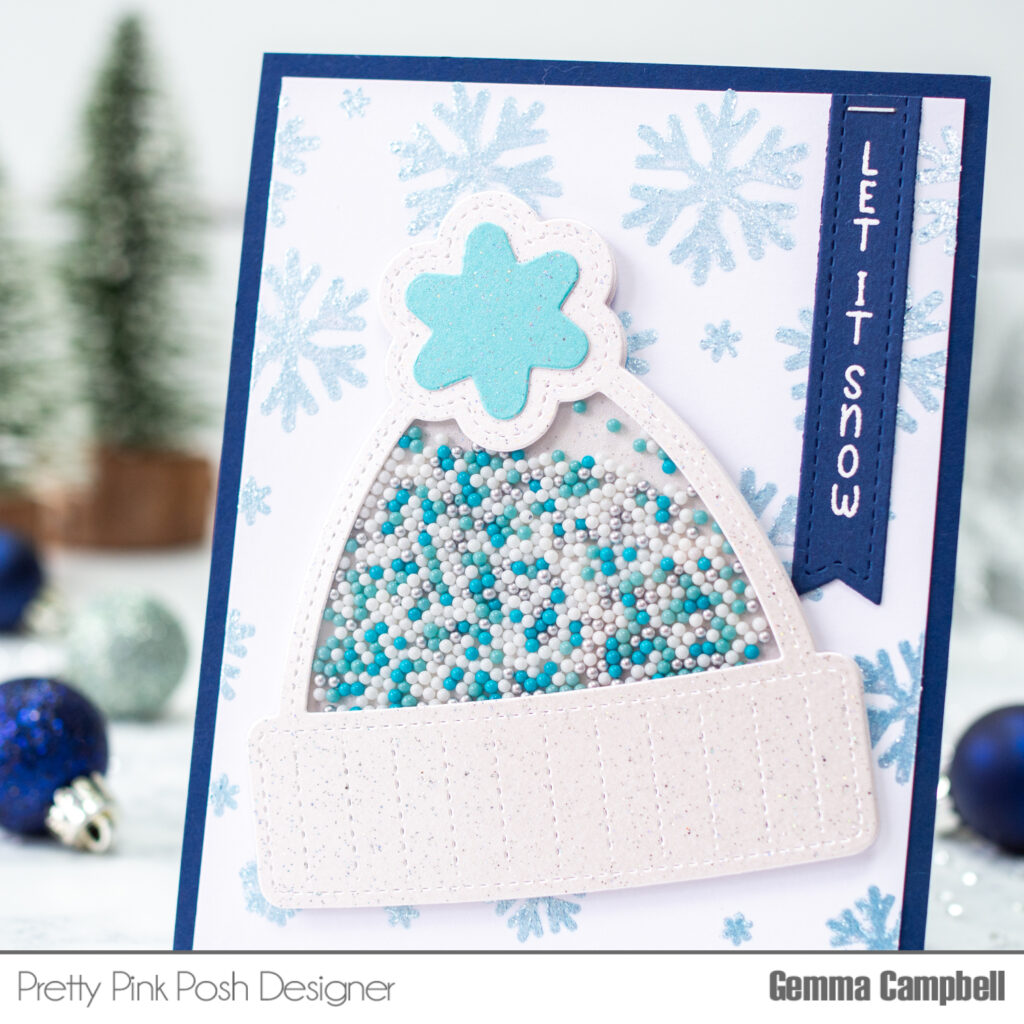
Next, I die cut the Winter Hat Shaker. I cut it twice from pearl white sparkle card, and die cut the centre out of one of them.
I also cut an acetate panel, along with a pearl blue sparkle bobble for the top of the hat. I adhered both these pieces to the hat with the centre cut out.

On the reverse of this die cut, I added some foam strips – just one layer all over. I added some of the beautiful Snow Days Shaker Beads to the centre, then adhered the back panel to seal my shaker.
For my sentiment, I white heat embossed a greeting from the Upright Greetings: Christmas stamp set. I cut this out with a Sentiment Strip die, then attached it to my stenciled panel.

On an A2 card base, I adhered a navy blue panel, then the stenciled panel layered on top. Finally, I adhered the Winter Hat Shaker to the card to finish.
I hope you enjoyed this winter card idea. Thank you for stopping by!

I LOVE this, Gemma!! GREAT card! I can almost feel / hear the shaker. Love the colors!
What a fun card! Puts a different and happier meaning to ‘winter blues’