
Rainbow Christmas Lights
Hello crafty friends, Marine here, I’m thrilled to be back on the blog with this super duper extra colorful and bright card showcasing the Christmas Light Garland die. When I first saw this die, I immediately visualized rainbow garlands, just like the ones my grandfather had on his Christmas tree. It was nice to have those sweet memories while working on this card.
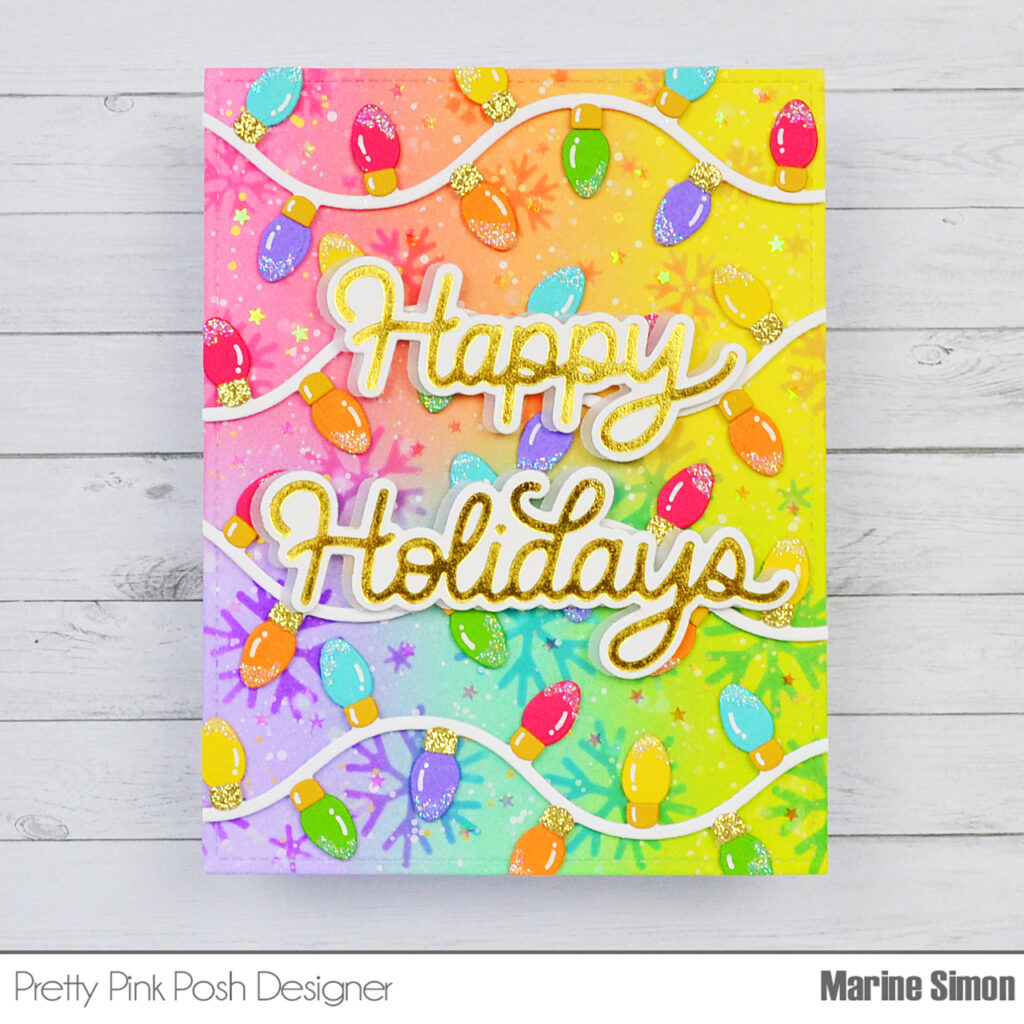
I started with the background and cut a 5,5 x 4,25 inches Strathmore bristol smooth panel that I colored with oxide inks. First, I created a base using, clockwise, kitsch flamingo, dried marigold, squeezed lemonade, twisted citron, salvaged patina and shaded lilac. Next I placed the Cascading Snowflakes stencil on top of my panel, and applied picked raspberry, carved pumpkin, fossilized amber, mowed lawn, peacock feathers and wilted violet for a tone on tone look. I splattered water all over my panel and dried it using a paper towel. I mixed some copic opaque white ink with water and used a slim brush to add splatters on my panel, and I did the same with fossilized amber distress spritz to add gold splatters on my piece of paper.
I set the panel aside to dry, and cut all my Christmas Light Garland pieces: four strings out of white cardstock and multiple light bulbs out of colored cardstock. And for the light caps, I found the perfect die from Big Dump Truck, I cut some of them out of gold glitter cardstock and some out of dark yellow cardstock. Next I assembled everything: I attached the light bulbs on the white garlands in a rainbow order using liquid glue, I added a cap on each bulb, and stuck each garland to my panel using 1mm foam squares.
I added liquid glue on each bulb and sprinkled fine glitter to make them all sparkle, and while the glue was drying, I worked on my greeting. I foiled my Hot Foil Happy Holidays sentiment in gold on white cardstock, and cut each word using Happy Holidays Shadow dies. And I wanted to add a subtle border to my words, so I cut two Happy Holidays Shadows out of vellum, glued those vellum pieces behind my gold foiled words, and finally attached my greeting in the middle of my panel using 2mm foam squares. I stuck my panel to a white card base, added highlights to the light bulbs and caps using a white gel pen, and finished my card with a scattering of Iridescent Mini Star Confetti all over my panel.
And that’s it! I hope that my card has inspired you to use non traditional and bold colors on your holiday cards. Thanks so much for stopping by, see you next time!
Very pretty!!
How fun! Would have never thought to create a holiday card with rainbow color scheme 😍