
Colorful Rainbow Daisies
Hello crafty friends, Marine here, I’m thrilled to be back on the blog with this super duper colorful card showcasing the beautiful Daisies and the gorgeous Layered Butterfly Floral stencils. When I first saw those daisies, I immediately pictured them with rainbow petals, so I took my brightest markers and inks out to create this bright and bold card.
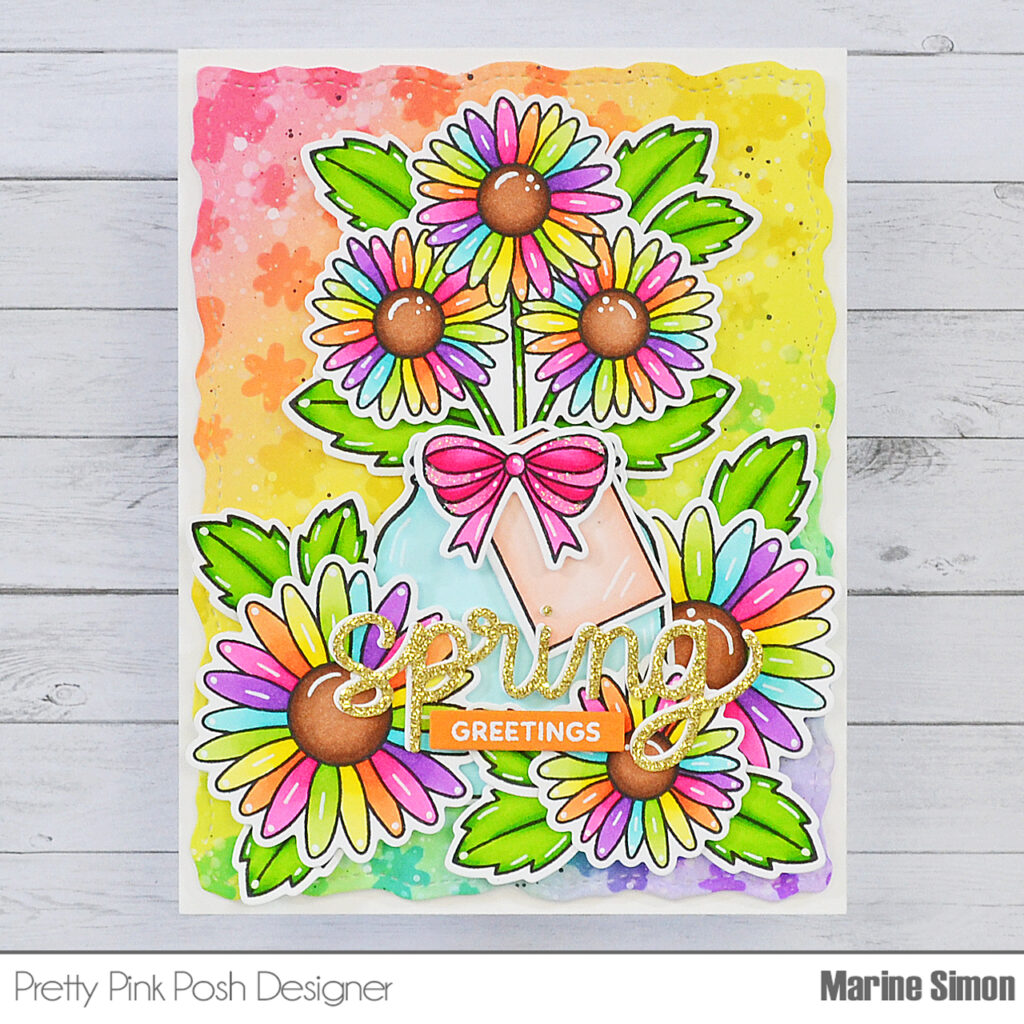
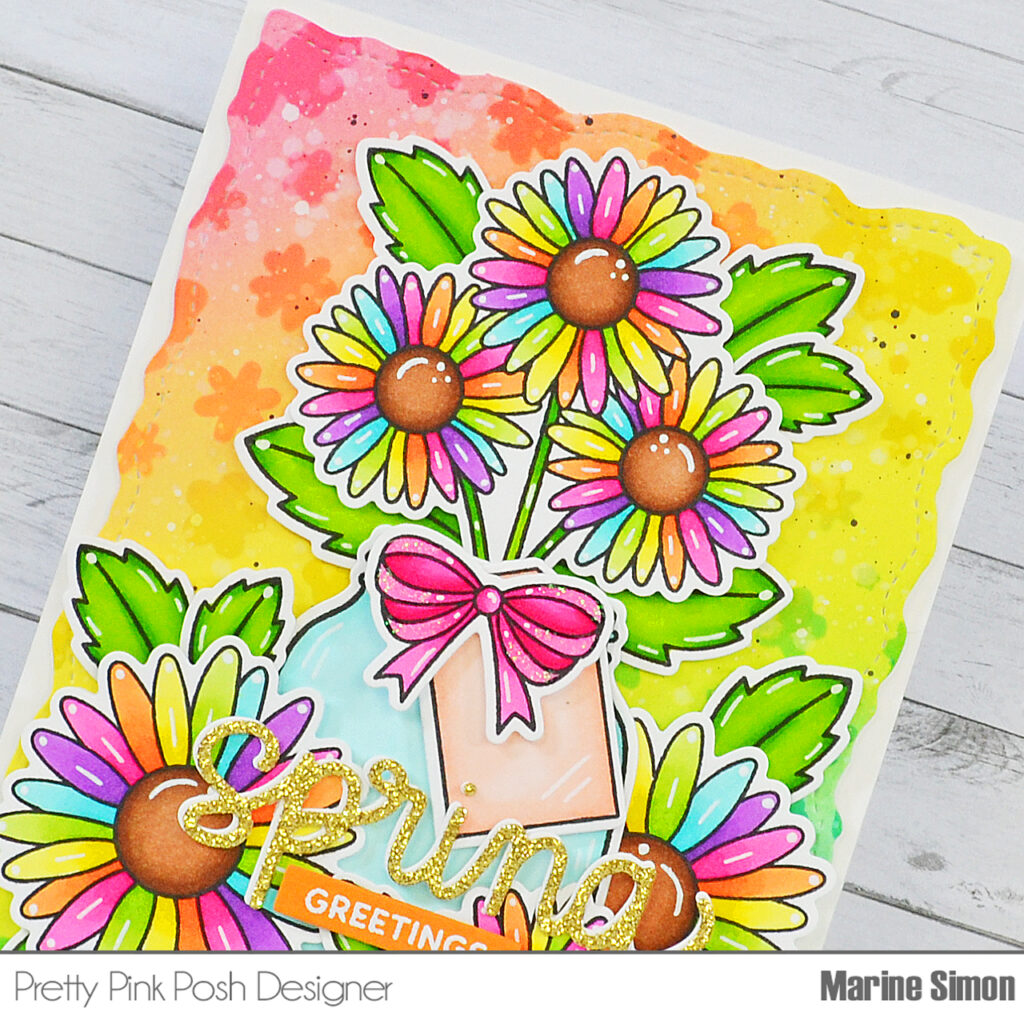
I started off by stamping the daisies, leaves and bow from Daisies, as well as the jar and tag from Fall Jar, on 80lb Neenah solar white cardstock using an alcohol marker friendly black ink, I cut them all using the matching dies, and then colored them using all the colors from the rainbow.
I cut a Stitched Torn Rectangle panel out of Strathmore bristol smooth cardstock, and started off by creating a simple rainbow base using, from the top left corner towards the bottom right corner: kitsch flamingo, dried marigold, squeezed lemonade, twisted citron, salvaged patina and shaded lilac oxide inks. Next I used the first three Layered Butterfly Floral stencils, and one after the other, applied darker shades of inks to create a tone on tone pattern using picked raspberry, carved pumpkin, mustard seed, mowed lawn, peacock feathers and wilted violet oxide inks.
I always like to add texture to my ink blended panels, so I first splattered water all over the panel and dried it using a paper towel. Next I mixed some black soot oxide ink with water and used a small brush to make splatters on the paper, and then did the same with white ink.
I attached my Stitched Torn Rectangle panel on a 5,5 x 4,25 inches white card base, stuck the images using 1mm and 2mm foam squares, and then created my greeting. I first cut the Spring Script out of gold glitter cardstock and out of white cardstock. I attached the gold glitter one on top of the white one, but shifted them a little bit to create a white border, and stuck the word on the card using liquid glue. And I white heat embossed “Greetings” from Easter Train on a piece of orange cardstock, trimmed it into a slim banner using a Sentiment Strips die, and finally attached it below “Spring” using 1mm foam squares.
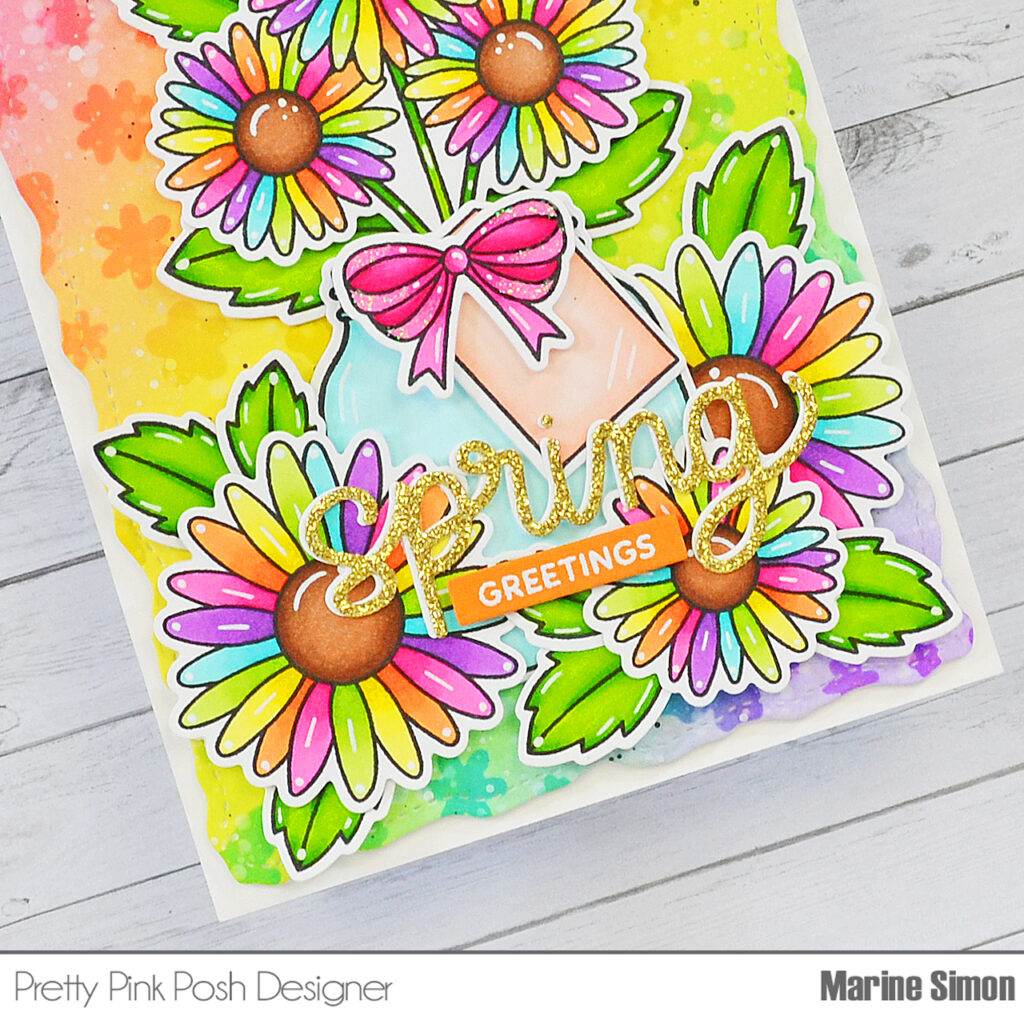
I finished my card with highlights and details on the images using a white gel pen, and a little bit of morning dew glitter on the bow for one more sparkling touch. And that’s it! I hope this card will inspire you to go bold and off the traditional color palettes you’re expected to use. Rainbows always look great, you can’t go wrong with them!
Thanks so much for stopping by, see you next time!
Bright and colorful card; a beautiful rainbow wherever you look. TFS
So bright and fun 🤩