
Easter Egg Window Card
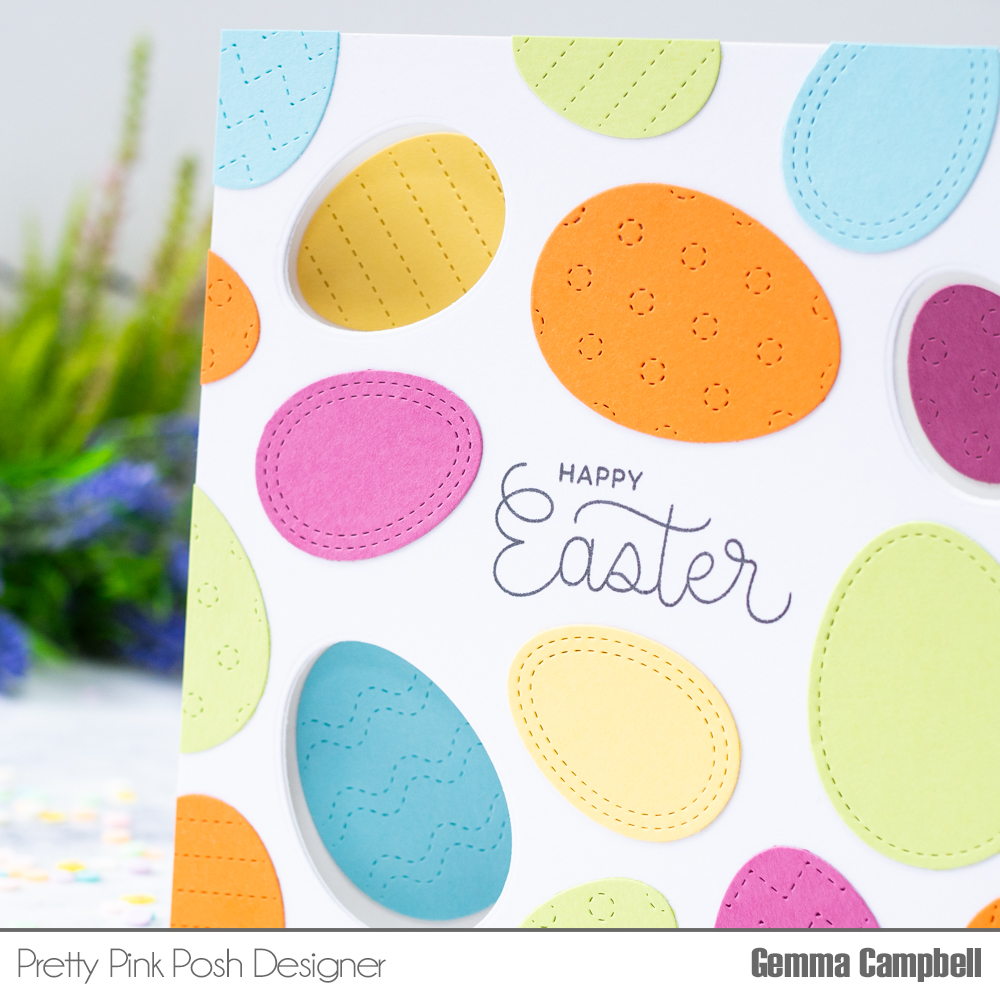
Hello, Gemma here today with a fun window Easter card to share. I started with a 6” square panel of white card. In the centre, I stamped a sentiment from the Easter Sentiments stamp set.

Next, I took three of the dies from the new Stitched Eggs die set and cut windows in the panel.
To add the same windows in my 6” card base, I temporarily taped the panel on to the card base and fitted the dies back into the already die cut spaces . I then opened the card base and ran it through my die cutting machine. You may need to remove the panel and run it through a second time with the dies to cut out the windows fully.
You could skip this step and just use the card base for your windows, but I like to use a thicker card panel for a sturdier finished card.
I adhered the panel on top of my card base, now with three windows to the inside of the card.
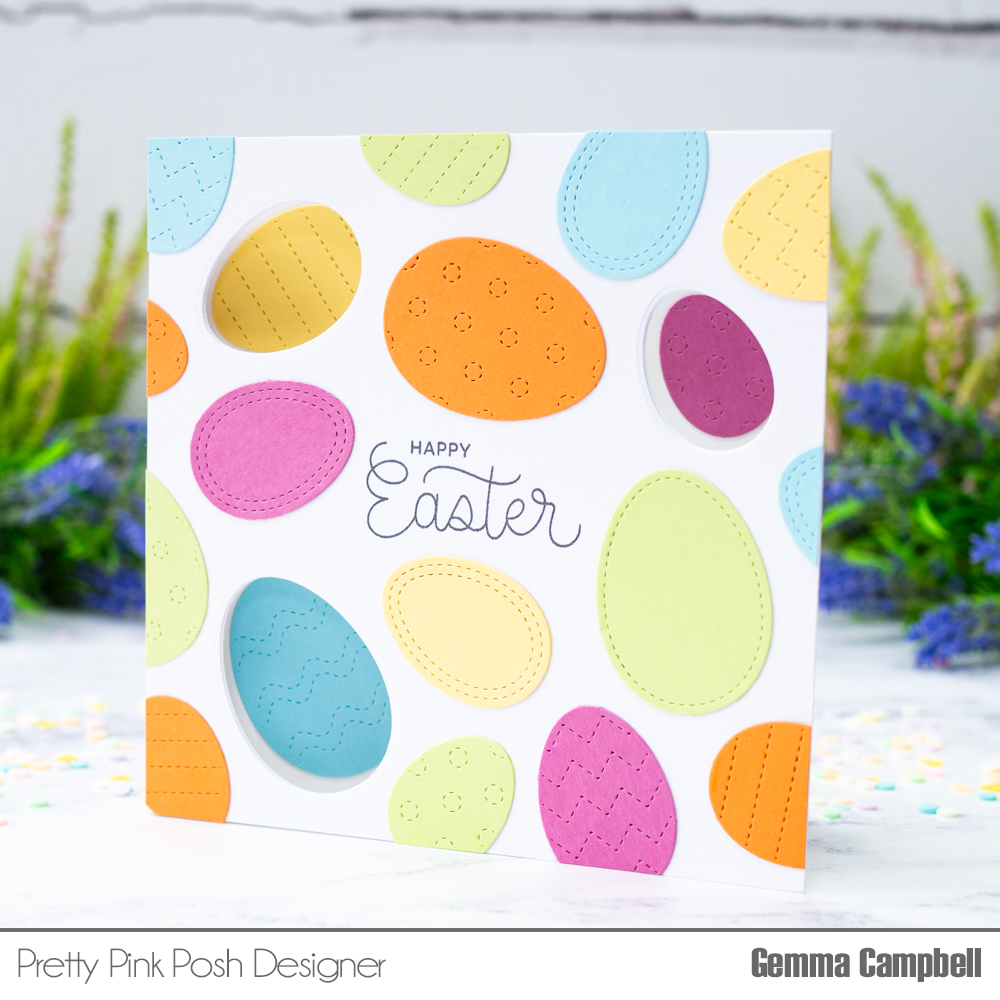
Next, I die cut the Stitched Eggs from different coloured card stock. I chose three of the eggs to show through the window spaces, using double sided tape to secure them inside.

I then adhered more eggs over the front of the card to create an all over pattern. You could pop some of the eggs up with foam tape, if you want more dimension. To finish, I stamped the same sentiment inside the card.
I appreciate you stopping by, thanks for visiting us today!