
Whimsical Pumpkin Border
Hello friends! It’s Leica here today with an Autumn card featuring the new Pumpkin Border die, and of course, I have included adorable PPP critters from an older set called Pumpkin Patch Critters.
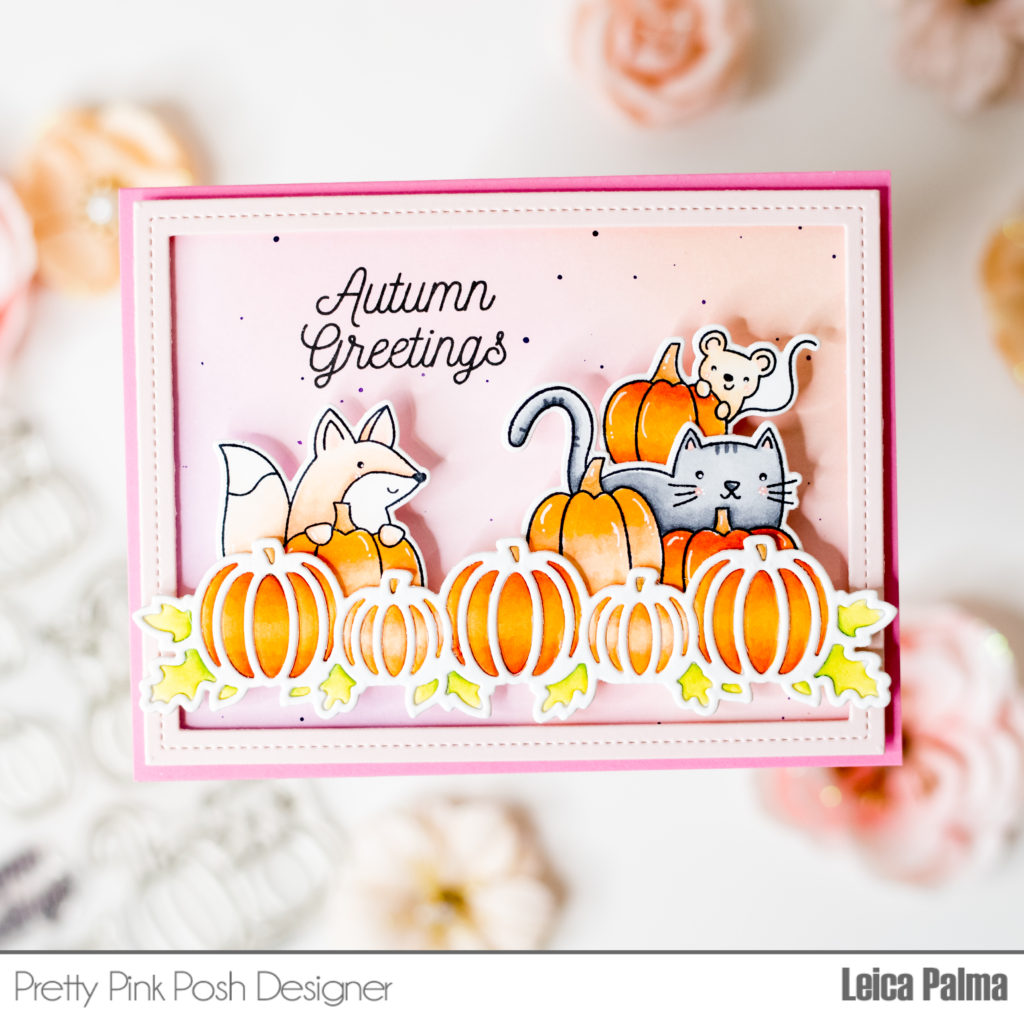
I first cut a panel in white cardstock, measuring 4.25×5 inches. I ink blended it with Milled Lavender, Spun Sugar, and Tattered Rose Distress Oxide Inks. I then splattered some violet watercolor for added interest.
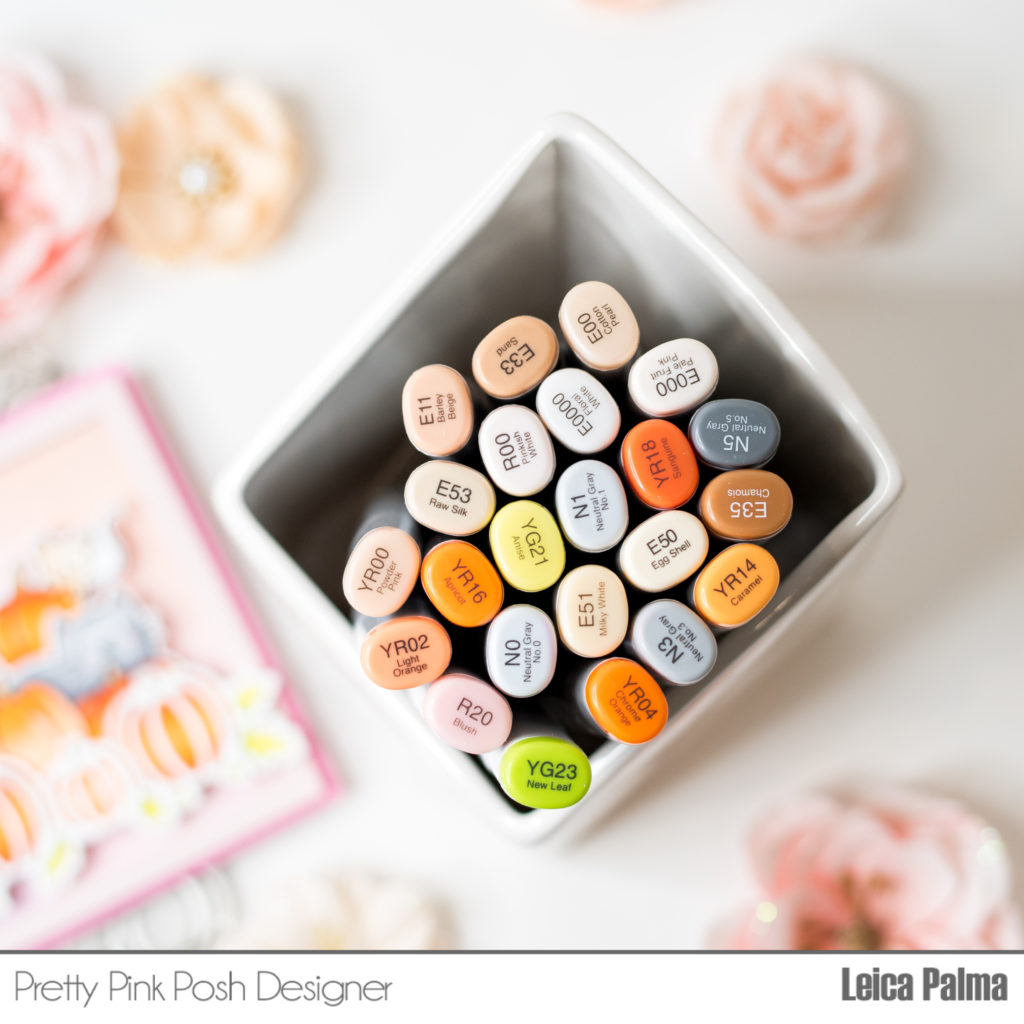
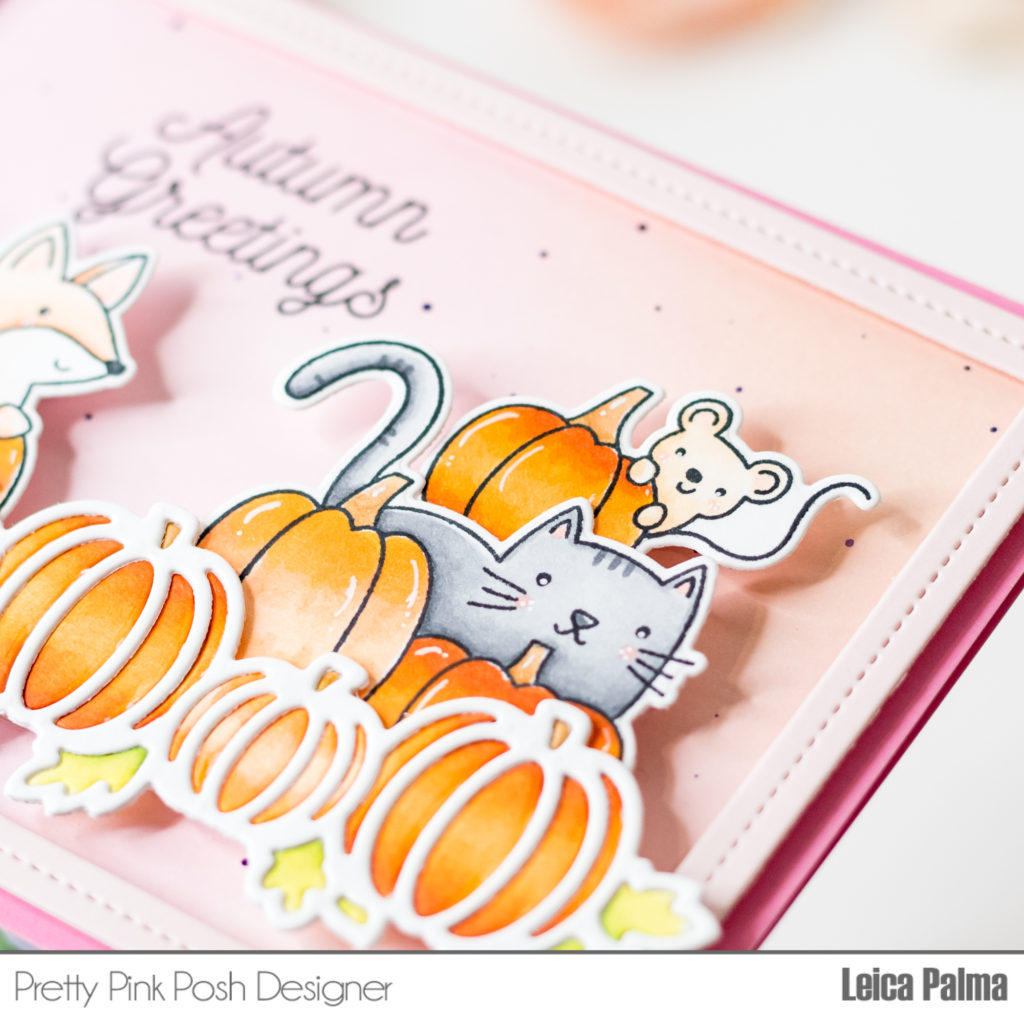
Next, I cut the Pumpkin Border die in white cardstock. I put strips of tape on the back of the die and glued the negatives back in place. I then colored the pumpkins with Copic markers and adhered another Pumpkin Border die on top for a clean look. Next, I stamped, colored, and cut the adorable images from the Pumpkin Patch Critters stamp set.
I also cut a frame from the Nature Essential Dies and foam mounted it on the card panel. I then arranged the critters and pumpkin border, foam mounting them on the panel for dimension. Lastly, I adhered the panel onto an A2-sized pink cardstock.
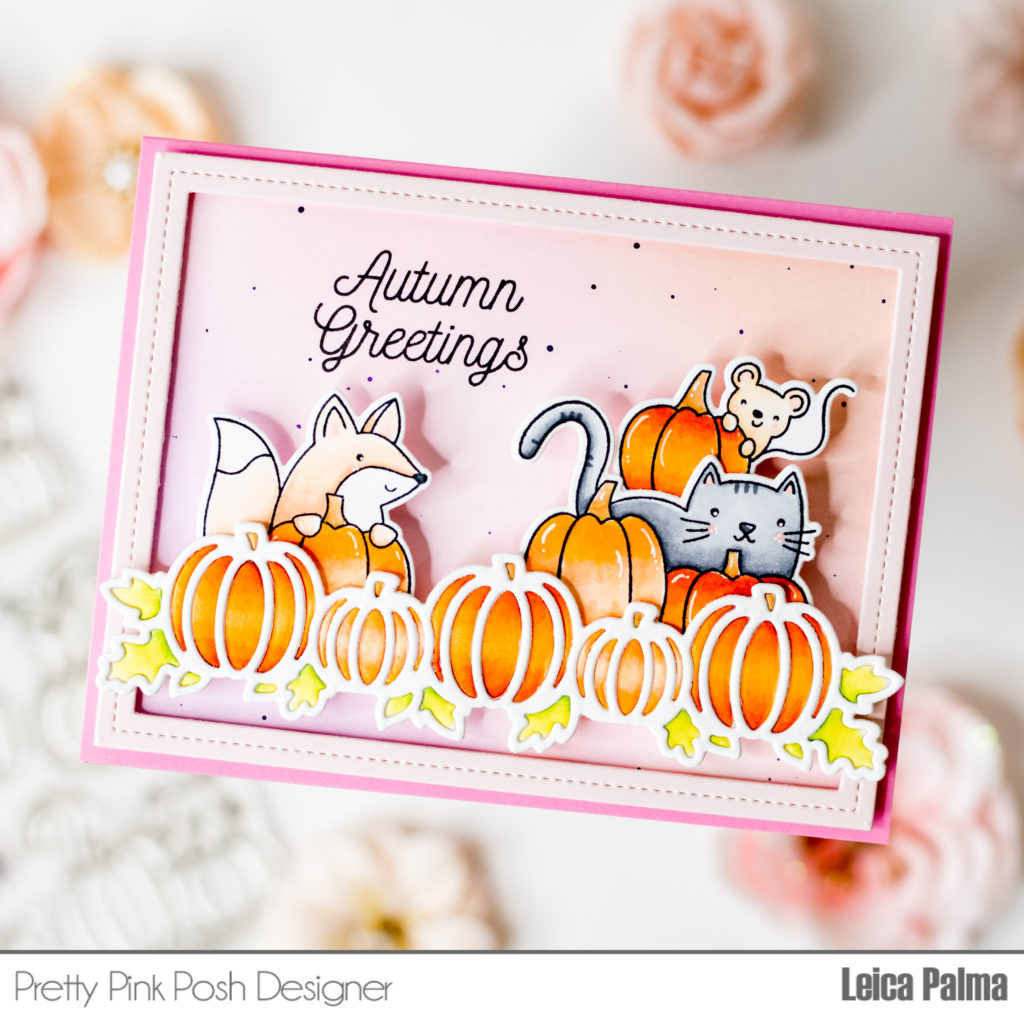
That’s all for this Autumn card. I hope you try crafting with the Pumpkin Border die. It looks kinda intimidating at first, but I promise, it’s fun and easy to piece together. Thanks so much for stopping by!
So fun to see the cat and mouse playing nice. Love the pumpkins. Lovely job!