Easter Theme Week- Day 5
Hello crafty friends. It’s Lisa Mears here. Today I’m sharing some Easter treat bags that I made using the Easter Circles stamp and coordinating dies. These treat bags were so much fun to make. They can be used as gifts for children, friends, family, and co-workers during Easter or the spring season.
Watch the video above I Watch the video in HD on YouTube
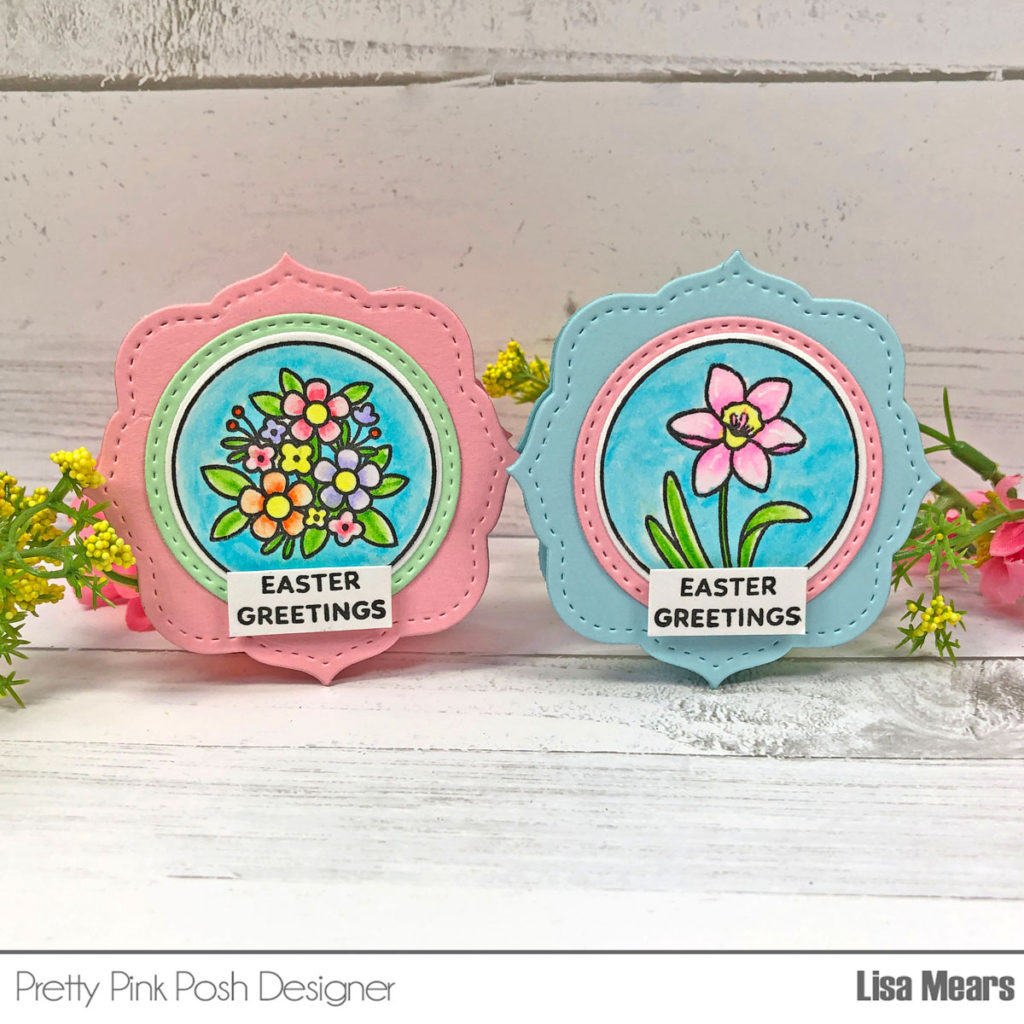
The Easter Circles stamp set comes with six circles with Easter and spring-themed images inside of them such as an Easter bunny, Easter basket, flower bouquet, Easter eggs, a flower, and a spring chick. I started by stamping my images onto Bristol Smooth cardstock using a black archival ink. I colored the images with Zig Clean Color Real Brush pens. The colors I used are listed below.
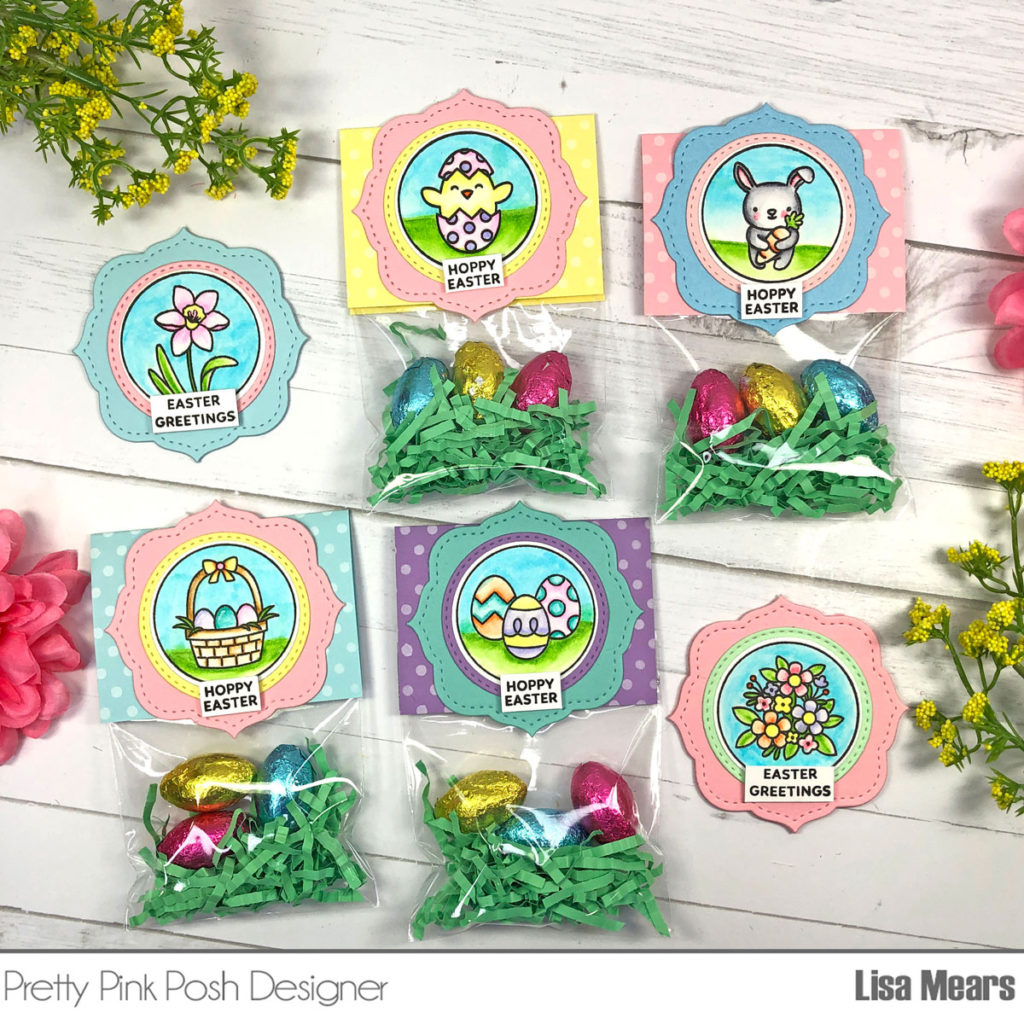
Bunny:
Gray, Pale Gray, Orange, Light Green, Light Blue, Blender
Single Flower
Fluorescent Pink, Light Green, Lemon Yellow, Light Blue, Blender
Spring Chick with Egg:
Lemon Yellow, Fluorescent Pink, English Lavender, Orange, Light Blue, Light Green, Blender
Flower Bouquet:
Orange, Lemon Yellow, Light Carmine, English Lavender, Light Green, Light Blue, Blender
Easter Basket:
Turquoise Green, Fluorescent Pink, English Lavender, Mustard, Orange, Lemon Yellow, Light Green, Light Blue, Blender
Easter Eggs:
Orange, Turquoise Green, Fluorescent Pink, English Lavender, Lemon Yellow, Light Green, Light Blue, Blender
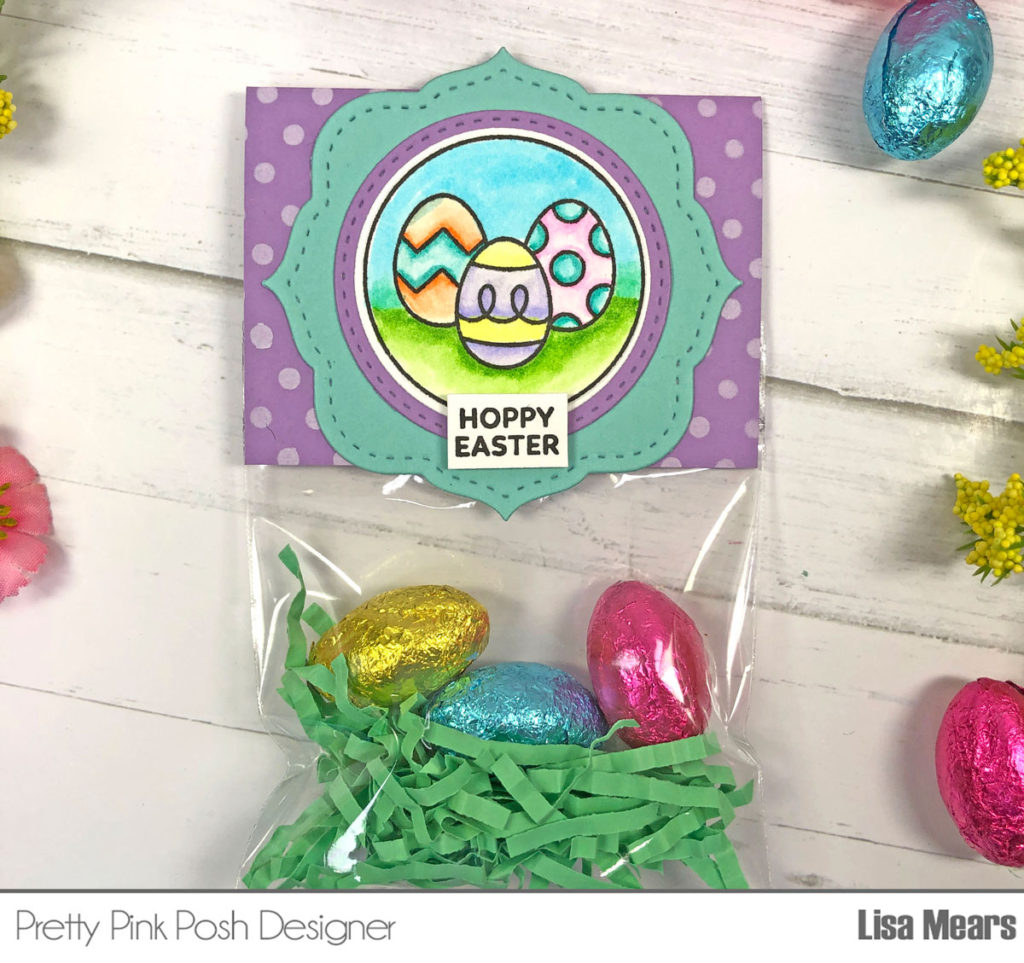
I die cut the images with the Easter Circles coordinating dies. Using the stitched circle die, I die cut a piece of solid colored cardstock that matched the colored stamp. Using the label die in the set, I die cut another piece of matching colored cardstock.
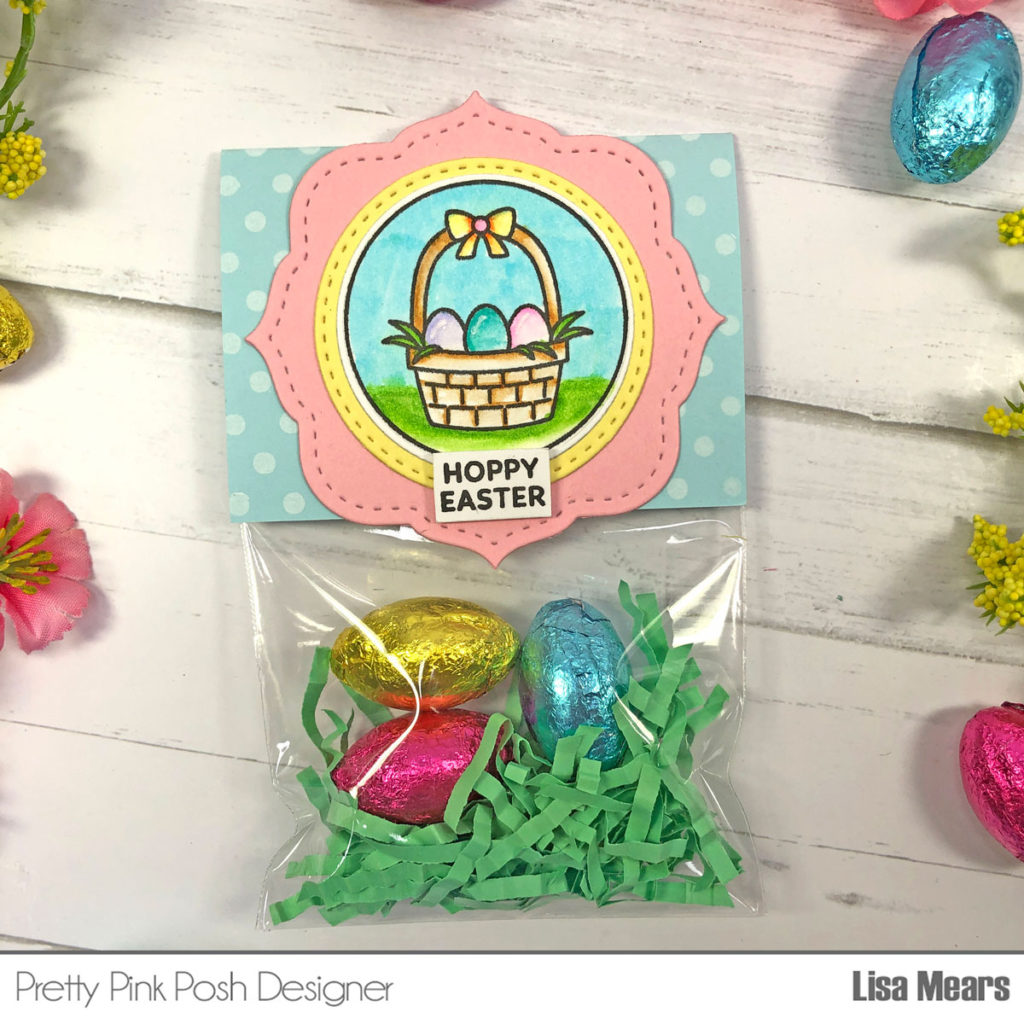
To create the bag toppers, I cut a piece of solid colored cardstock to 4 1/2” x 3 1/8”. I used white pigment ink and the Mini Polka Dot stencil to ink a polka dot pattern on the cardstock. Next, I scored the cardstock at 2 1/4” (along the 4 1/2” side) and folded it in half.
I added some Easter grass and chocolate eggs to the inside of a 3 inch bag. I used double-sided adhesive tape along the inside bottom and inside top of the bag topper and adhered it to the bag. I added the labels to the top.
Thank you so much for stopping by today. Have a wonderful day!

TOO CUTE!