
Hibiscus Miss You
Good morning, friends! Lindsey here and I’m so happy to share a card with you today. I have had so much fun creating with the June Release, and have especially been enjoying the stencils. The Hibiscus Flowers Stamp Set is one of my absolute favorites, and the new Hibiscus Flowers Stencils make it even easier to create cards using with it.
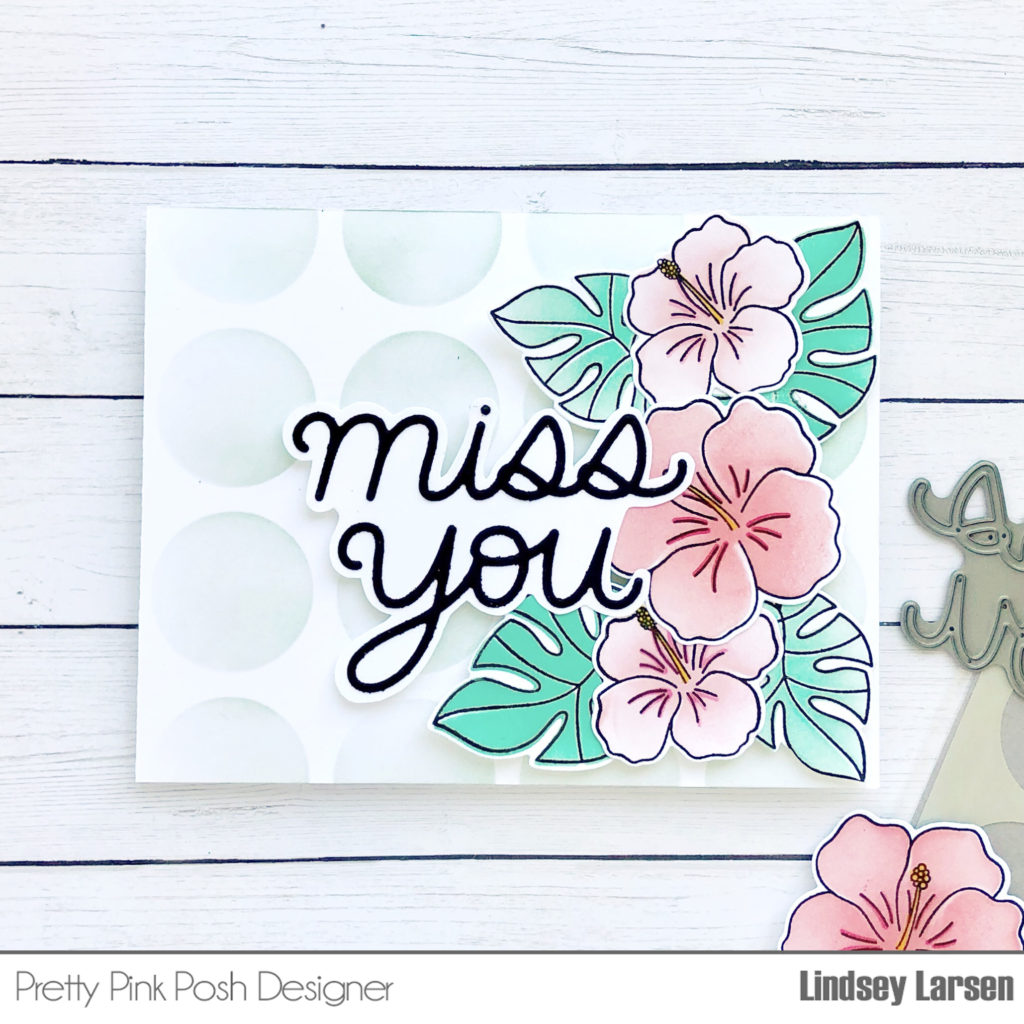
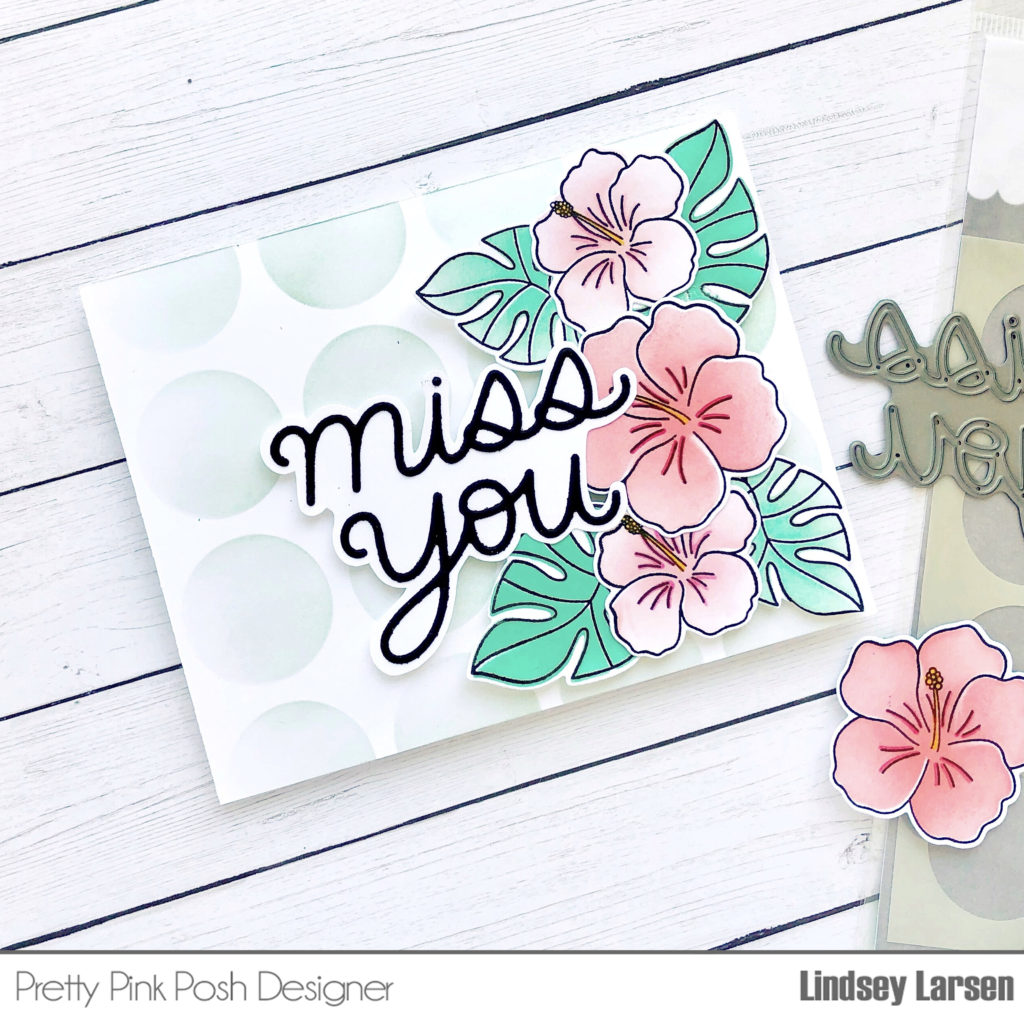
I started my card by stamping several hibiscus flowers and palms onto white cardstock. The Hibiscus Flowers Stencils made quick work of adding color to the images. I used blending brushes, so I could keep the colors light. While I had the blending brushes out I used the Circles Stencil to lightly stencil circles onto my card base, fading the color out toward the edges. Don’t you just love the large size of these circles?! I’m completely smitten. Okay, next I used the Hibiscus Flowers coordinating dies to cut out the flowers and palm leaves. Once, I had a pile to work with, it was easy to create an arrangement to fill the side of my card.
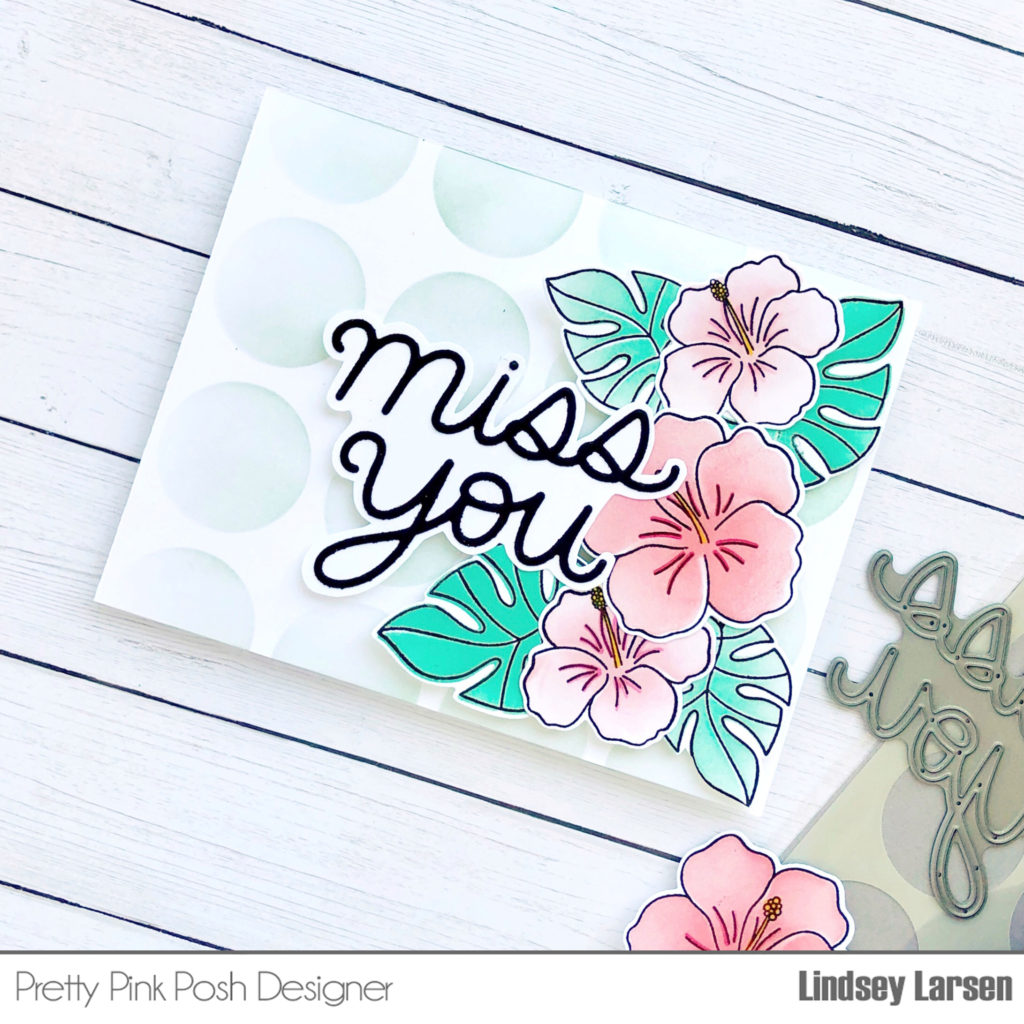
I’m a big fan of the script dies, and I especially adore the larger size of the Miss You Script Die. The script dies are more delicate by nature and I really wanted the sentiment to be the strong focal point, so I decided to add a second layer to it. I die cut the sentiment in black, adhered it to a white piece of cardstock, and then used scissors to trim around the entire outline. Finally, I popped it up in the middle of my card.
This card came together so easily and was a joy to create. I hope you are having just as much fun with your June Release goodies!