
Valentine Card w/ Copic Markers
Hi, Friends!
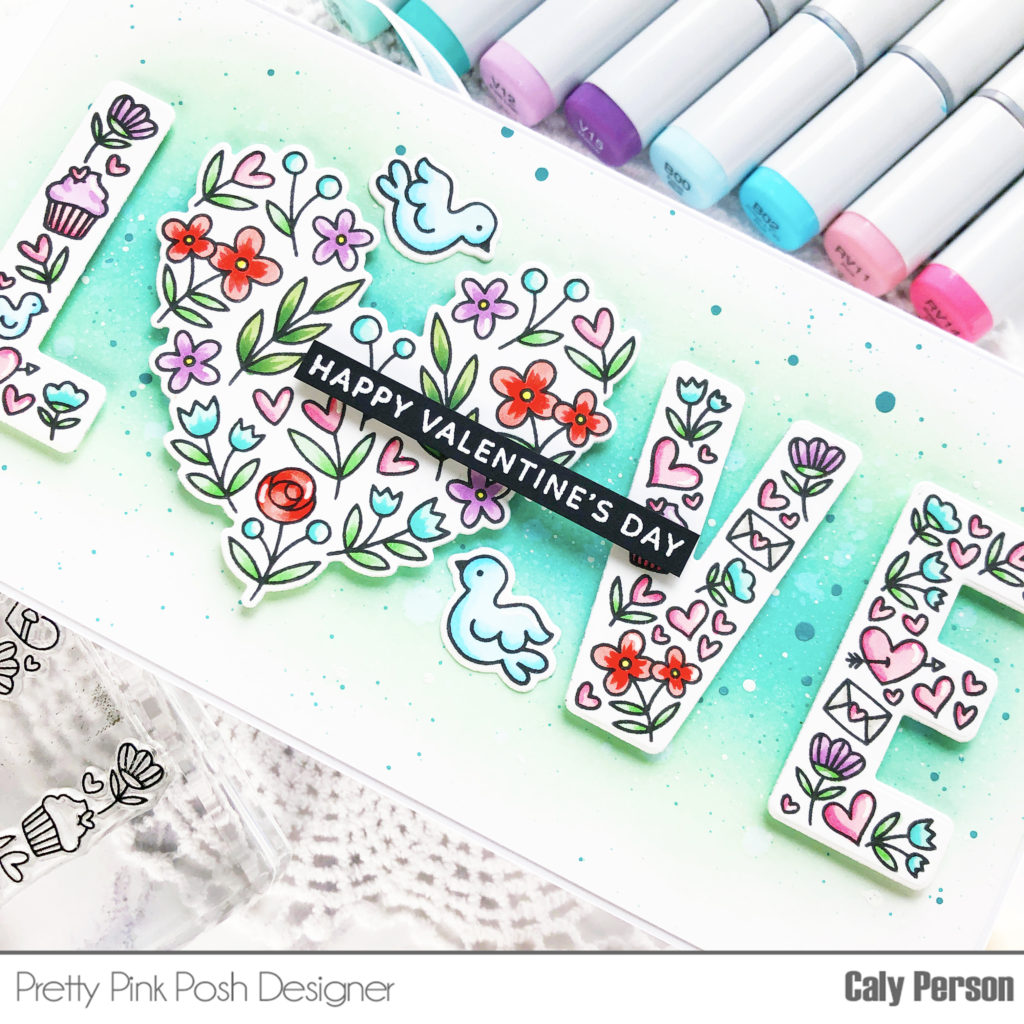
This is Caly with you today! I’m sharing a card made using the Love set along with the Large Floral Hearts set to spell the word love by replacing the “o” from the Love set with the “solid” heart from the Large Floral Hearts set. This requires a longer slimline card to fit all the required letters and images. My total card size is 3.75” x 7”.
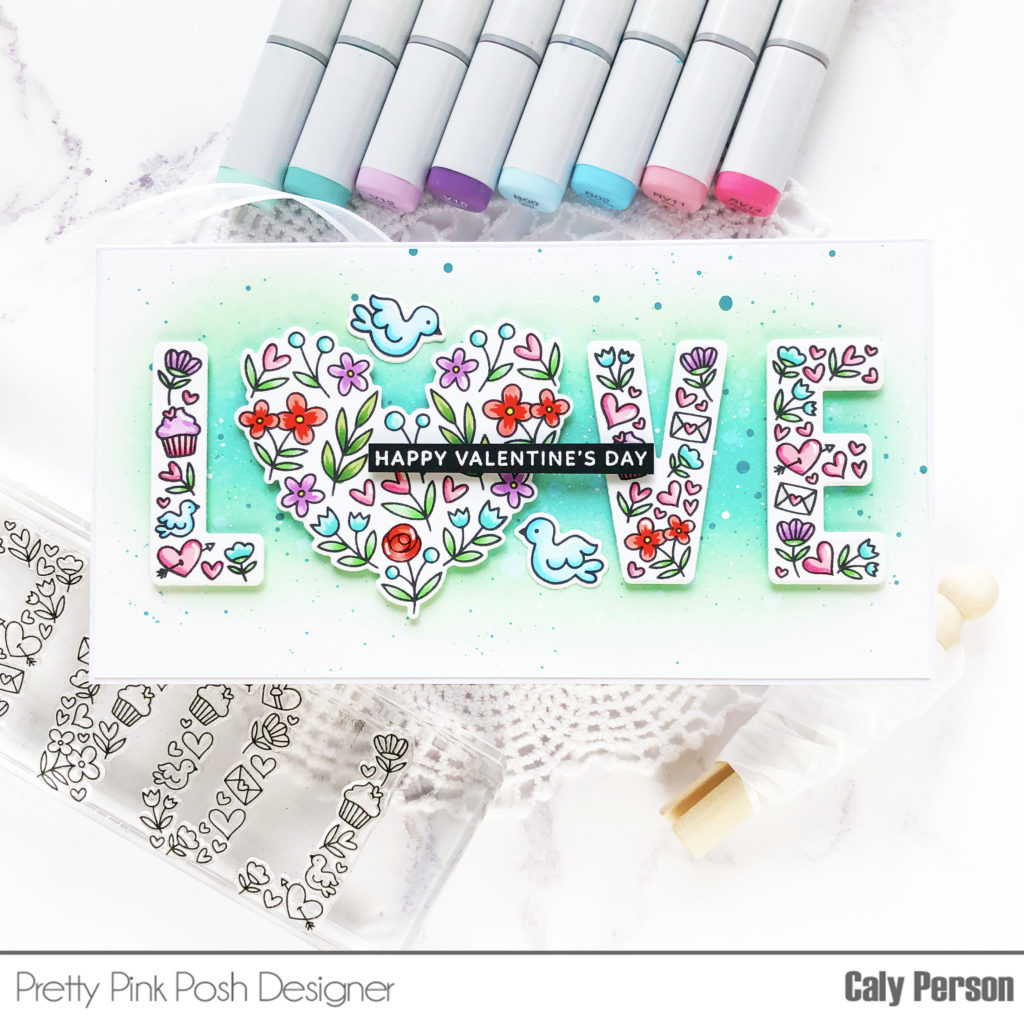
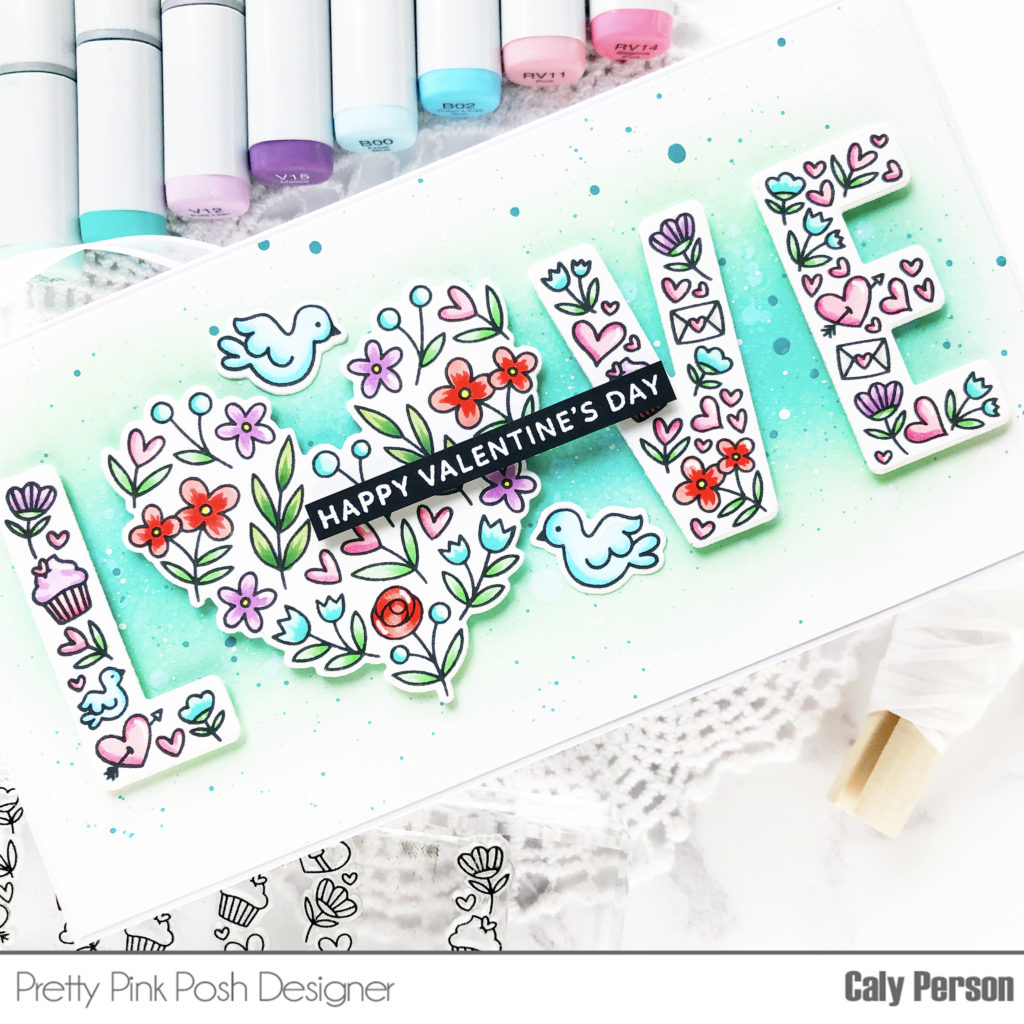
I colored my images with Copic markers and made it cohesive by sharing the same colors across each letter and the heart. It’s helpful that the illustrations are the same between the two stamp sets. After coloring, I die cut the letters and images and added a few white gel highlights to help my images pop. The images are small so there wasn’t a whole lot to add. I set my images aside to work on a background.
Copic colors used: W0, W3, G12, G14, G43, G46, R22, R24, RV11, RV14, B000, B00, B02, V12, V15, BG11, BG13, Y06.
After figuring out the size of my card by laying out my elements, I cut down a blank panel and ink-blended across the center, leaving about an inch from the sides with Peacock Feathers Distress Oxide Ink. Then I went over and around the first color with Cracked Pistachio. To give my panel extra interest, I splattered it with some dark teal paint as well as some white paint.
Using a T-ruler to help line up my images, I adhered them down using foam adhesive. I glued my birds down directly on the card panel – focusing the dimension on the letters and floral heart only. My sentiment is embossed over black card and adhered to the center of my card using more foam adhesive.
Thanks so much for joining me today! Have a wonderful day!
Adorable! LOVE the coloring!
Loving everything about the pairing of these two stamp sets!! And fun to color with Copics too!!
I am a huge fan of the words with images inside. This looks so cute!!
Very sweet card. I love this new release,
I really need to jump on the slimline card wagon ASAP