Thanksgiving Theme Week- Day 5

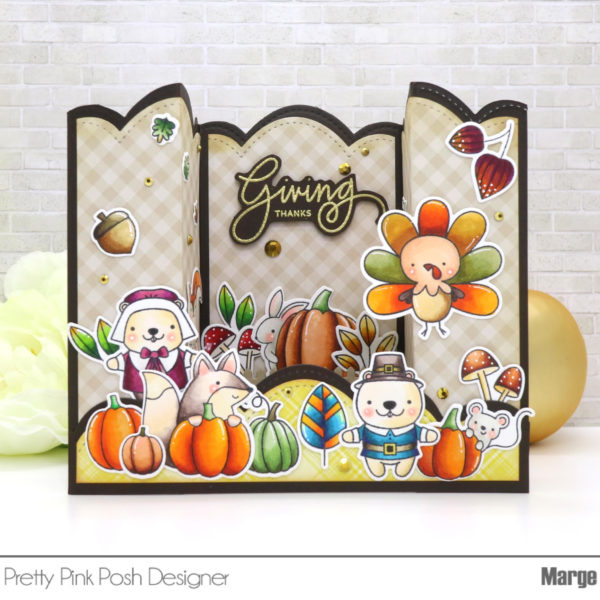
Hi, friends! Welcome to another day of our Thanksgiving Theme Week. It’s Marge here sharing a Thanksgiving Bridge Card with you today.
Pretty Pink Posh has 15% off items in the Thanksgiving section!
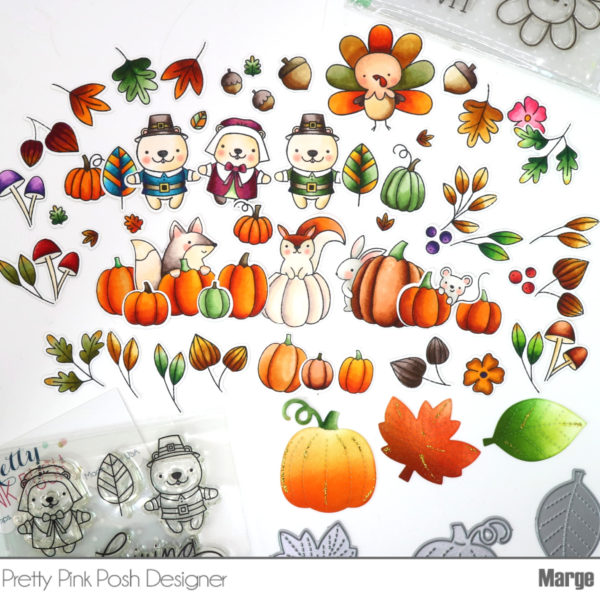
To begin my card, I stamped Pumpkin Patch Critters, Autumn Wreath, Giving Thanks, and Happy Turkey set on 80lb Neenah White paper using Memento Black, then I colored them using my copic markers. After I finished coloring I cut the images using Pumpkin Patch Critters Coordinating Dies, Autumn Wreath Coordinating Dies, Giving Thanks Dies, and Happy Turkey Dies.
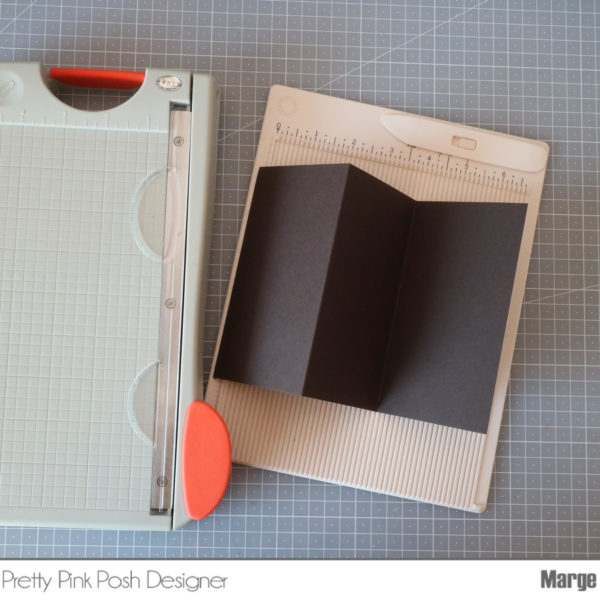
Next, I made a bridge fold card as show below where I’m sharing a brief instruction with pictures.
Instruction for bridge fold card
1. Cut a brown card stock into 5.5 x 9 inch. Score along the long end at 3″ and 6″. Fold in Z shape.
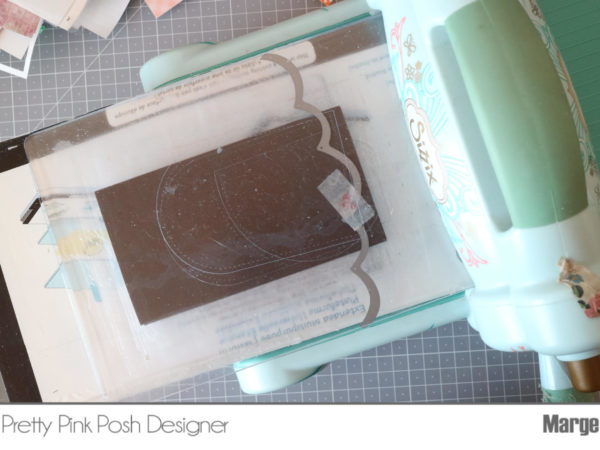
2. Place Stitched Borders 2 Die on top of the Z paper, run it through a cutting machine back and forth several times. If the papers are not cut perfectly due to thickness, use scissors to trim off.
3. Score down mid-line pf both outer panels, refold the paper into a standing gate shape.
4. Prepare three pieces of 2.75 x 5.25 inch of Gingham paper, diecut the top portion using the same Stitched Borders 2 Die, score down at center of two pieces, then adhere them onto the brown panel. By doing so, you can create a nested look without using nesting dies set.
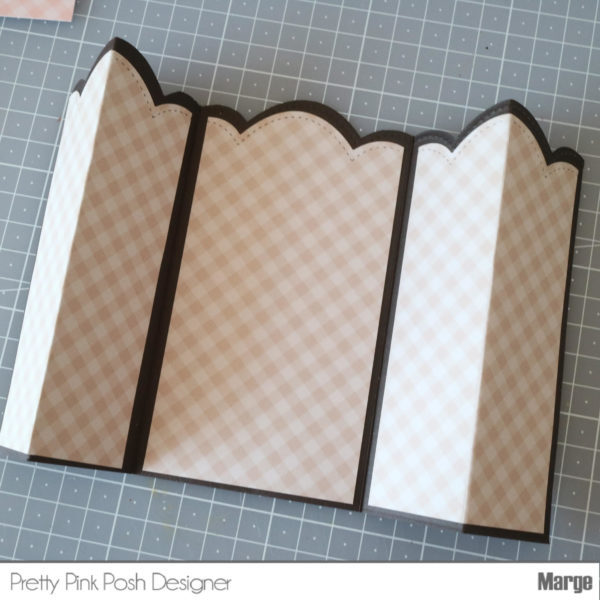
5. Make a front panel that would be a bridge, using brown card stock, Stitched Borders 2 Dies, and Plaid paper and then adhere the bridge to the standing gate. It is easier to adhere one side of bridge and gate when the gate is folded down. Before assembling, I distressed all the edges using Distress Ink Tea Dye to give an autumn mood.
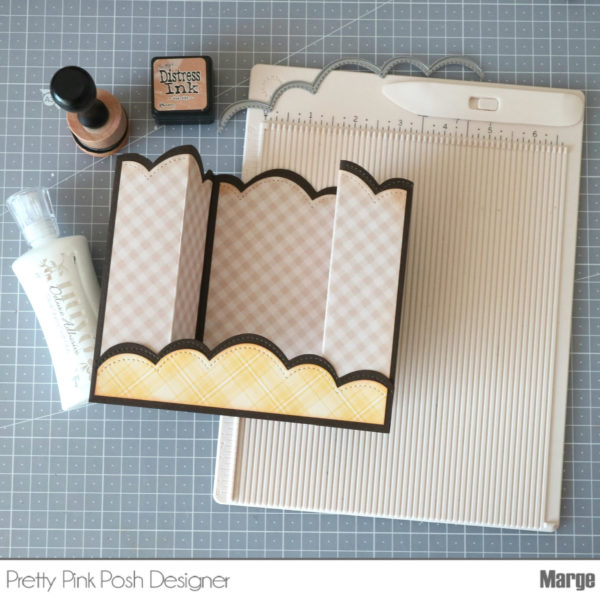
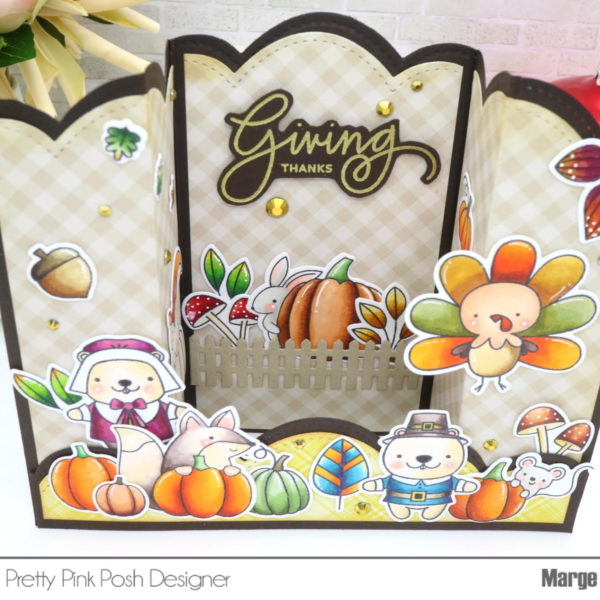
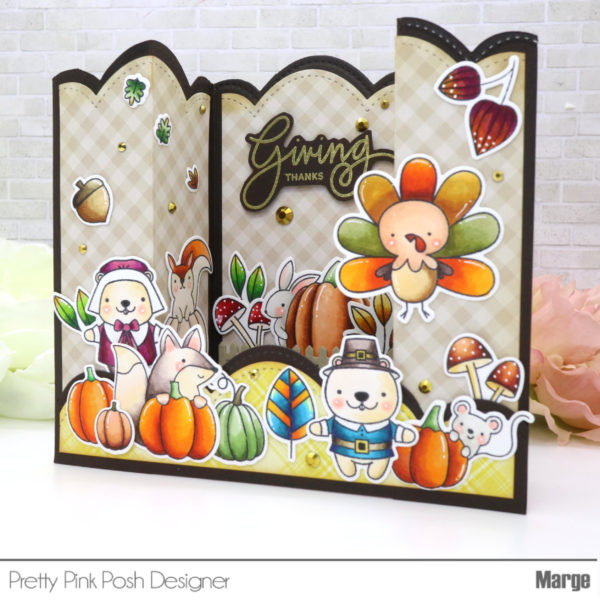
Once I finished assembling Bridge Fold Card, I adhered my colored images here and there using Glue Dots. Sentiment from Giving Thanks was heat embossed in gold and cut by free hand. I also added a piece of Picket Fence on the wall behind.
Here are some more views from different angles.
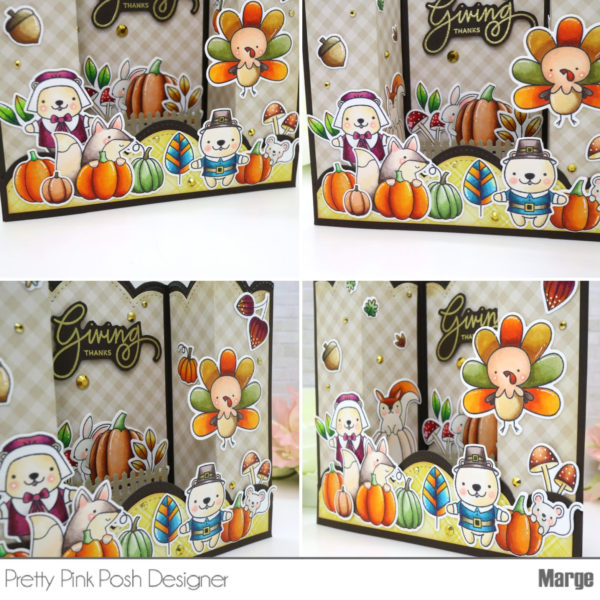
When I adhered images, I intended that my scene would look good even when it is folded down.
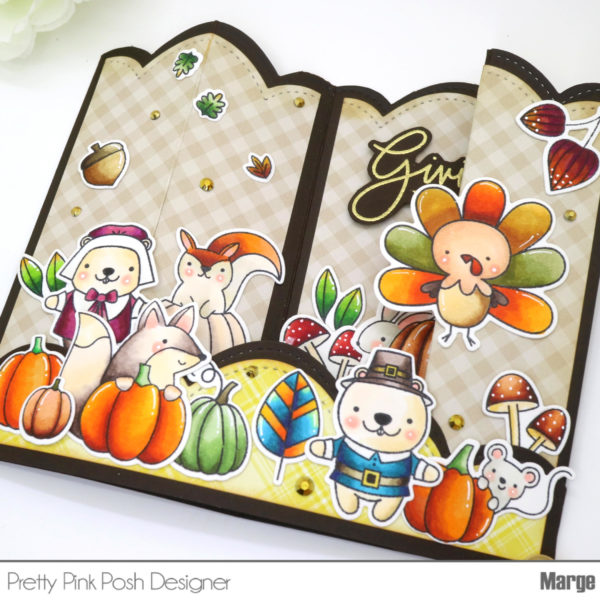
As a final touch, I added Metallic Gold Jewels. Since the card size was about 5.25 x 6 inch when folded down, I also made an envelope with size 5.5×6 inch using a piece of paper of 9.25 x 9.25 inch.
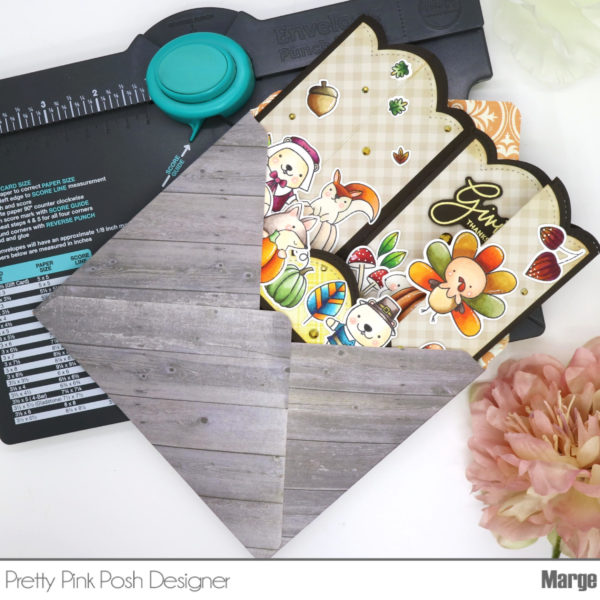
It is very easy to create a fun Bridge Fold Card by just using a scoring board and any kinds of symmetric shape border dies. This type of card can be placed straight up as a part of Thanksgiving decoration, or it can be sent to your friends flat down in an envelope.
I hope you will like it as much as I do. Thanks for your visiting and reading this. Have a wonderful day!

This is beautiful! Thanks for such a detailed lesson!
Awesome job on your card! Love the card base you created.
Gorgeous coloring and card layout!
Wow! Fabulous! Your coloring is awesome as always, and love all the tiny details :) Thank you for sharing the tutorial too, this is a fun fold :)
This is fabulous. I love all the stamps and dies. I don’t know if I could give it away. It’s that beautiful.
What a wonderful gathering. Perfect to be thankful…
Charming card and
great coloring.
Carla from Utah
How fun this card is!
Love that it folds up
and great design
and coloring.
Carla from Utah
THIS is absolutely AMAZING!!!
Oh Marge, this is just spectacular and so pretty!! What a wonderful centerpiece
this would make on the Thanksgiving table!!! Always love your pretty projects.
Very Cute, Marge! I love how you used this border die set to create a unique shaped card that can stand up or lie flat in an envelope for mailing. I can’t want to try it. Love how you colored all of your images, they are so soft and sweet. Happy Fall!
OMG! Your card has left me speech less! When I grow up I want to craft like you!! (i’m old, but you know when i grow up in the crafting world!)
This is INCREDIBLE!~ Thank you so much for the tutorial!