
Tutorial: Creating A Birthday Scene
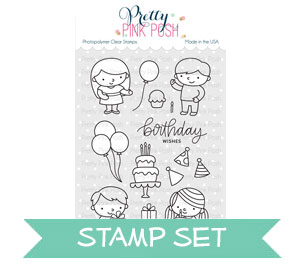
Hi Everyone! It’s Melody here today and I have a birthday card to share featuring the newly released Birthday Friends Stamp Set and the Birthday Friends Coordinating Dies.

I chose a color scheme for the card that could be used or a either a birthday boy or a birthday girl.

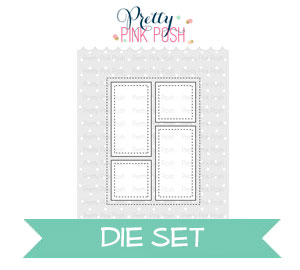
I colored the images with Copic Markers and used a Nuvo Aqua Shimmer Pen to add glitter to the cake frosting. I added the polka dots to the dress with a white gel pen. Then I die cut the images with the Birthday Friends Coordinating Dies.

Next I cut the new Storybook 6 Die twice, once from a patterned paper, that was cut to fit the card front, and once from watercolor paper. On the patterned paper I stamped a sentiment from the Birthday Friends Stamp Set in black ink. On the watercolor paper I sponged on distress ink and spritzed the paper with water.

On the back of the card front I added foam tape. The foam tape adds dimension to card and leaves me a little space to attach the stamped images.

I inlayed the watercolor squares and rectangles into the card front and the attached the stamped images using foam tape.


That’s a lovely card, with a simple and perfect tutorial :)
Oh Melody this is sweet. The kids are adorable and I love all of the Story book dies. I only have one so far but want them all…LOL (who doesn’t right? )
Sooooo CUTE!!!!!!!
So sweet and love the Storybook dies that really frame the adorable images and can be turned so easily into a shaker.
This is so adorable, love it and I love that die I think I have to get that. Thanks for sharing.
This is so cute!! Your coloring is divine!!
Cute card and love the images and layout. The images are so cute.