
Tutorial: Halloween Copic Coloring
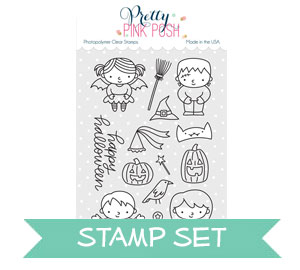
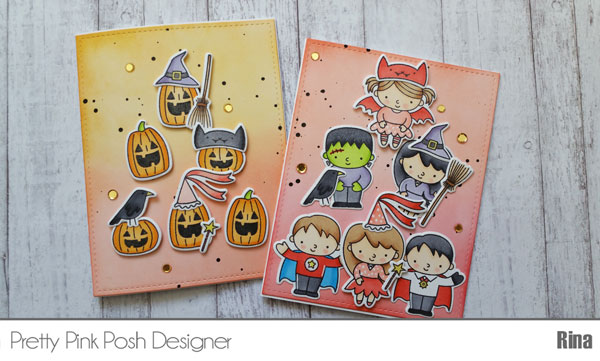 Hi everyone! Rina here with a two Halloween cards using the Trick or Treat Friends stamp set and coordinating dies. This set is not only perfect for Halloween, but also super versatile in that you can use two images to make four different characters. The caped boy can either be Dracula or a superhero and the dressed girl can be a princess or witch depending on which accessory stamps are used. Along with these fun characters you can also make a Frankenstein as well as a bat girl. I challenged myself today to use all of these images on one card.

Watch my video tutorial below to learn how I made these card.
 These two cards are very image heavy so I opted for quick coloring with copic markers. I used two blending colors for the images and three colors for the hair. I also made sure to use one set of colors consistent for all images of that color. For example, I used the same green combination YGO1 and YG25 for both the pumpkin stems and Frankenstein’s face.
In order to differentiate the images that are double duty, I made sure to color the hair different colors.
Orange – YR21, YR04
Green – YG01, YG25
Skin with Blush – E21, E50, R20
Pinks and Reds – R11, R20, R14, R22, R24, R08
Purple – V22, V25
Blue – B02, B04
Yellow – Y02
Brown Hair – E31, E34, E35
Blacks and Greys – N3, N5, N7, N9
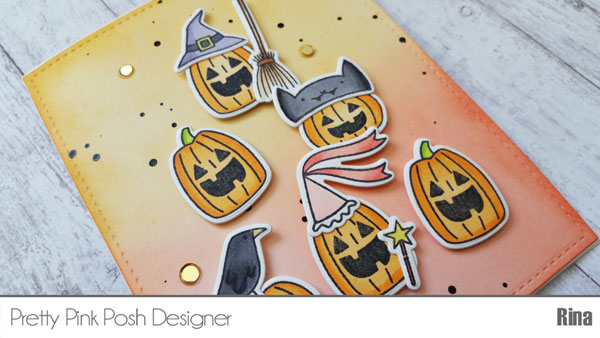
 I wanted to keep the background simple since the card would be filled with images. I opted for a light distressed ink background with Distress Ink and made two panels. One panel used Festive Berries/Ripe Persimmon and the other card was blended with Ripe Persimmon/Fossilized Amber. The panels needed a little something so I used Kuretake Gansai Tambi watercolor in black to make splatters with a 6 Round brush. The splatters were fun and easy to make, I encourage you all give it a try!
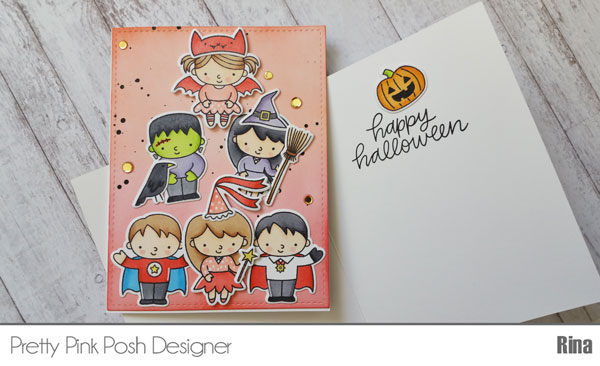 To assemble the card I adhered the accessory images to the main stamps first with Scotch Quick Dry Adhesive. When this was done, I then adhered the images to the distressed ink panels in a triangle formation. To add more sparkle, I added a scattering of Pretty Pink Posh Metallic Gold Confetti Mix and accented the images with Wink of Stella Clear glitter brush pen. I stamped the “Happy Halloween” sentiment on the inside of the card.
Rina
Thanks for sharing your color palette. Your cards are adorable!
Fun and fabulous project!
Hi Rina & Paulina ~ These Halloween cards are adorably created and sure to bring a smile to the recipients’ faces. Your coloring is fabulous and, in my opinion, you can never (EVER!!) go wrong with a Distress-Inked background! Your blending is gorgeous and perfect for these sweet images. Thanks so much for sharing and inspiring. ~HUGS~
#kindnessmatters
Both of your cards truly adorable !