Sneak Peek: Happy Turkey
Hello everyone! Amy Y. here with two cards featuring the upcoming 3″x 4″ stamp set Happy Turkey (releasing on September 10th).
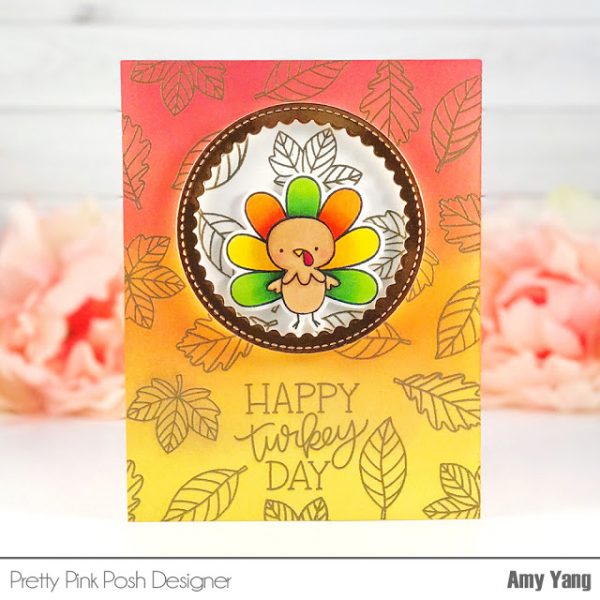
To create the background, I stamped the leaves and the sentiment included in the Happy Turkey set on an A2 Bristol cardstock with Versamark ink. I applied gold embossing powder and heat set it.
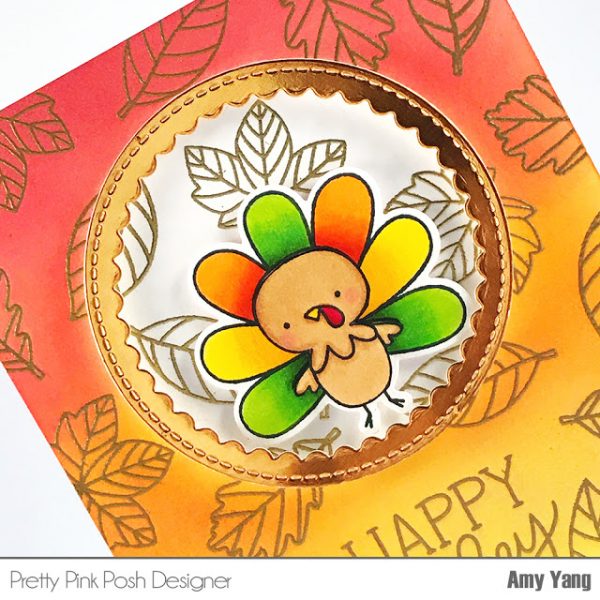
To create my focal point, I die-cut masking paper using the smaller scallop circle from Scallop Circles, and adhered it to the panel. Then, I inked the panel using Fired Brick, Abandoned Coral, Spiced Marmalade and Fossilized Amber Distress Oxides with a blending tool. After, I removed the masking paper. Using the same scallop die, I die cut gold cardstock. I mounted the die-cut circle with foam tape as shown.
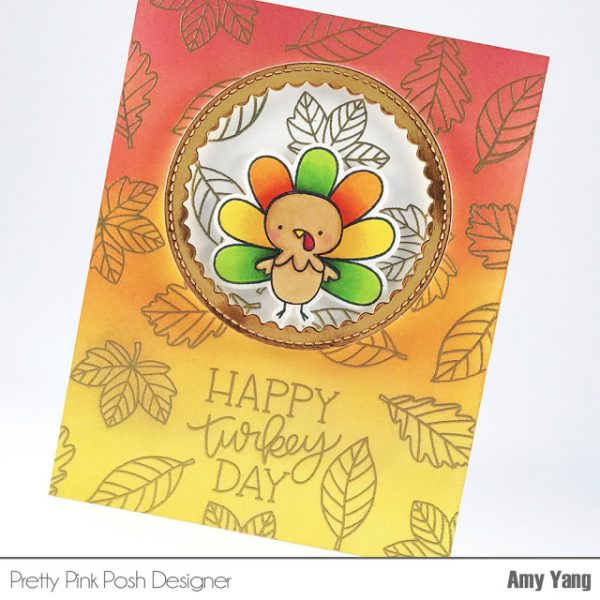
I stamped the adorable turkey twice on smooth white cardstock and colored it with Copic markers. I used the Happy Turkey coordinating die to cut one of them out. With the other image, I fussy cut just the body and adhered that on top of the die-cut turkey with foam tape. This is not a necessary step, but I do this sometimes to add fun dimension to the image. Lastly, I mounted the turkey inside the circle and adhered the panel to a card base.
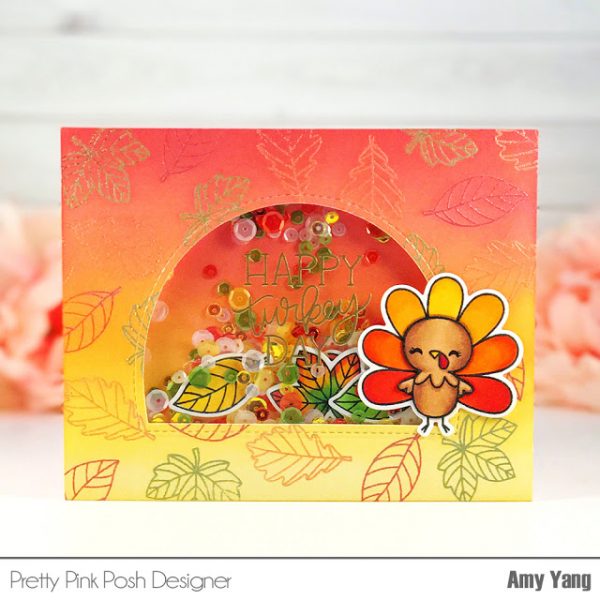
To make front panel for the second card, I stamped the leaves an A2 Bristol cardstock, using Fired Brick, Spiced Marmalade and Peel Paint Distress Oxides and applied pearl embossing powder. Afterwards, I heat set it and inked it using the same colors as the first card. To make the background panel, I inked another A2 Bristol cardstock using the same colors.
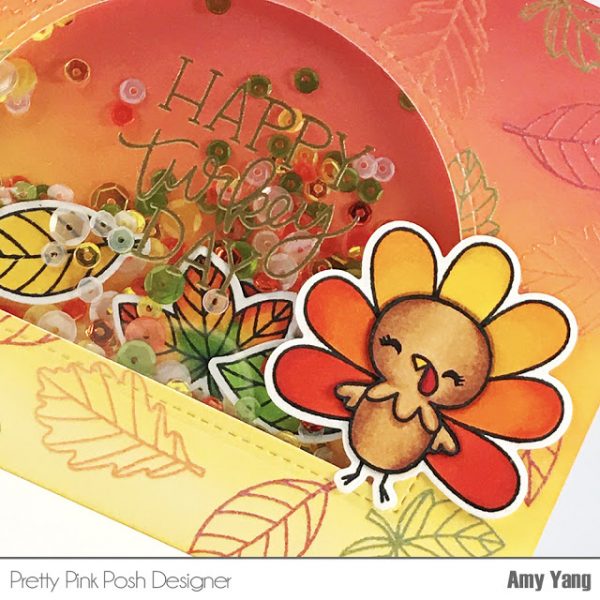
To create the window, I die-cut the front panel with the larger die from Window Frames. I heat embossed the sentiment using gold embossing powder on a trimmed heat resistant acetate, and adhered that behind the window panel. I mounted the window panel to the background panel using two layers of double sided foam tape.
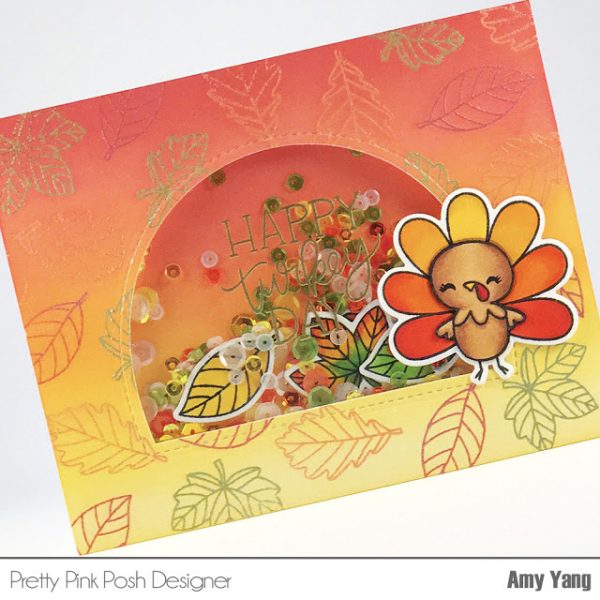
Inside the shaker, I added my own mix of Pretty Pink Posh Sequins and some leaves that were colored with Copic markers and die-cut. For the turkey, I used the same process as the first card, but I made small changes to the eyes with a Copic liner. To finish, I adhered turkey to the front of the shaker window and adhered the panels to a card base.
I hope you enjoyed this sneak peek. Make sure to join us again tomorrow for a look at another new set!

awwwwww….sooo cute!
SO adorable!
Super cute cards. Excited to see the release.
Cute cards ! Loved the warm color scheme :)
Such a cute card, loving this little turkey! Love the ombre backgroud as well, so pretty
So adorable!
Soooo Super CUTE!!! Love those sweet little turkeys and the gorgeous leaves!!
Hi Paulina & Amy ~ These cards are ADORABLE!!! Who could possibly resist these cute, cute turkeys and I’m always a sucker for a shaker card. Thanks so much for sharing and I’m looking forward to seeing more! ~HUGS~
#kindnessmatters #prayforTexas
Absolutely adorable cards!!!!
Love your cards Amy, they are so beautiful and colourful! A great ob on them.
Awesome cards. Love the colors you used and the turkey is super cute. Thanks for sharing.
Great cards with awesome colors ! And seriously ! Look at the turkey’s tongue ! How fun !!!
Happy turkey Day is absolutely adorable. The cards are beautiful. Thanks for sharing.